Reading time is around minutes.
Exterior:
Before we start with the pictures I want to look at the word “steampunk”. This word has been overused even more than blue LEDs. It’s become synonymous with anything remotely resembling what it once was. Personally, I see nothing “steampunk” about the Steam Castle. As a fan of steampunk from long ago, this is dieselpunk. For those who fail to see the distinction, I assure you it’s there. Wooden-bodied airships with copper filigree and brass gears and cogs? Steampunk. Iron trains with art deco curves, rivets all over the place and colors ranging from black to gray? Dieselpunk. One of the best way I’ve heard the difference described was to say “dieselpunk is steampunk with internal combustion”. Also, “industrial deco” comes close. But I digress. Suffice it to say the style of the Steam Castle is squarely in the dieselpunk genre, but “steampunk” is better known and likely makes more sales.
Getting the case out of the box, I was immediately surprised at its size. I knew it was a micro-ATX case, but I hadn’t seen any images of it with anything else to put it in context, and its form makes it look larger than it is. This is definitely not a con. The surprise was a pleasant one.
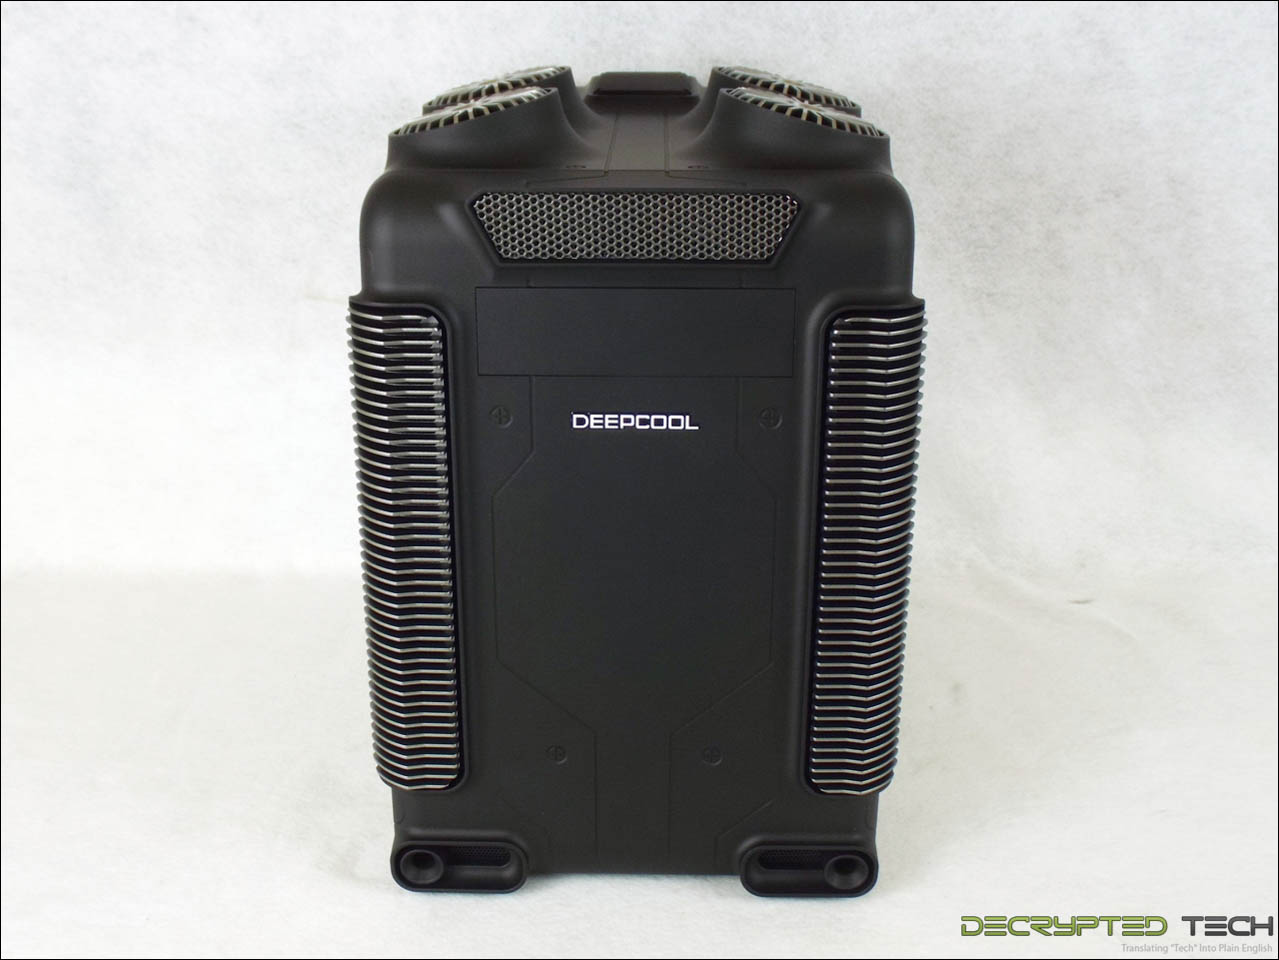
At first glance, even across a room, it’s clear that the Steam Castle is a different animal. Nothing I’ve seen looks like it. From the protrusions on its top to the very cool grill stacks on the front corners, right down to its satin finish, this case screams different. From the front the single external 5.25” bay can be seen, but only by its outline. This is one of the cleanest joints I’ve seen in a bay cover, blending in seamlessly with the cosmetic lines below and above it. I wouldn’t put an optical drive in this case without a stealth cover. More on that in the modding section. The stacked grills on the corners are actually functional air intakes also, not just window dressing.

Looking at the left side shows the acrylic window. While it’s not as large as many I’ve seen taking up most of the side panel, that’s probably for the best in this case given the internal layout. The size and shape of the window will serve to show off most of what the enthusiast likes to show off while allowing enough solid panel to hide cables. I was a little disappointed to see the large plastic-head thumb screws that were used to hold the panel in place, but with standard threads, better-looking screws are an easy and inexpensive mod for those who want it.
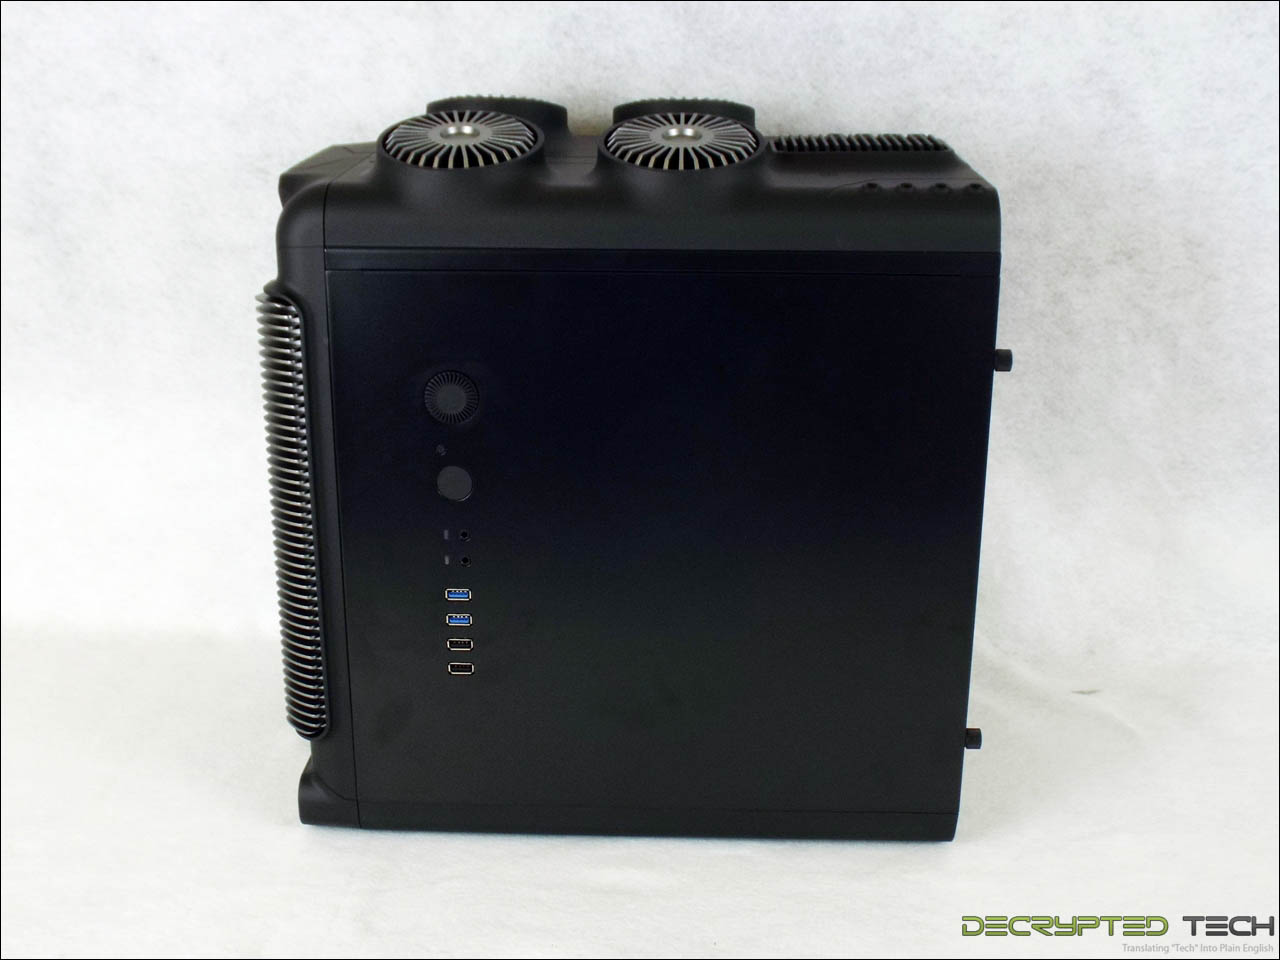
On the right side can be seen the control panel I mentioned earlier. Input/outputs include power and rest buttons, two USB 2.0 and two USB 3.0 ports, headphone and microphone output and a single knob/button that controls fan speed and the color of the LEDs mounted in those eye-catching upper ports. Press this button to change the colors, and turn the knob to increase or decrease fan speed and LED brightness.
I was a little put off by the placement of this panel. It’s completely counterintuitive to me, since the user will normally have the window side of the case facing them. That’s why most manufacturers put the controls on the top, front or left side. It’s clear that it was done for aesthetics, to keep that incredibly clean look on the front of the case, and I can appreciate that. Whether I appreciate it enough to warrant reaching to the other side of the case every time I need to use the panel or not is another story. Myself, I would use a USB hub for input and turn the system off with my keyboard. Is it worth it for the look of the Steam Castle? That’s too subjective to say here.

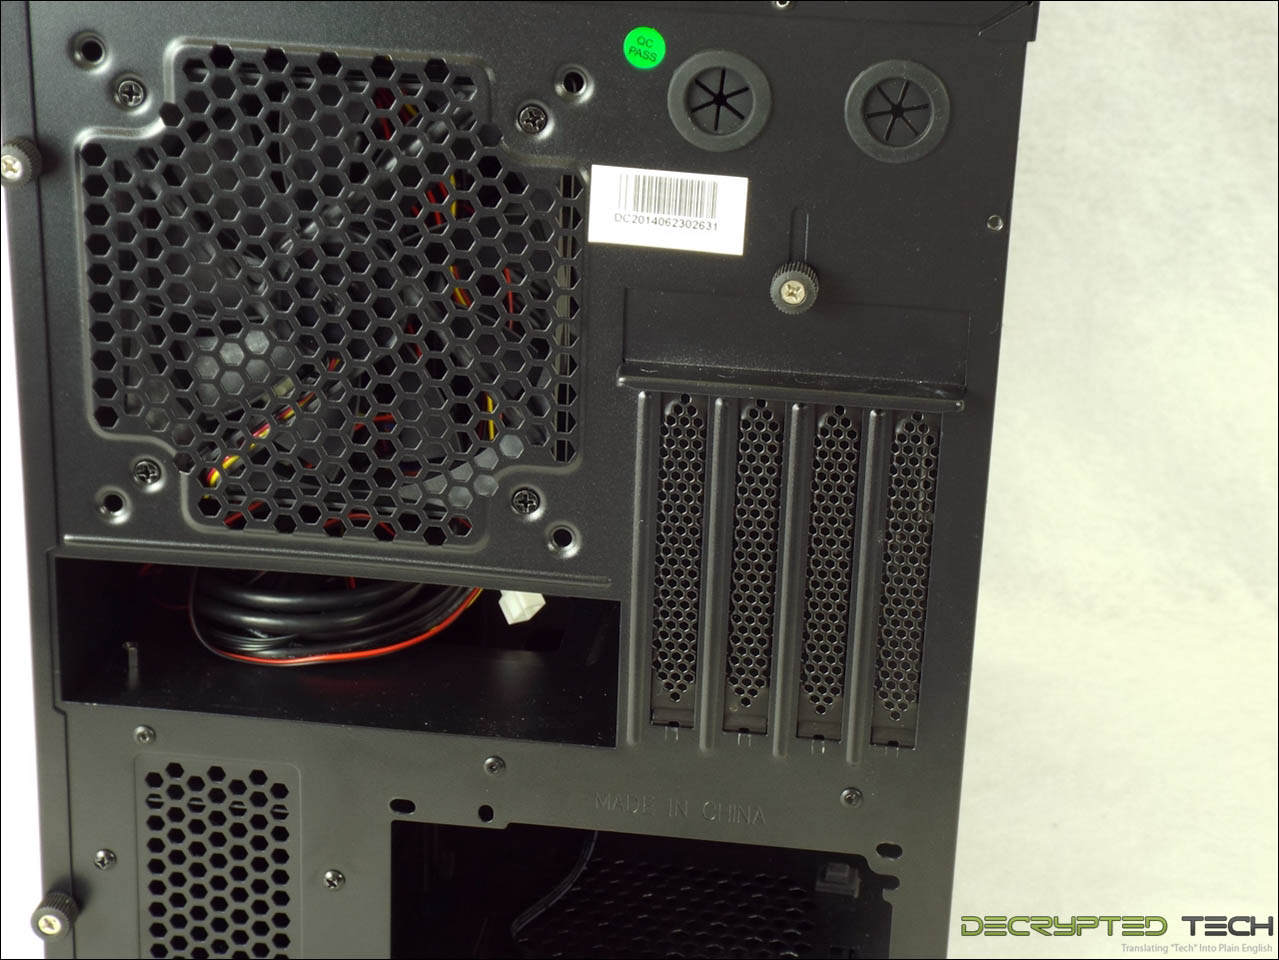
Around back we finally start to see some of the standard things we’re used to in a case. The I/O panel cutout, 120mm/140mm exhaust fan mount, PSU mounting area and four expansion slots are fairly standard for any micro-ATX case, though of course arranged for a horizontal application. There are even the usual holes with grommets for hoses for an externally-mounted radiator.
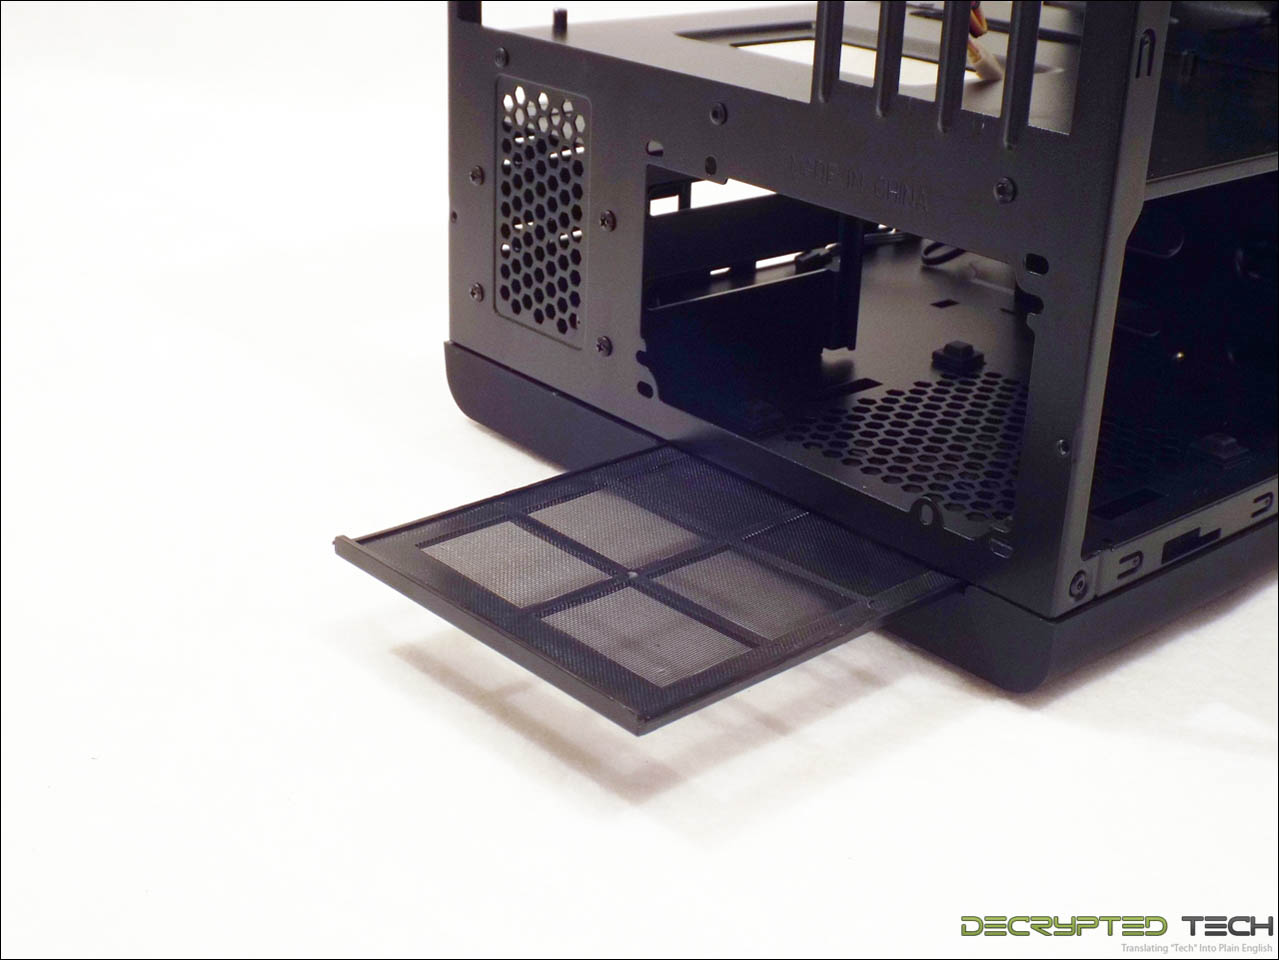
The Steam Castle has an easily removable air filter for the PSU intake, allowing it to be removed for cleaning without having to tilt the case at all.
 |
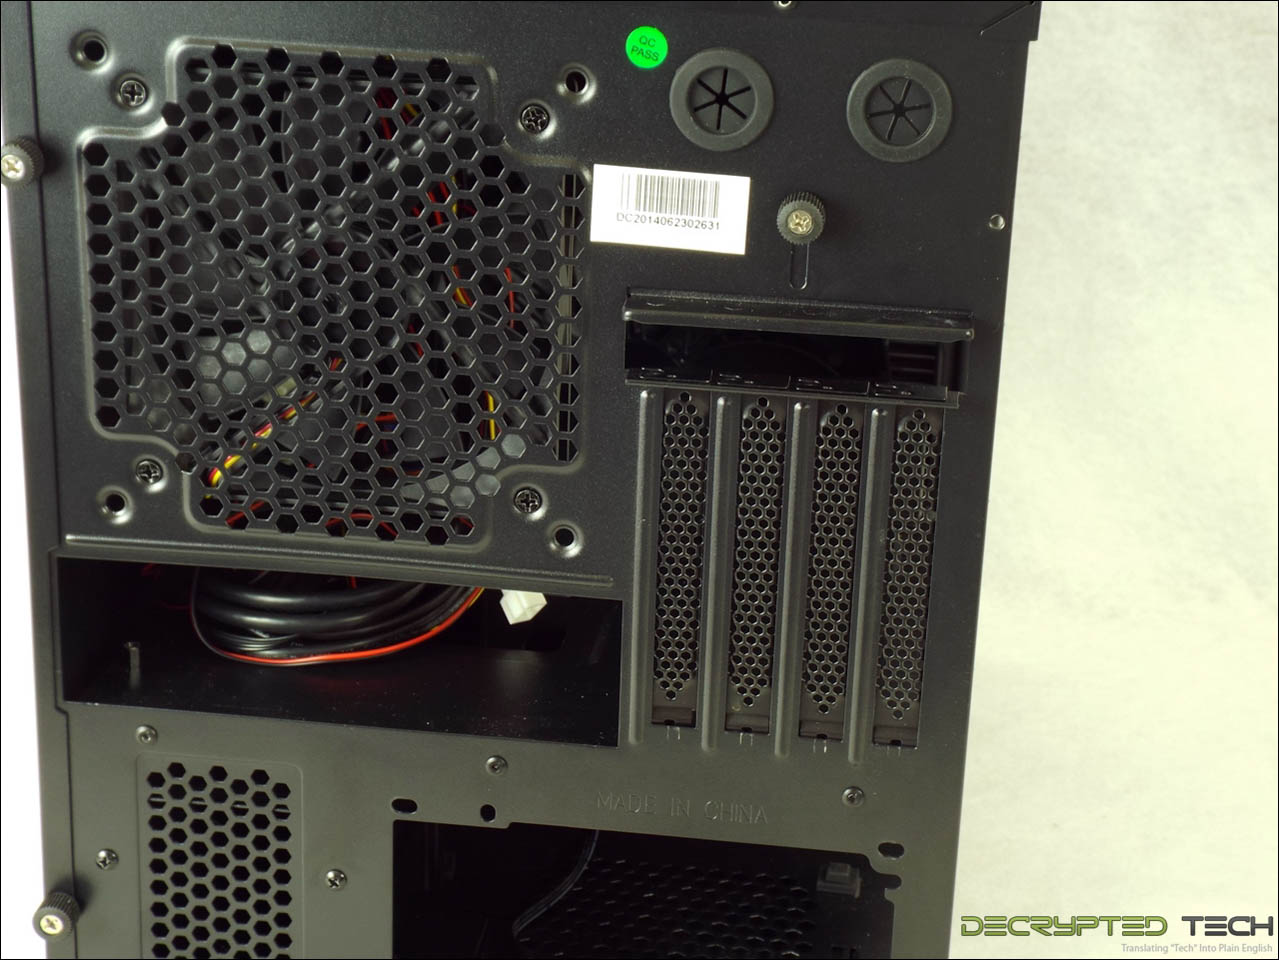 |
The expansion card retention system is very easy to use, consisting of a hold-down plate with a single thumb screw. Loosen the screw, lift the plate, install the expansion card, lower the plate and tighten the screw. Altogether simple and secure, one of the simplest and most effective systems I’ve seen. While it likely wouldn’t be as effective in a full-ATX setup, or in a vertical orientation, implemented in this case it’s fantastic. While this isn’t the first case to use this setup it’s welcome regardless.

Turning the Steam Castle on its side gives us a clear view of the most unique feature of this case: the top. It’s obvious that the four vents are meant to be seen. They fairly shout to be seen in fact. They’re even illuminated to be seen. They are without a doubt the focal point of the overall design of the case. Like many people, at first I assumed there were fans inside these vents. Alas there are not. Looking at it firsthand though, that’s likely a good thing. Four fans this size, turning fast enough to be effective would likely be very loud.
Even without active air movement they are large enough to provide adequate ventilation, especially when coupled with the rear vent in the center of the top panel. These protrusions are another area just begging to be modded into something more than their creators intended. We’ll look a little more closely at these in the Modding section as well.
Interior:
Ok, holding things up again here. When we pull off the molded panels on the Steam Castle what we’re left with may well be familiar to some. This case is built on the exact same chassis as the Aerocool DS cube and the Xigmatek Aquila. While the Aquila omits the 200mm intake fan and the 3.5” bay mounted beneath the 5.25” bay, the Aerocool DS is identical. The fact that these other well-established companies use this same chassis for their product speaks well of its practicality, but we’ll see how it works out first hand.
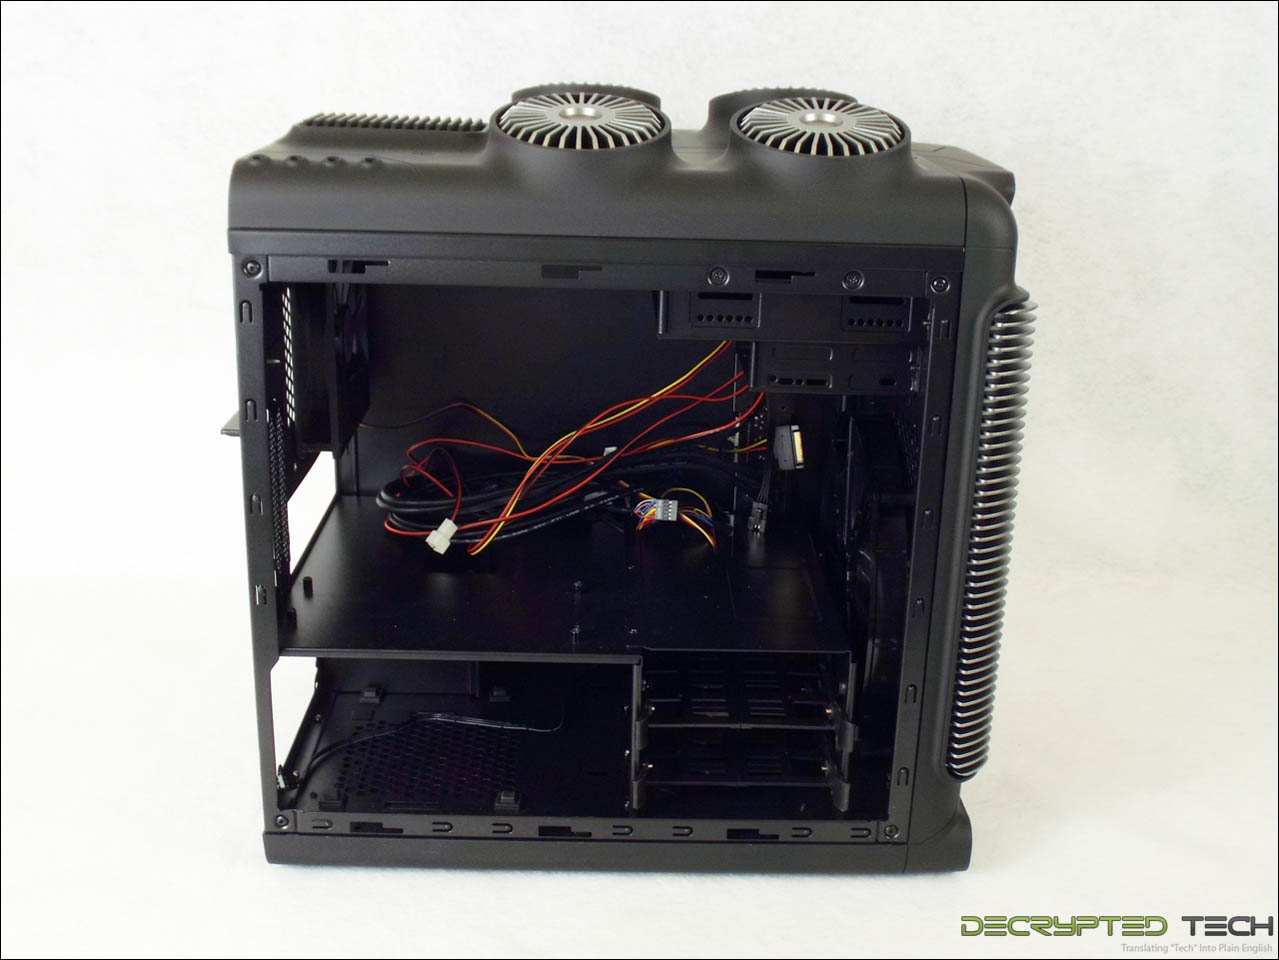
Removing the left-hand panel shows the entirety of the interior of the steam castle. The motherboard tray sits above the PSU and hard drive areas and is not removable. The cluster of cables seen here comes from the control area on the right-hand side panel. Black sleeving would have gone a long way toward improving its appearance.
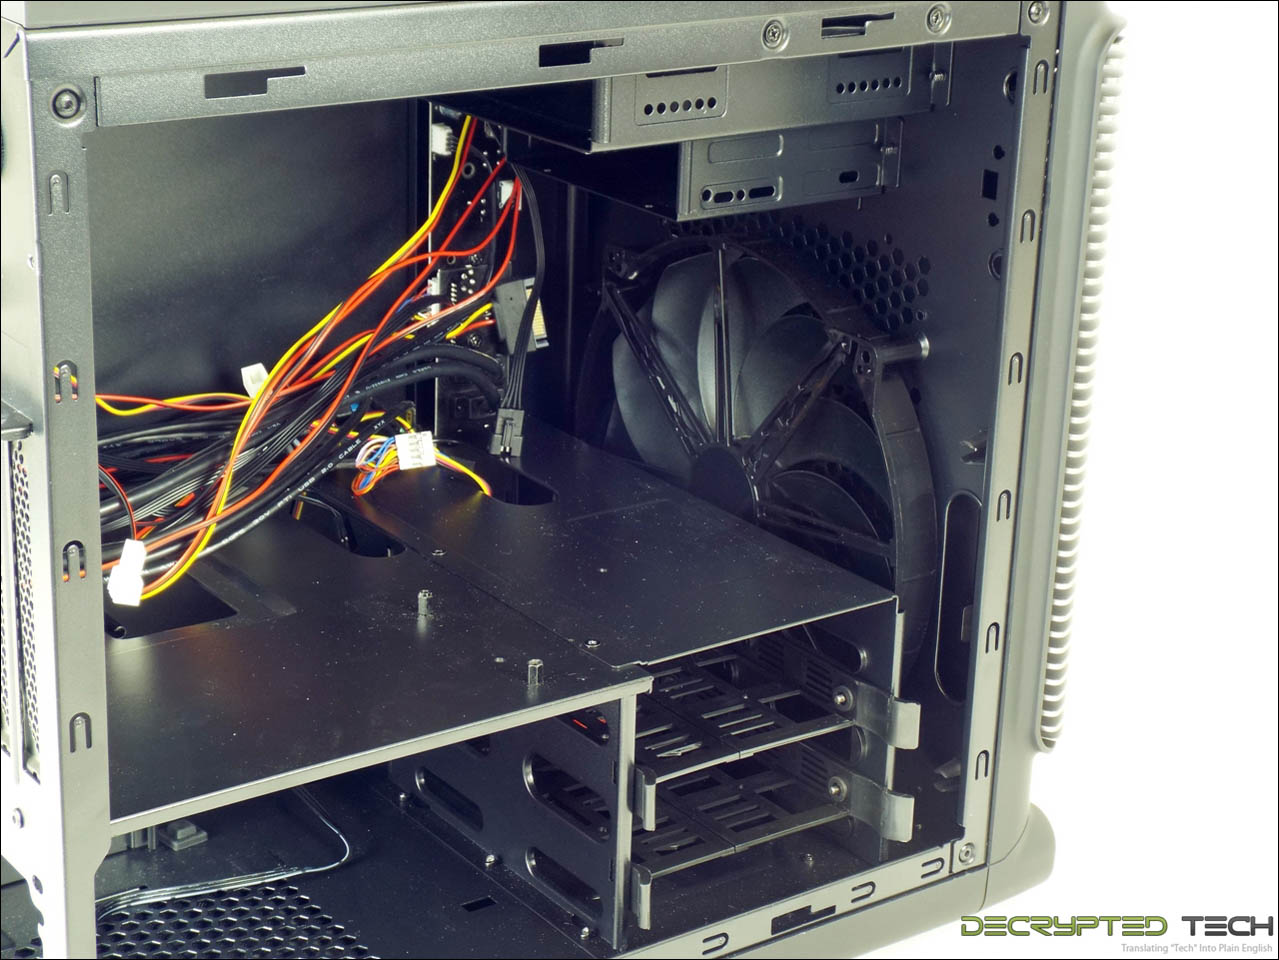
A different angle and a little more light shows the included 200mm intake fan. Though the fan in the Aerocool DS case is labeled with their brand this is the exact same fan, down to the shape of the bracing and the notches by the mounting screws. This fan is extremely quiet, even when forced to draw its sir in through the tall narrow intakes on the Steam Castle.
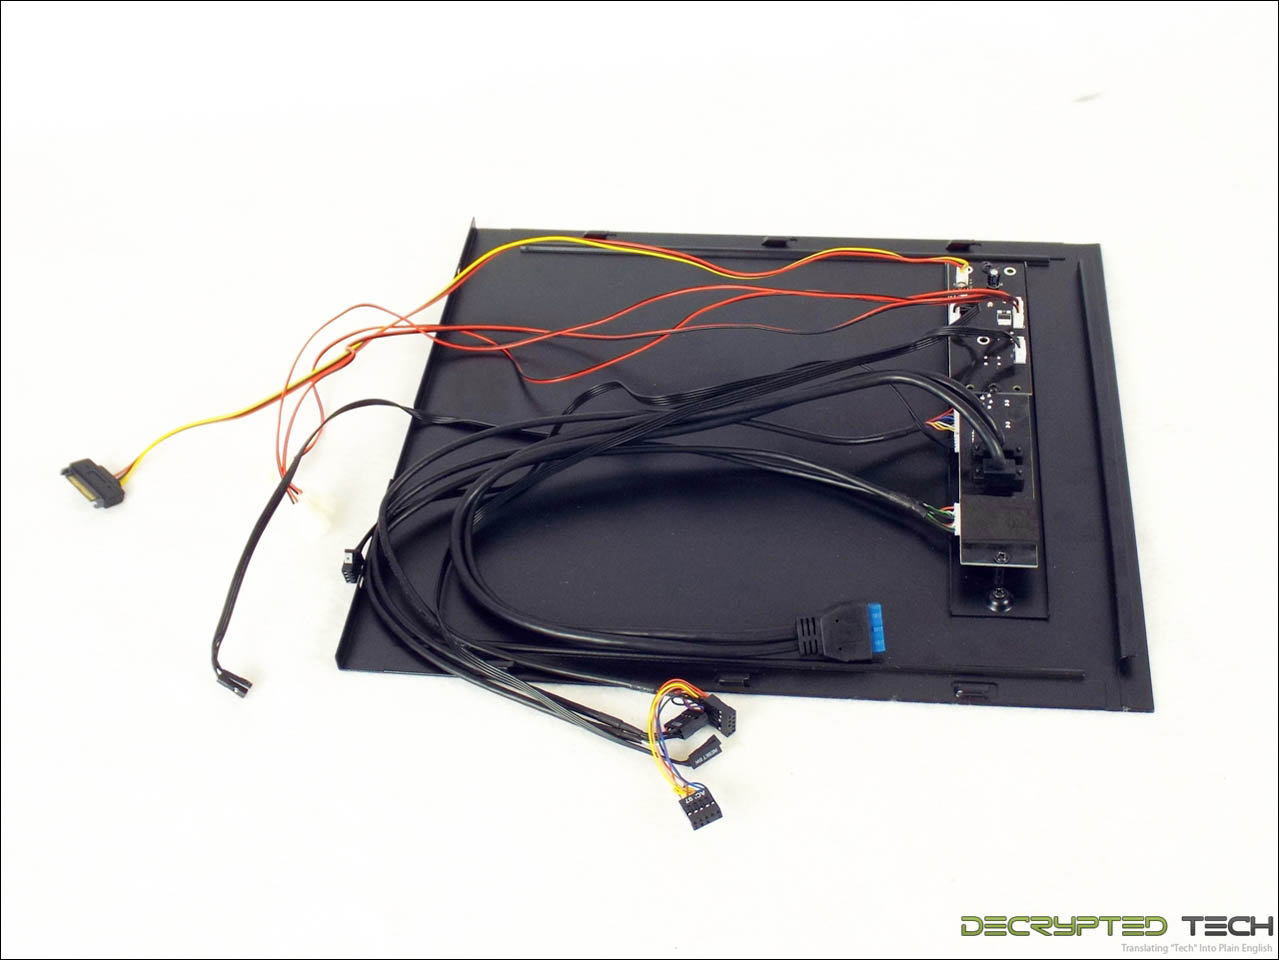
Taking the right-side panel off gives us a better look at just how large that cables cluster is. With cables for all of the inputs listed earlier, plus a SATA power connector and three 3-pin fan connectors, there’s a lot going on in a very small area here. In a chassis this small cable management is always a challenge but when this many of the cables are attached to a panel that is designed to be removed it makes it a lot harder.
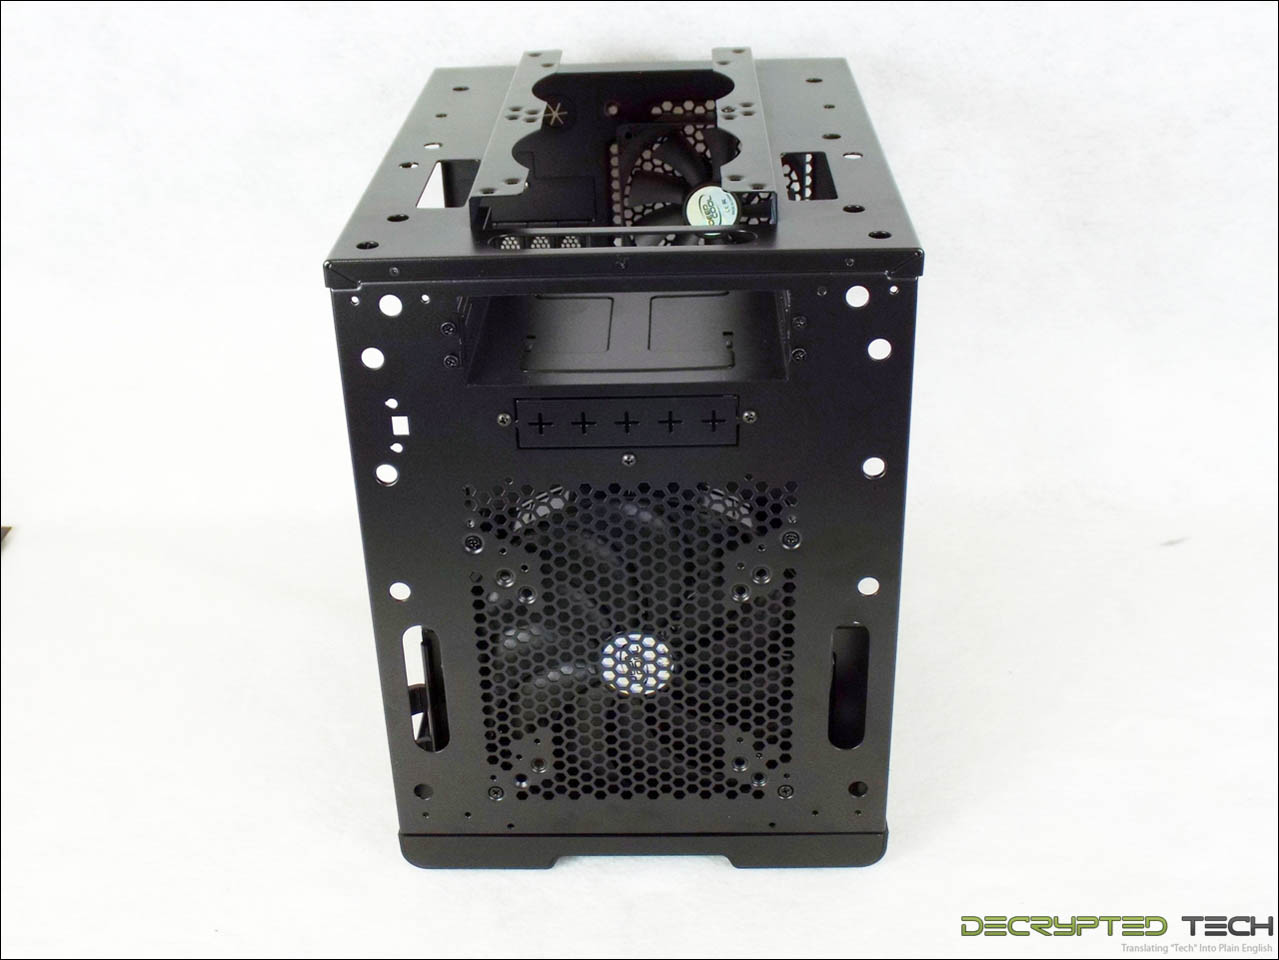
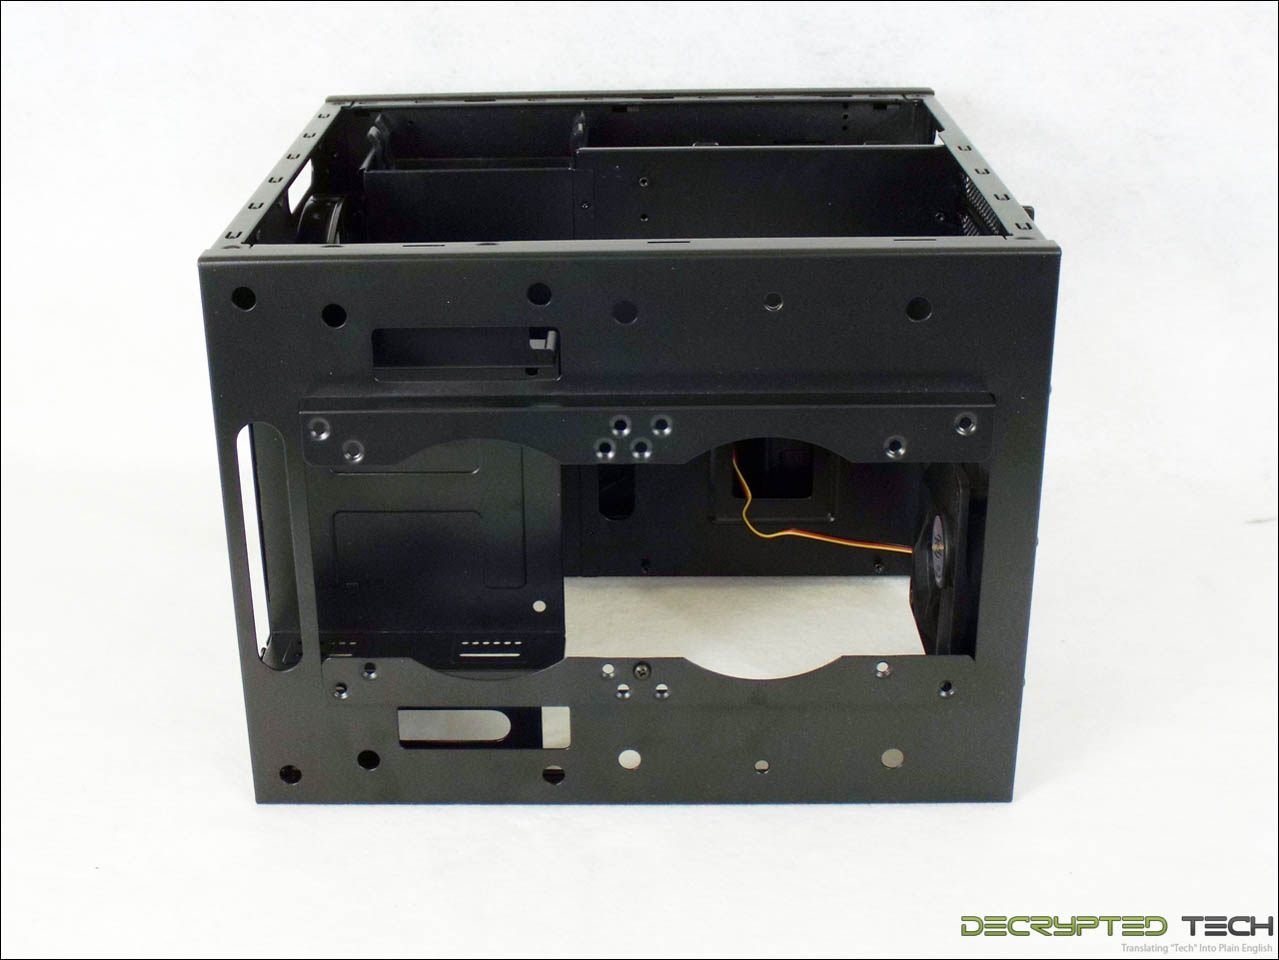
Fully stripped to its basic chassis, we get the first look at the upper mounting area. This can hold two 120mm fans, two 140mm fans, or a single 240mm radiator. Note that to use a fan on the frontmost half of that radiator both the 5.25” and 3.5” upper bays must be removed.
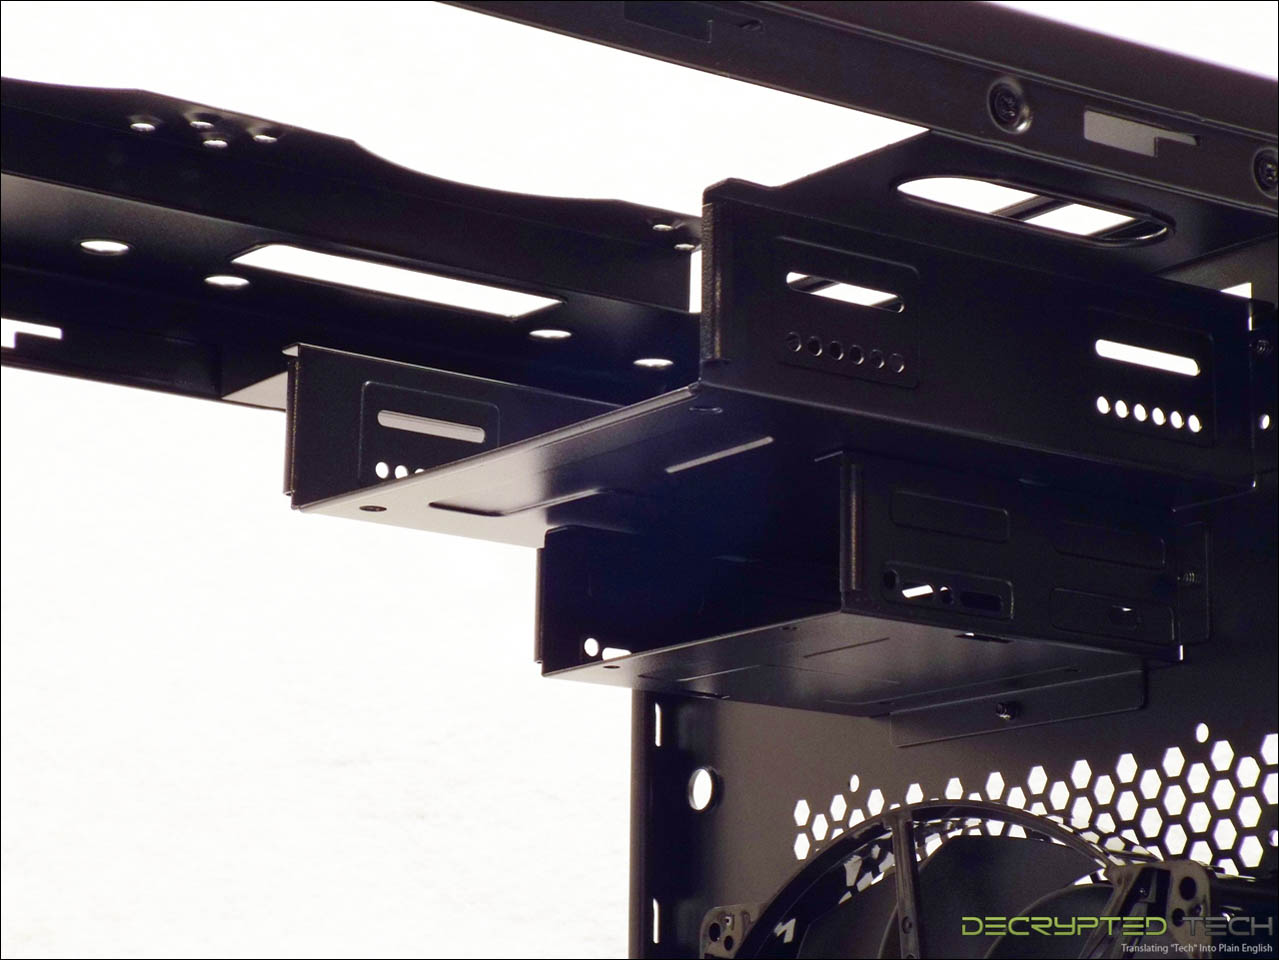
A better look at the upper mounting area.
 |
 |
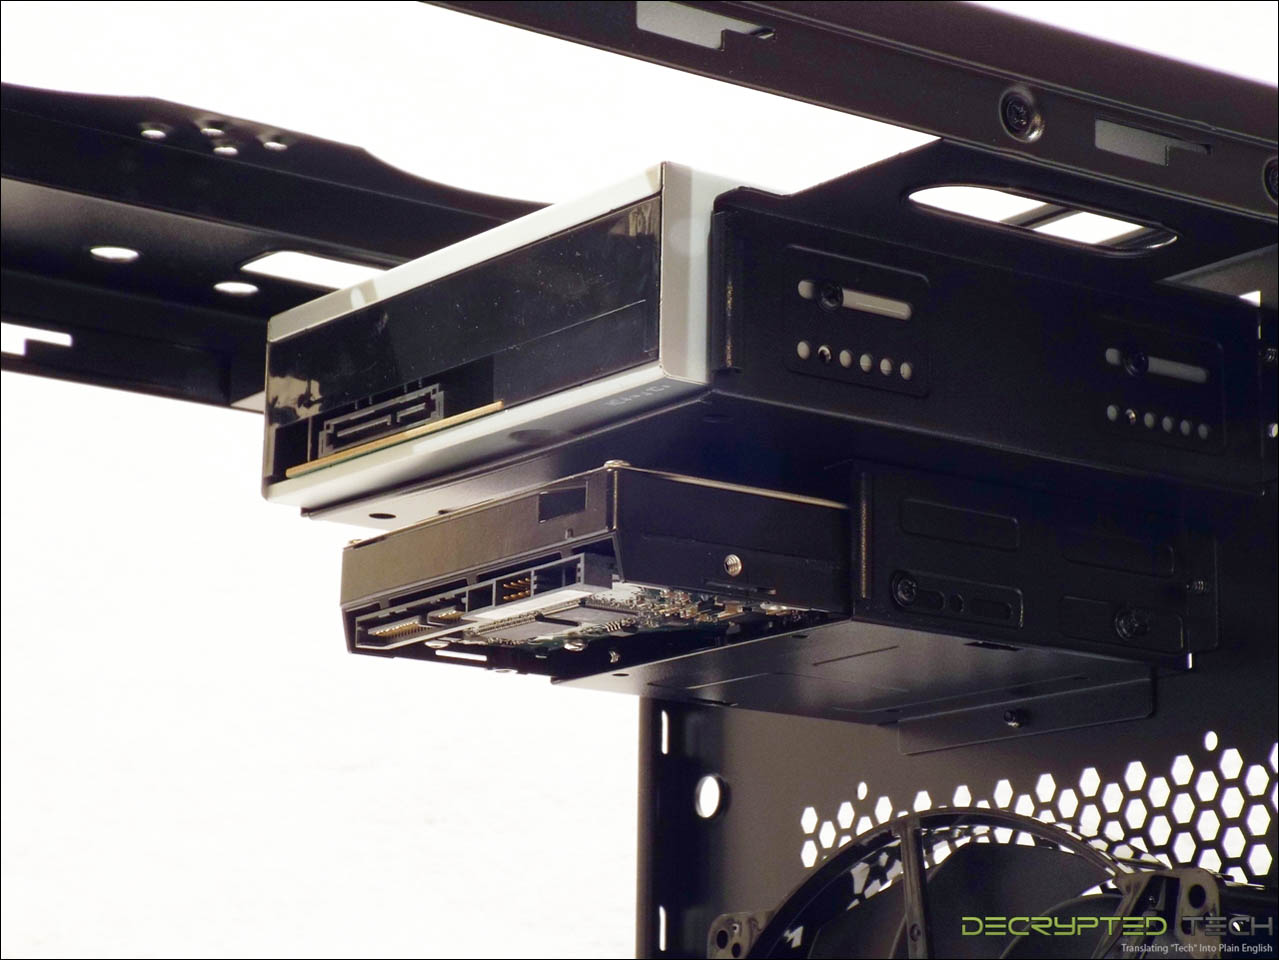 |
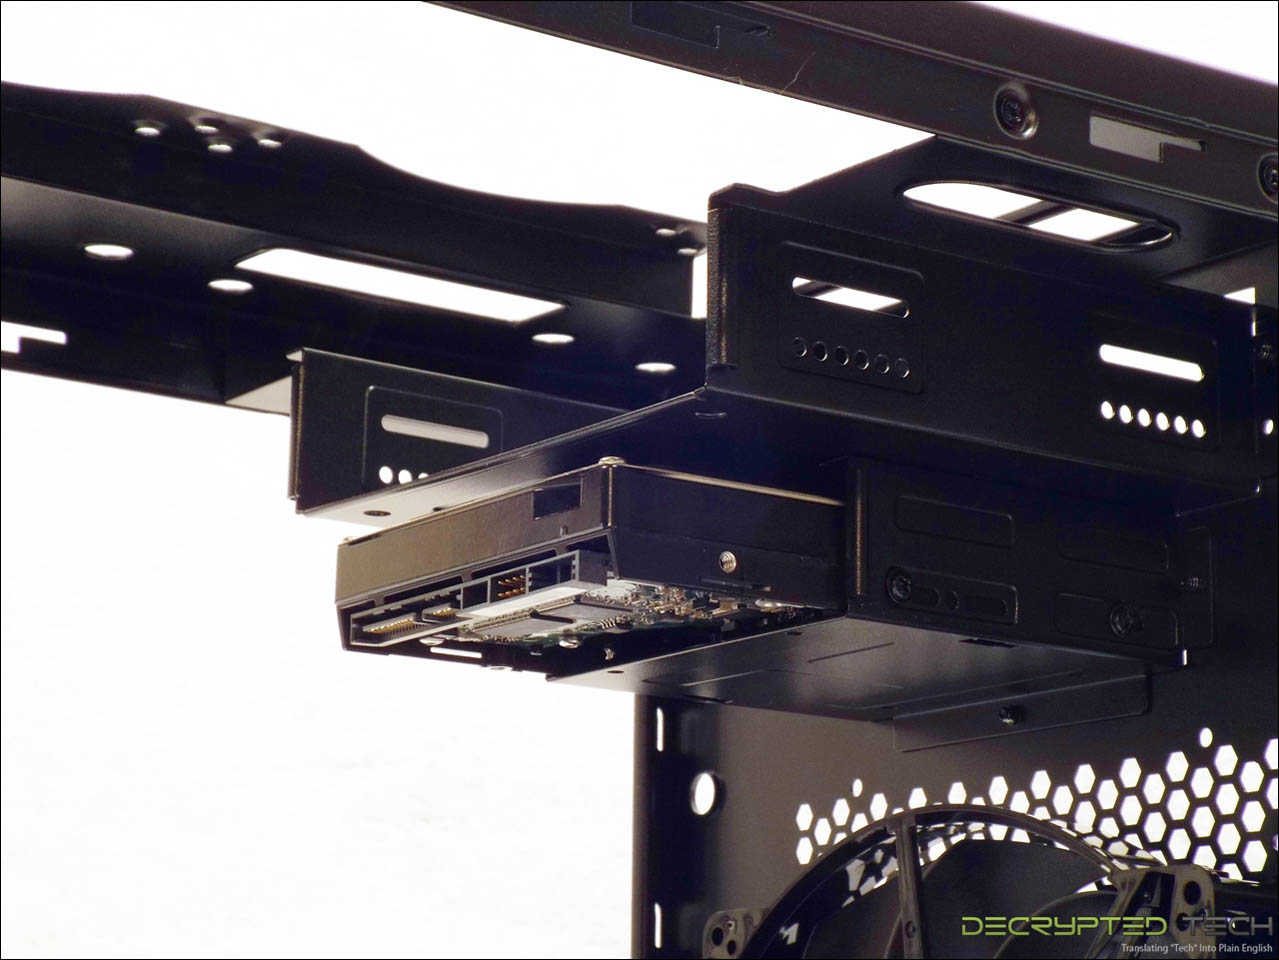
The internal 3.5” and 5.25” bays are easy to get to and easy to install hardware in. They are also easily removable. The 3.5” can be removed on its own, if the larger bay is to be removed they both have to go.
 |
 |
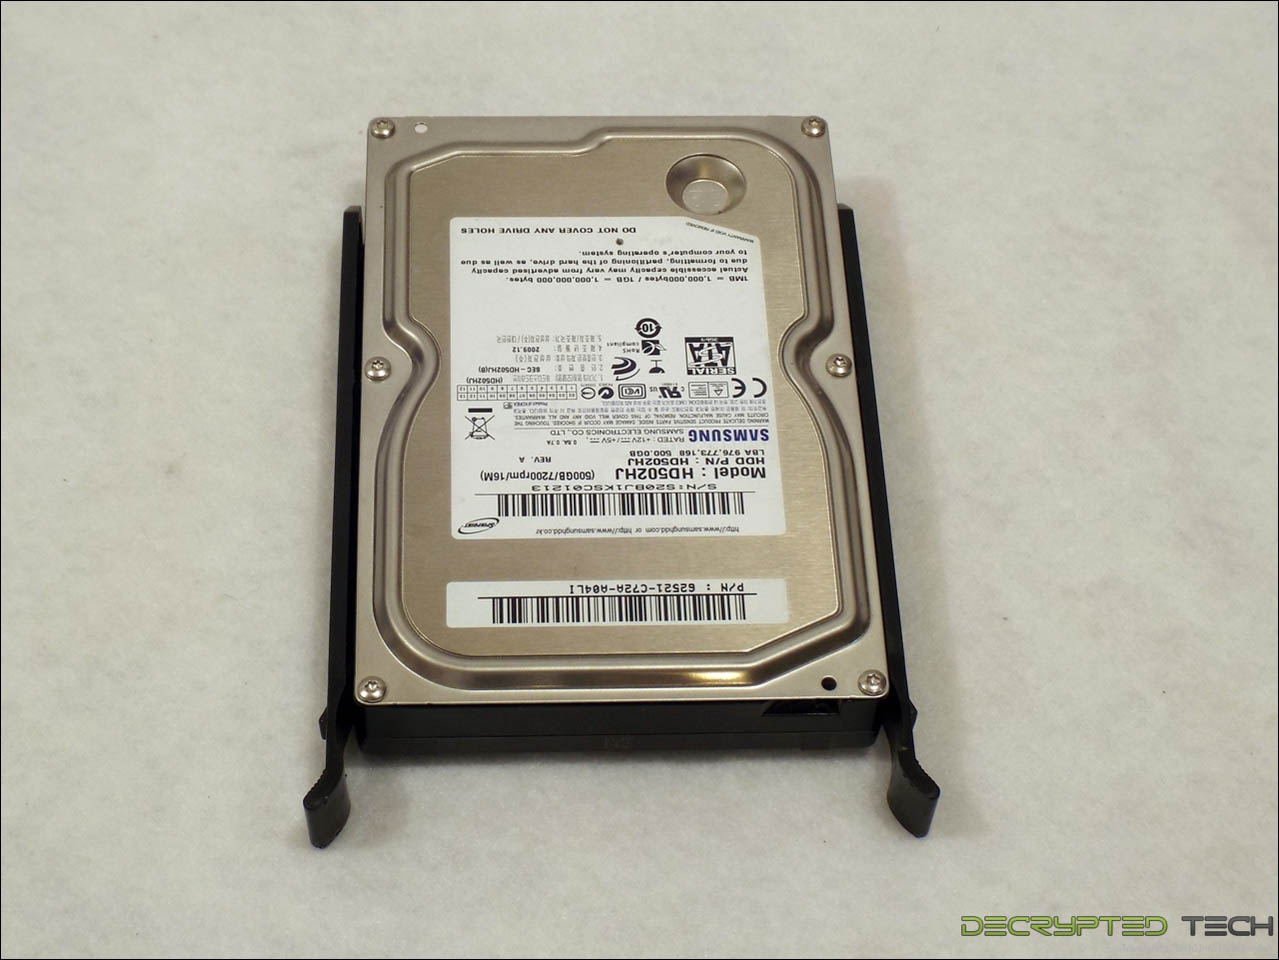 |
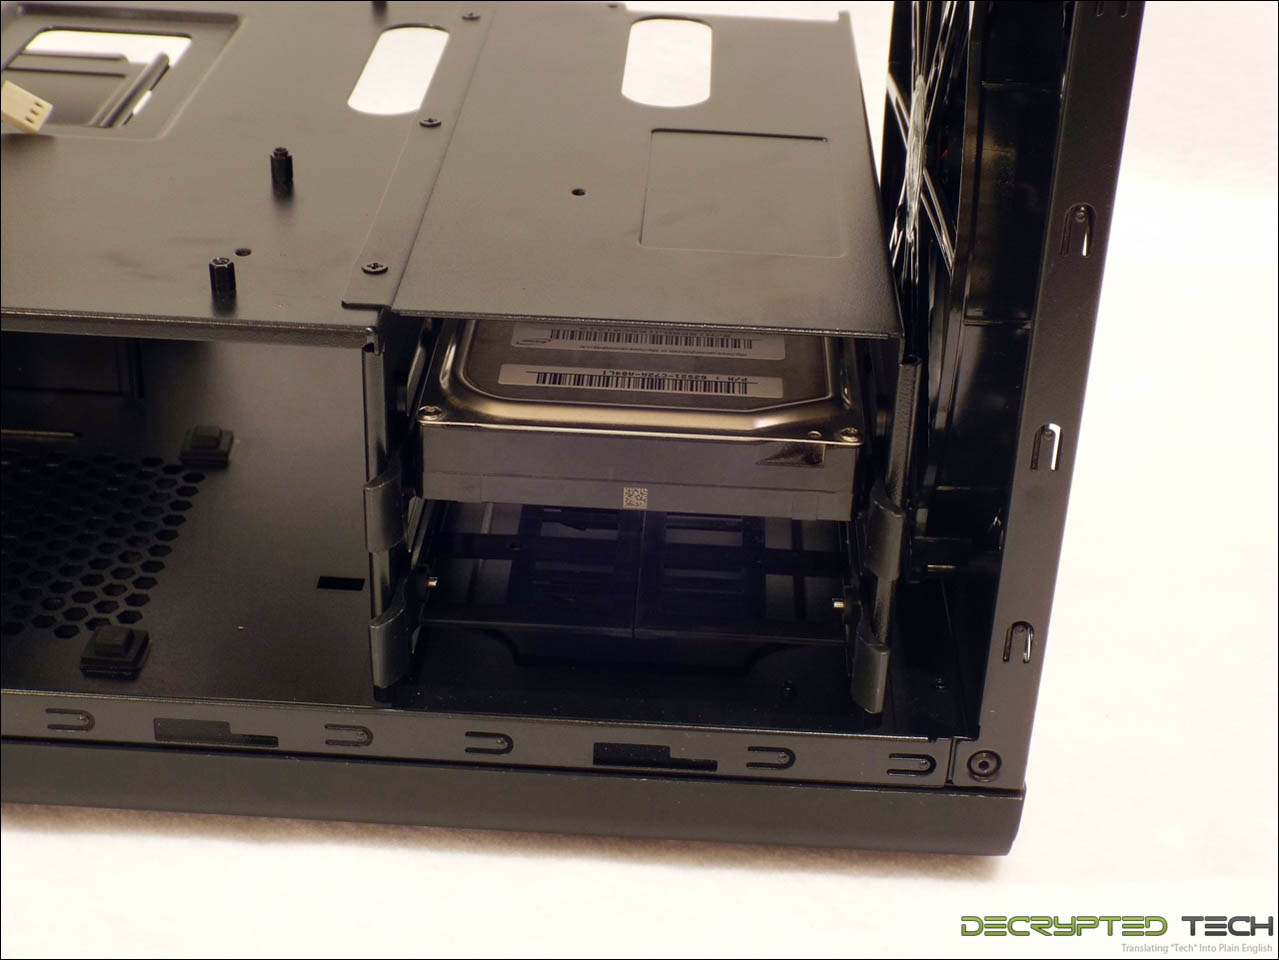
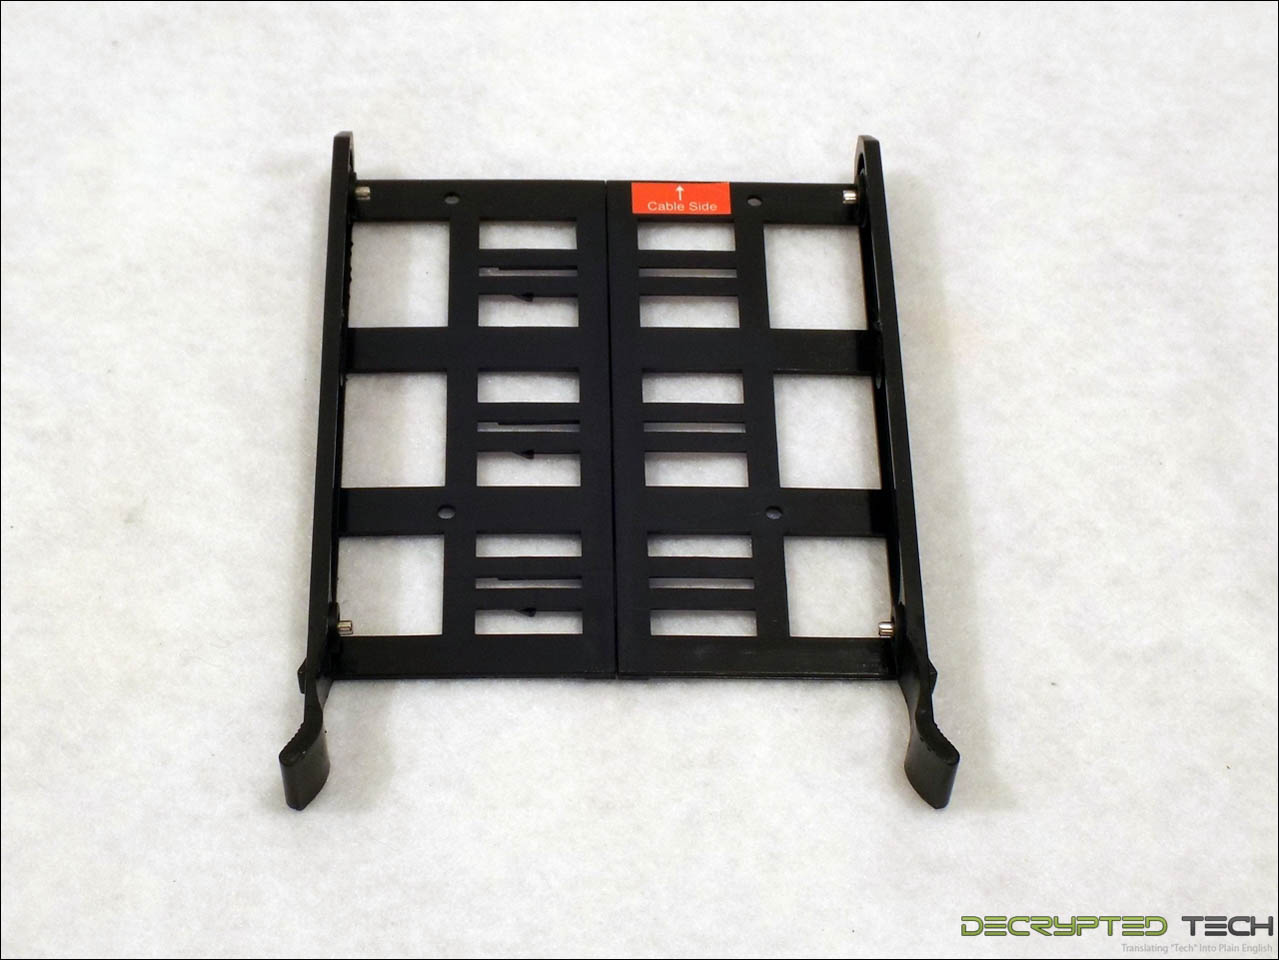
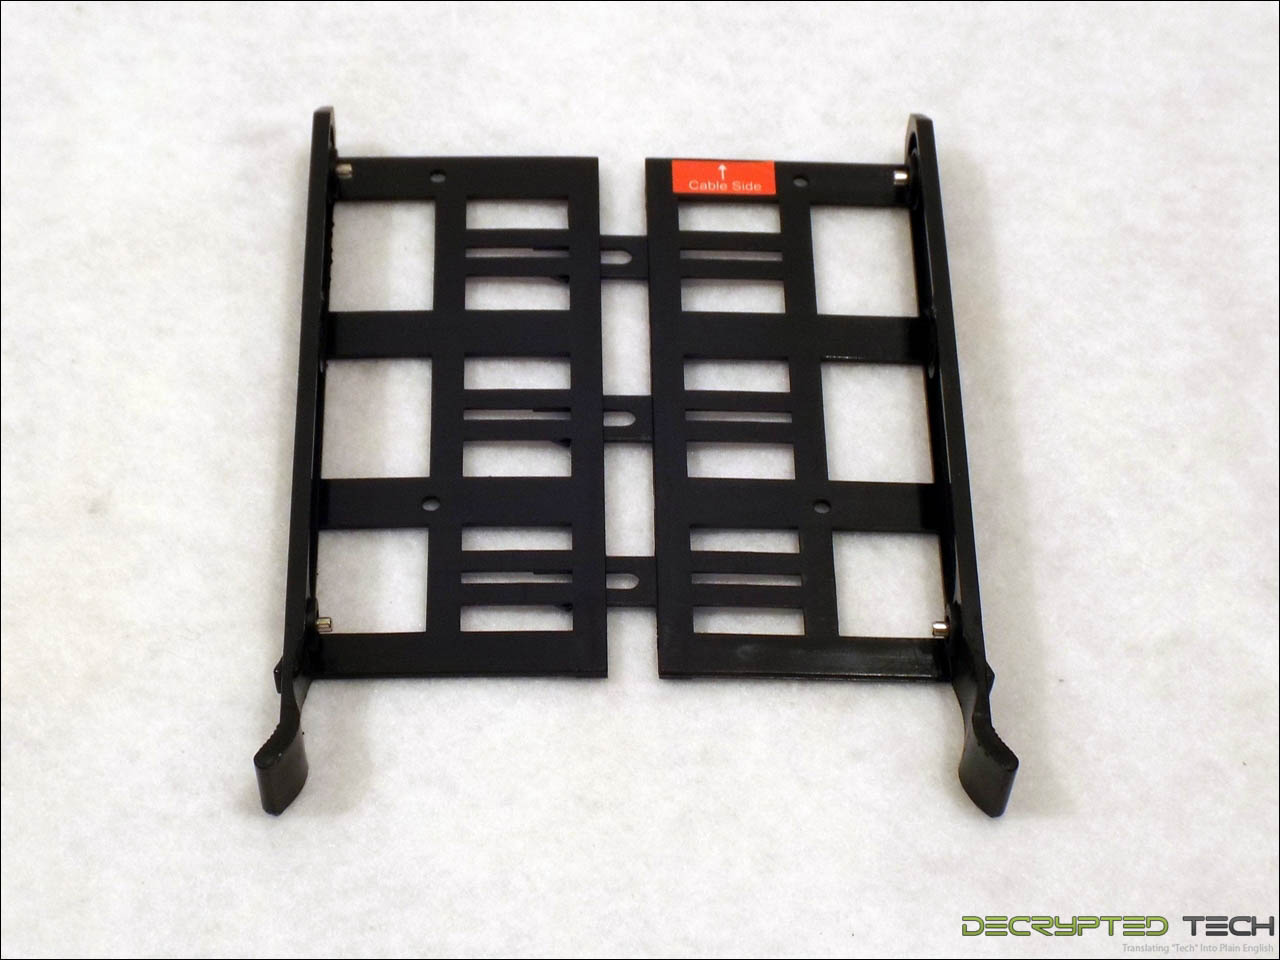
Hard drive mounting is done with tool-free expanding cradles that click in place in the front bay. Two 3.5” can be mounted here in this fashion. Each cradle will also accommodate a 2.5” drive, though they have to be installed from the bottom with screws.
|
 |
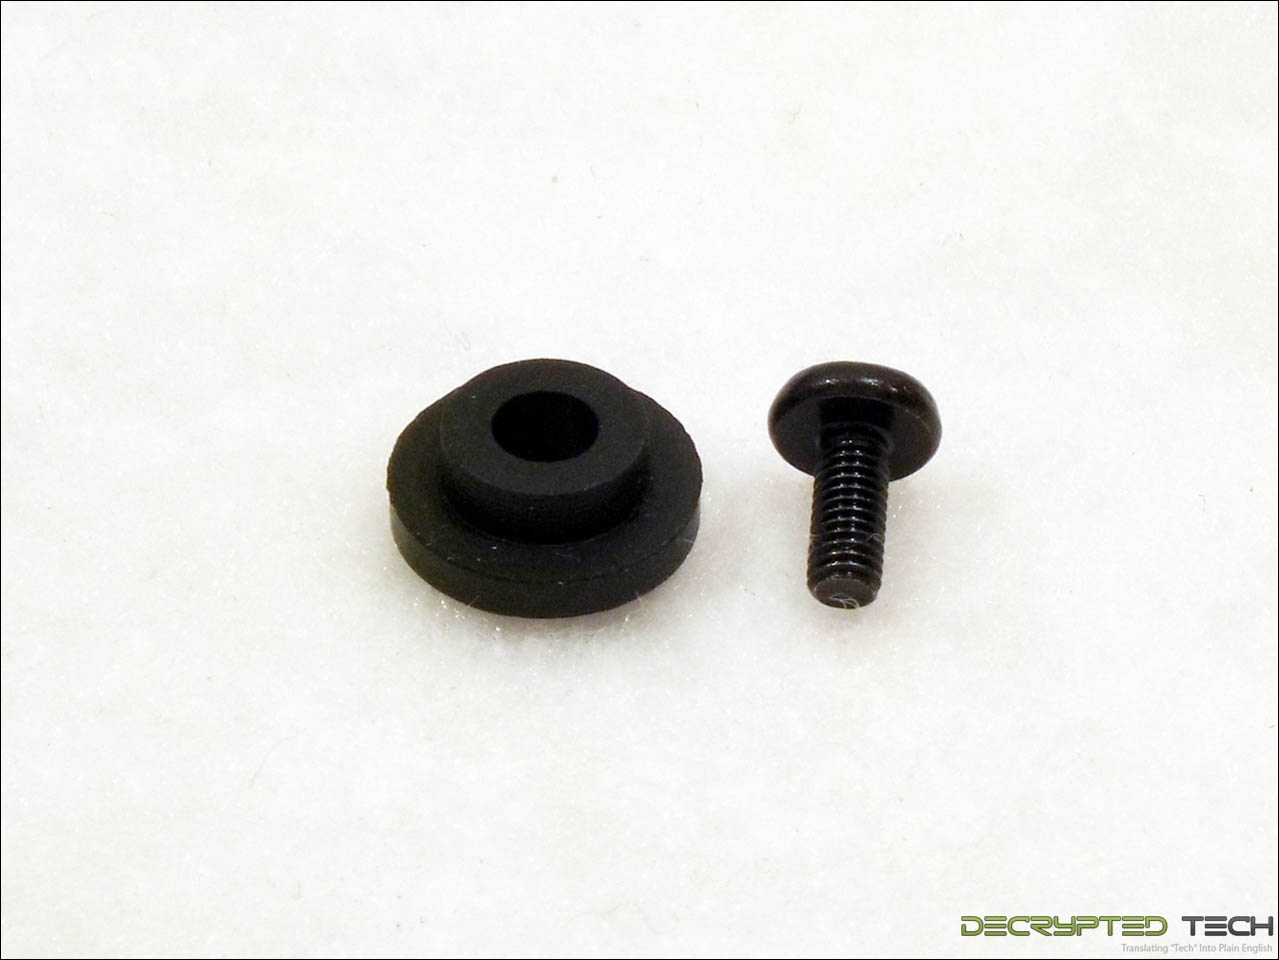 |
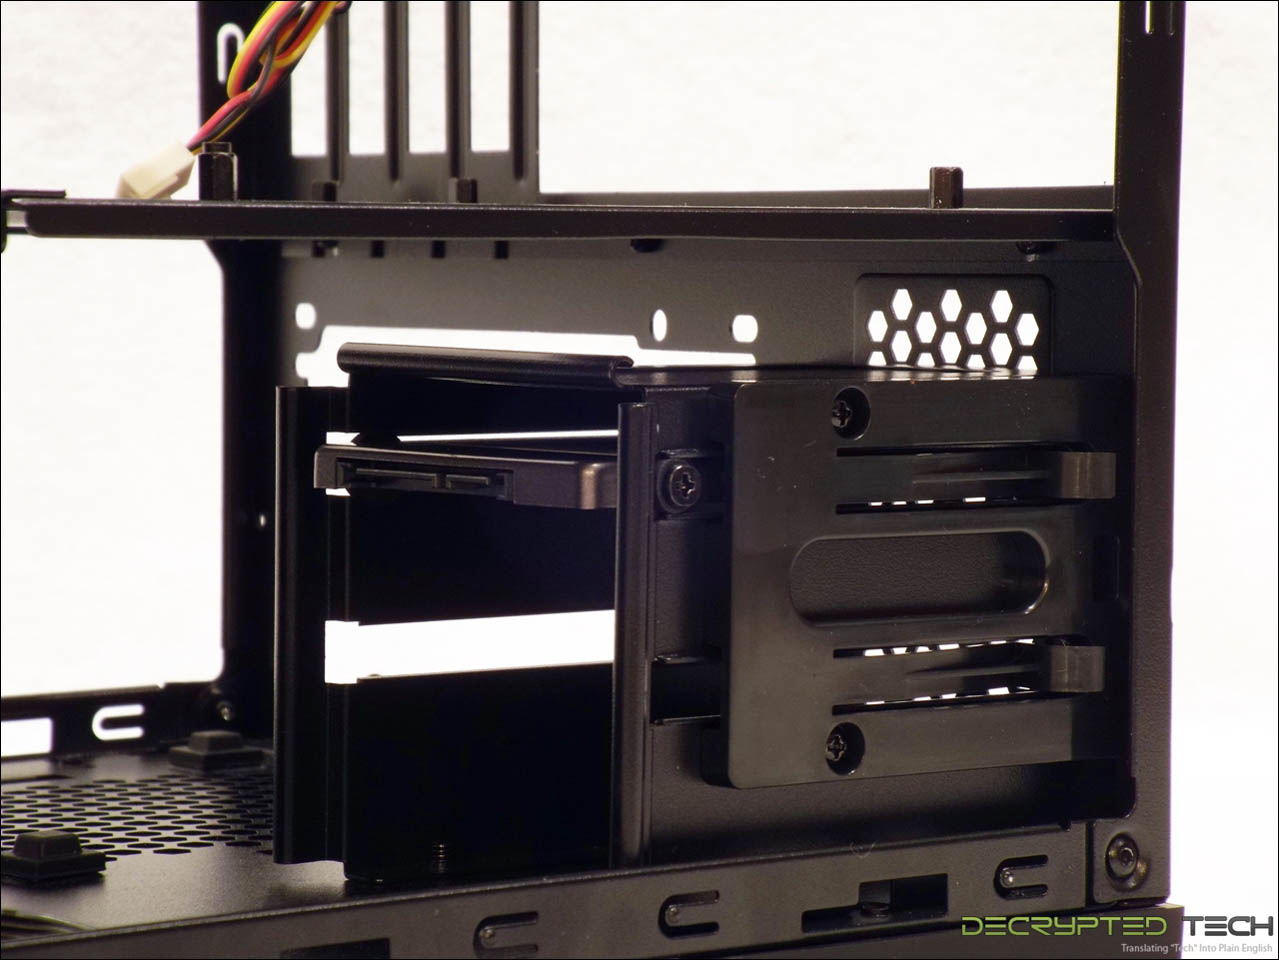
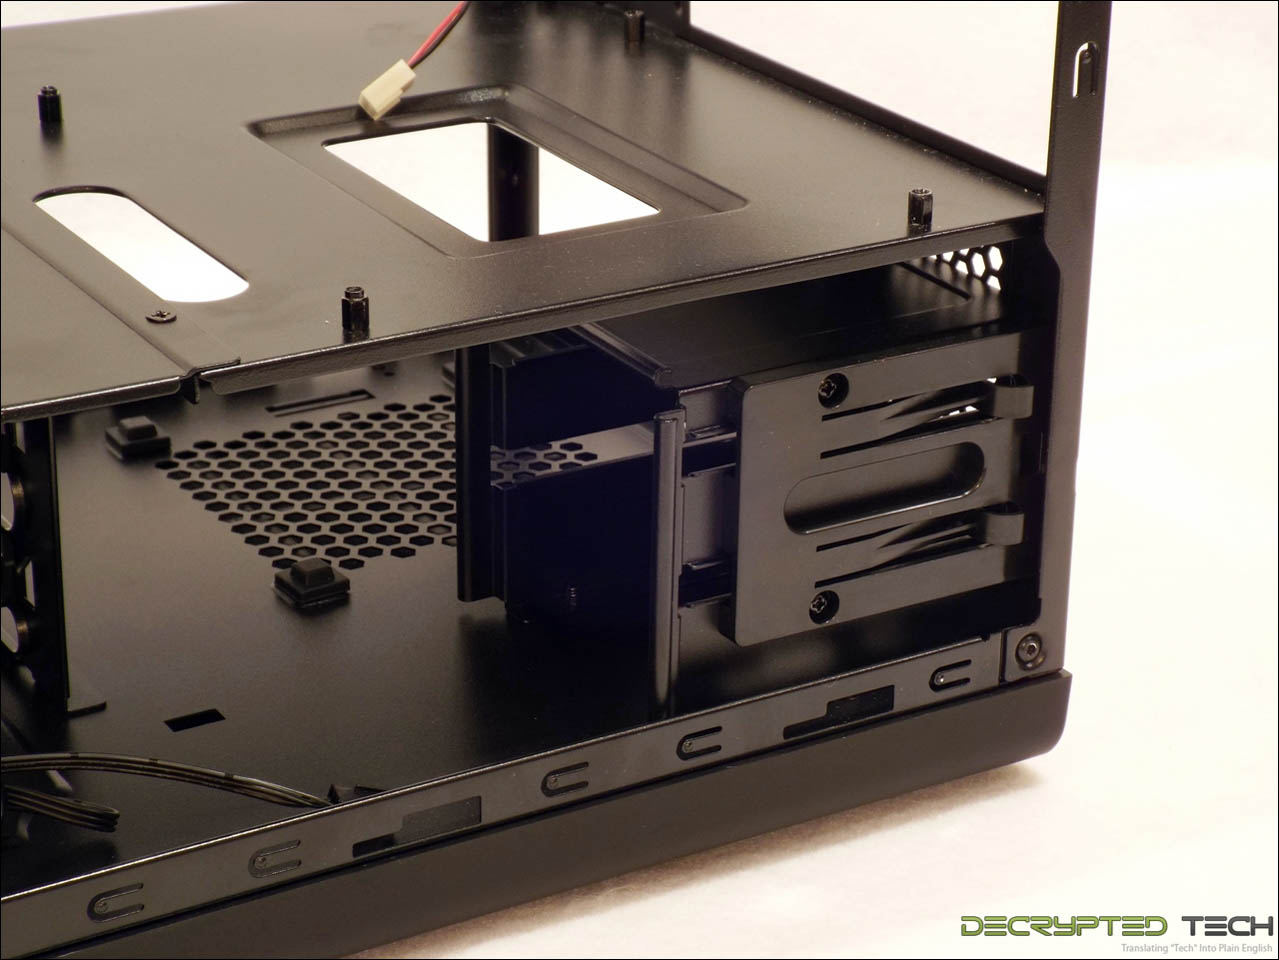
On the right side of the case at the rear is another set of drive bays, this one designed to hold up to two 2.5” drives. No cradles are used in this case though. Screws are mounted to the sides of the drive with the included rubber guides and the drive is clicked in place in the bay afterward. This is a surprisingly simple and secure mounting method.

Just on front of this 2.5” bay is a space that isn’t designed to be used to house any hardware. It may look like wasted space at first, but it is conveniently placed right where all of those cables on the right-hand panel are when it is in place. This space is the only thing that might make cable management in this case… manageable. It should also be noted that the entire front section of the motherboard tray and the front 3.5” hard drive bay can be removed, making for a lot more room inside the case.
