
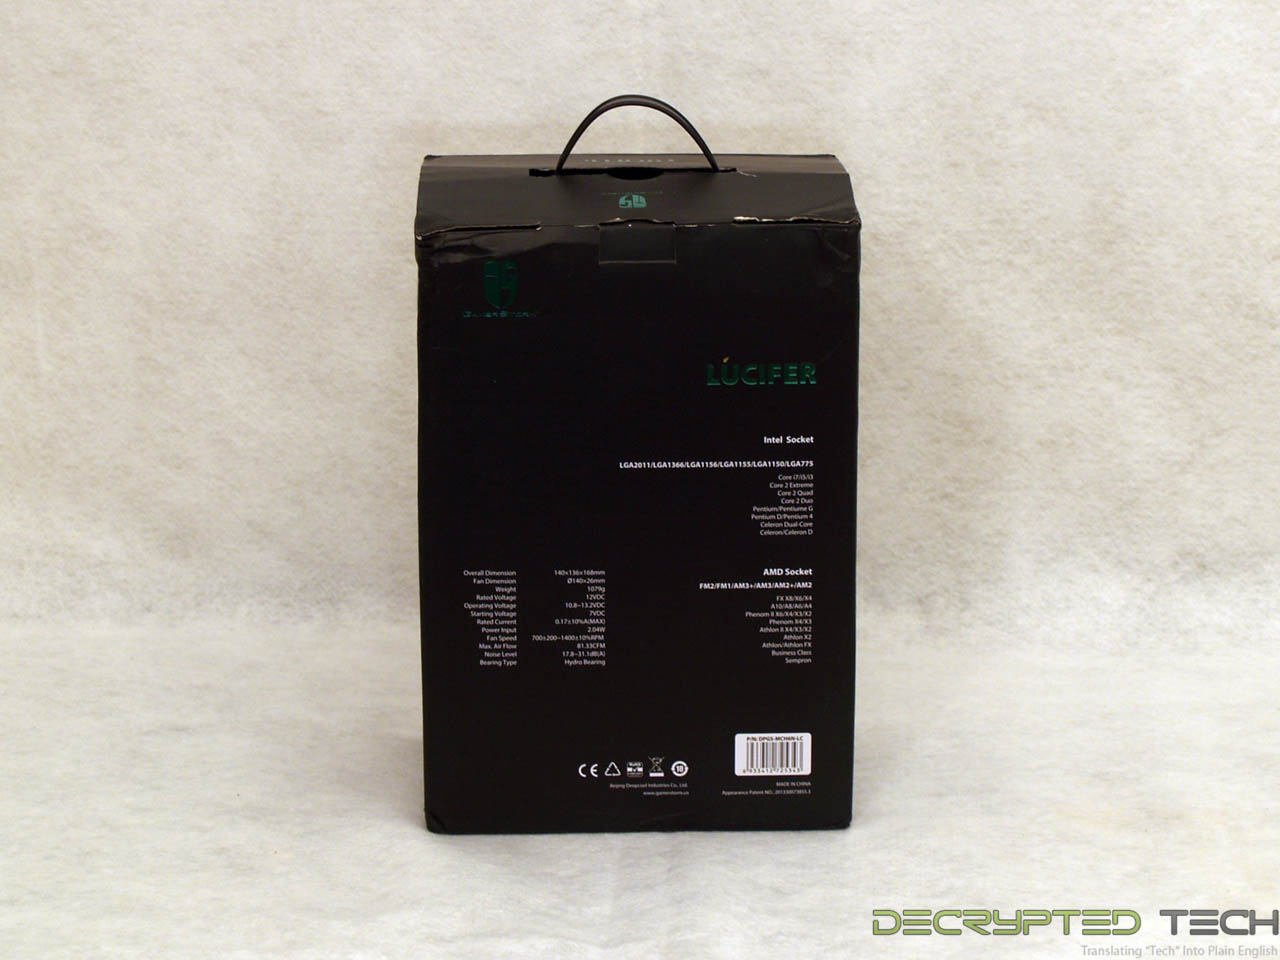
Gamerstorm Lucifer tech specs:
Overall dimensions (without fan): 140 x 110 x 163mm
Overall dimensions (with fan): 140 x 136 x 168mm
Net weight: 1079g (with fan)
Heatpipe: 6x6mm
Fin material: Aluminum
Base material: Nickel-plated copper
Fan dimension: 140 x 26mm
Fan weight: 143g
Fan speed: 700 200 ~ 1400 10% RPM
Rated current: 0.17 10% (MAX)
Power input: 2.04W
Max. air flow: 81.33 CFM
Noise: 17.8 ~ 31.1 dB
Rated voltage: 12 VDC
Operating voltage: 10.8 ~ 13.2 VDC
Starting voltage: 7VDC
Bearing type: Hydro bearing
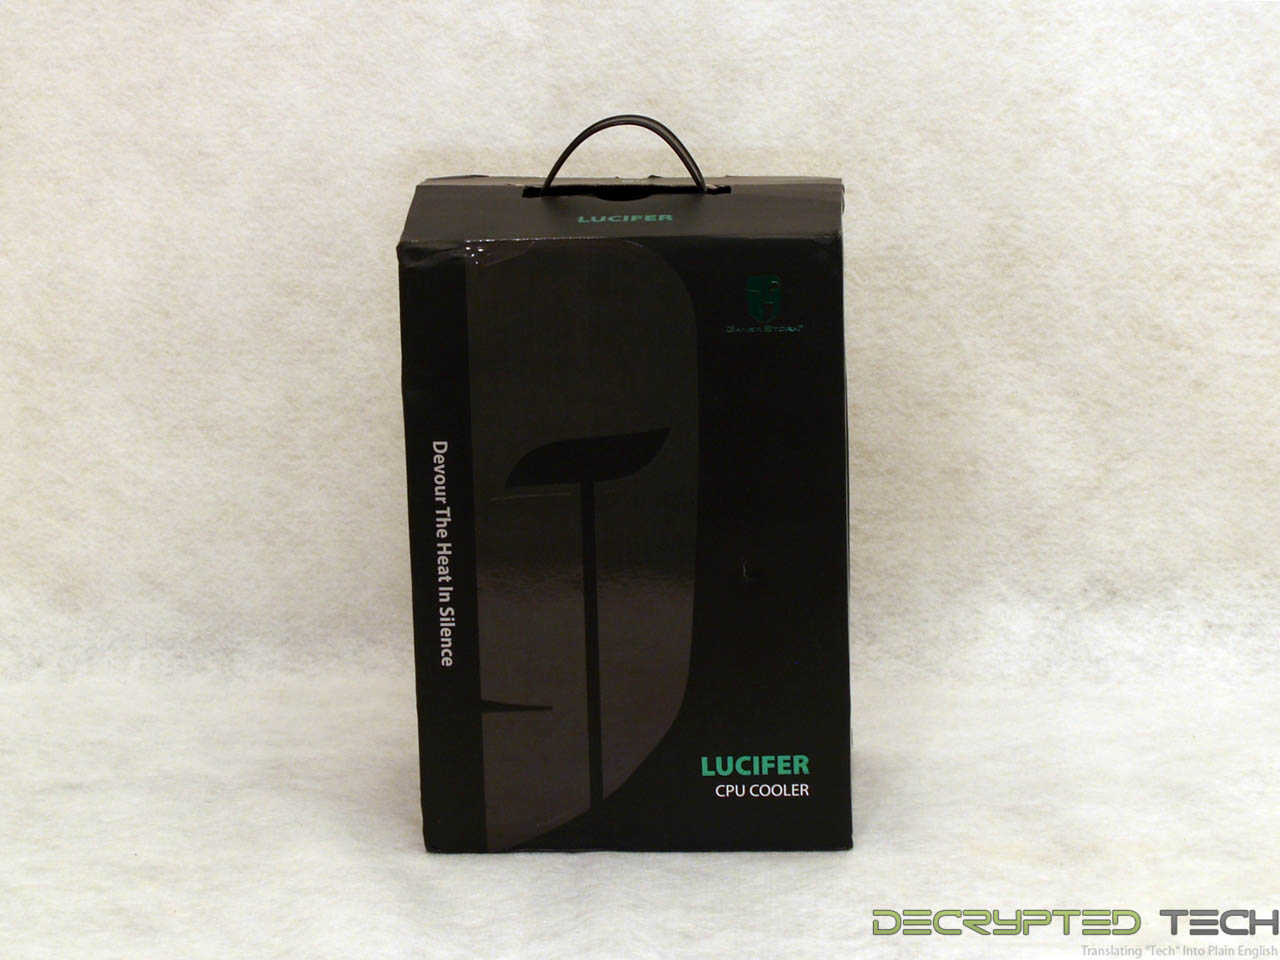
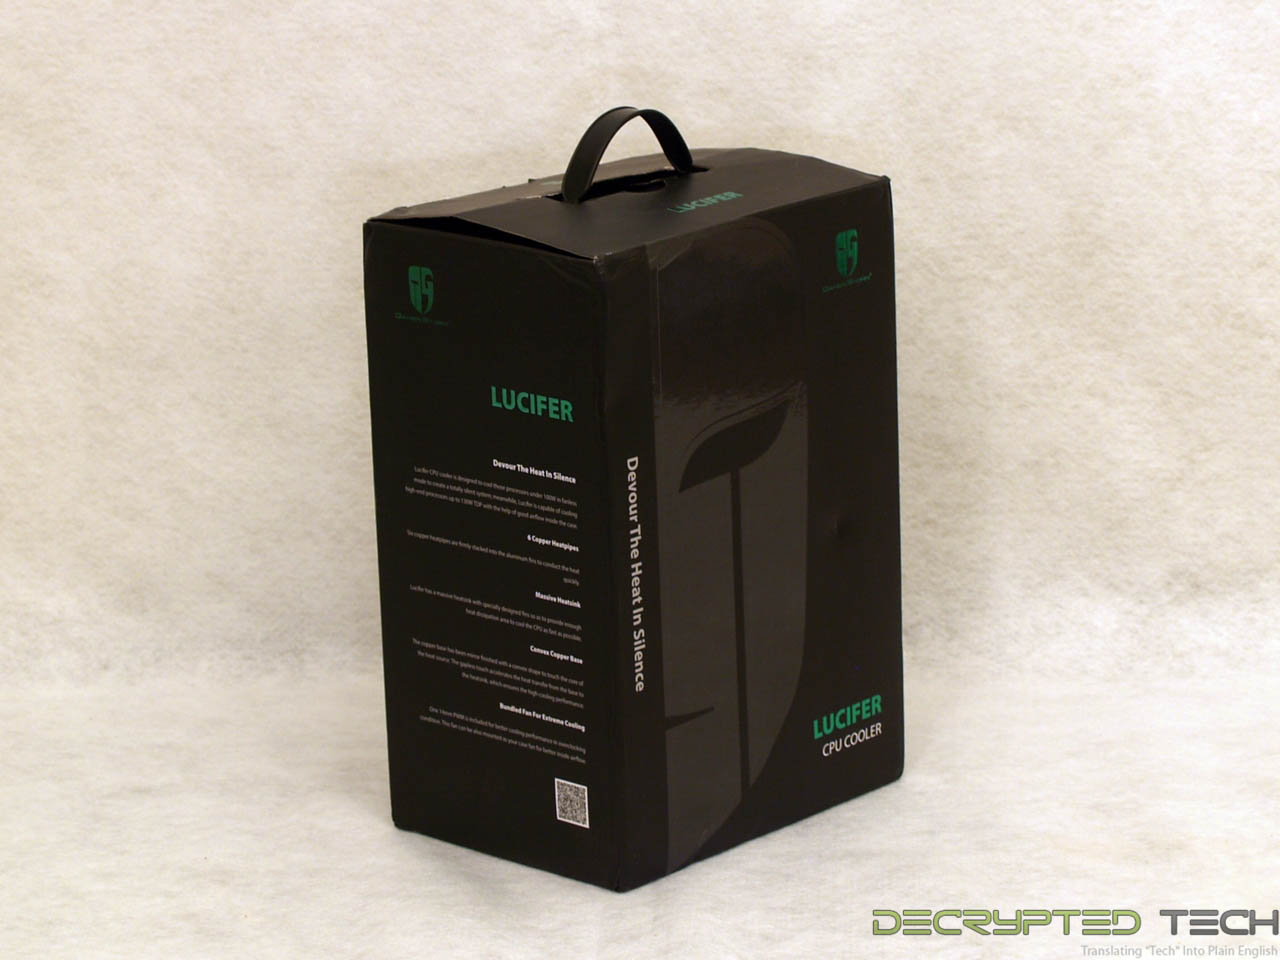
Packaging and Initial Impressions
 |
 |
 |
The box came direct from Shanghai, and while the outer packaging was beaten up fairly badly the retail box arrived with only minor blemishes. I like the attention to detail in the packaging, though I have to doubt the utility of the handle.
 |
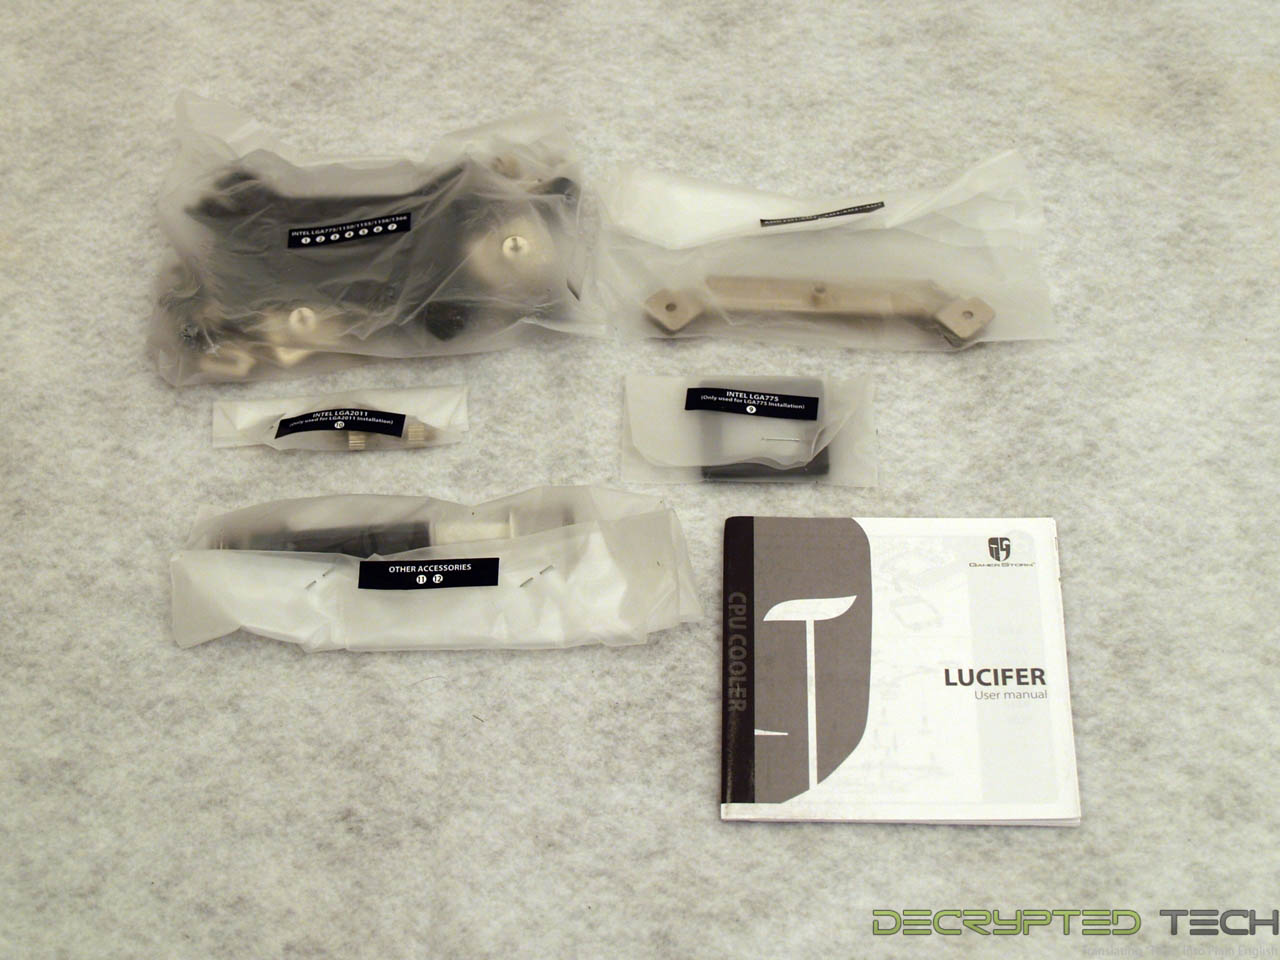 |
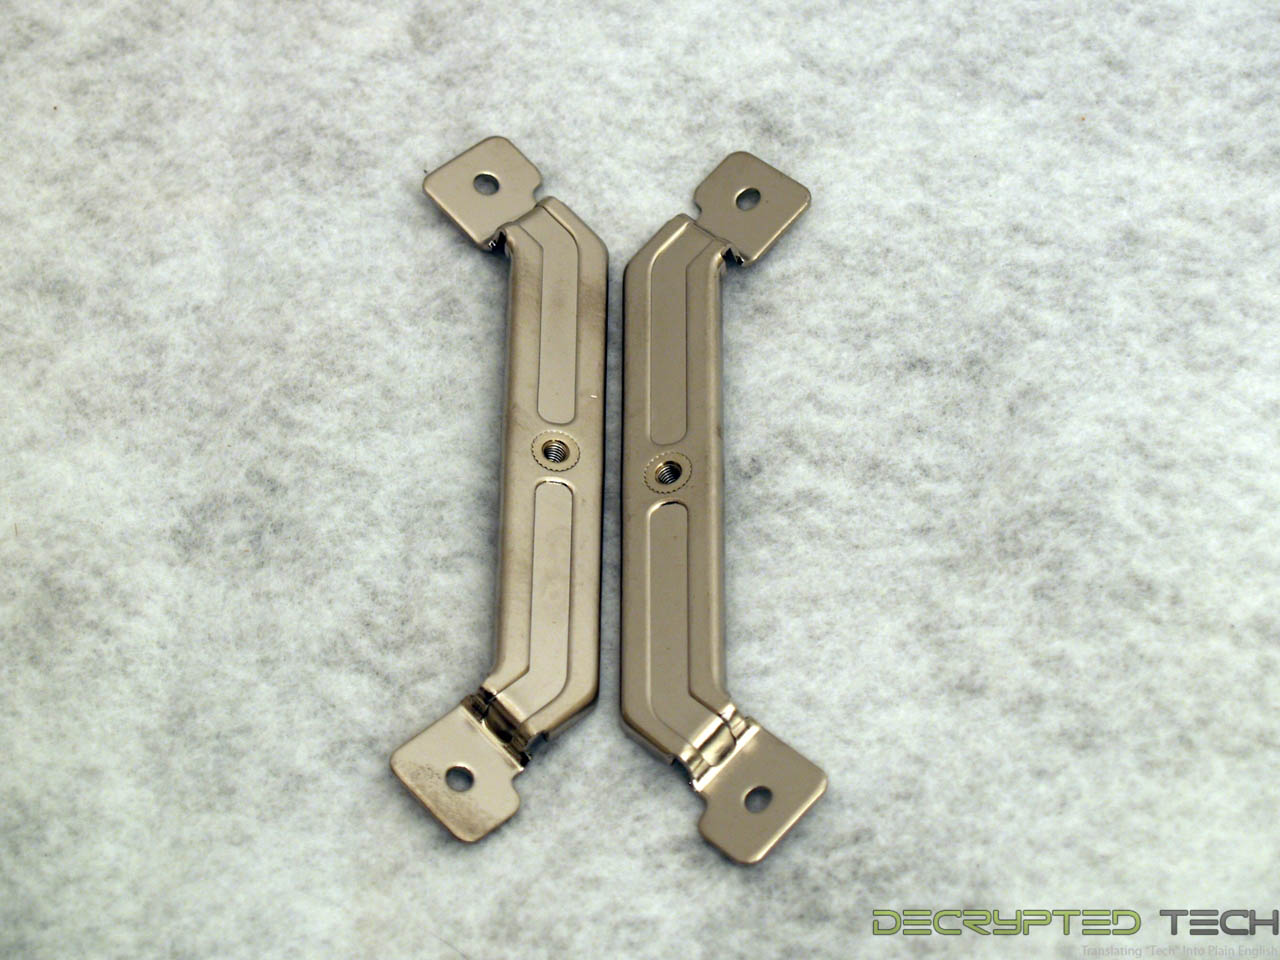
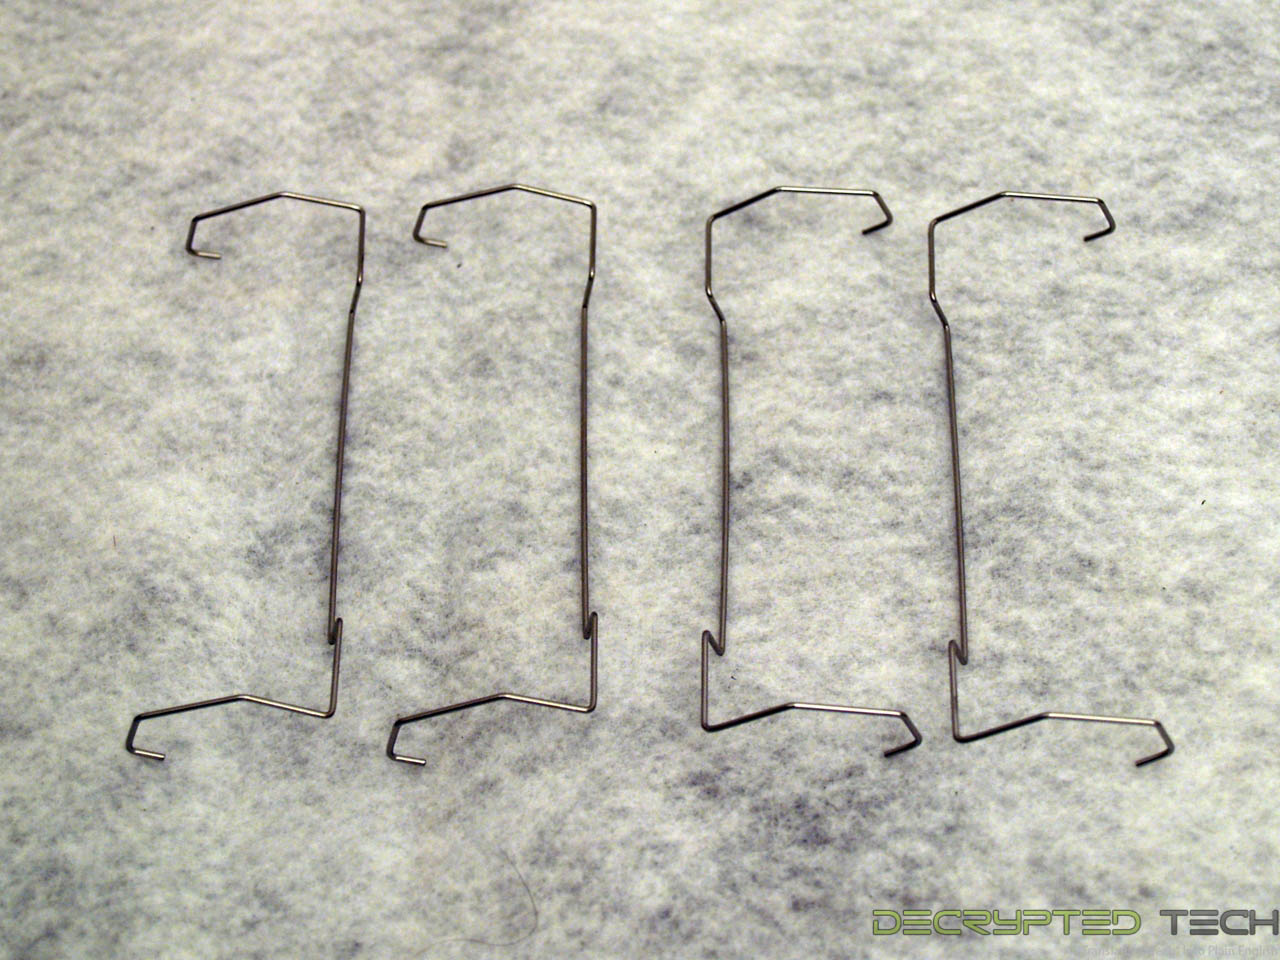
What’s inside the box? More boxes. The cooler itself is inside a larger box, sandwiched between two accessory boxes. These include the mounting hardware, manual and fan retention clips.
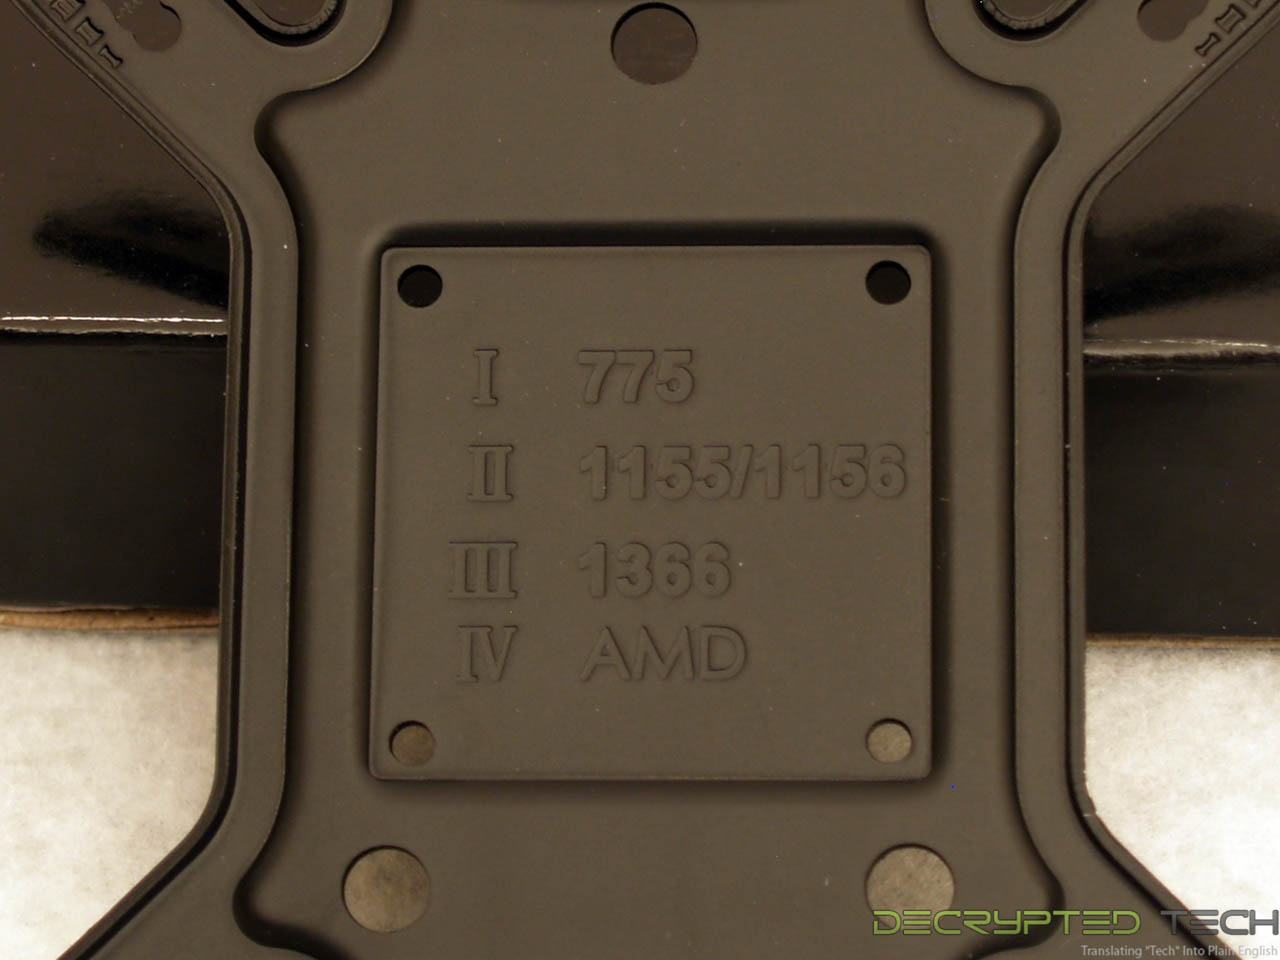
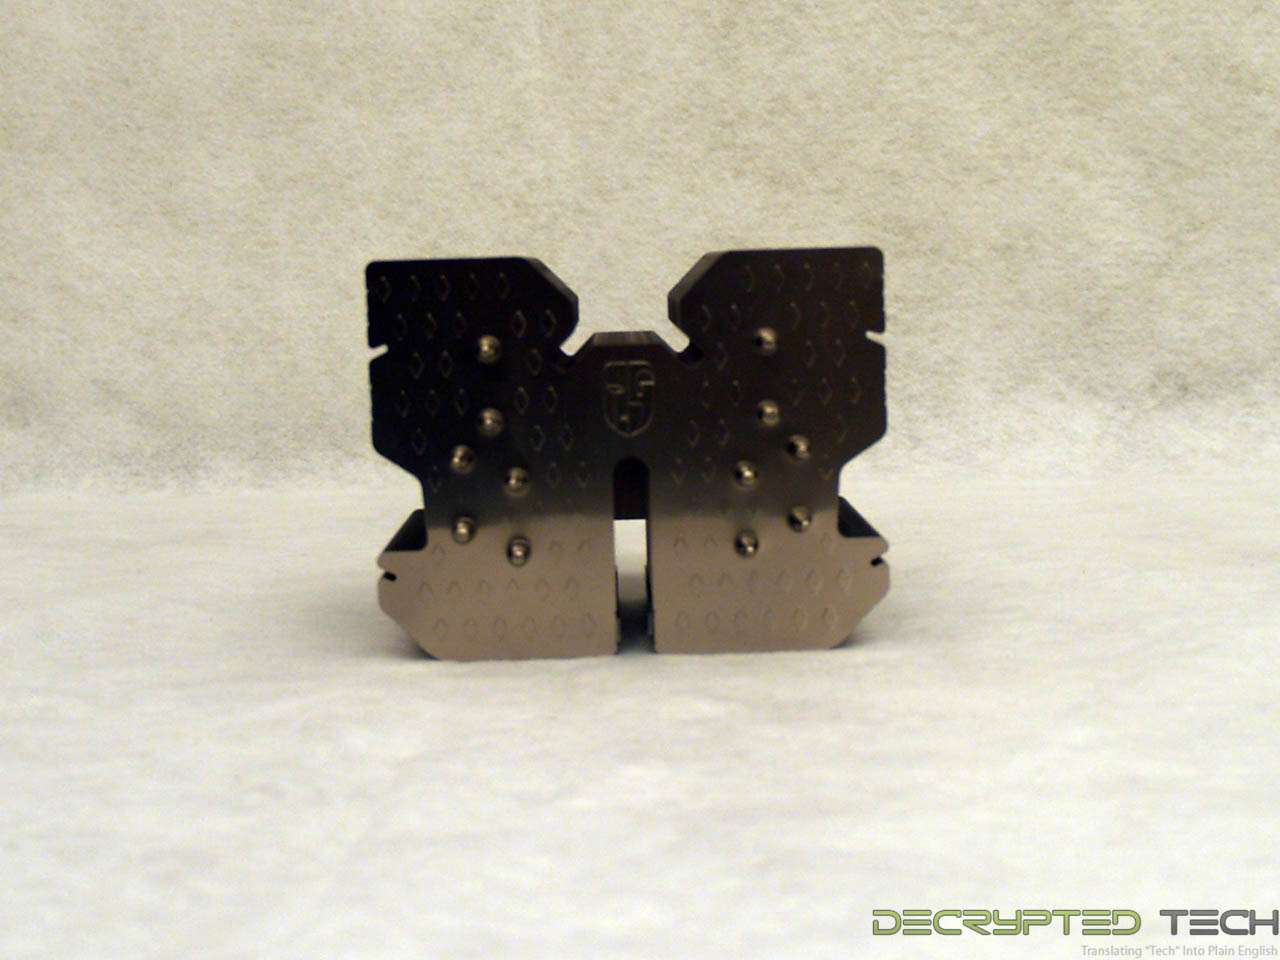
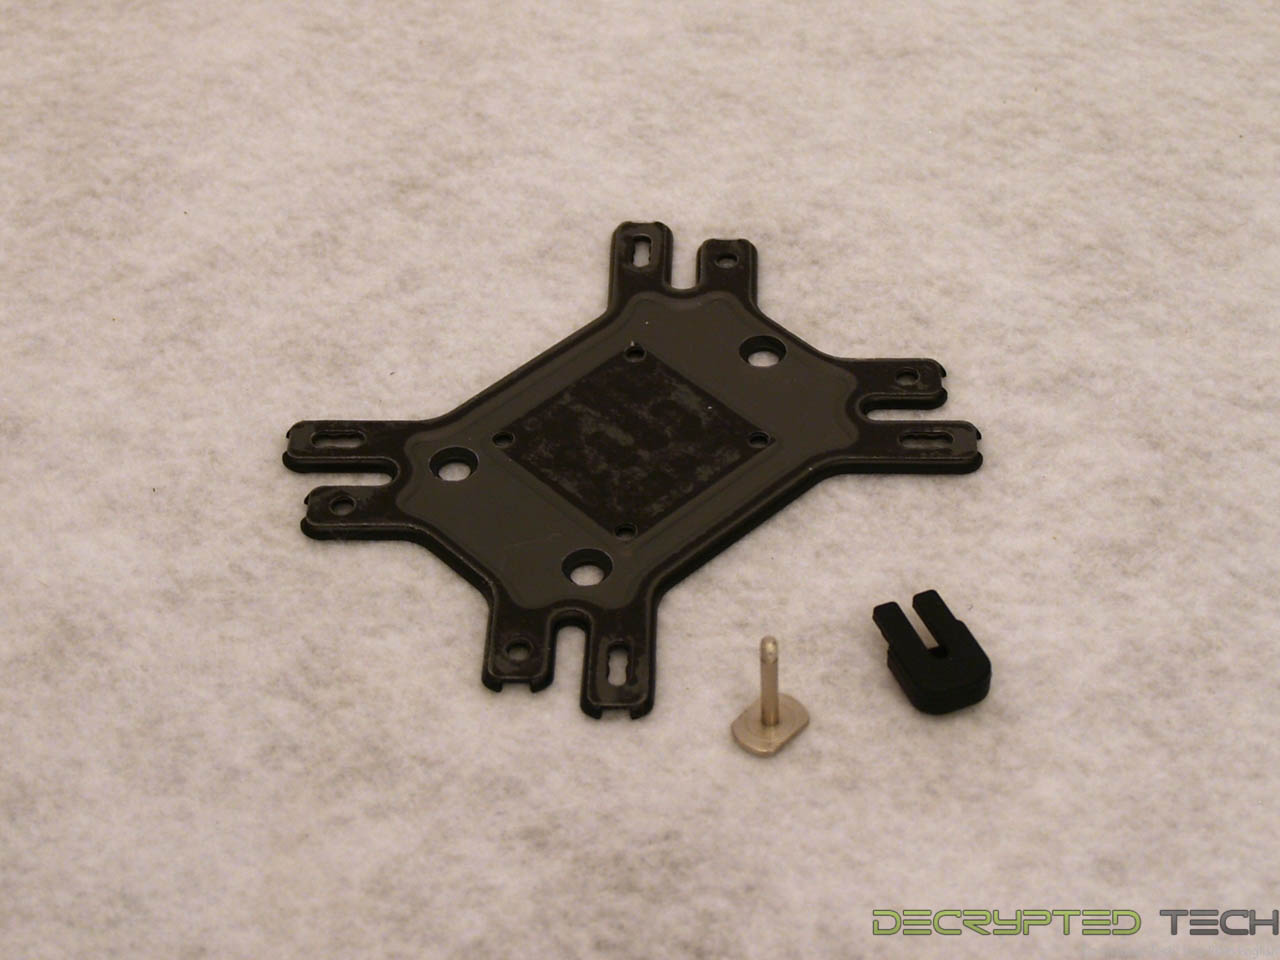
Like many modern coolers, the Lucifer comes with its own universal backplate, allowing it to be used on any modern platform. In this case, the backplate is even stamped to show the user which mounting holes to use with which socket.
 |
 |
 |
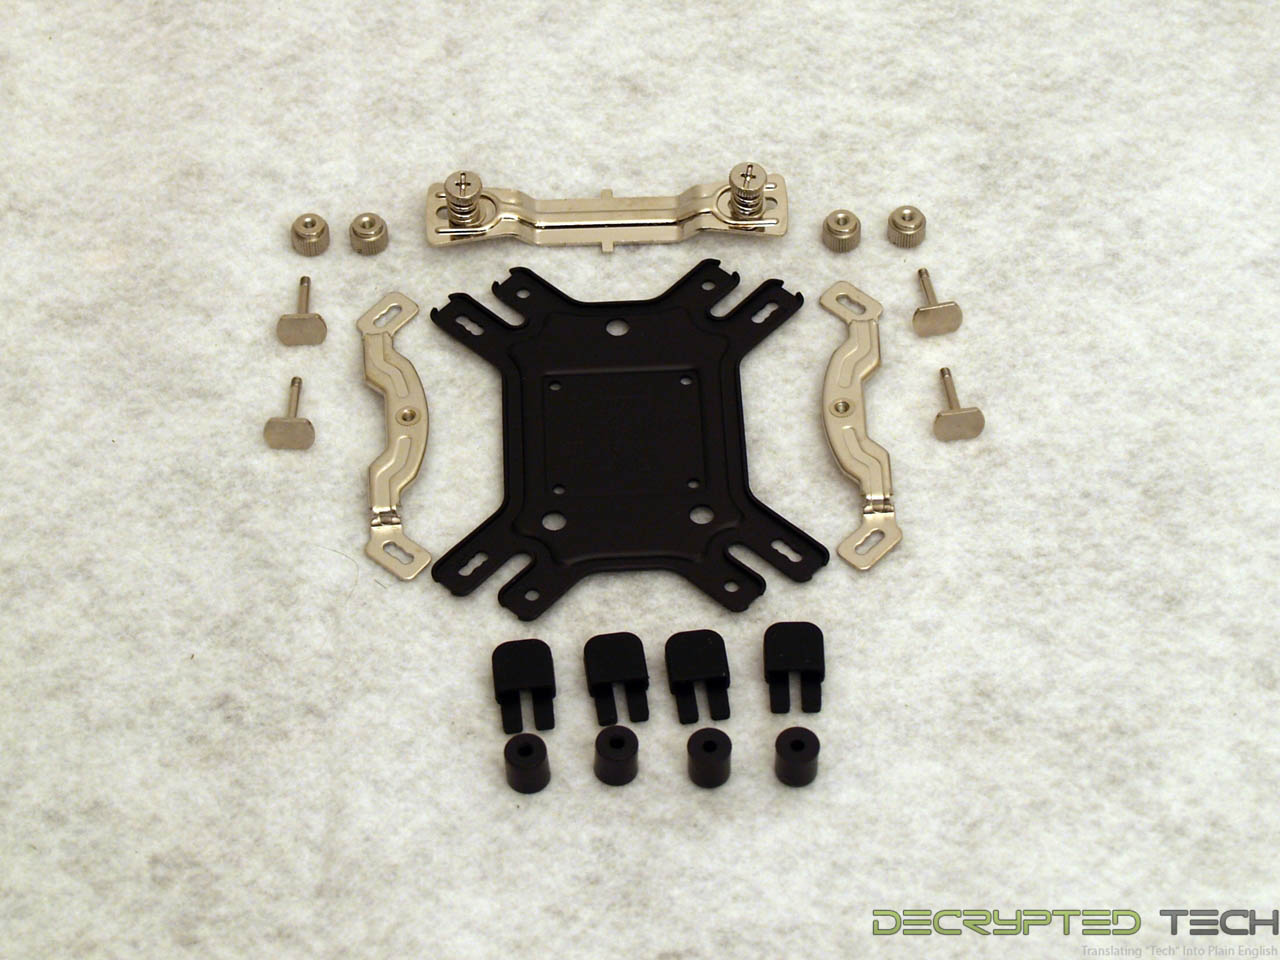
The universal backplate with all included mounting hardware.
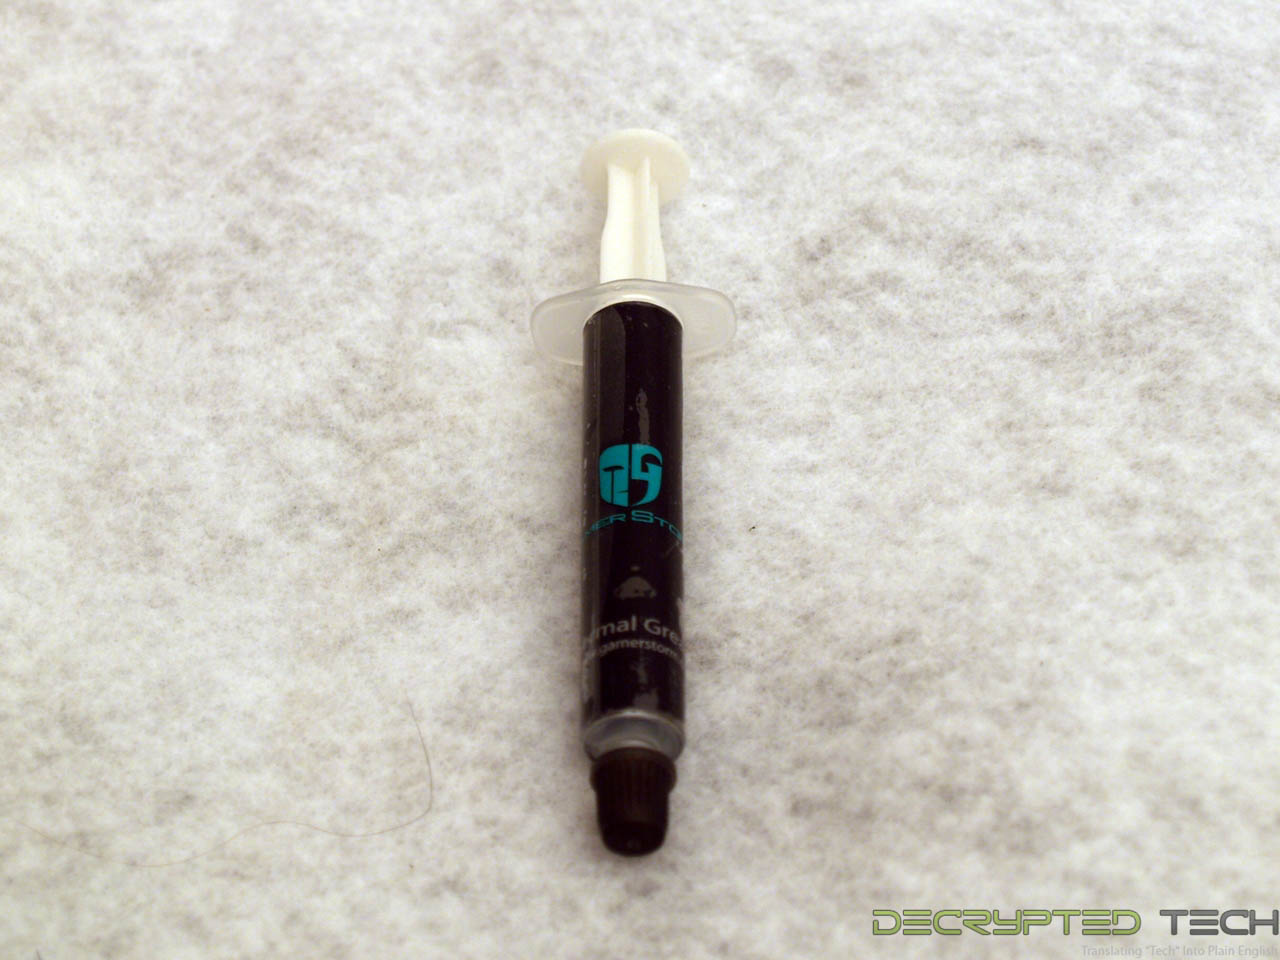
Also included is a tube of Deepcool’s own Gamerstorm thermal interface material.
 |
 |
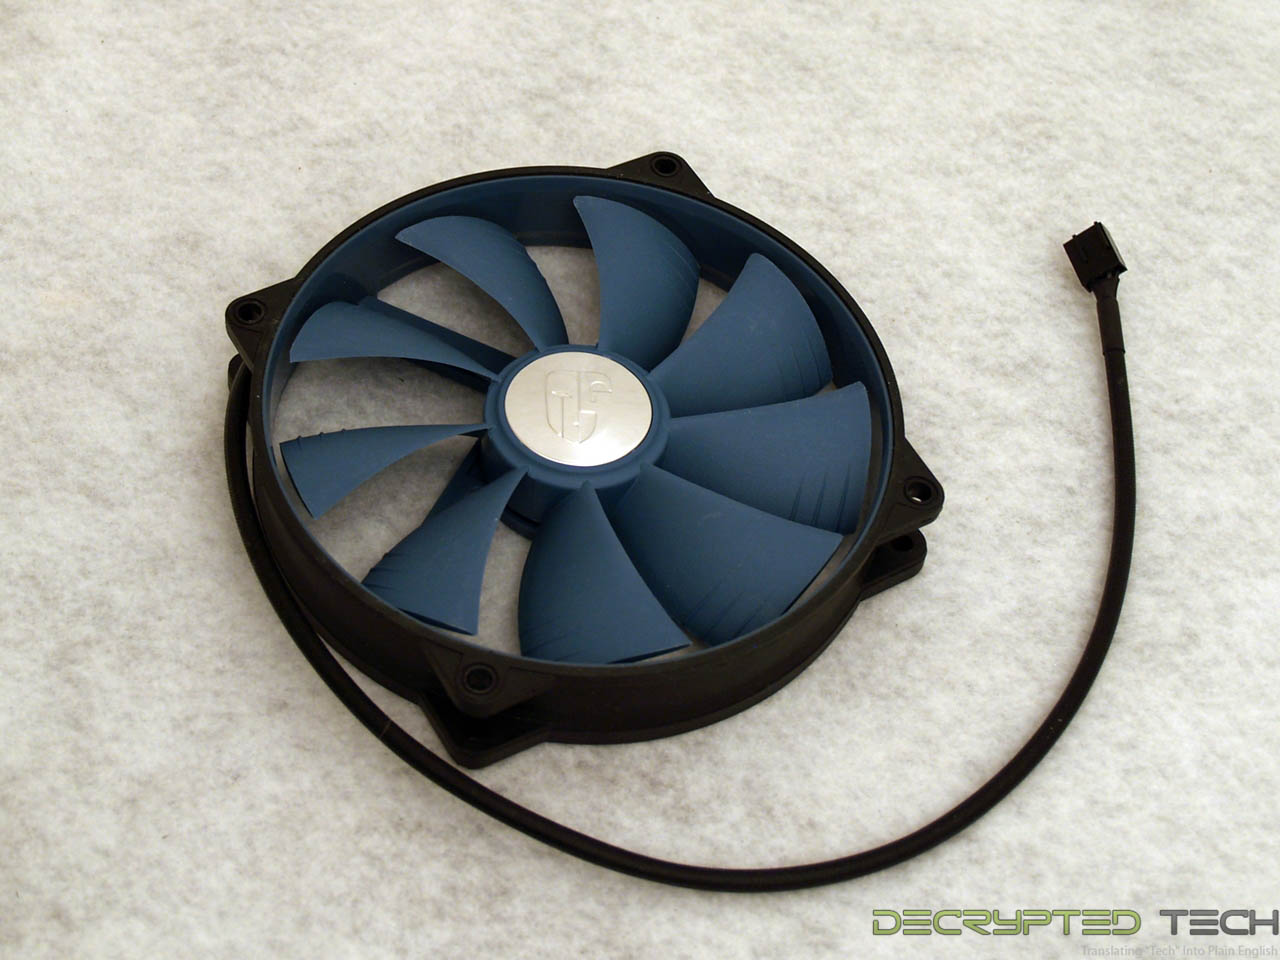
While the Lucifer is listed as being capable of serving as a totally silent (fanless) cooler for lower-end processors, it ships with a very nice-looking 4-pin PWM 140mm fan with a fully-sleeved cable. The color scheme is understated, and the hub cover bears the Gamerstorm logo proudly embossed in chrome.
 |
 |
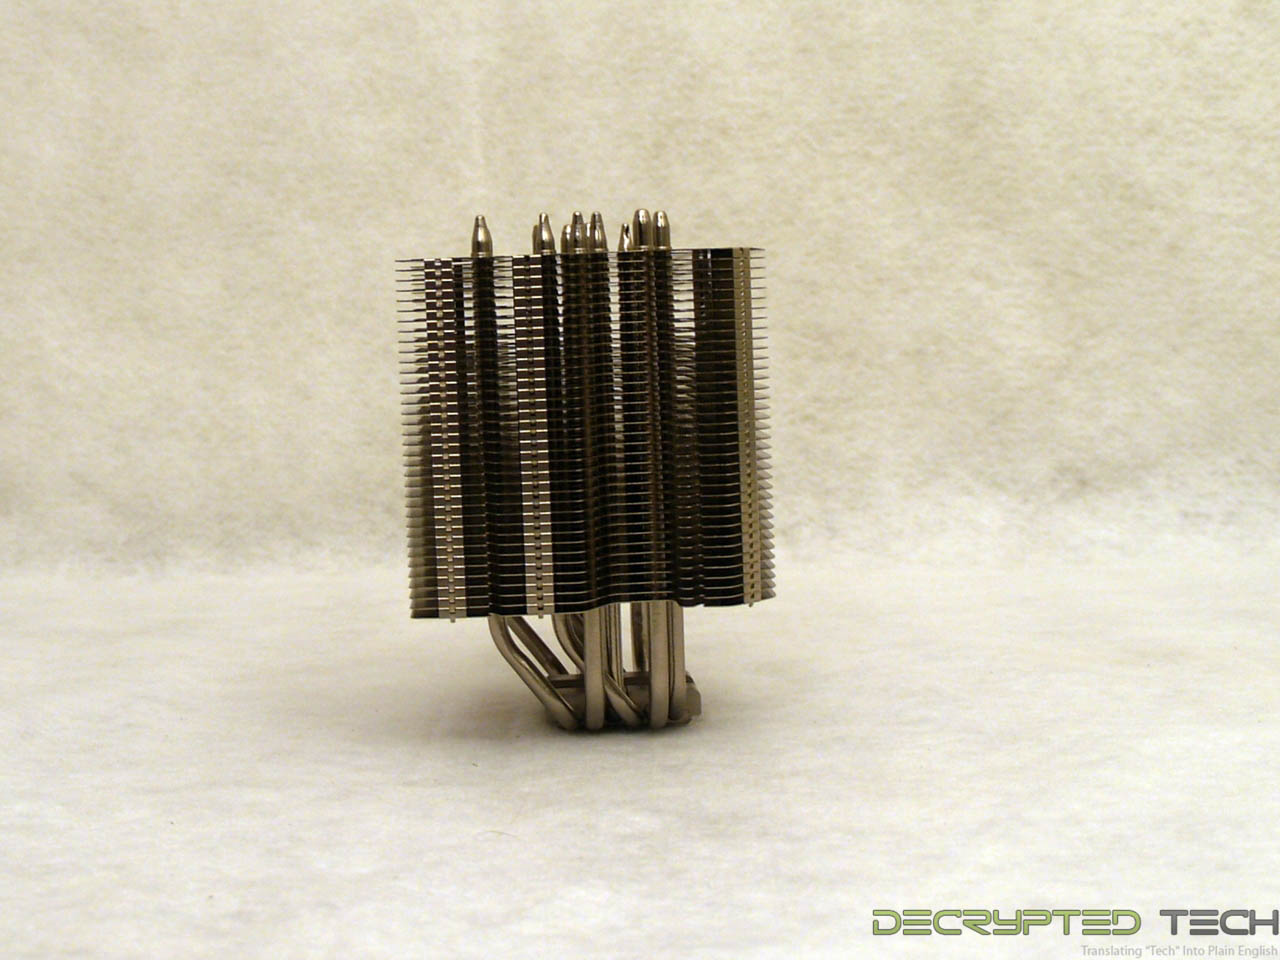 |
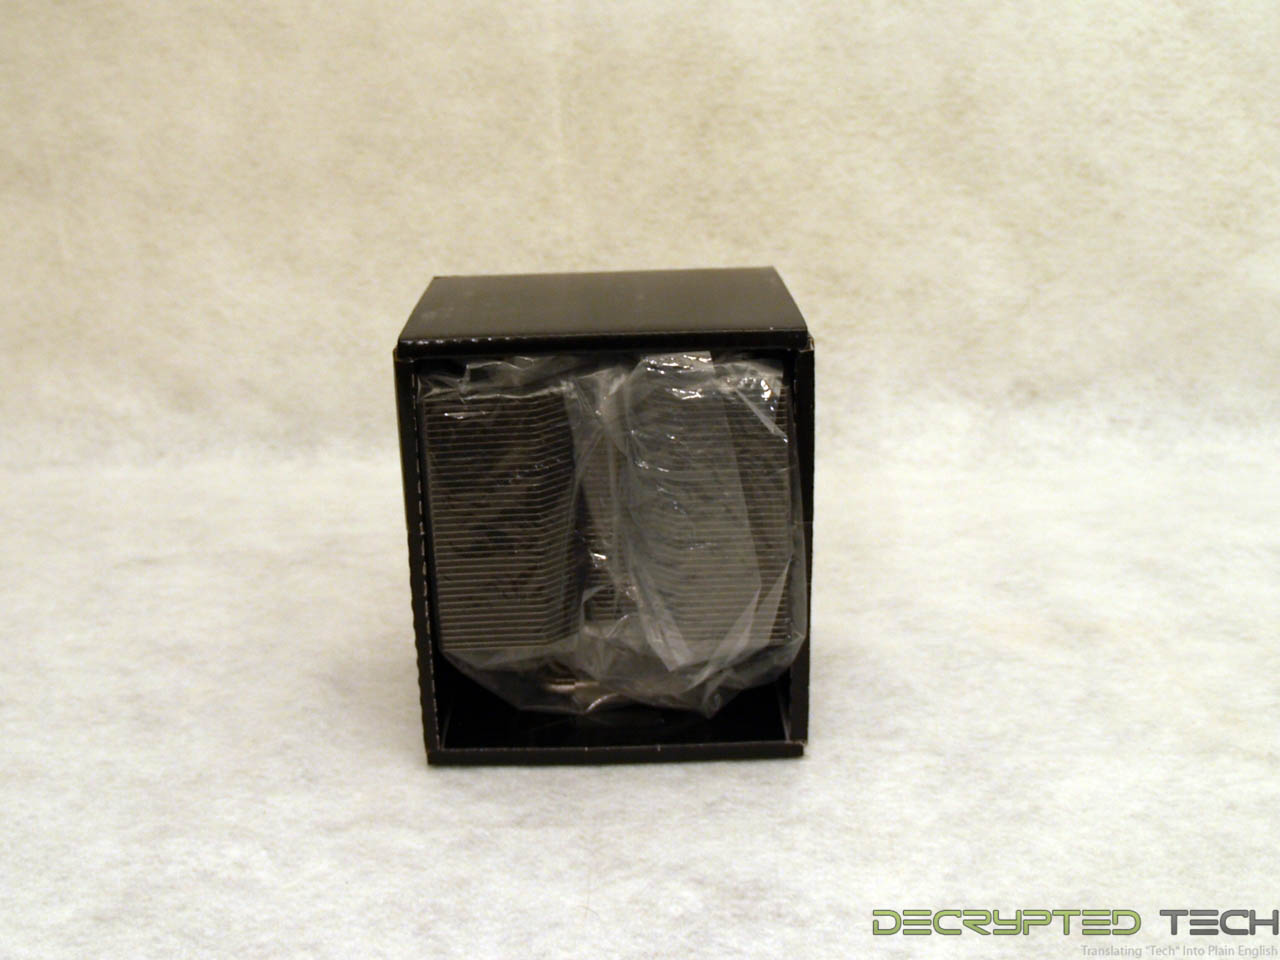
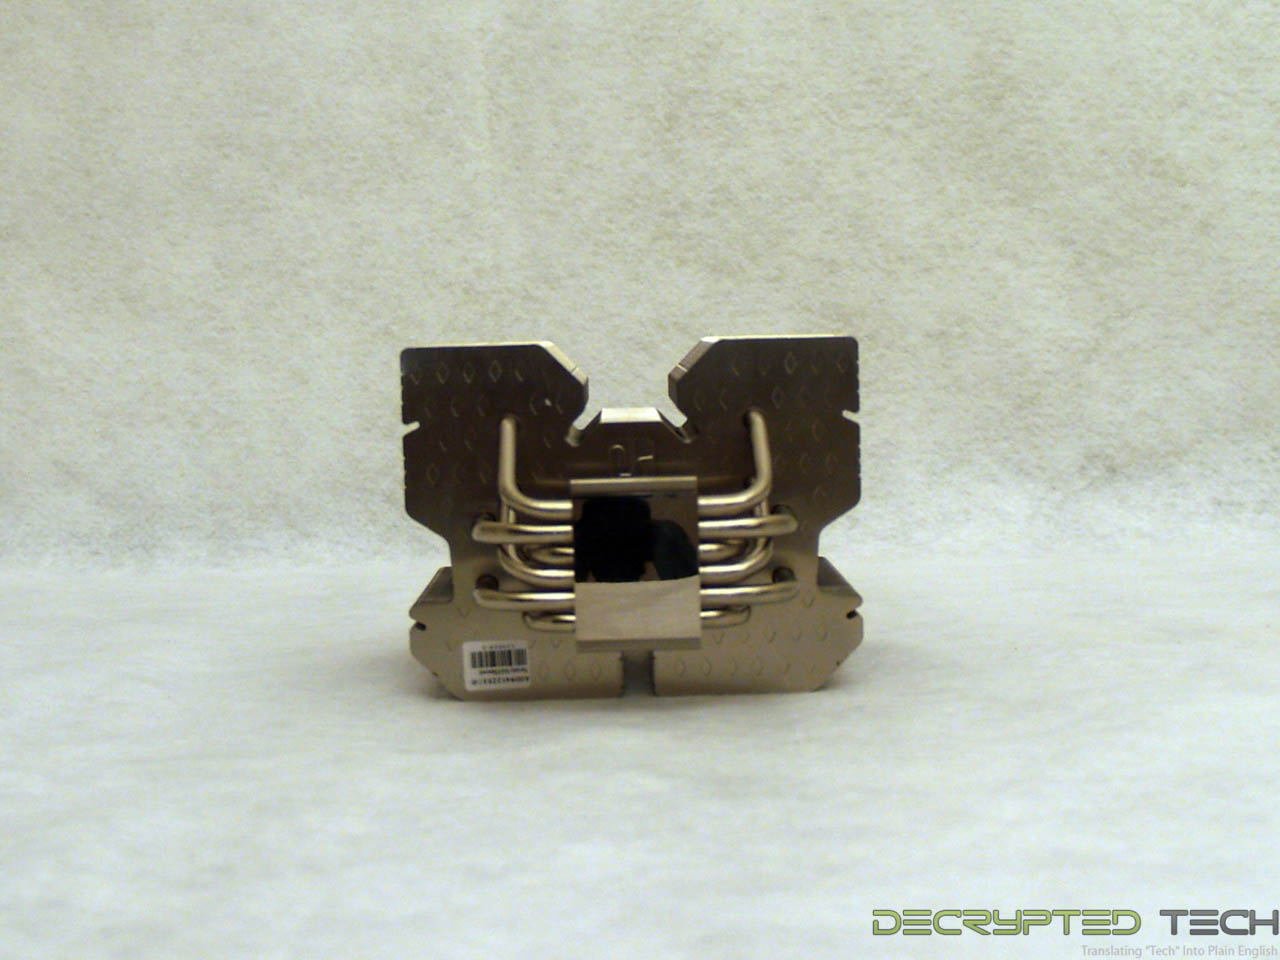
The cooler itself if wrapped in plastic inside its box inside a box. Well-protected and it shows. I couldn’t find any sign of damage to any of the fins on it, and it has a lot of them.
 |
 |
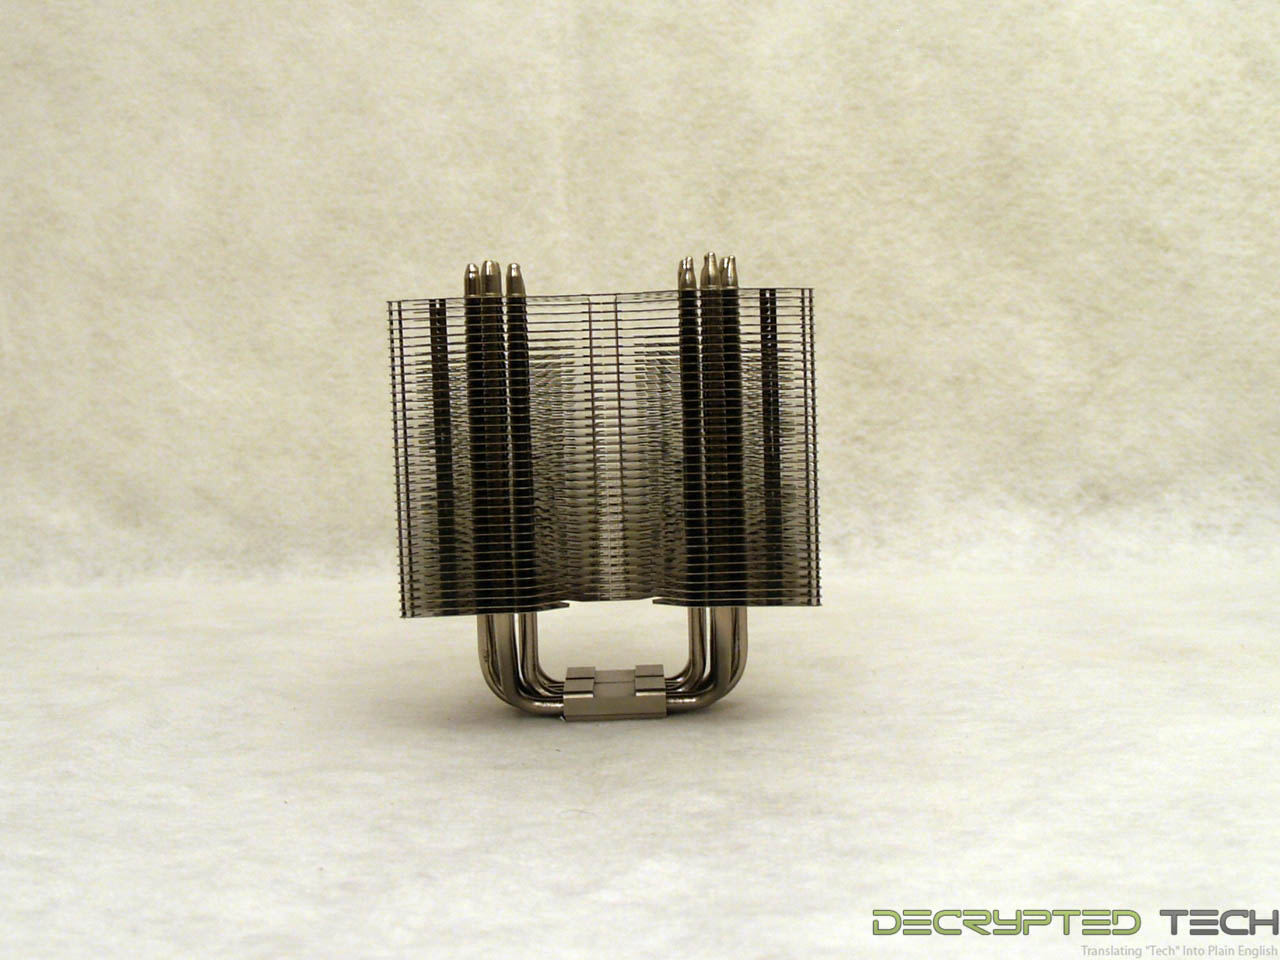
Along with the massive surface area the fins provide the Lucifer has six 6mm heatpipes. While the base of the unit does not utilize heatpipe direct-touch technology, it is polished to a mirror finish.
Installation
 |
 |
 |
 |
 |
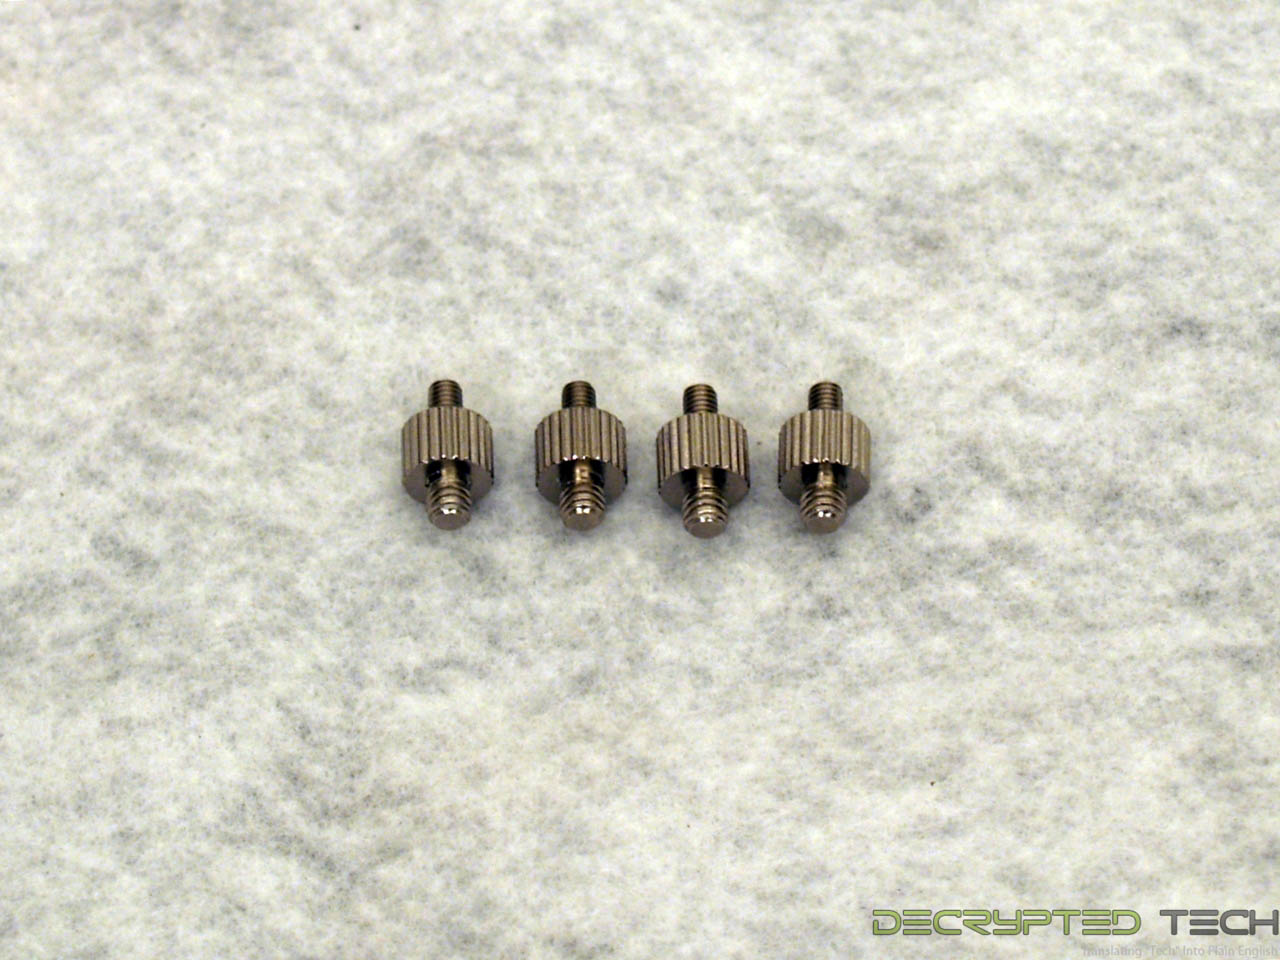
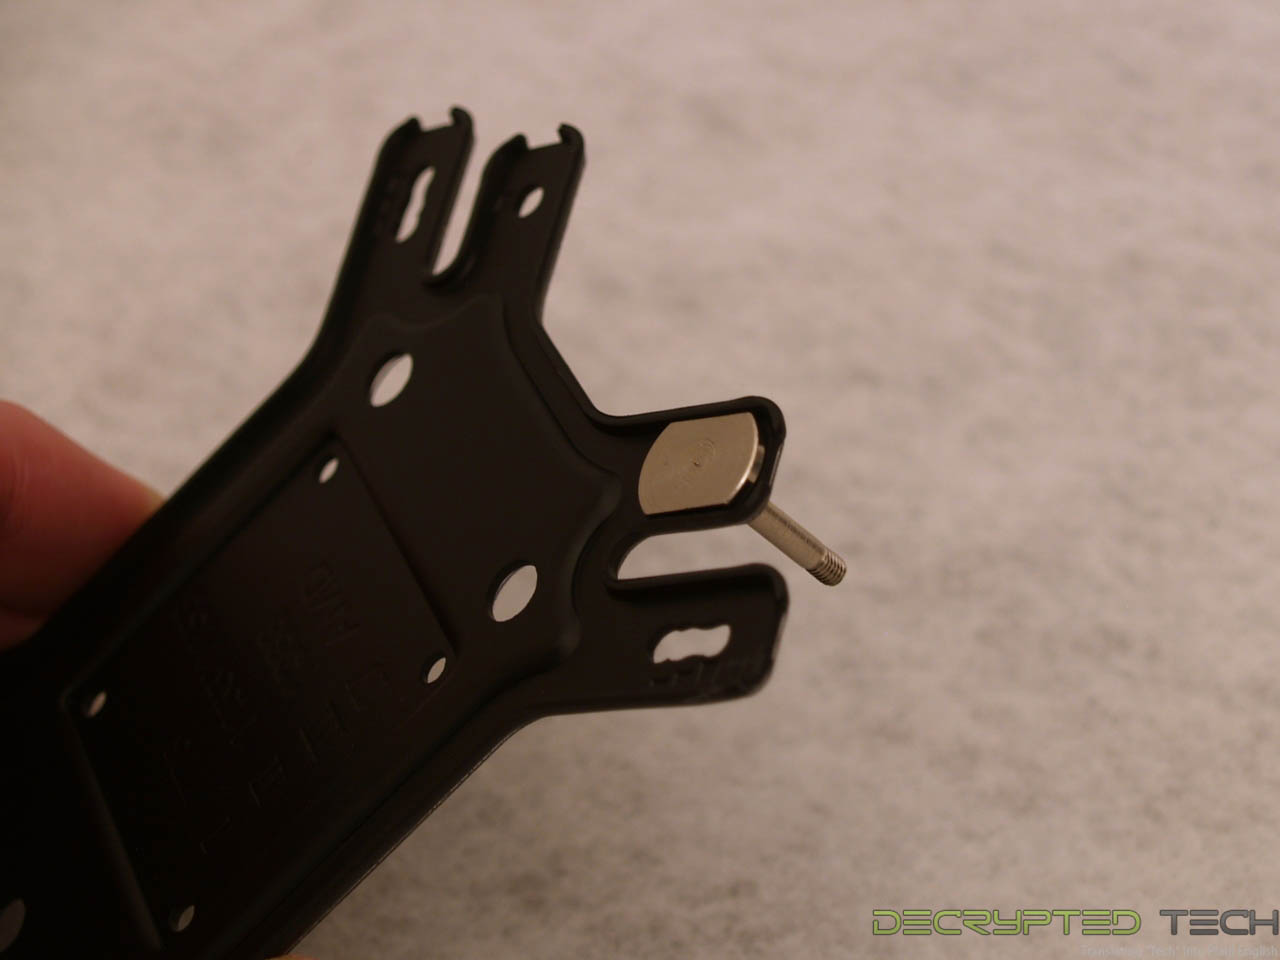
Installation began by setting up the mounting studs on the universal backplate. As mentioned, each hole is marked clearly with a number for the corresponding socket. For the AMD mounting setup, the mounting studs are slid in place from underneath the plate, where the rolled edge will prevent them from spinning. At that point split rubber covers are slid over them to hold them in place during installation. Total prep time: 60 seconds.
 |
 |
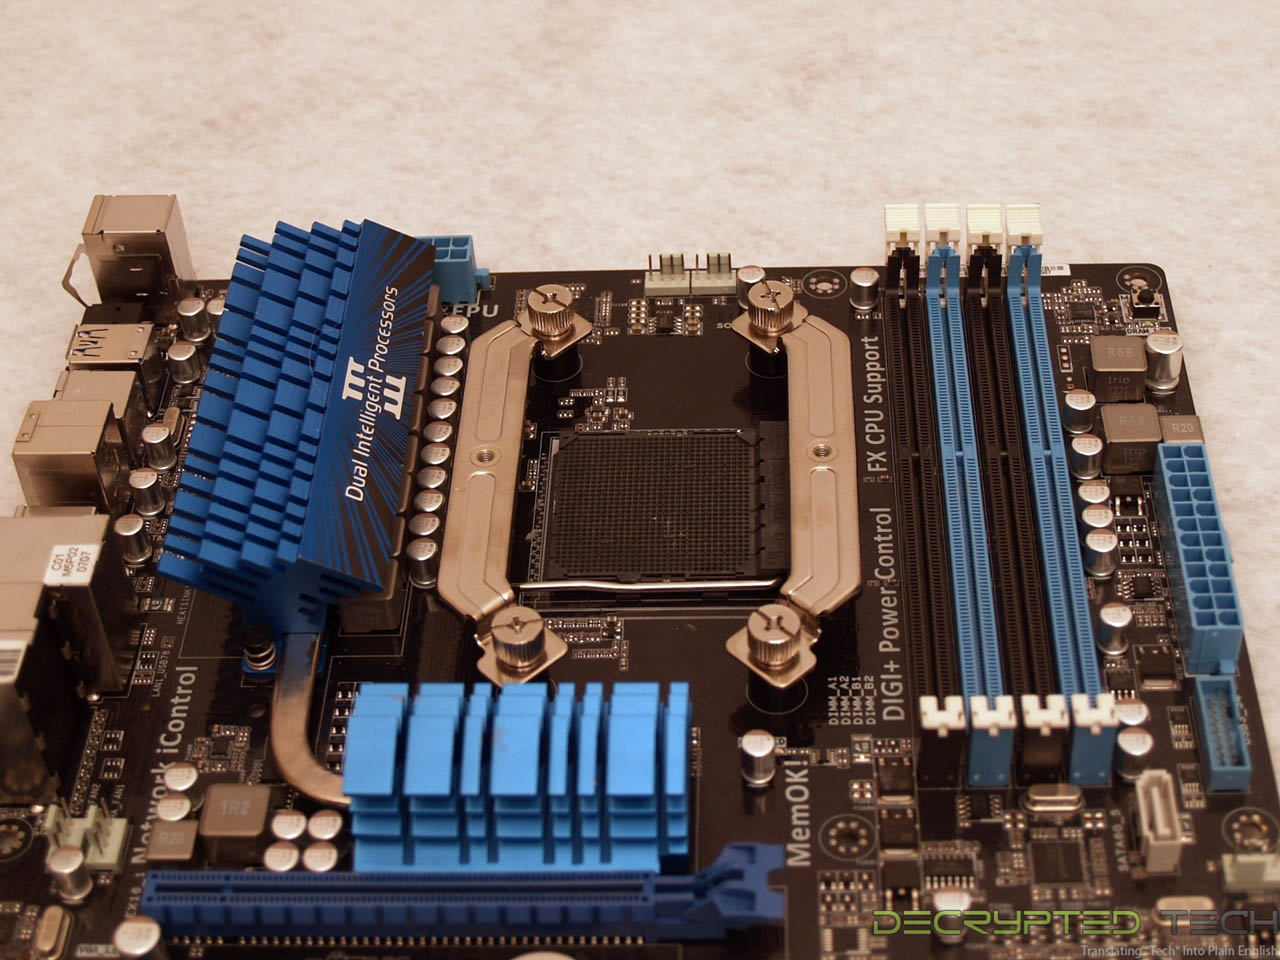 |
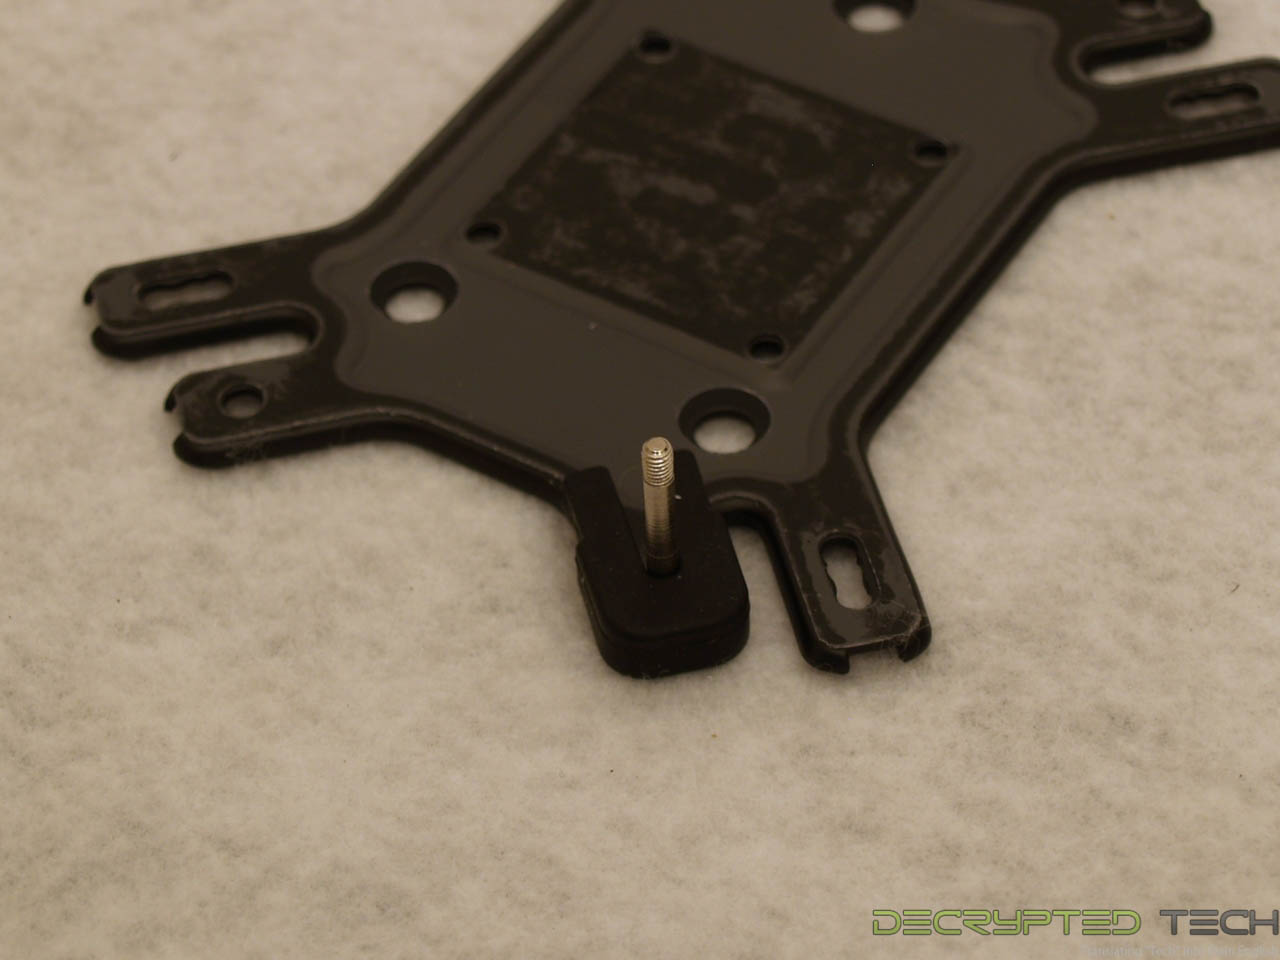
Once the stock backplate is removed the new plate is inserted in its place. Note how much “wiggle room” is left in the holes around the mounting studs. Given the weight of the cooler this concerns me. We’ll see if it moves once we’re all done.
Once the backplate is in place, plastic spacers are installed over them, then the cross bars are mounted with the provided nuts.
 |
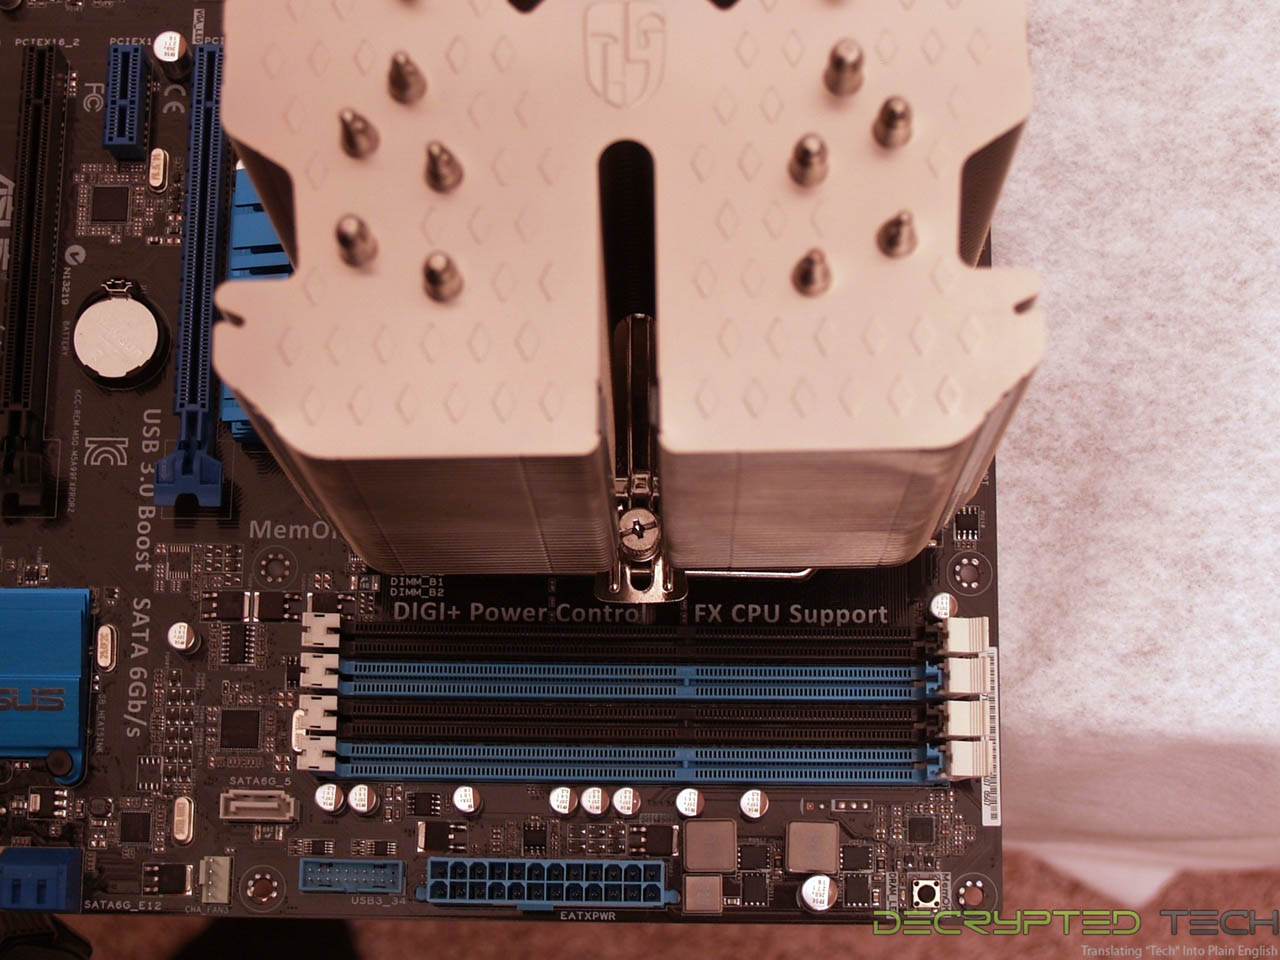 |
The final step in installation was a little bit tricky but hardly the worst I’ve run across. Once the TIM is in place the cooler is set on top of the CPU and a cross bar is lad on it. This bar fits inside a cross-shaped ridge on the cooler itself, making it impossible not to get it exactly centered on the CPU. The First mounting screw is tightened by hand, then the second requires a screwdriver. Ironically the second is easier to tighten since there is a slot in the fins the entire height of the cooler.
 |
 |
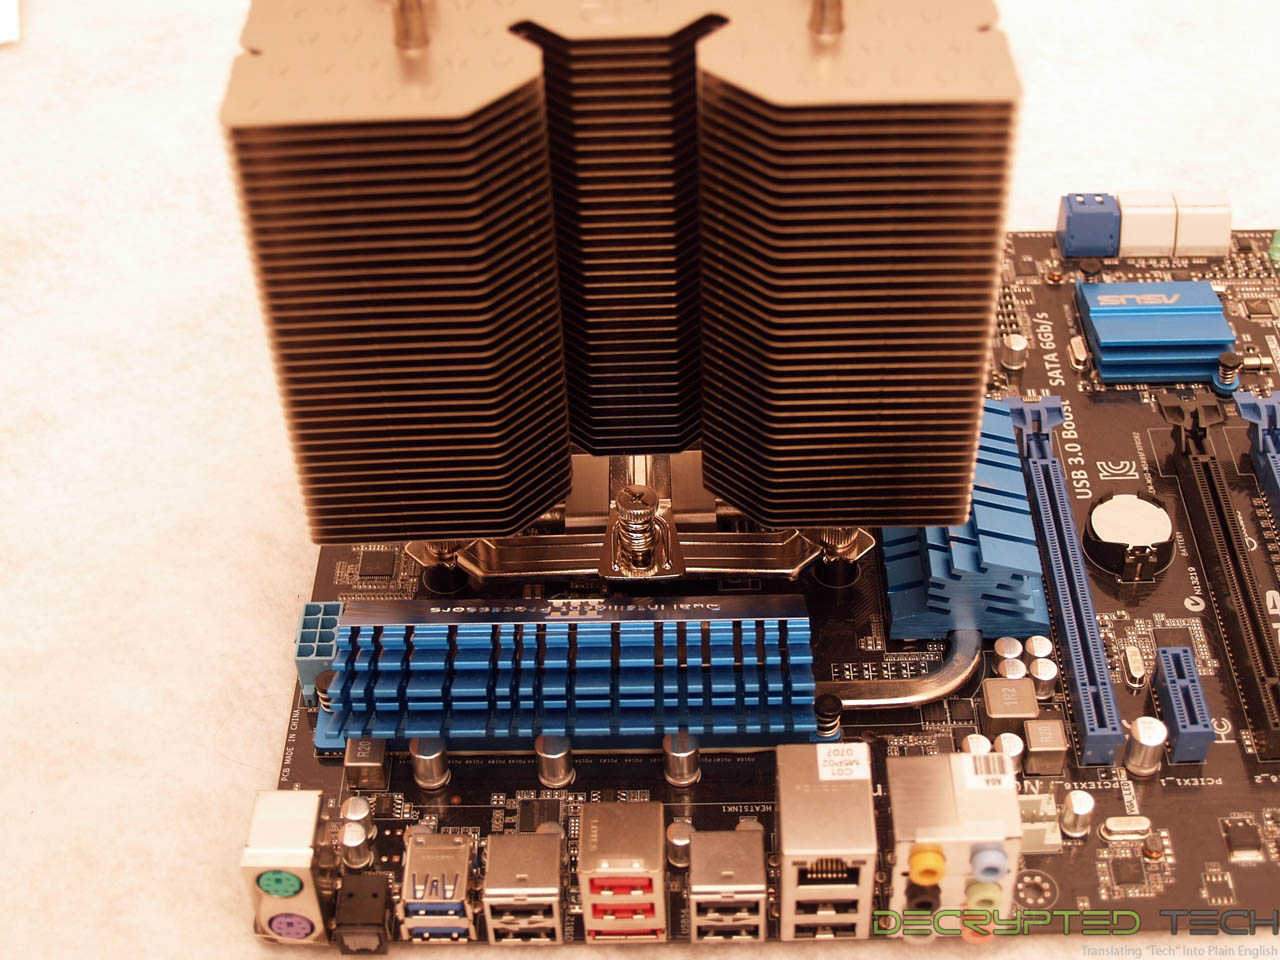
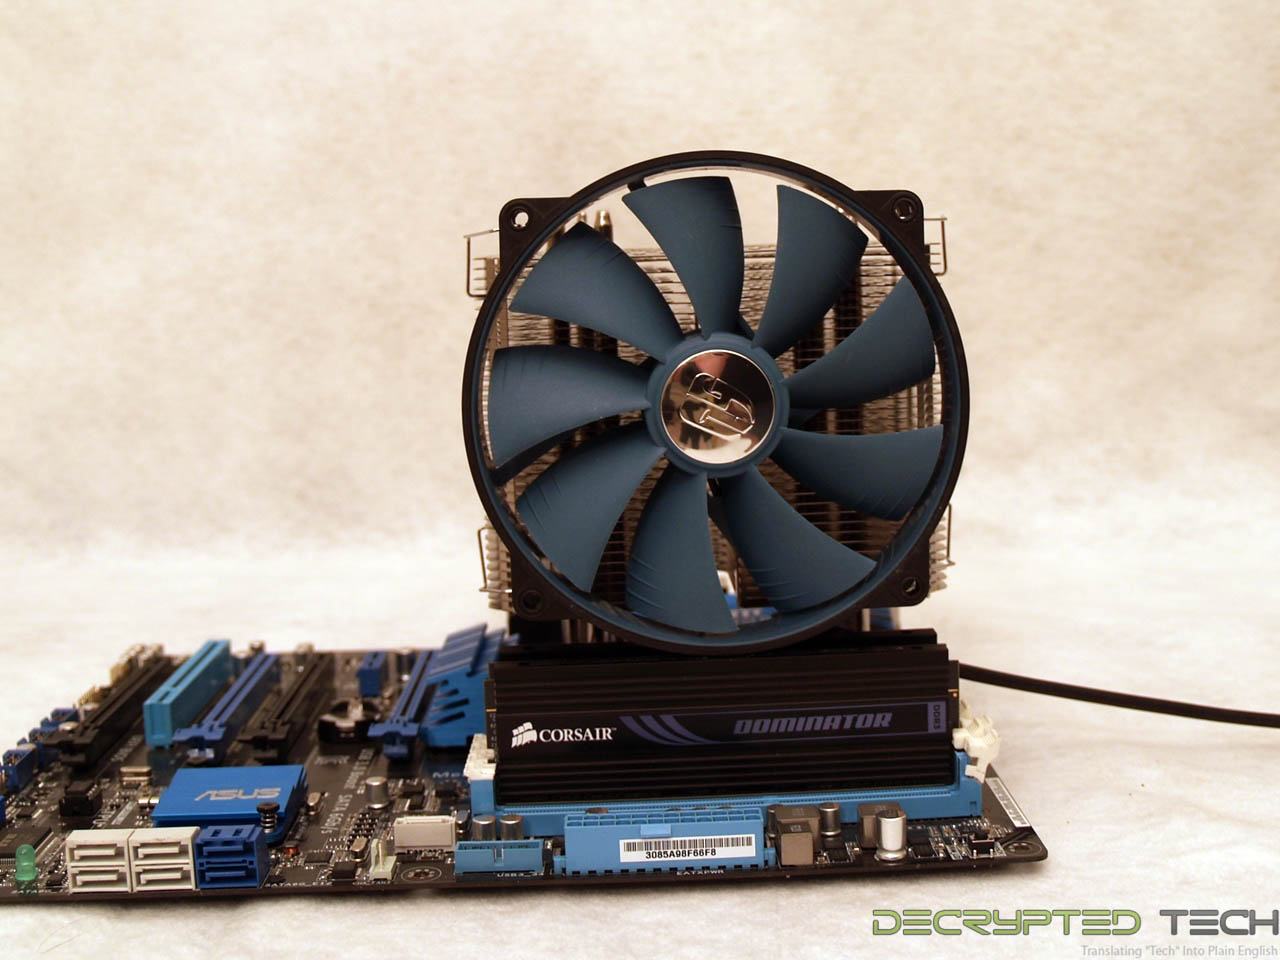
The test system uses Corsair Dominator RAM. Most readers will know the heat sinks on these RAM modules make it some of the tallest memory available, and thus a good test for the clearance on any new CPU cooler. This is where I hit a snag with the Lucifer.
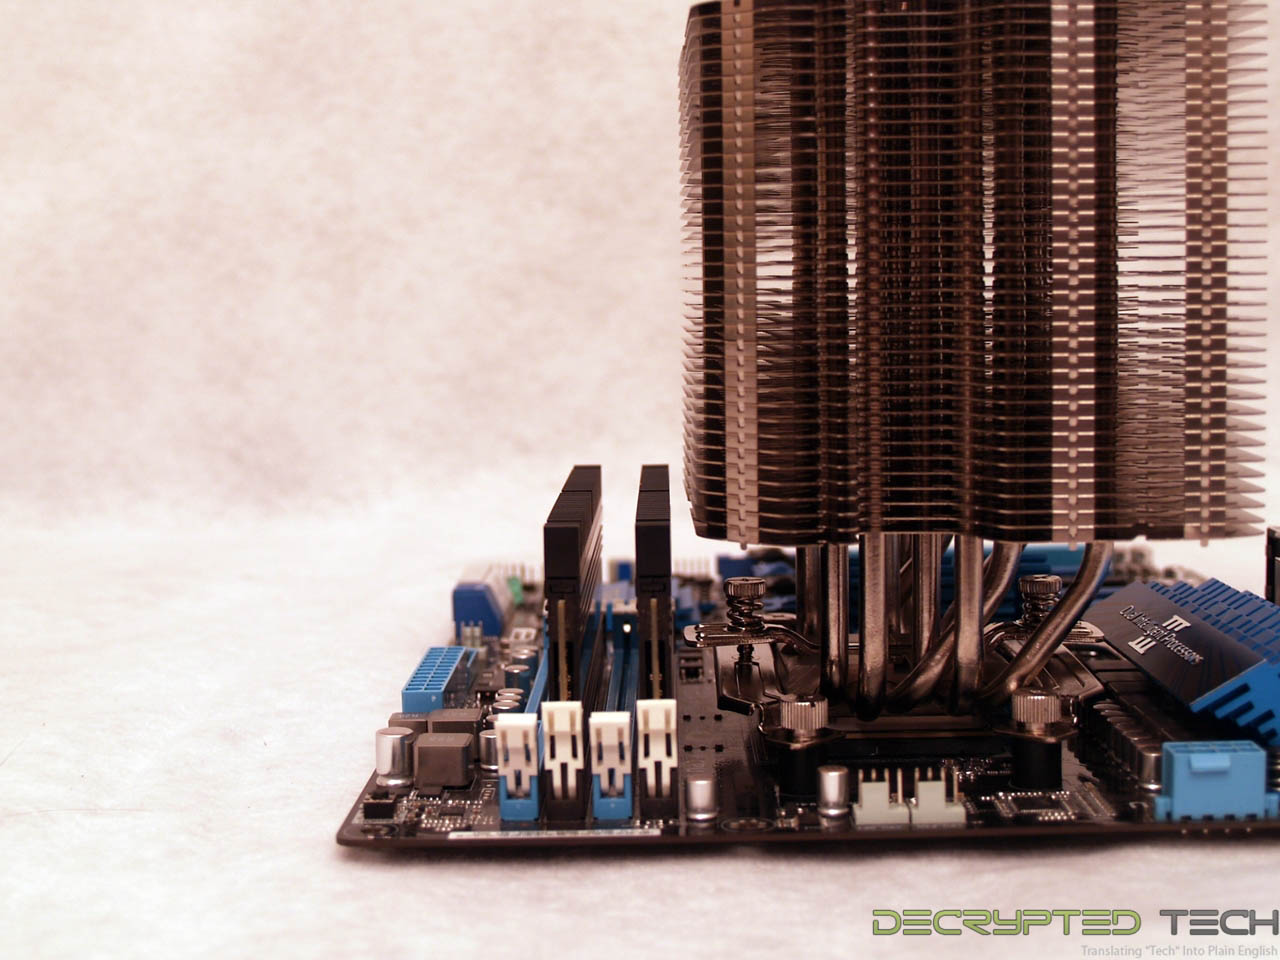
While the flexibility of the included fan clips will allow the fan to be installed with this memory, it ends up sitting well high of center, causing loss of air flow on the fins on the lower portion of the cooler.
 |
 |
This is overcome in a couple of ways. In this case the heat sinks can be removed, thus simulating more common lower-profile RAM. This allows the fan to sit much lower on the cooler and should provide all of the air flow needed, but it is still not completely centered. For those who want every fraction of a percent of air flow the fan is capable of, it can also be mounted on the rear of the cooler as shown. For our testing we will leave it in the front of the cooler with the heat sinks removed.
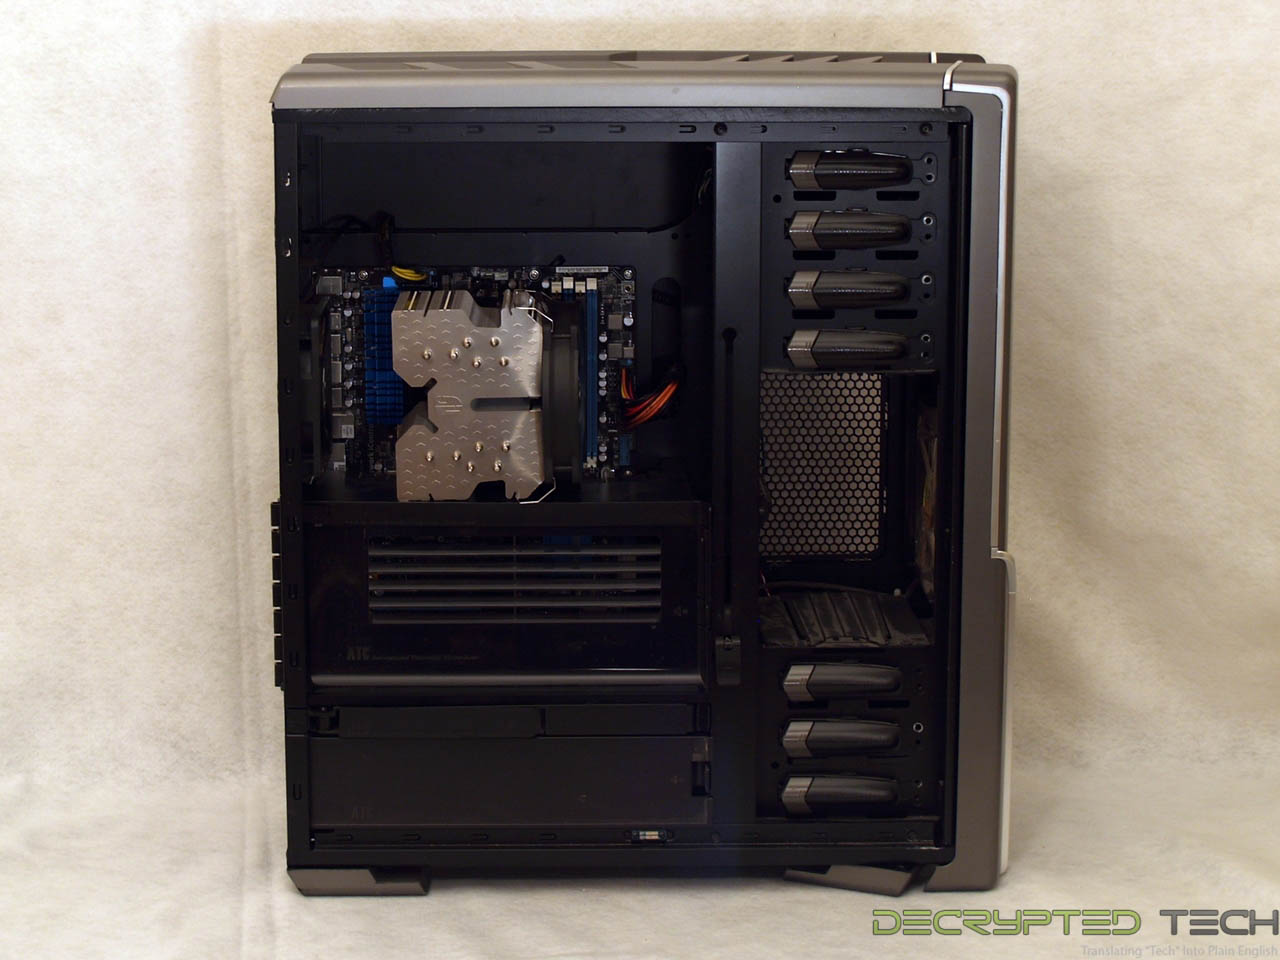
The cooler was installed in a Thermaltake Spedo Advance full-tower case and posed no problems with case clearance, although the upper shelf of the Advanced Thermal System was a tight fit. As always, check your particular case to be sure it will house this cooler, and be aware that in any configuration the fan will actually be the highest portion.
Testing
In order to keep test results equal across the board, all cooling testing is done with the following setup, conditions and methods:
Test System:
AMD Phenom II 1100T at stock 3.3GHz (125-watt TDP)
Asus M5A99FX Pro mainboard
4GB Corsair Dominator DDR3 RAM
Windows 7 Ultimate 64-bit
Radeon HD4870 video
Thermaltake Toughpower Grand 850-watt PSU
Thermaltake Spedo Advance full-tower case
120mm intake case fan (x2)
120mm exhaust case fan
Ambient temp in the testing environment is brought as close to previous testing levels as possible and recorded at the beginning of the test. For this test ambient was 24C and remained stable within .2 degrees for the duration of the testing.
Before testing begins, BIOS power/performance settings are set to "balanced" mode and the system is allowed to idle for 30 minutes to get a stable idle temp.
Stress testing is done with OCCT 4.4.0, running 30 minutes on each set, with large data set and a 1-minute idle time recorded at the beginning and end of each test. If a cooler has multiple modes (high and low fan speeds, for instance), the test is run for each mode and all results recorded.
Tests are performed using Noctua NT-H1 thermal interface material for equal comparison with other cooling solutions.
So how did the Lucifer fare in holding the temps down on this hot 6-core processor?
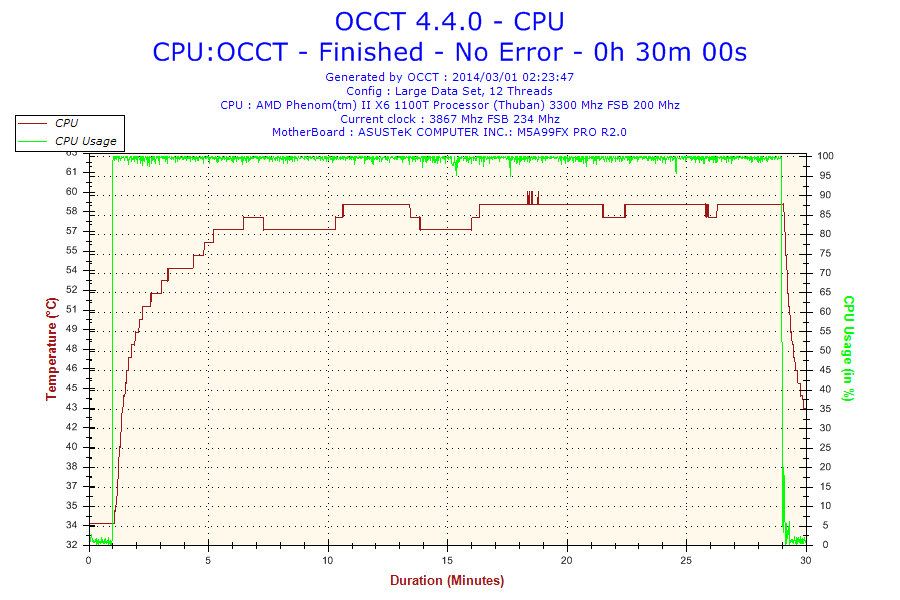
Not bad at all! We can see the temps only spiked above 60 a couple of times and only for a very brief period. Aside from those couple of spikes the temps topped out at a very respectable 59 degrees.
Noise levels
The fan that comes with the Lucifer is not only pretty, it’s effective. As mentioned, it’s a 4-pin PWM fan, and is very quiet. In our test system the case fans are tuned with a Sunbeam rheobus fan controller to be just below the audible level, thus providing a real-world environment for testing while not interfering with the noise level of the product in testing. Until the temperatures hit 58 degrees I was completely unable to hear the fan on this cooler, and even when it was spinning at its highest rate (for this test) it was very quiet and the noise it did make was a lower-pitched hum rather than the high-pitched whine we all know so well in PC fans. Absolutely outstanding acoustic performance.
Conclusion
It has been quite a while since I had the chance to test hardware from a company I’d never tried before, and the Gamerstorm Lucifer CPU cooler from Deepcool did not disappoint. Packaging was first-rate, fir and finish are excellent, installation was easy and performance was fantastic. In fact, the only fault I can find with this cooler is the clearance issue memory clearance. However, given the performance numbers we attained, the flexibility of the fan mounting and the incredible price point of $40 US, I cannot in good conscience even fault the cooler for that. The Gamerstorm Lucifer should be available in the U.S. next month through Newegg.com.
Bottom line: The Gamerstorm Lucifer CPU cooler is a fantastic performer at a price that blows away the competition. Appearance, ease of installation, cooling performance, low noise levels, and easy on the wallet: it doesn’t get much better than this.
 |
 |
Tell us what you think in our Forum
