Reading time is around minutes.
The Layout -
The layout of any motherboard is important. Even simple mistakes in component placement or the signal traces can cause major issued in performance and stability. With the ATX form factor we find that this is even truer; the devices we drop onto them demand more and cleaner power while the signal speeds push faster and faster. As you might have guessed the GA-Z77X-UD3H is a full sized ATX motherboard. The look is nice a clean with a matte black finish (this is mostly due to Gigabyte’s new material). The tracing layout is barely visible on the surface of the board thanks to this material and the coating that is used to reduce not only the possibility of moisture, but also electrostatic discharge damage. Gigabyte has continued the use of all solid capacitors and ferrite chokes on the board. There are also some other surprises in store on the board.
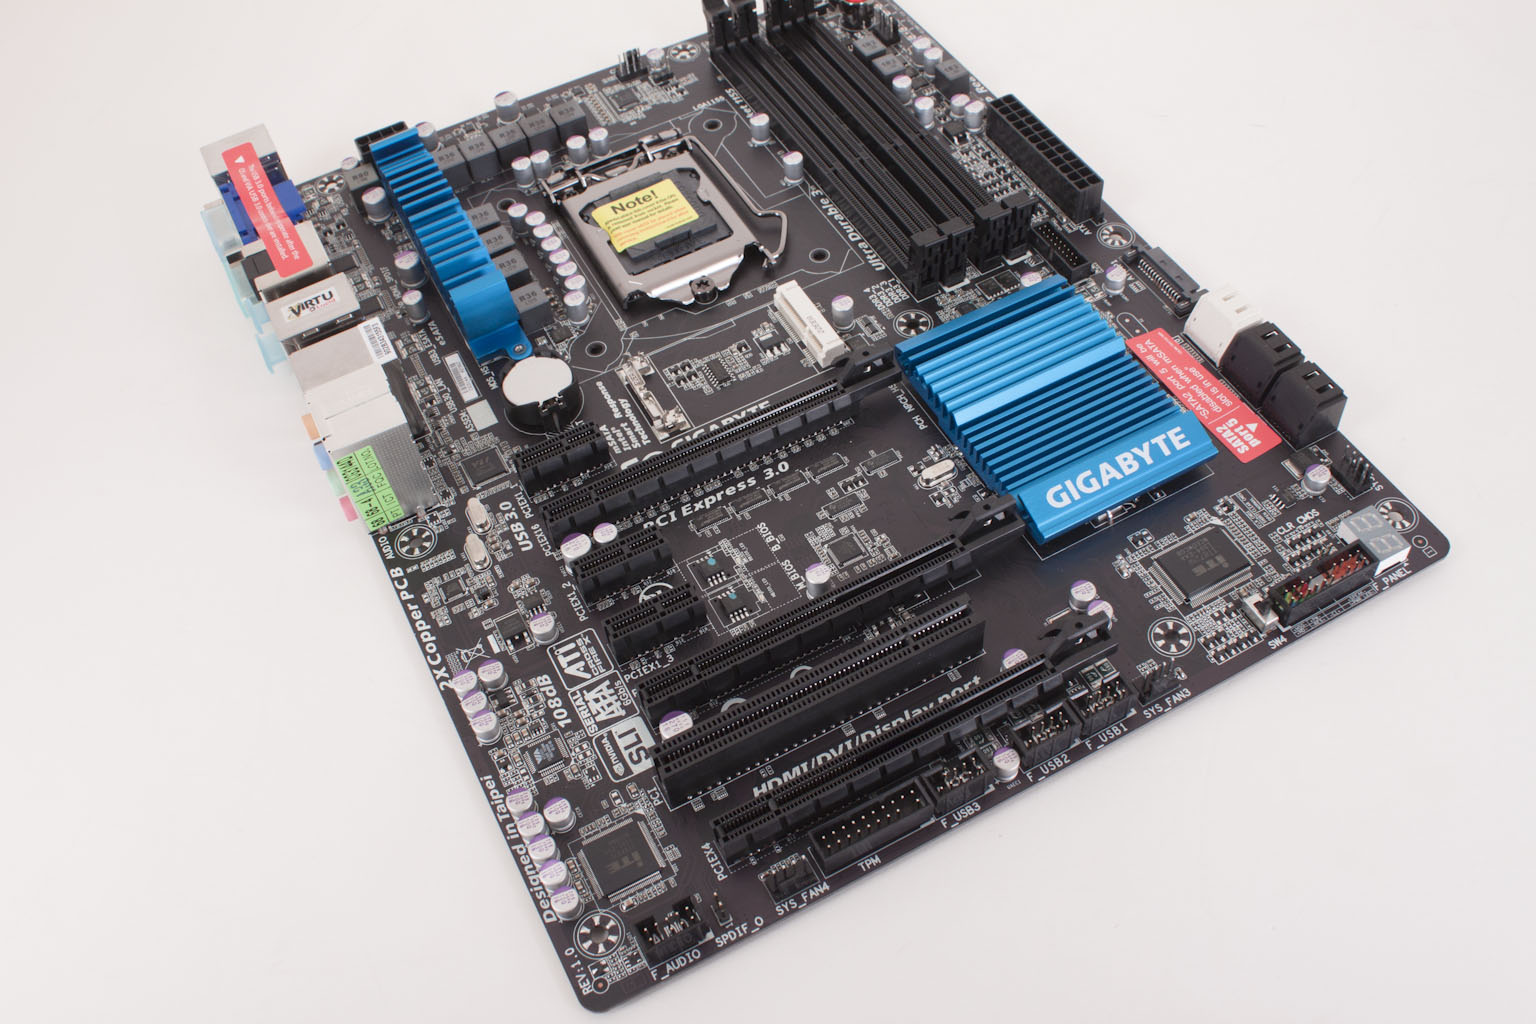
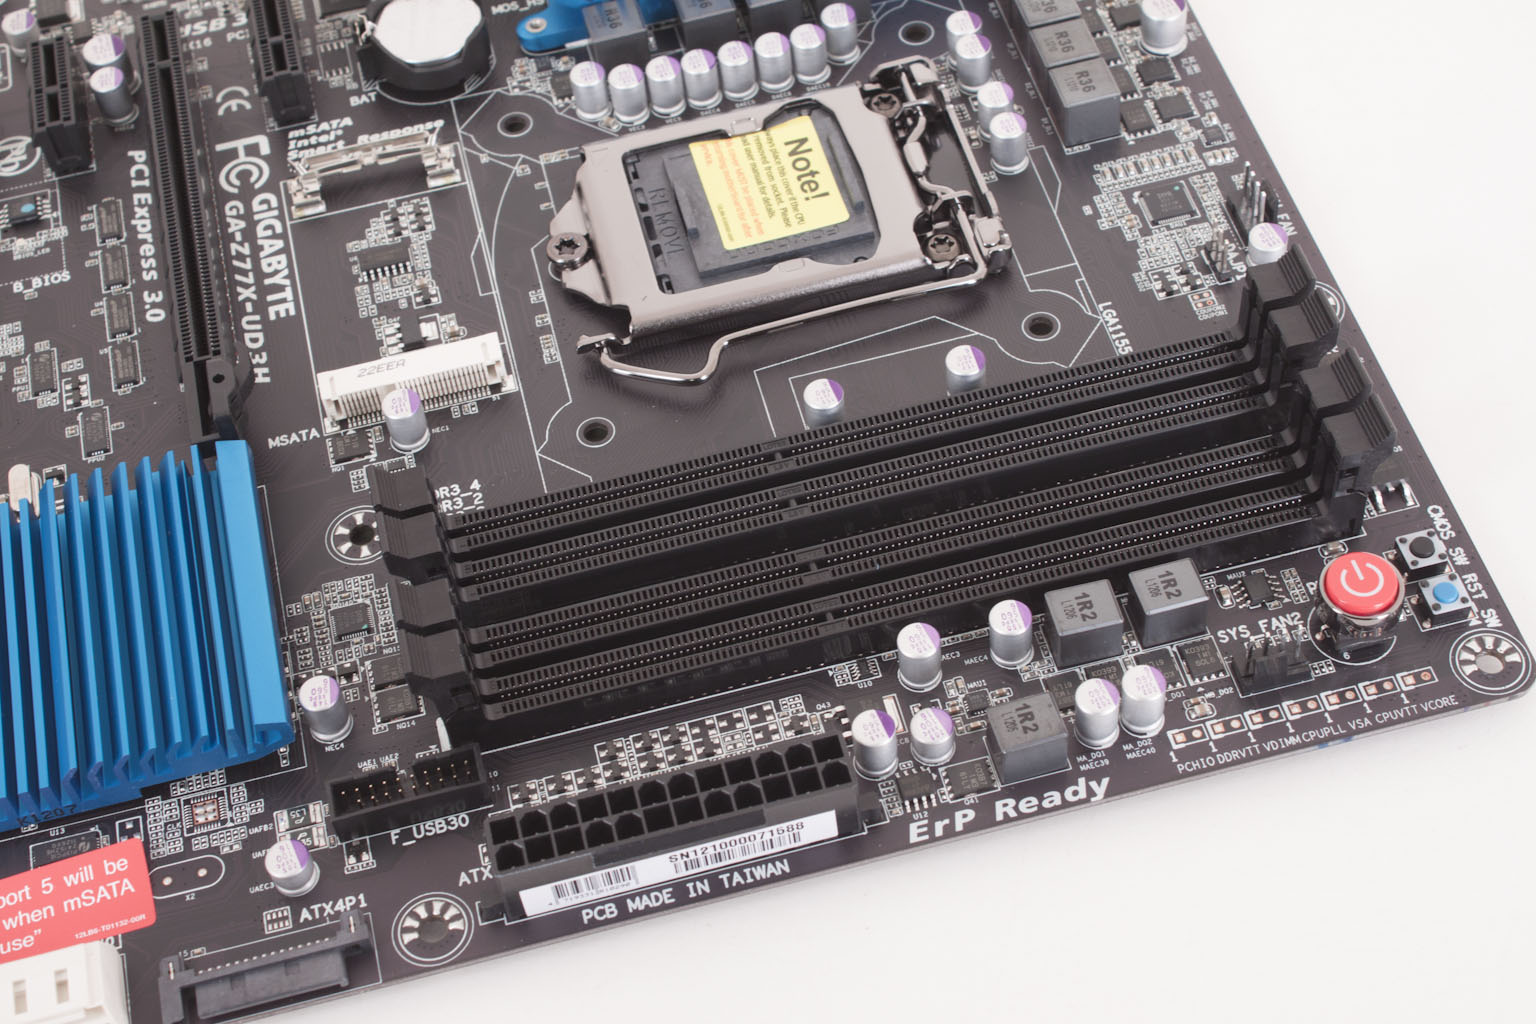
So now that we have a little bit of background on the board, let’s kick off our usual walk around. Starting off in our normal upper-left hand corner of the board we find four slots for RAM which typical. There is also a cluster of controls on the board (power, reset, and CMOS reset). Gigabyte has also thrown in a USB 3.0 header. You can also see the mSATA port on the board in this shot.
 |
 |
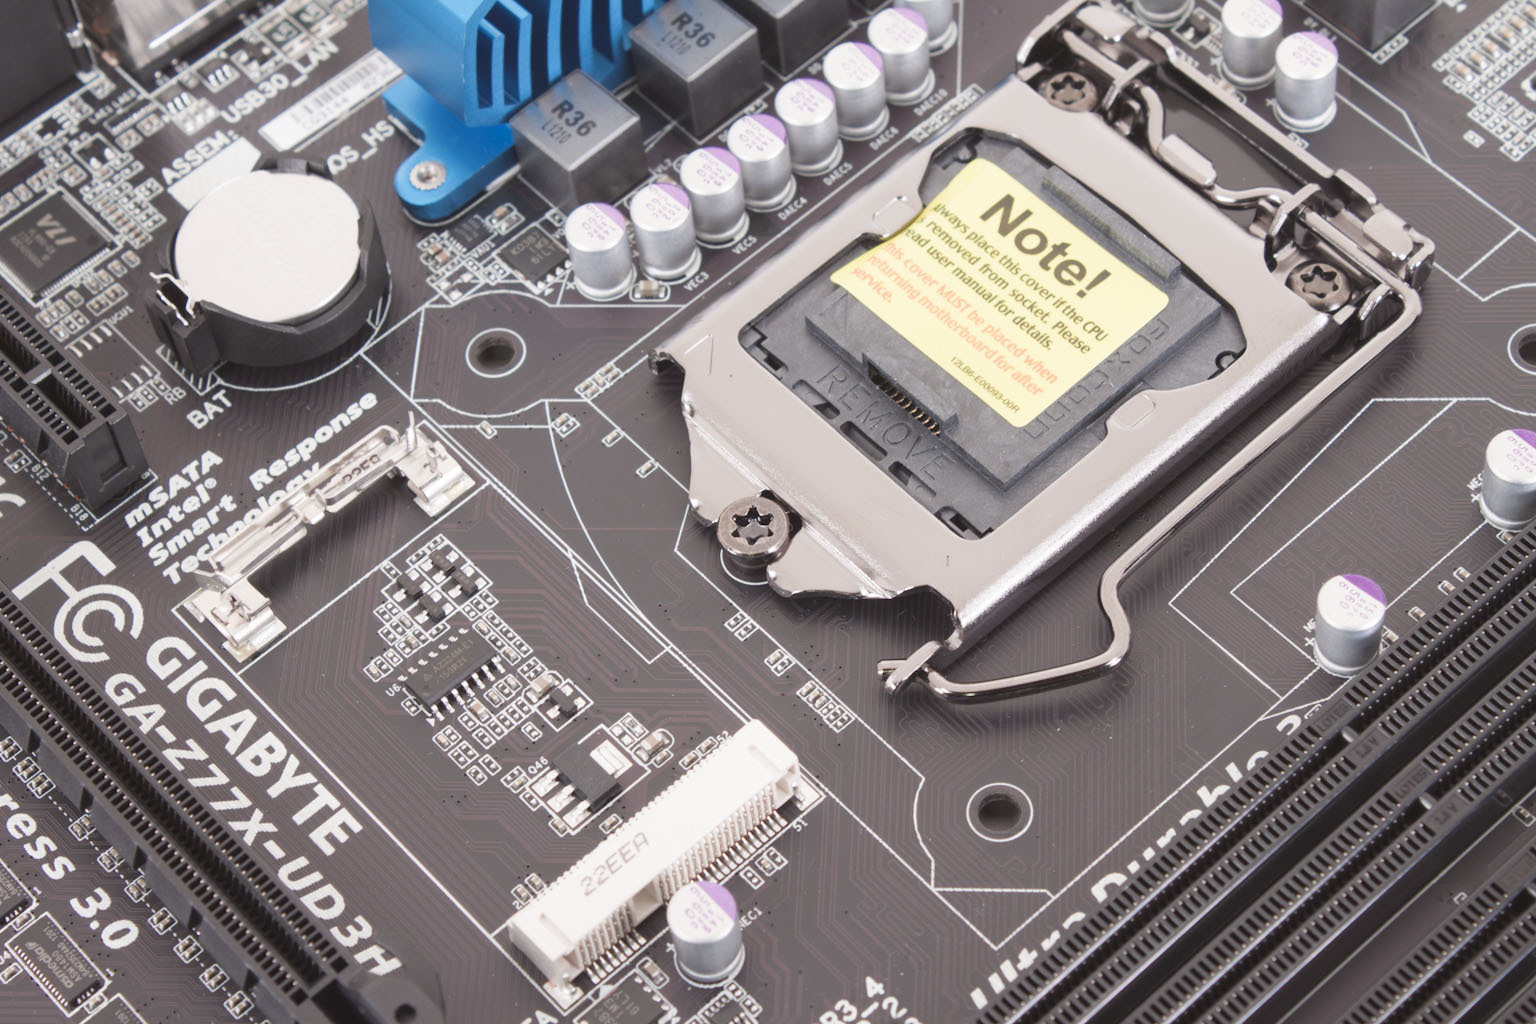 |
Taking a closer look at the mSATA port we find that it is a suitable for a 55mm mSATA card and can be used for SSD caching which can help to speed up traditional HDDs and even SSDs to a certain extent.
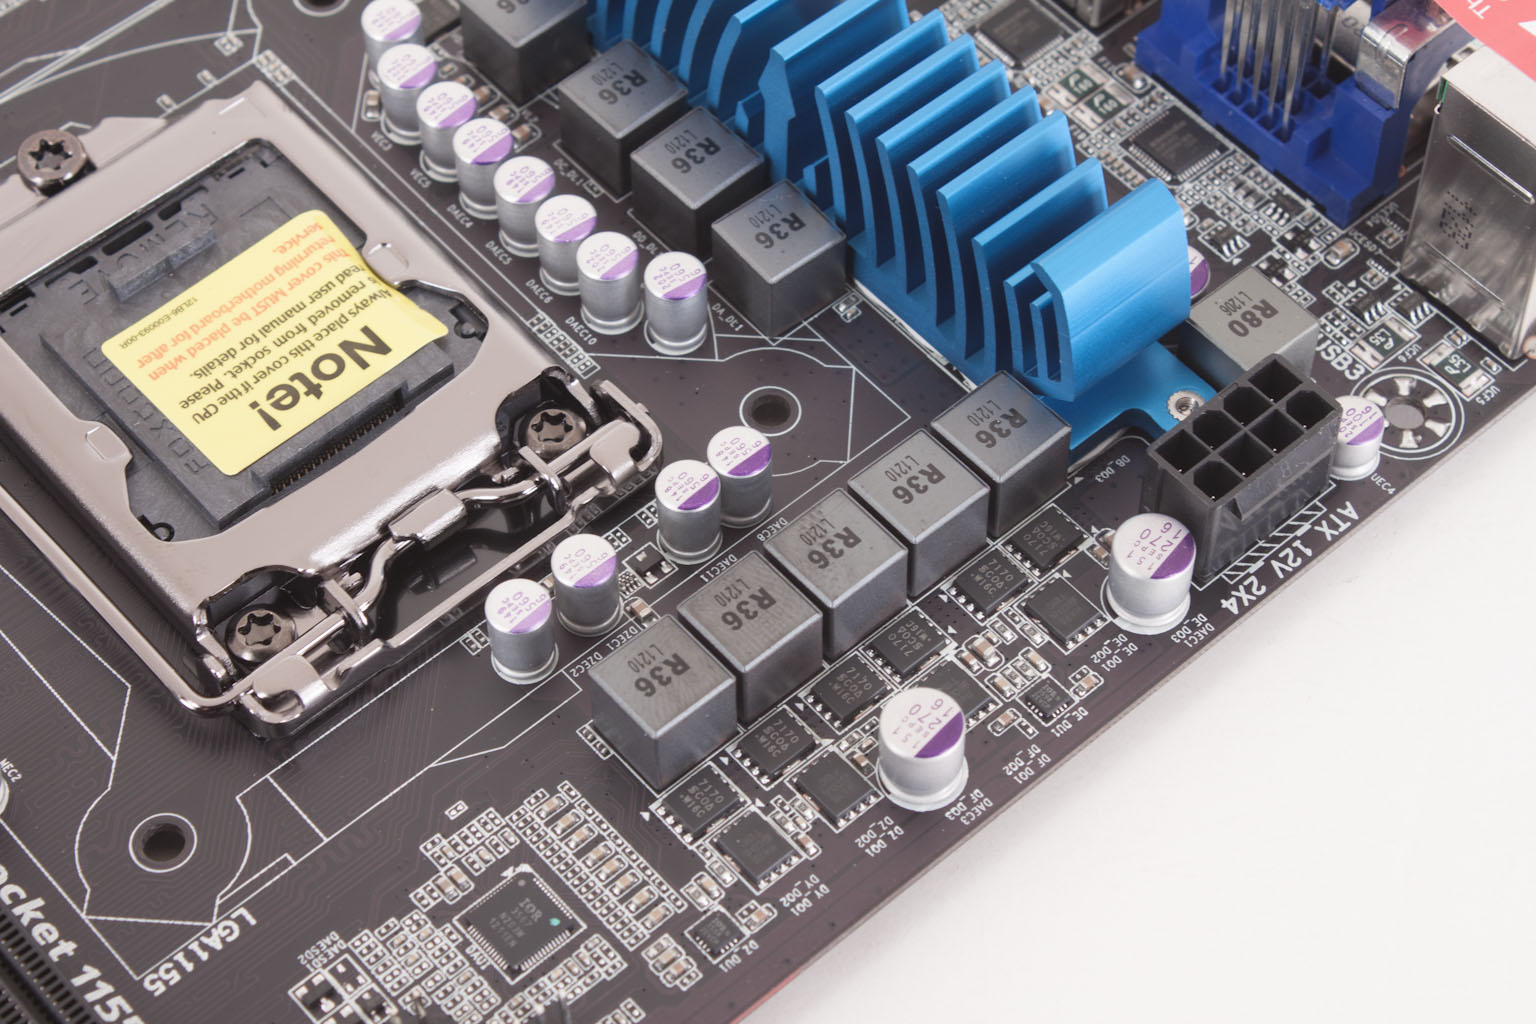
Checking out the voltage regulation for the CPU we find a nice layout, but as with most mid-range boards we are concerned about the lack of complete cooling in this area. The 8-pin Aux ATX power connector is in a nice place and as we show you in our video below, the heatsink is angled so that you should not lose any knuckle skin (we still recommend an extension cable though).
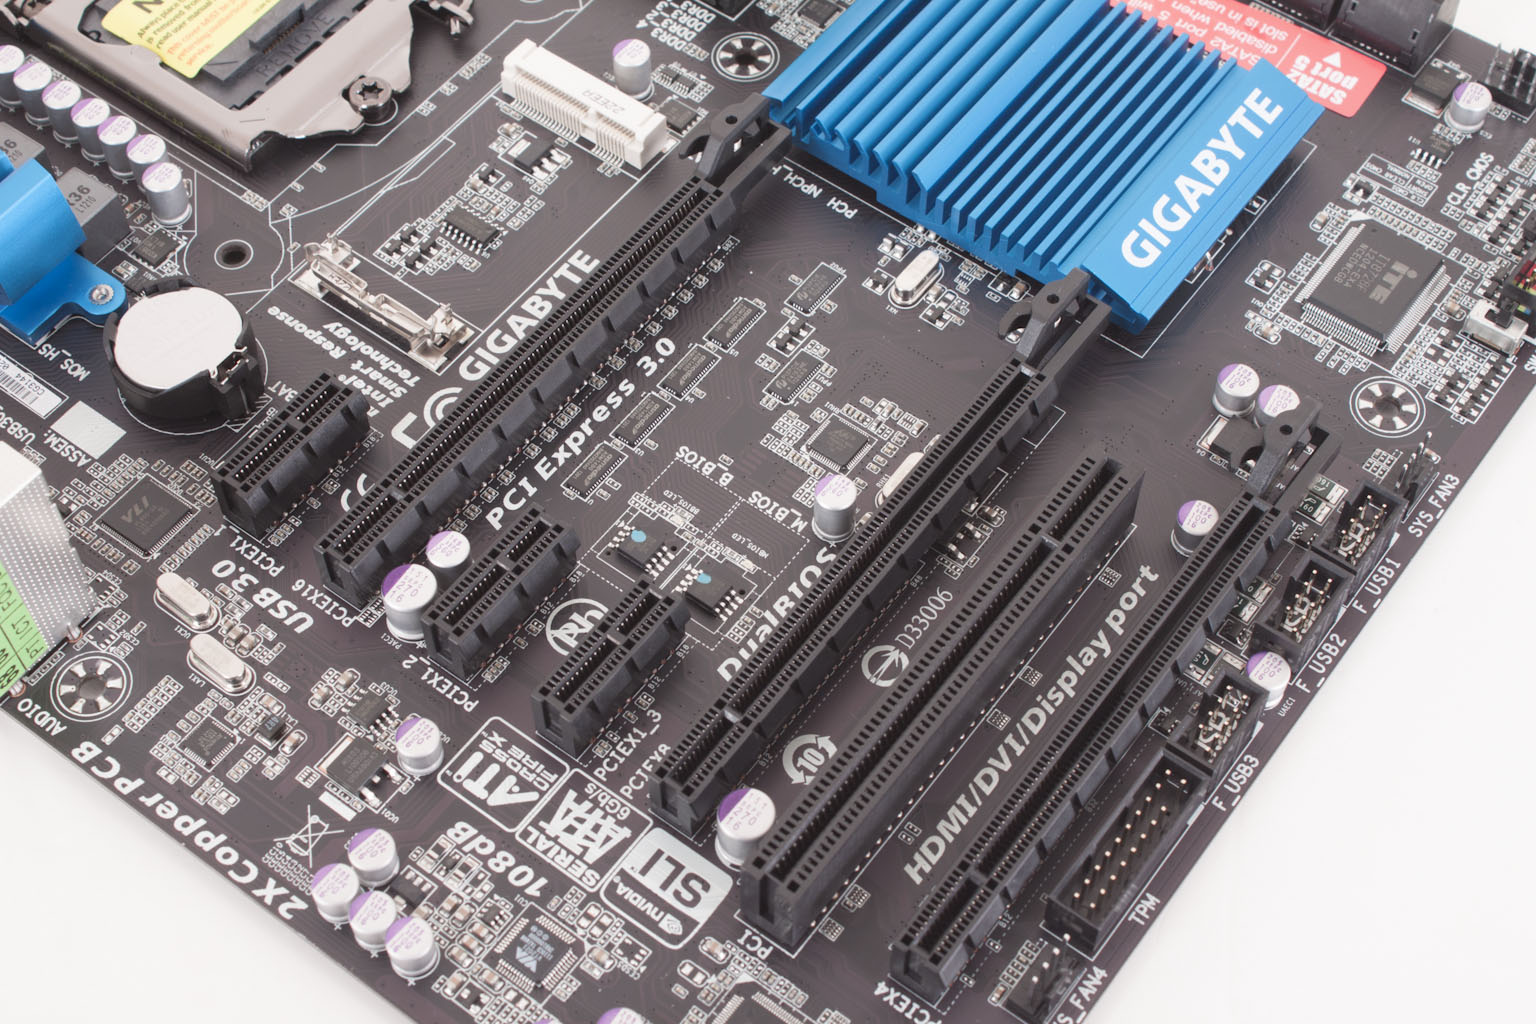
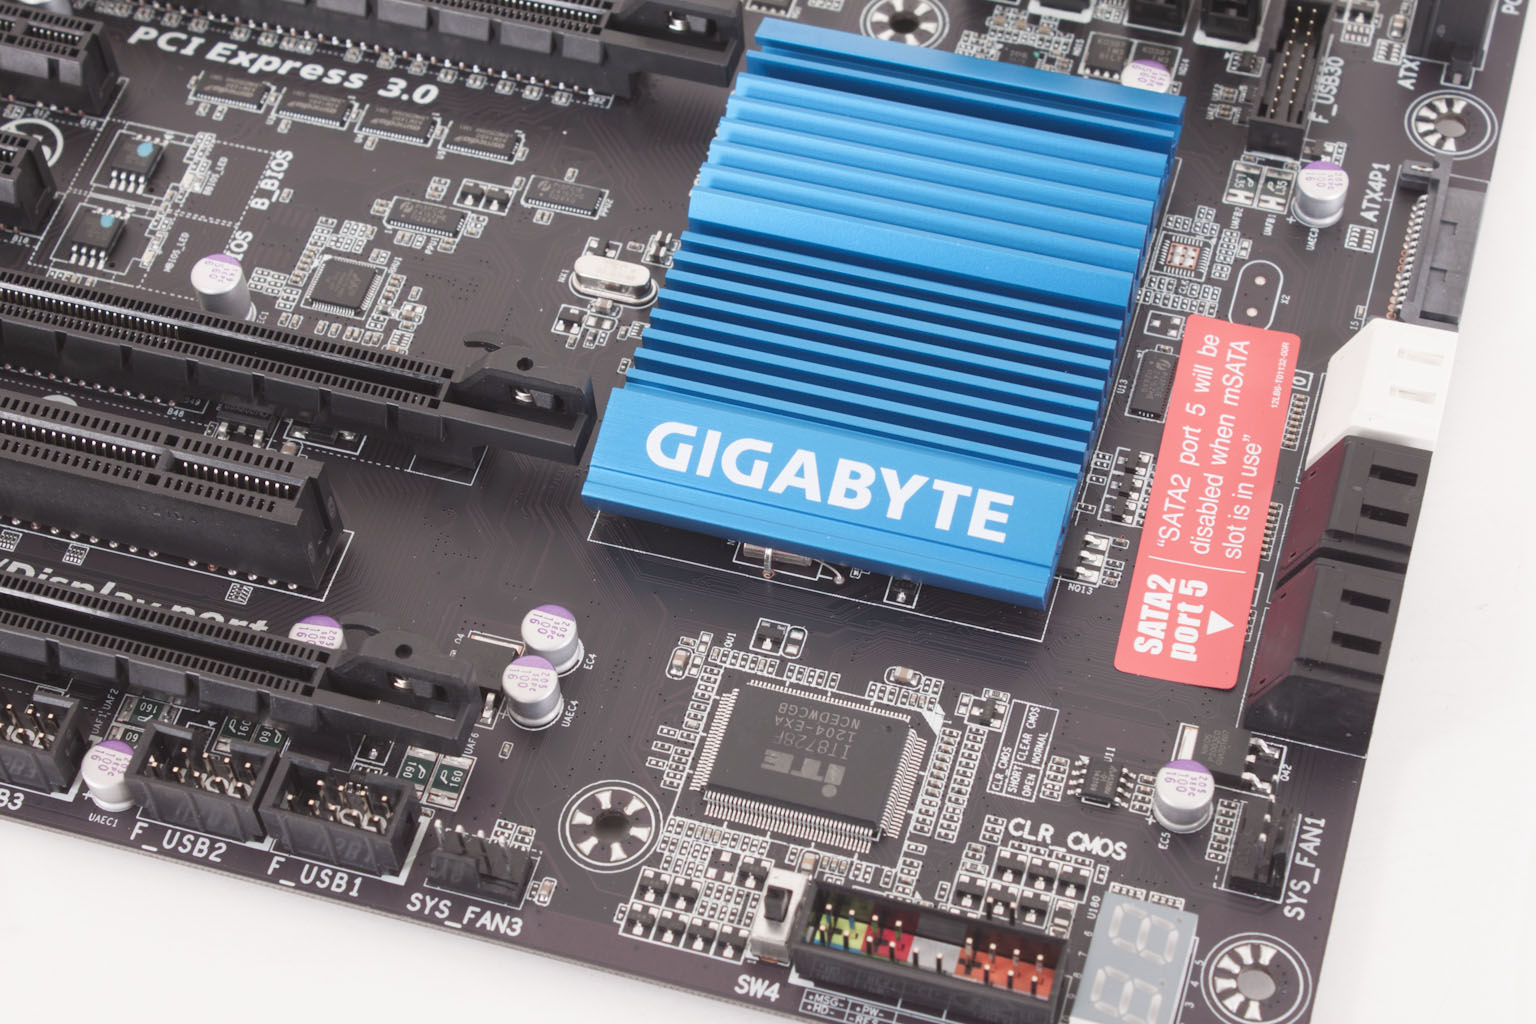
Moving down to take a look at the peripheral slots we find the now typical (with the Z77 that is) arrangement of one x16 PCIe Gen 3 slot and two PCIe gen 2 x8 slots. There are also a compliment of x1 slots and a single PIC 2.1 slot on the board (for good measure we guess). Along the bottom of the board we find a TPM (Trusted Platform Module) header (a 20+1 pin header) and a few USB2.0 headers. Checking out the PCH we find a fairly decent heatsink on the board and a note from Gigabyte. If you chose to take advantage of the mSATA connector on the board you will lose SATA 2.0 port number 5.
 |
 |
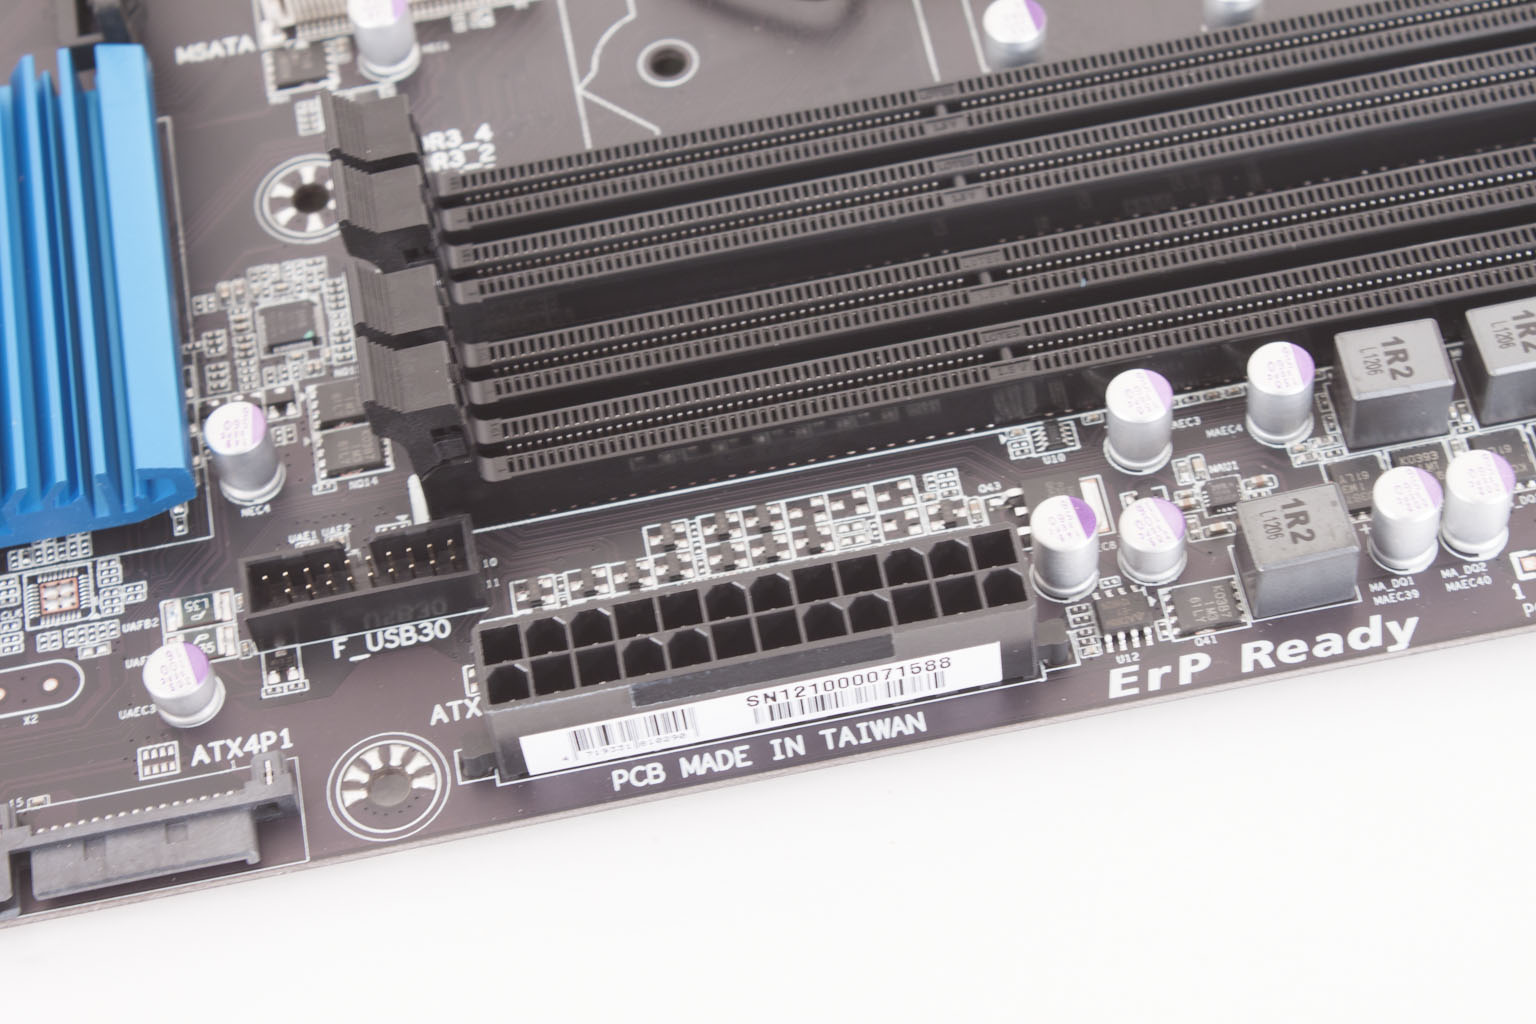
For extra PCIe power Gigabyte has chosen to use a SATA power connector rather than the more typical Molex connector. This has advantages and disadvantages; on the one hand there are often more SATA power connectors than Molex on modern PSUs, but on the other your typical SATA power connector and be bulky and flimsy. A good shock here could break it off.
 |
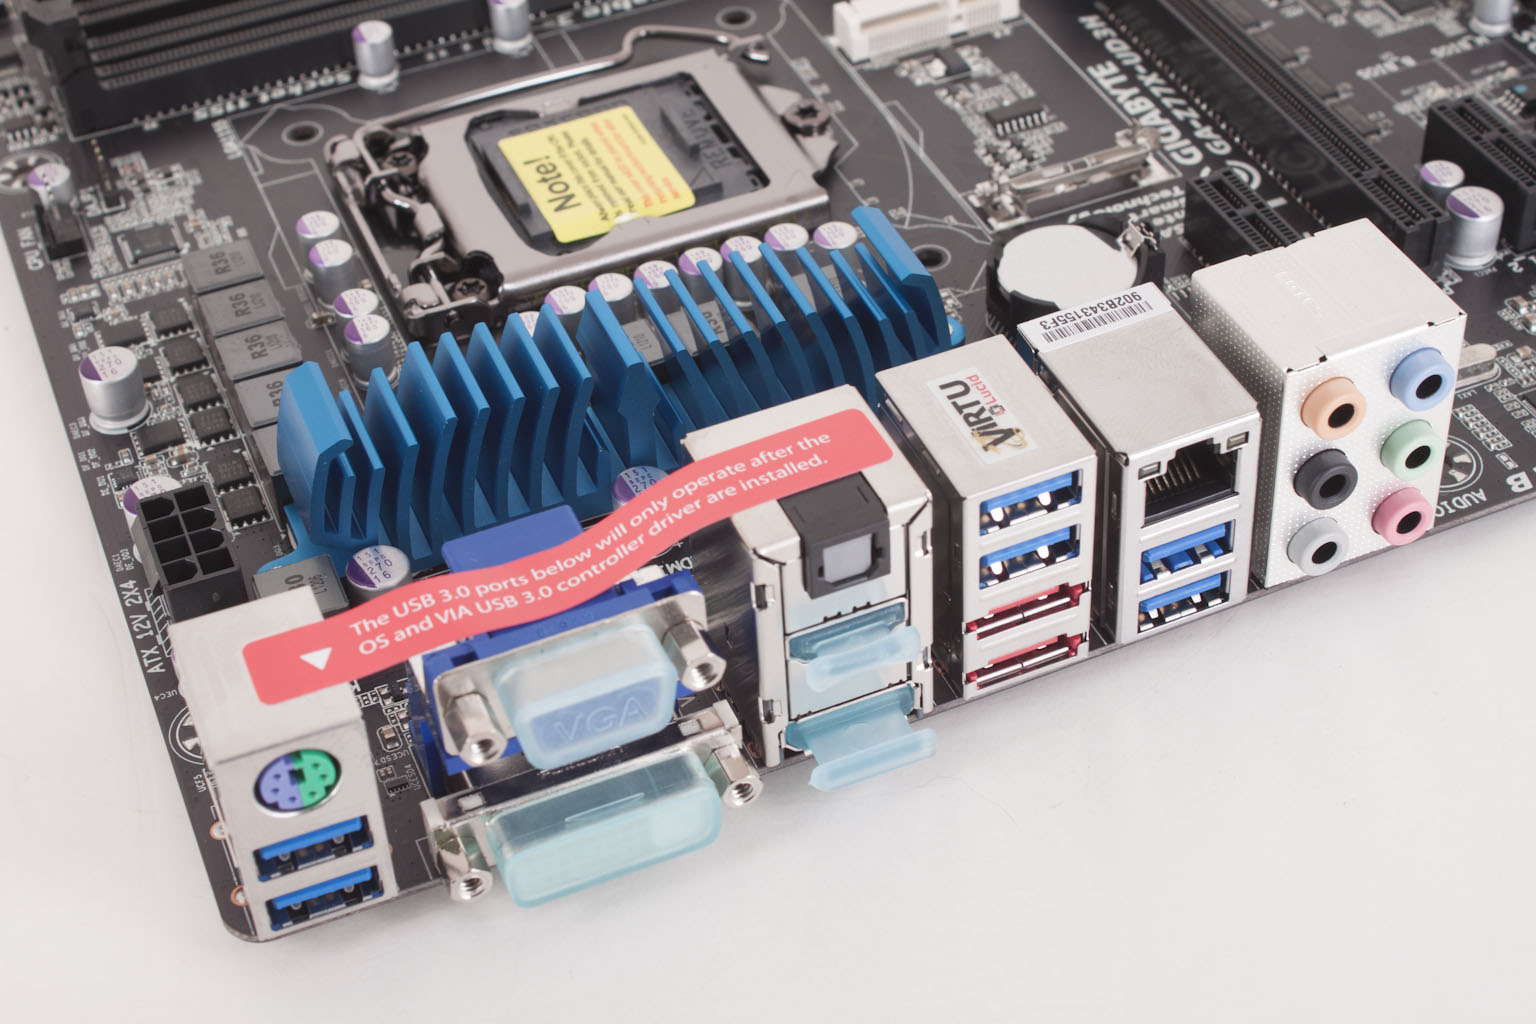 |
Flipping things around to the I/O ports we find a friendly warning letting us know that the USB 3.0 ports directly under the P/S2 ports will not work until you install drivers. This means that if you are using a USB keyboard and mouse you will want to use one of the other four USB 3.0 ports that are back here, or plug in a USB 2.0 adapter into one of the onboard headers.
Overall the GA-Z77X-UD3H is a solid board with some nice options. You can check out our video below for more information.
