Reading time is around minutes.
The Layout -
The layout of any motherboard is important. Even simple mistakes in component placement or the signal traces can cause major issued in performance and stability. With the ATX form factor we find that this is even truer; the devices we drop onto them demand more and cleaner power while the signal speeds push faster and faster. As we mentioned (and it says on the box) the Asus P8H67-I Deluxe is a Mini-ITX motherboard. This means that it is only 6.75 inches square. This small size can make for difficulties in trace tuning and component layout. To help relieve some of the design complexity Asus has opted to use SO-DIMM slots instead of the full-sized 240-pin slots found on other boards. 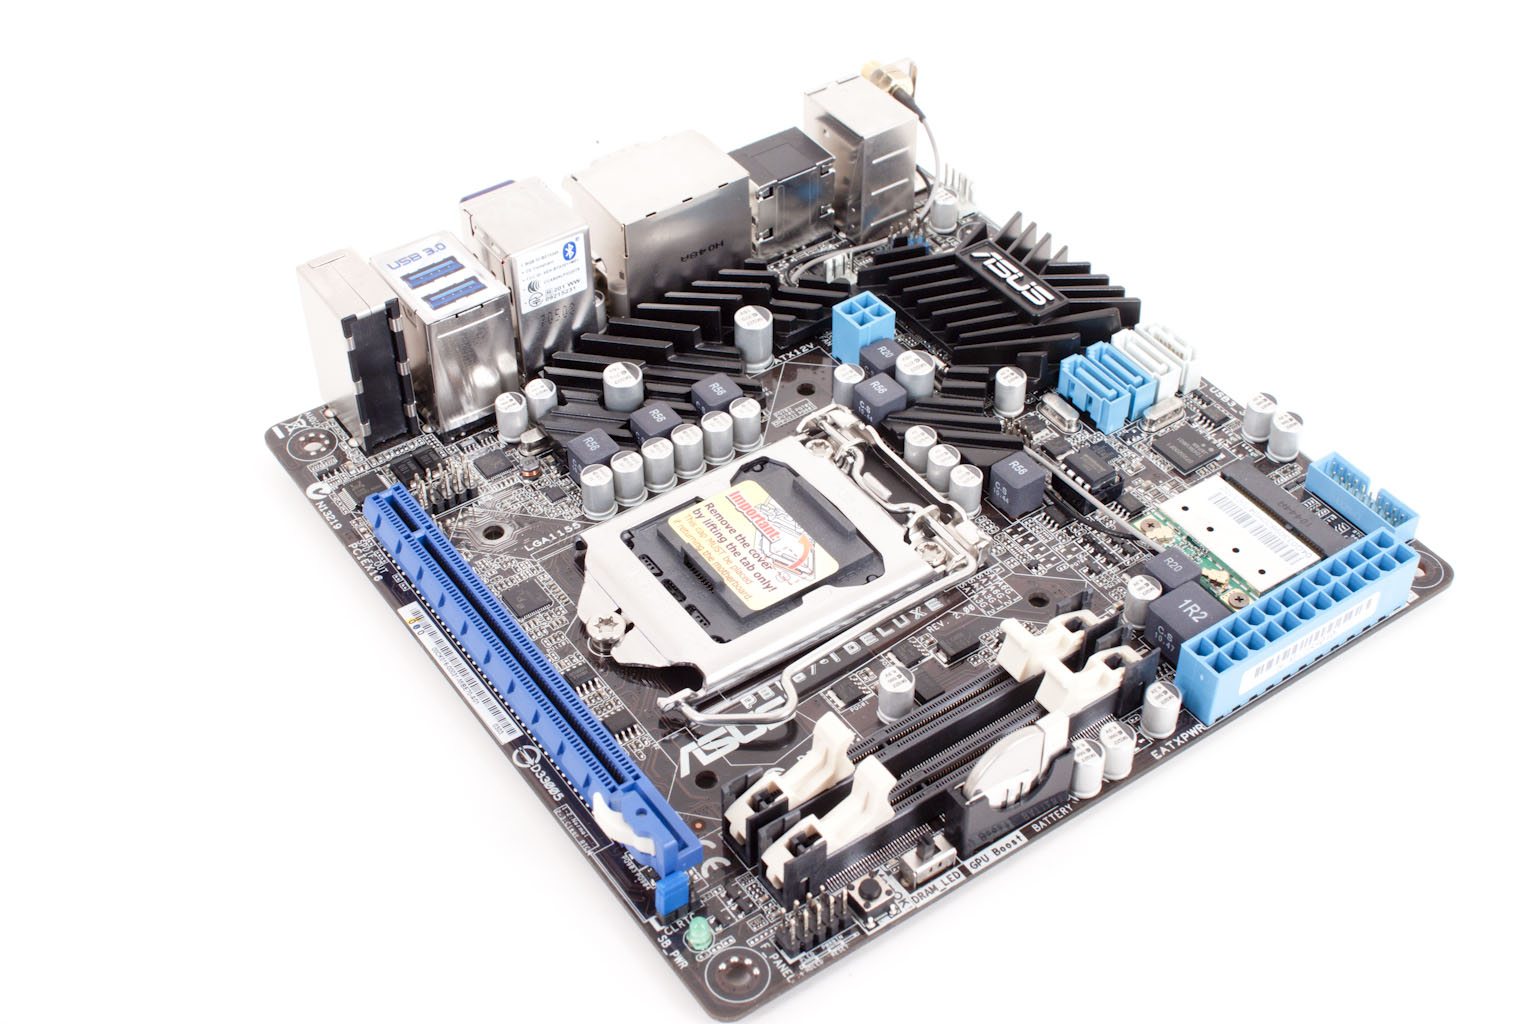
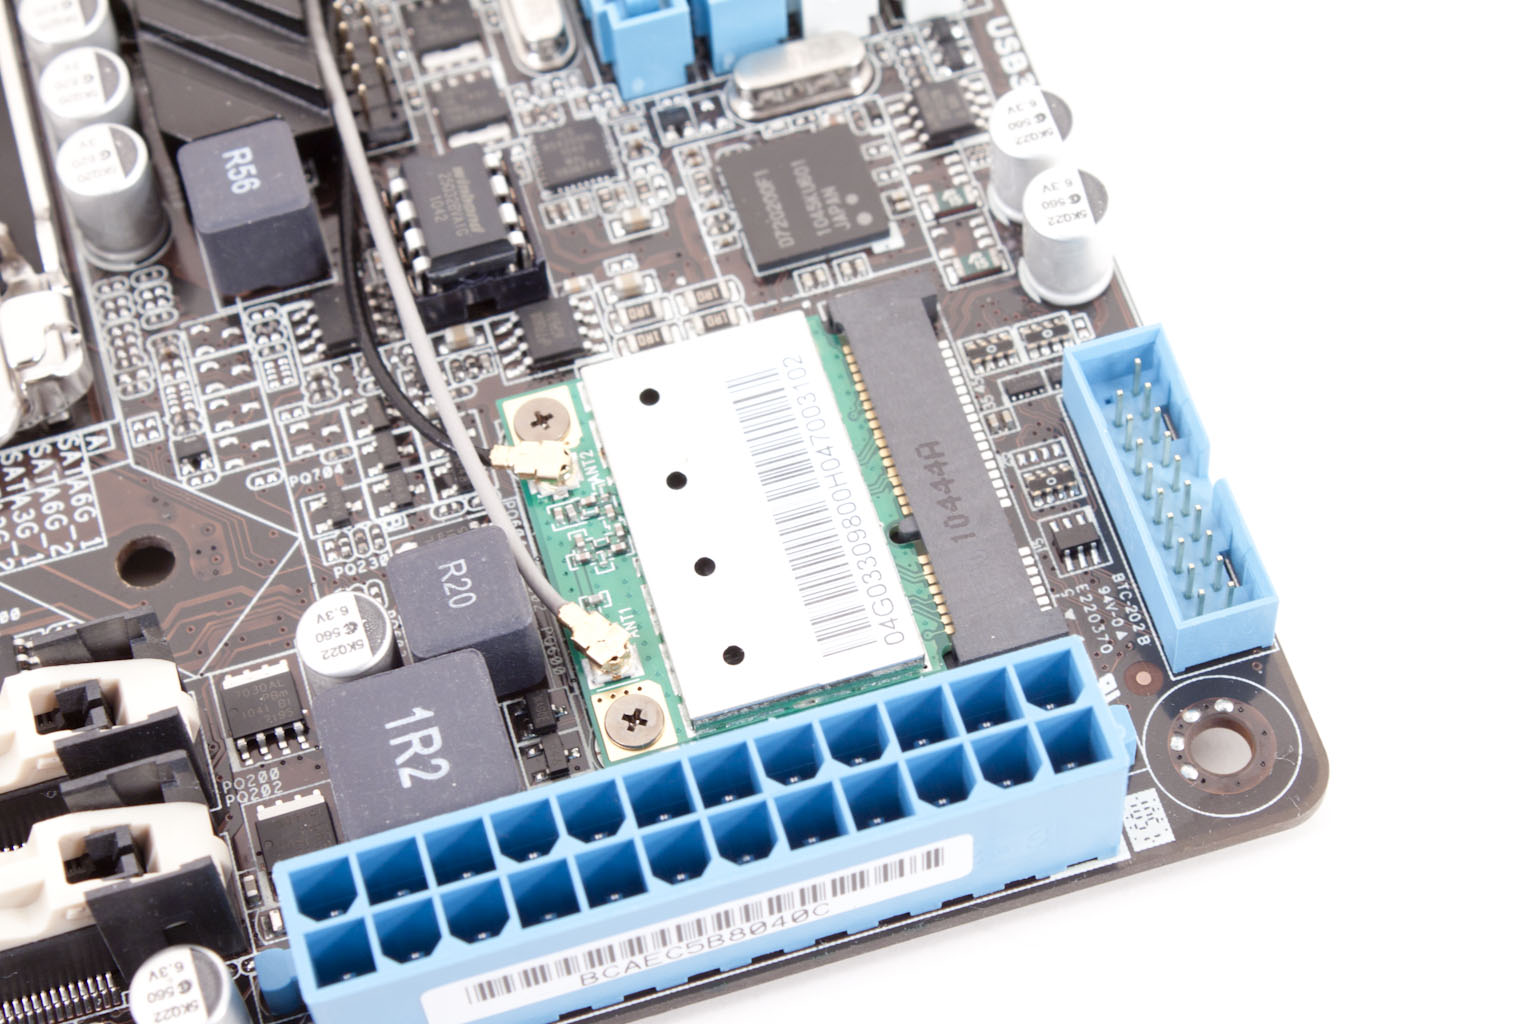
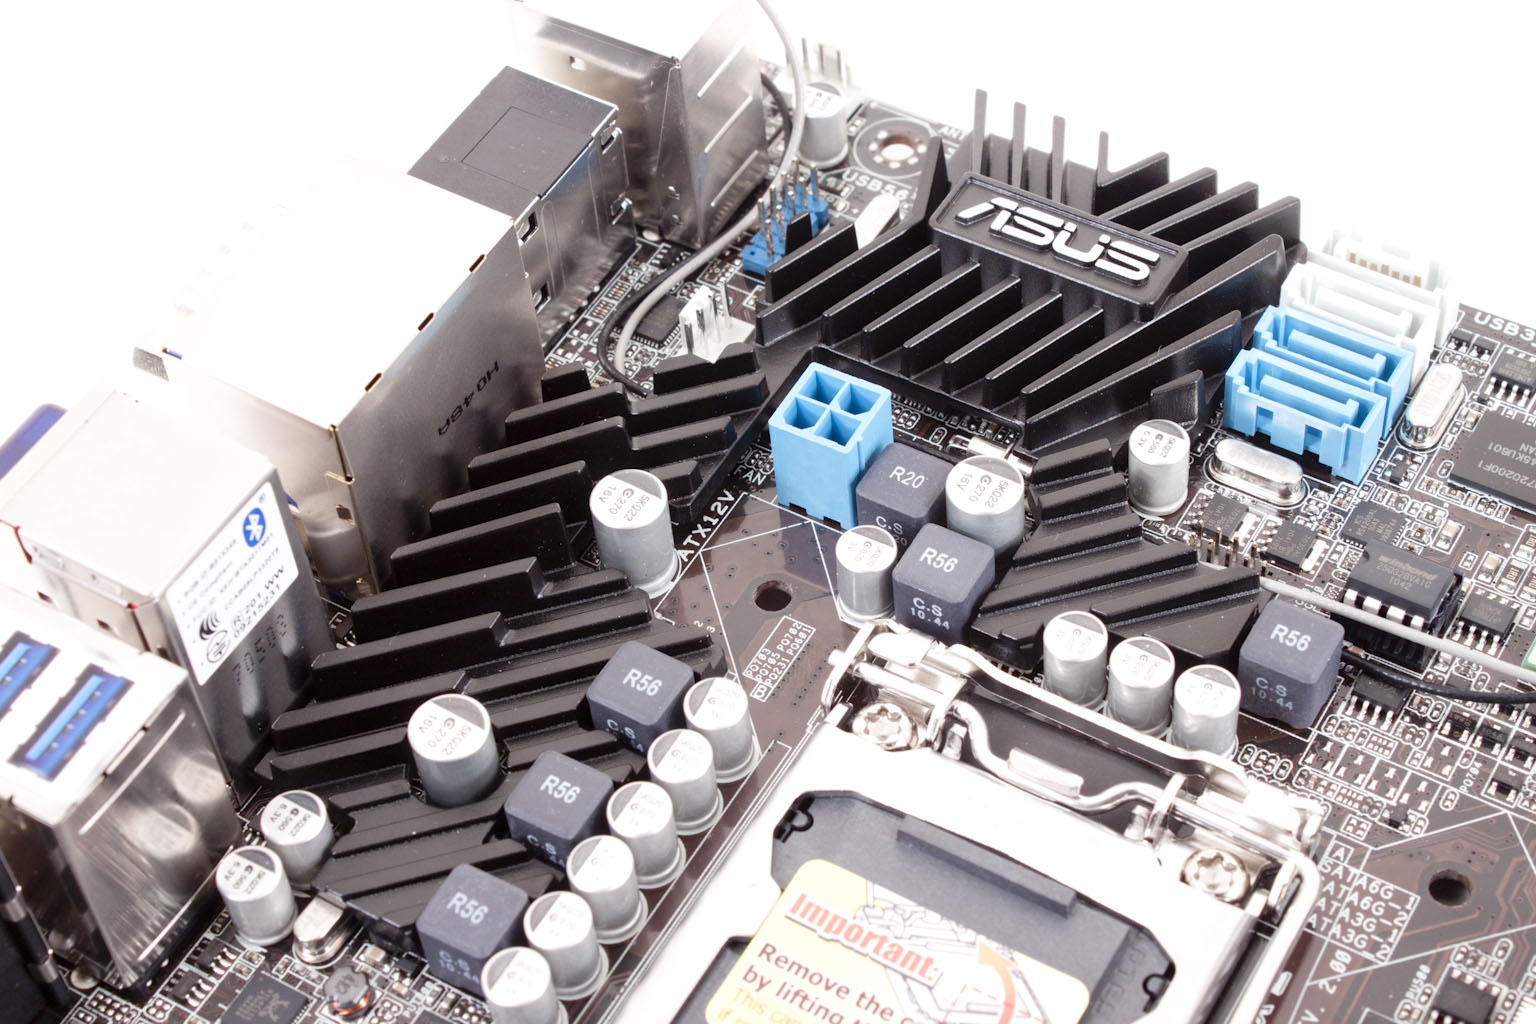
The Mini-ITX layout throws our normal walk around out the window, but we will start off around the 24-Pin ATX power connector and work our way around from there. As you might expect the P8H67-I Deluxe is a cramped and somewhat chaotic board. Even up by the power connector we find very little open space on the board. We do find the add-in Wireless Network card and the USB 3.0 header up here though. Not too far from these we find the four SATA ports (2 are SATA II and Two are SATA 3.0). Interestingly Asus has opted for a very solid heatsink design that covers not only the H67 chipset but also most of the power regulation on the board. In the middle of this is a single 4-pin aux power connector to help keep power to the board.
 |
 |
Moving just a little bit we find the CPU socket and RAM slots. The CPU area is not that clear so you will need to be selective in your choice of cooler. Almost any of the stock Intel coolers will work but the larger the cooler the greater chance you have of blocking the single PCIe x16 port on the board. Also visible in this shot is the switch for the GPU Boost. This little switch enables of disables the GPU Boost feature (which is an internal overclock of the GPU on the Intel CPU). A feature that is becoming a standard item is the MemOK! button. This allows you to quick setup the most compatible timings for the memory you have installed. As you look at this picture you can see what I am talking about when I mention trace tuning. With the Mini-ITX form factor there is very little room to extend traces or to curve them for best effect. Added to this is the limited “open” space on the board which makes finding places for posts even more difficult (a post is a tube or hole through the layers of the board that allow traces to connect to different layers).
 |
 |
One thing that is different at this level is the lack of an Intel LAN chip. For the MiniMax series it seems that Asus has opted for a Realtek RTL8111E and a Realtek Wireless controller as well. These should be more than enough, although the Intel LAN controllers are much better performers. Moving around to the back and looking at the I/O ports we find what is a fairly typical layout with a few nice exceptions. Above the two red USB 2.0 ports is a blue plastic tab (for lack of a better word). This tab covers the Asus BT Go transceiver. Adding Bluetooth 2.1 to the board is a nice touch and will allow the use of longer range wireless devices (if you can find them). On the other end we see the dual antenna connectors for the n Spec wireless adapter. By using two connectors you can increase the speed of your connection and improve data throughput. By not forcing the normal antenna on you Asus is allowing you to put the case that holds the P8H67-I Deluxe out of the way and still setup your wireless antennas for optimal reception.
 |
 |
Before we move on to features I want to flip the board over and take a look at the back side. On many Mini-ITX boards the lack of space causes manufacturers to place needed components on the back. This can have an adverse effect on the type of cooler you can use. If there is a voltage regulator in the way you will not be able to put the right mount in place. On the P8H67-I Deluxe we do not see much that would be a cause for major concern except for one spot. Near one of the mounting holes there are a few components that are very close. These could interfere with a bracket as could the line of resistors along the socket mount. We will see if we run into any issues in the second half of our review.
 |
 |
