Reading time is around minutes.
BIOS -
BIOS is an acronym that stands for Basic Input/Output System. It is meant to control your product at a very low level. As of right now there are three regularly used BIOS formats (there are actually more than that but there are three common ones). These are the AMI (American Megatrends Incorporated), Award, and Phoenix. As the Sabertooth is a P67 board it has an EFI BIOS for you to tinker in.
 |
 |
 |
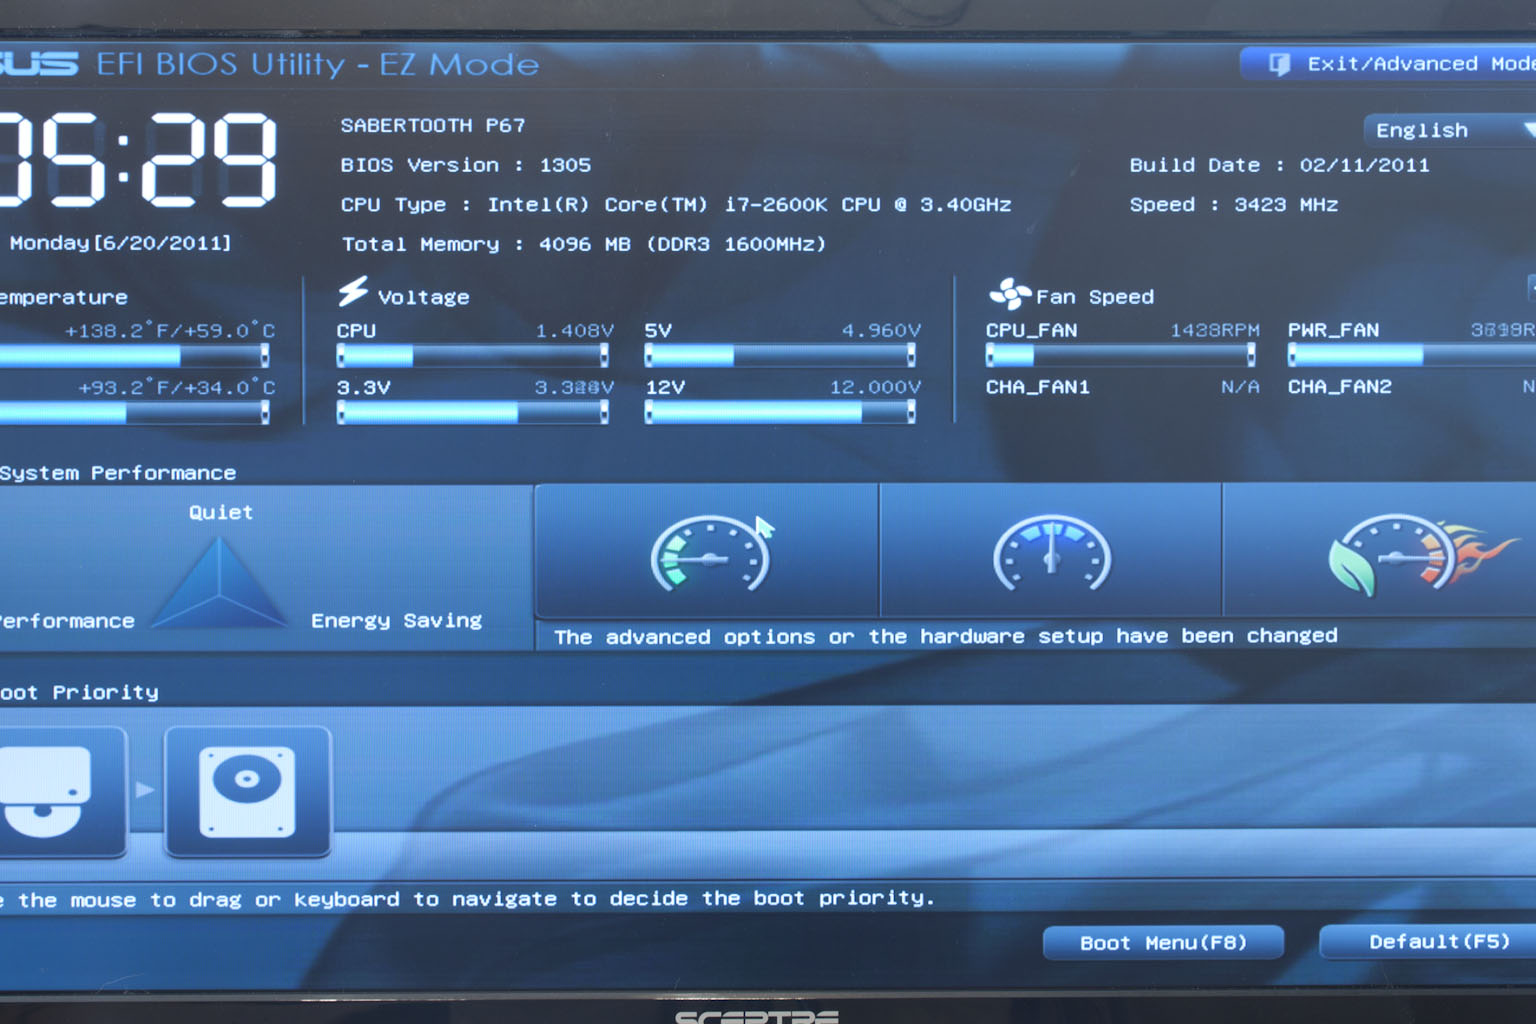
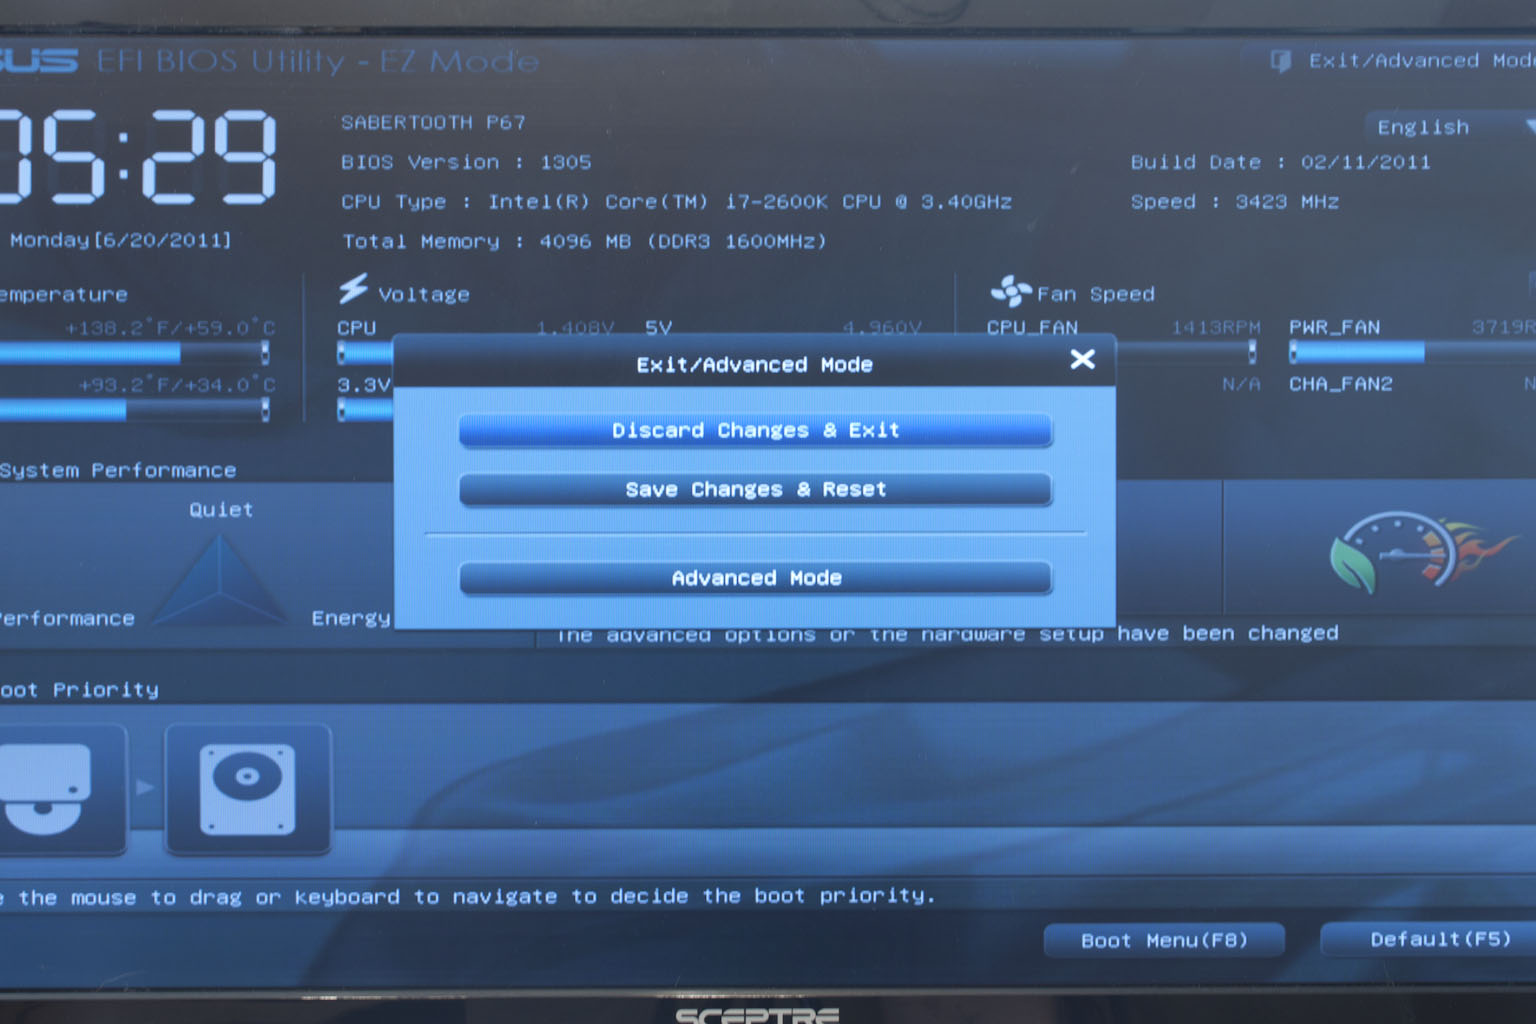
When you first enter the BIOS you find yourself on something of a landing page. Here you can do quite a bit (although there are no advanced overclocking options). Asus has made sure you can set your EPU to the type of performance that you want. This used to be a Windows only software, but now that it is in the BIOS everyone can use it. To get to the real (to the enthusiast) settings you simply click on the Exit/Advanced button on the upper right-hand corner. Once in the Advanced Mode things will look much more familiar. The AI Tweaker page is here as well; for those of you not familiar with Asus BIOSes this page is where all of the major tweaks for overclocking are. Within the EFI BIOS navigation is made much easier since you can now use your mouse to move around.
 |
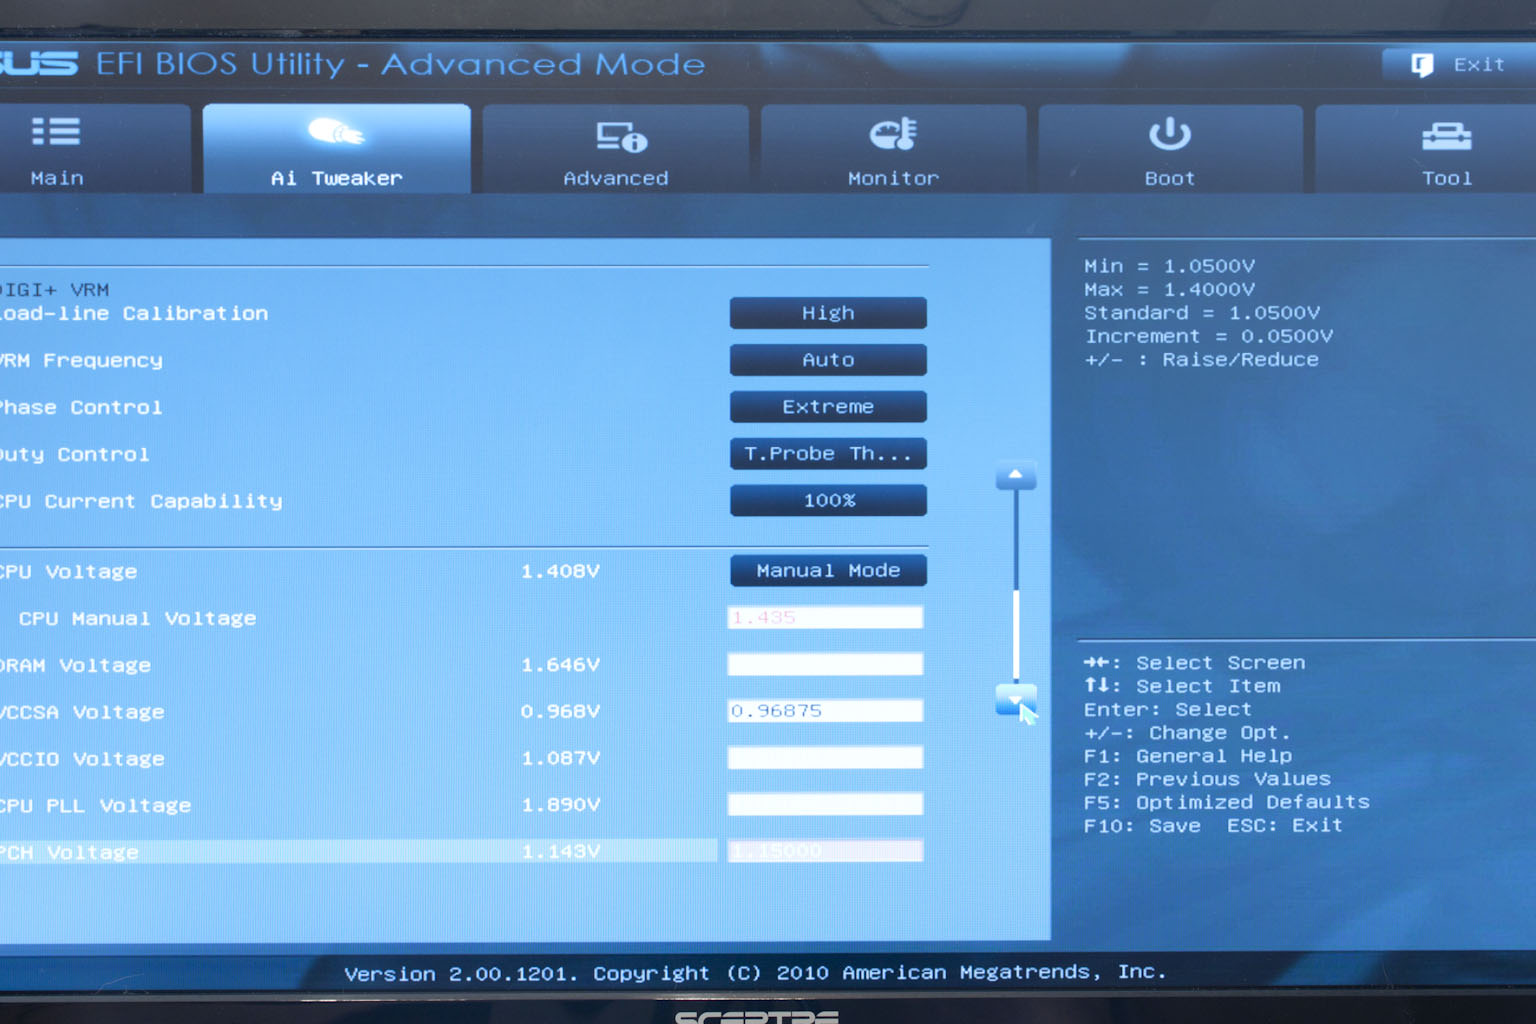 |
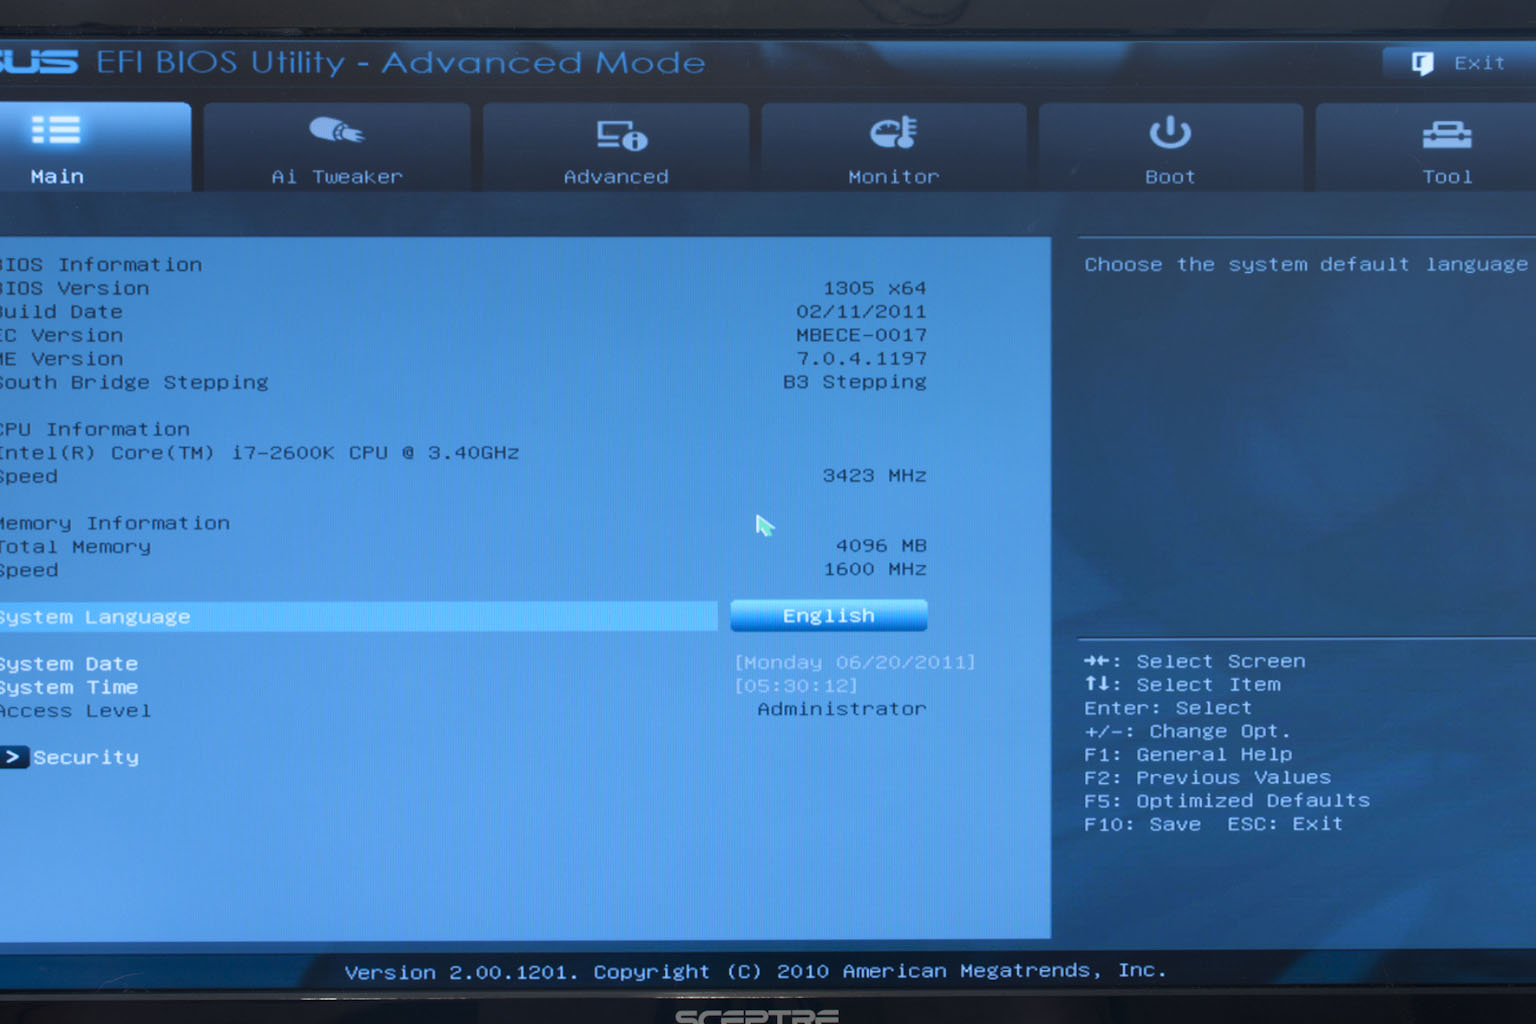
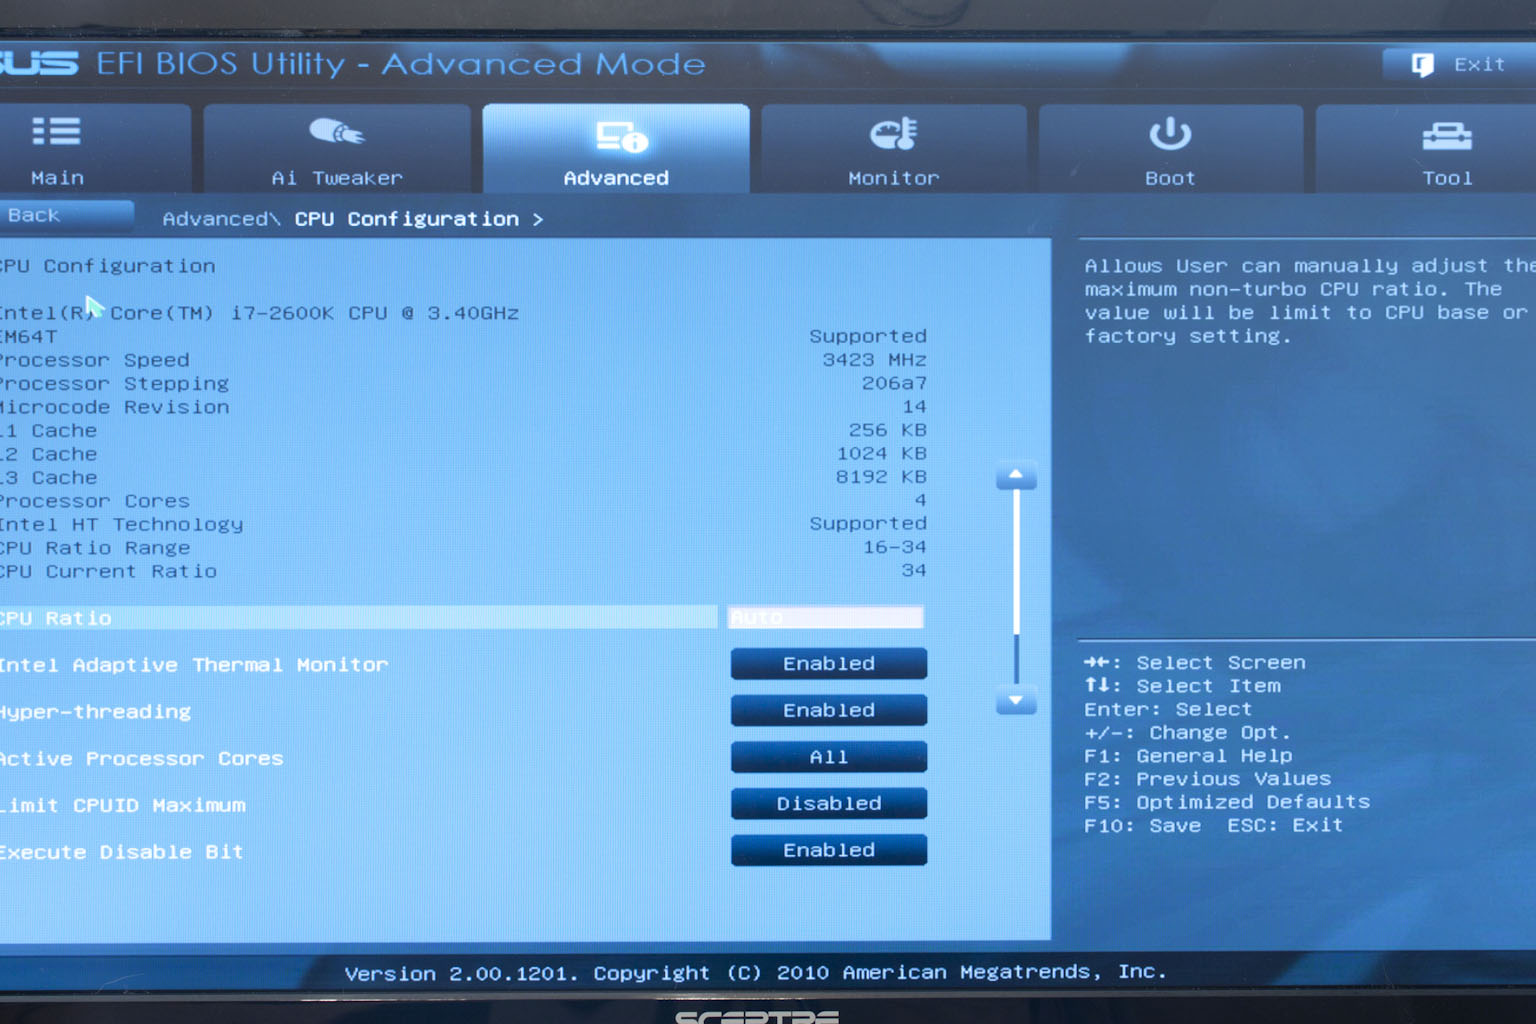
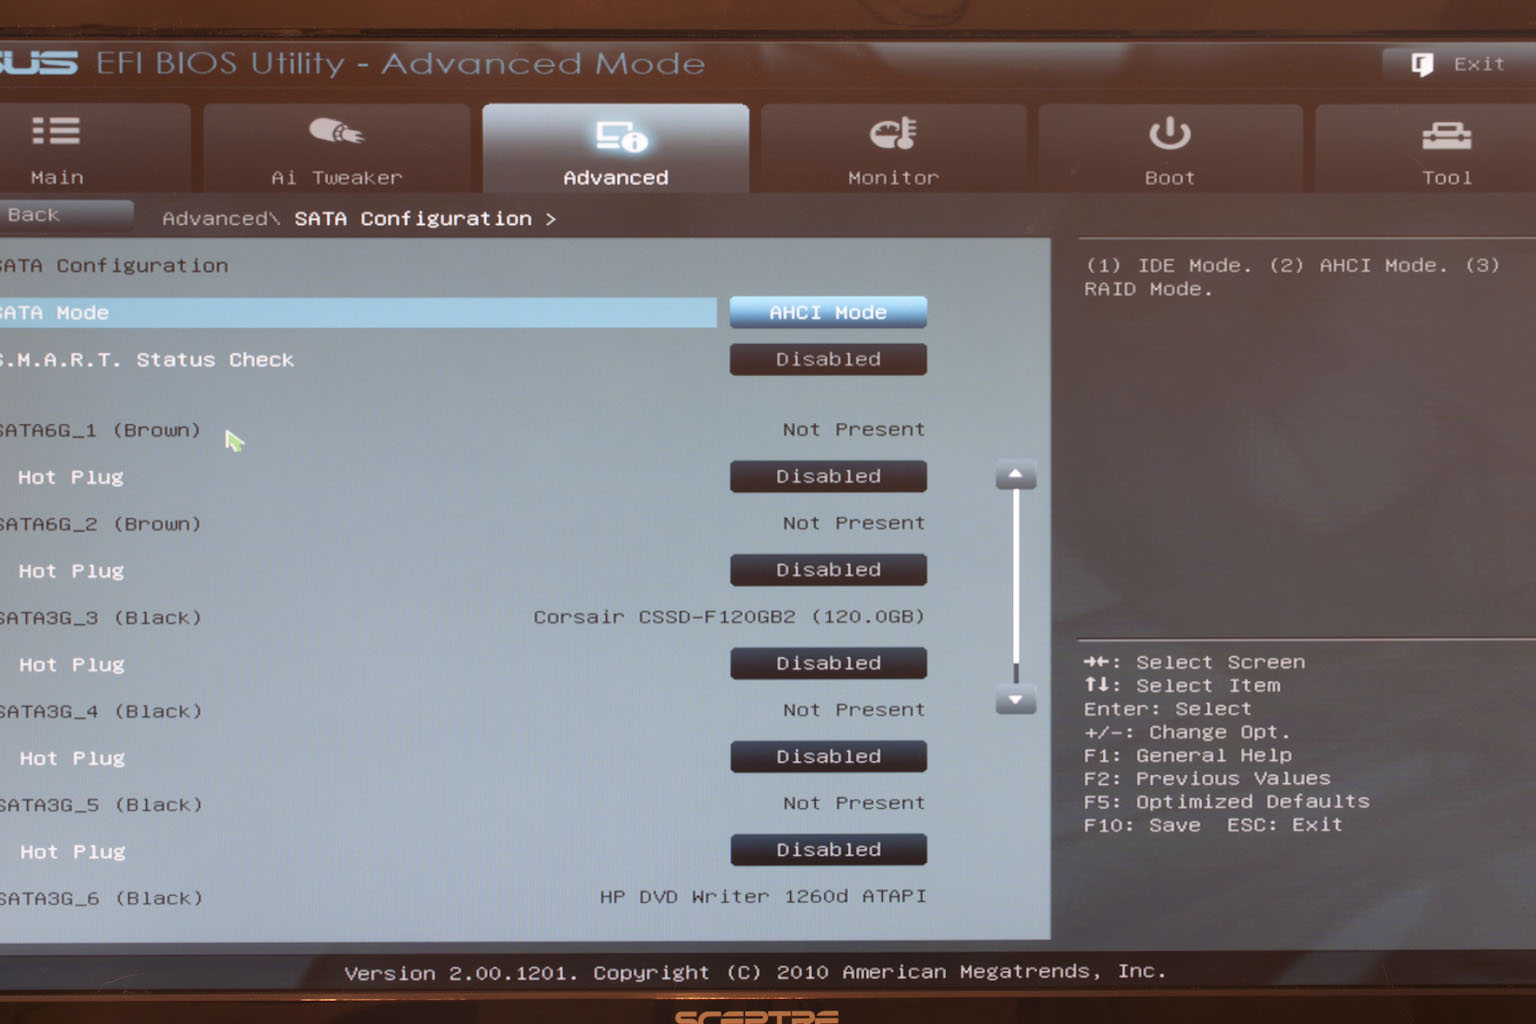
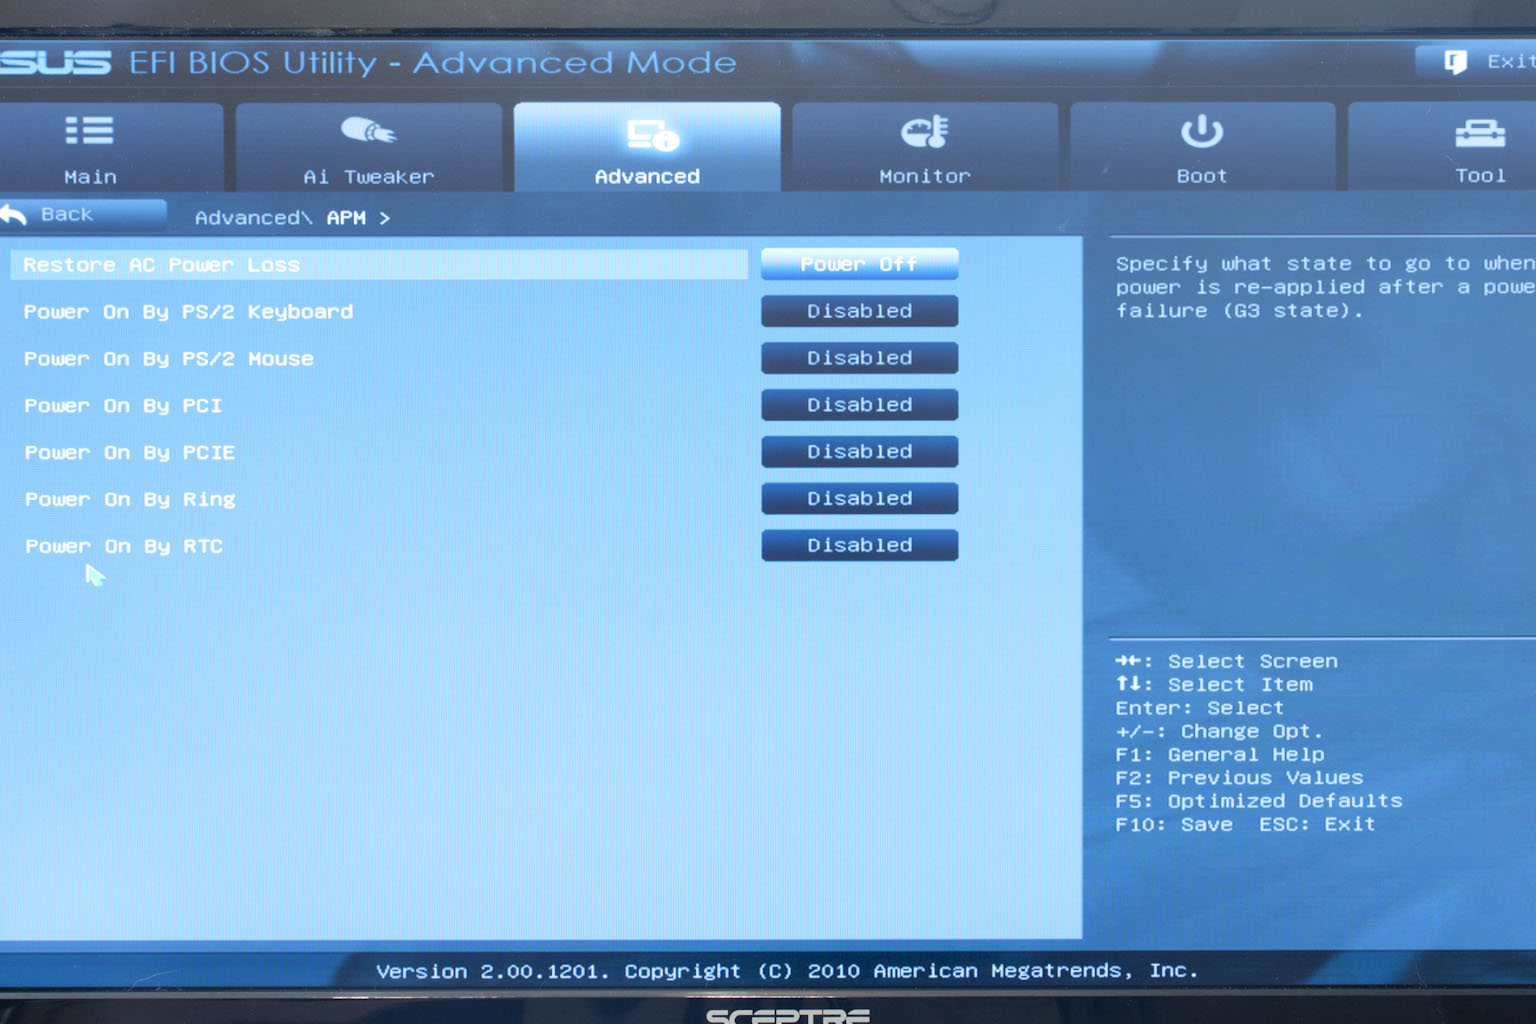
The rest of the BIOS is really not much more than a re-skinned (regular) Asus AMI BIOS. It is still nice, but as you move around it will feel very comfortable to anyone that has used an Asus motherboard before.
 |
 |
 |
 |
 |
 |
Overclocking -
Overclocking a P67 board with any Sandy Bridge CPU is very simple. On the Sabertooth things seemed even easier. When we kicked off our Overclocking attempt we started off high (50x100) and expected things to fail. However, we were able to get into Windows although it was not stable at all. To get to stability we only had to drop the multiplier down by one and we had a very nice overclock for our 2600K. This overclock matches the highest overclock that we have gotten with this particular CPU.
You can see our final clock below.
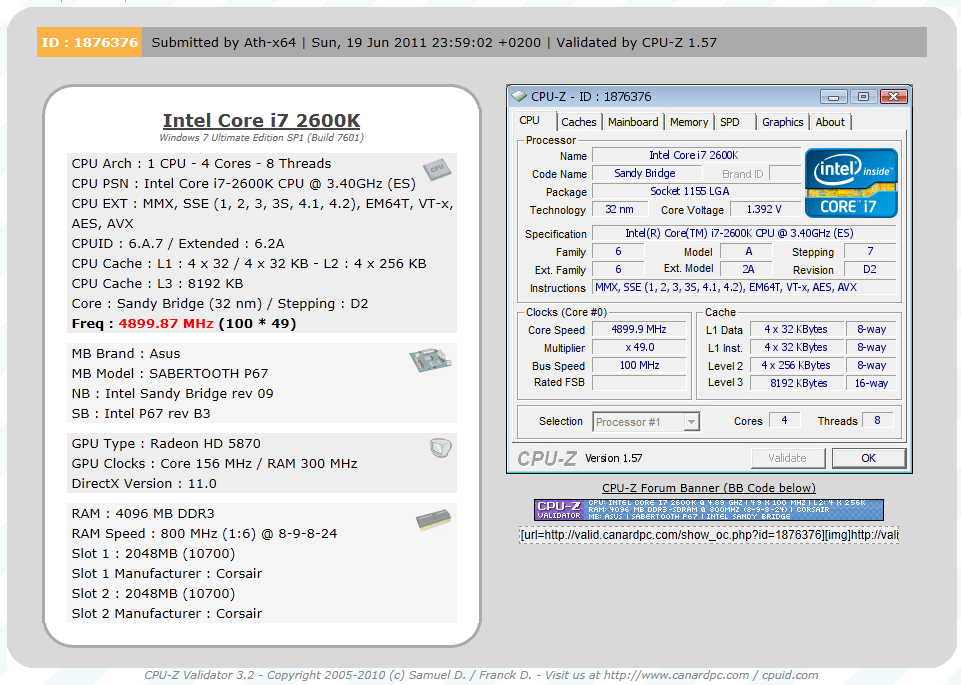
Of course overclocking is a picky subject. I can buy to identical CPUs from the store and they will not always perform the same way under stress. This is the same with motherboards, RAM and GPUs. So again it is important to keep in mind that our results represent a specific hardware configuration. Yours may be similar but will rarely be identical.
Overclocking Tools -
I like Asus’ AI Suite II overclocking tools. They are well laid out, clean and have a nice look to them. I also like the fact that Asus uses a simple launcher which puts everything just a click away. To open this all you do is double click the AI Suite II Icon in the system tray (the area next to the clock). This opens up the launcher which we will cover in some detail here.
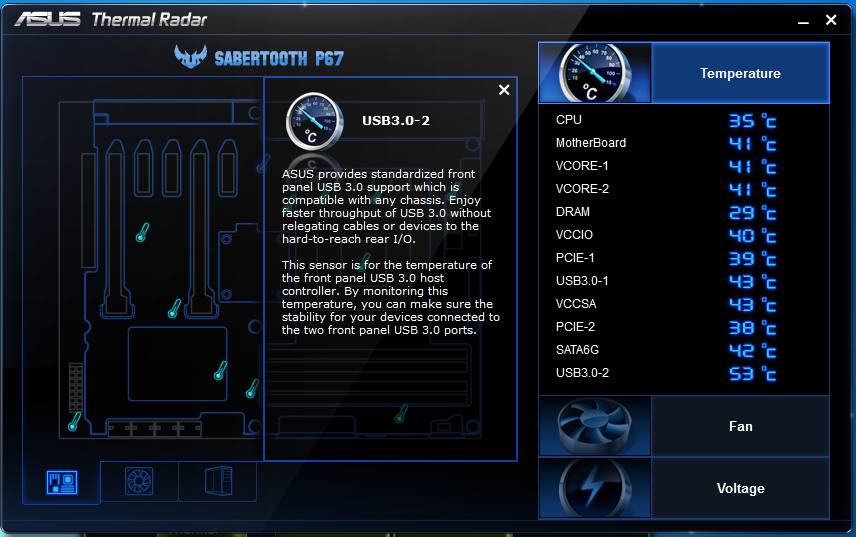
The first thing you will see in the launcher is the thermal radar icon. We talked a little bit about that in part one of our review. Now we have the chance to add some detail that. Thermal Radar is a UI that allows you to monitor some 12 thermal sensors on the Sabertooth. Each one is located in a spot that is of concern for performance and system longevity (for example under the CPU). You can click on each one of these and get information on it. 
 |
 |
 |
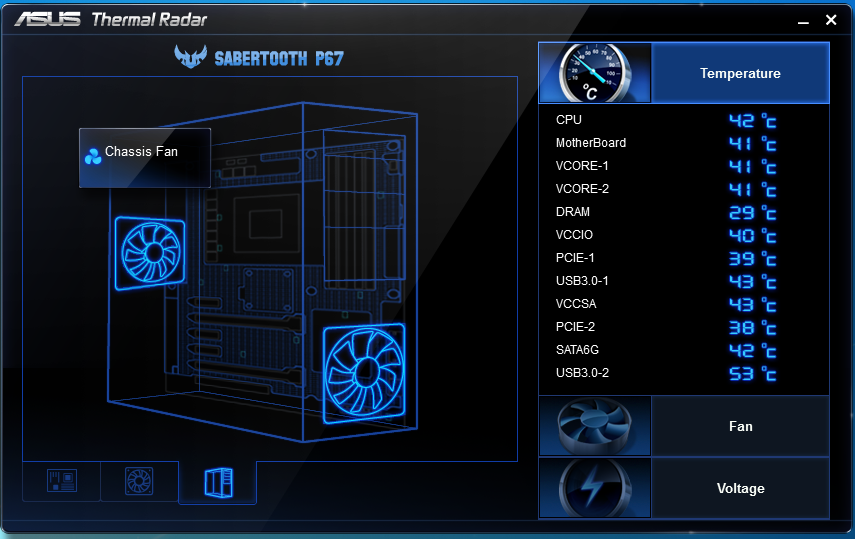 |
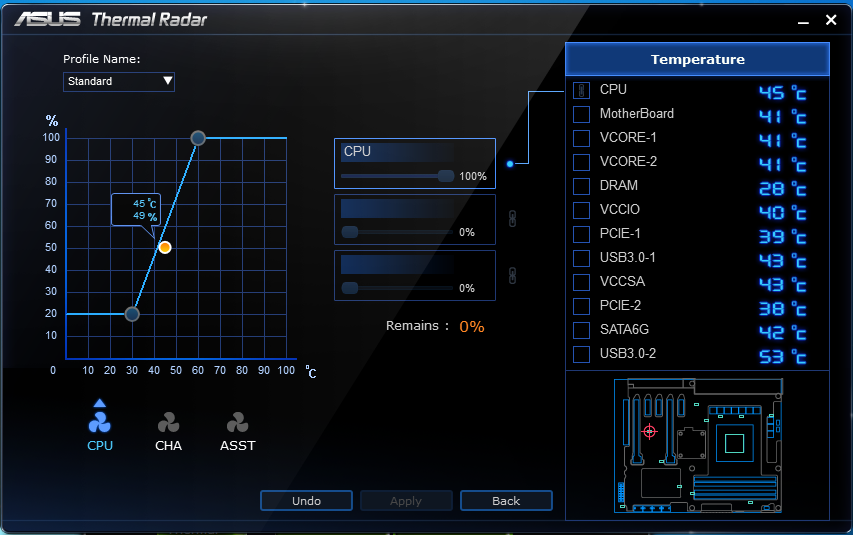
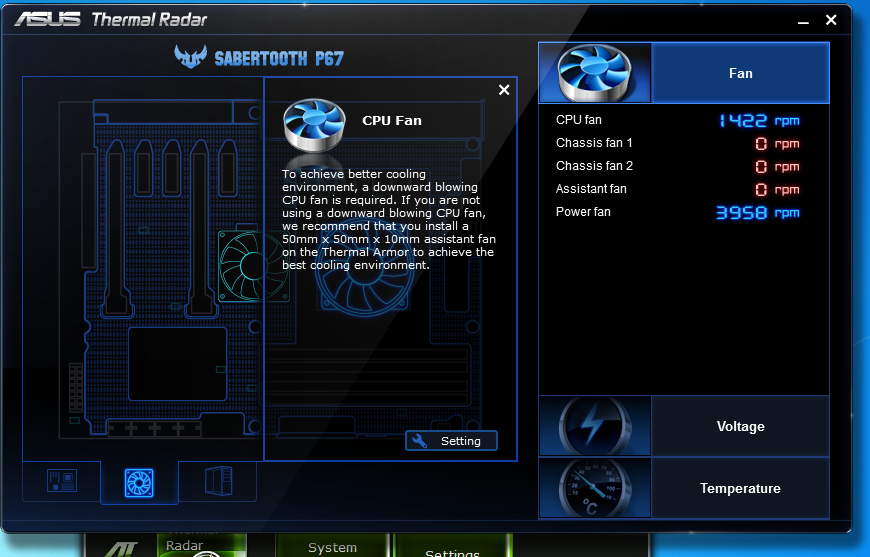
Along the bottom of the main page are two additional tabs. These allow you to check out the fans installed on the board (including the CPU fan) as well any chassis (case) fans you may have installed. You can check each one of these as well as setup a fan profile for them. The one we show here is for the CPU. There is a lot you can do with this single utility and there is a lot more for us to cover.
 |
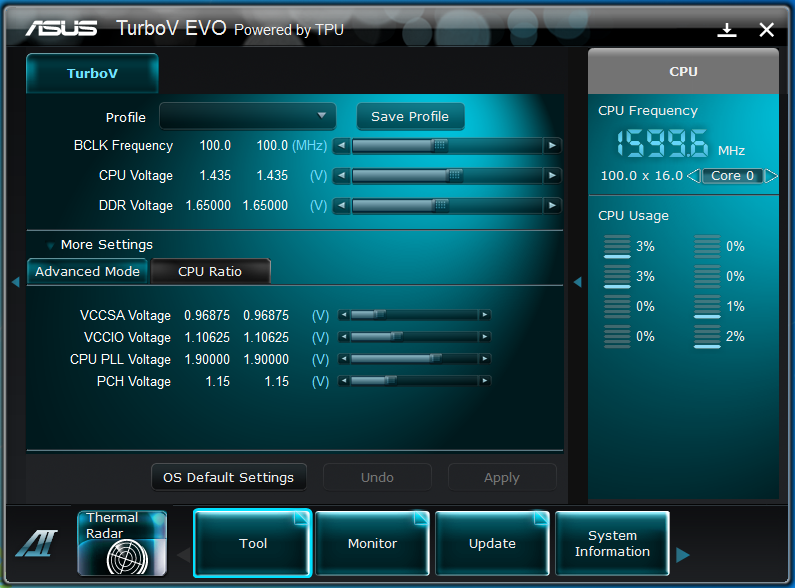 |
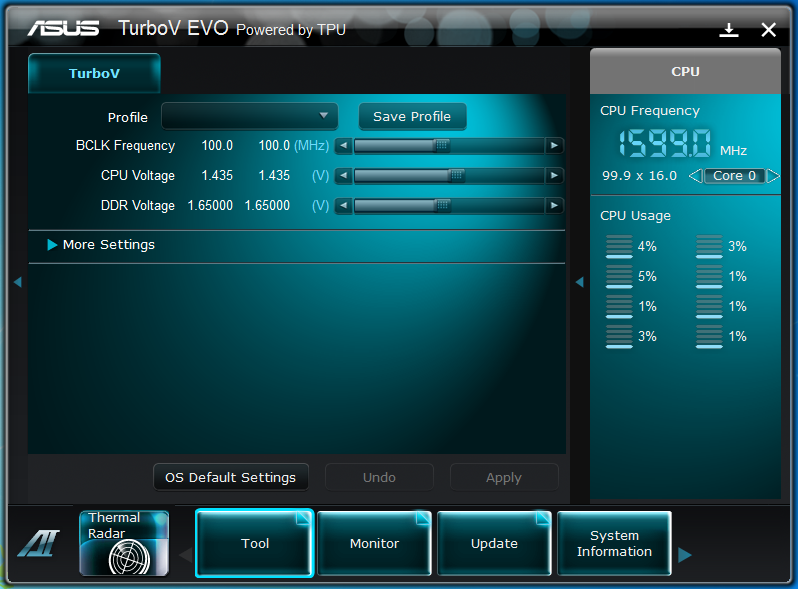
Getting back into the reason why we came to the AI Suite II in the first place we come to the overclocking tools; known to the rest of us as TurboV Evo. This suite has evolved over the last few years to be a very robust tool. It is still lacking the ability to adjust the memory speed (though multipliers or simple selector), but as even the tools that do allow this force you to reboot we cannot hold this against Asus too much.
 |
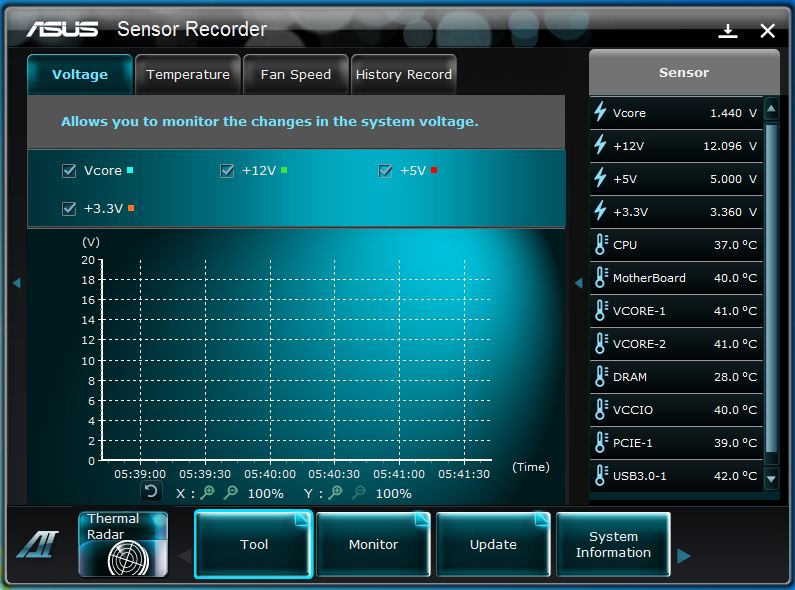 |
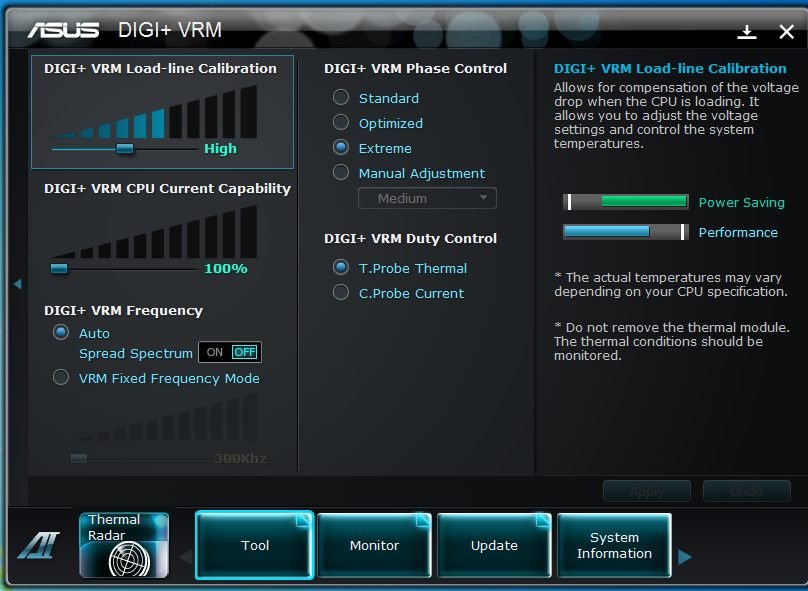
Also under the tools menu is the DIGI+ VRM. This is an excellent tool and one that we have found more and more useful in our overclocking. What you have here is some very granular control over the power regulation on the board. You can adjust the Load-Line calibration (great for helping maintain consistent power to your memory subsystem), current capability, the Phase control and much more. On the right of the screen you also get a very visual display of what your settings will do for you in terms of performance and also power efficiency. The Sensor recorder is just that. It allows you to set up monitoring of certain sensors on the Sabertooth and to record what they do over a period of time.
 |
 |
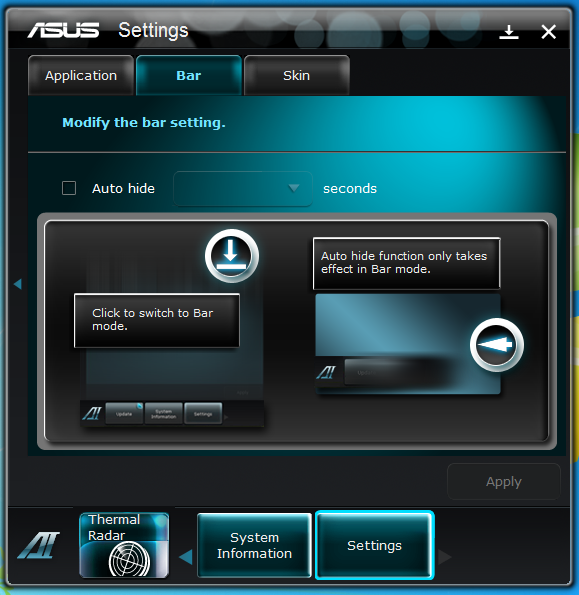 |
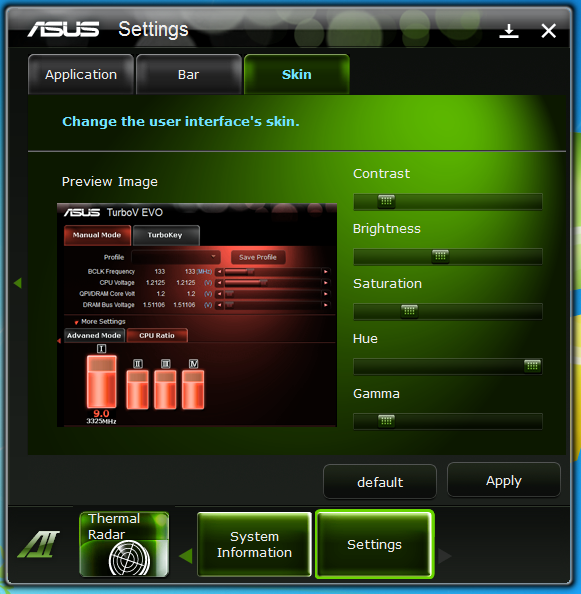
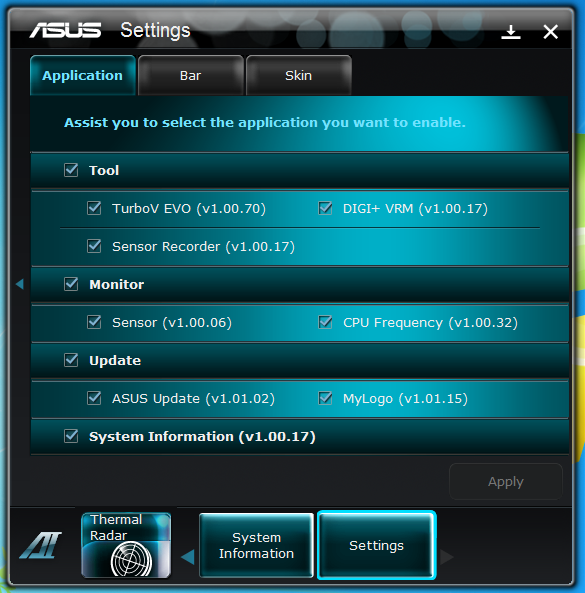
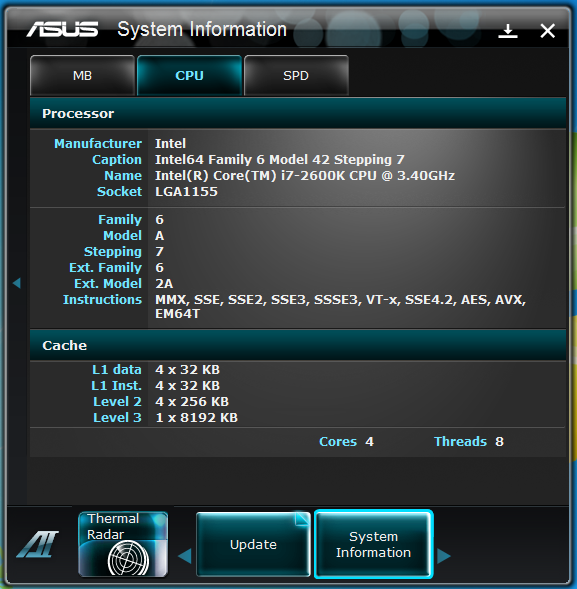
The rest of the utility is more about information. The System information page is nice, but I honestly only used it once. The setting page is a little more fun; here you can set what you want visible in AI Suite II and also change the color and bar layout. Like I said the AI Suite II is a really nice utility while the inclusion of the Thermal Radar app on the Sabertooth only makes it better.
