Reading time is around minutes.
Setting up the DX513 -
If you want ease of installation you are going to get it with the DX513. The steps for getting this connected are pretty simple.
1 – Unpack
2 – Install Drives
3 – Set Auto Start Preference
4 – Connect the eSATA cable to The Disk Station you use (In our case the DS1512+)
Power on.
Now you might be wondering about step 3. Well that is still pretty simple as well. There is a small switch on the back of the DX513 that allows you to configure the way you want the DX513 to interact with the volumes on the head-end unit. If you leave it set to default the DX513 will power on and off with the head-end; if you set it to manual it will power off with the head-end but will not power back on. You might have guessed that we recommend leaving this set to default. After you get the unit powered on you will want to log into your head in unit’s web management console to configure everything else.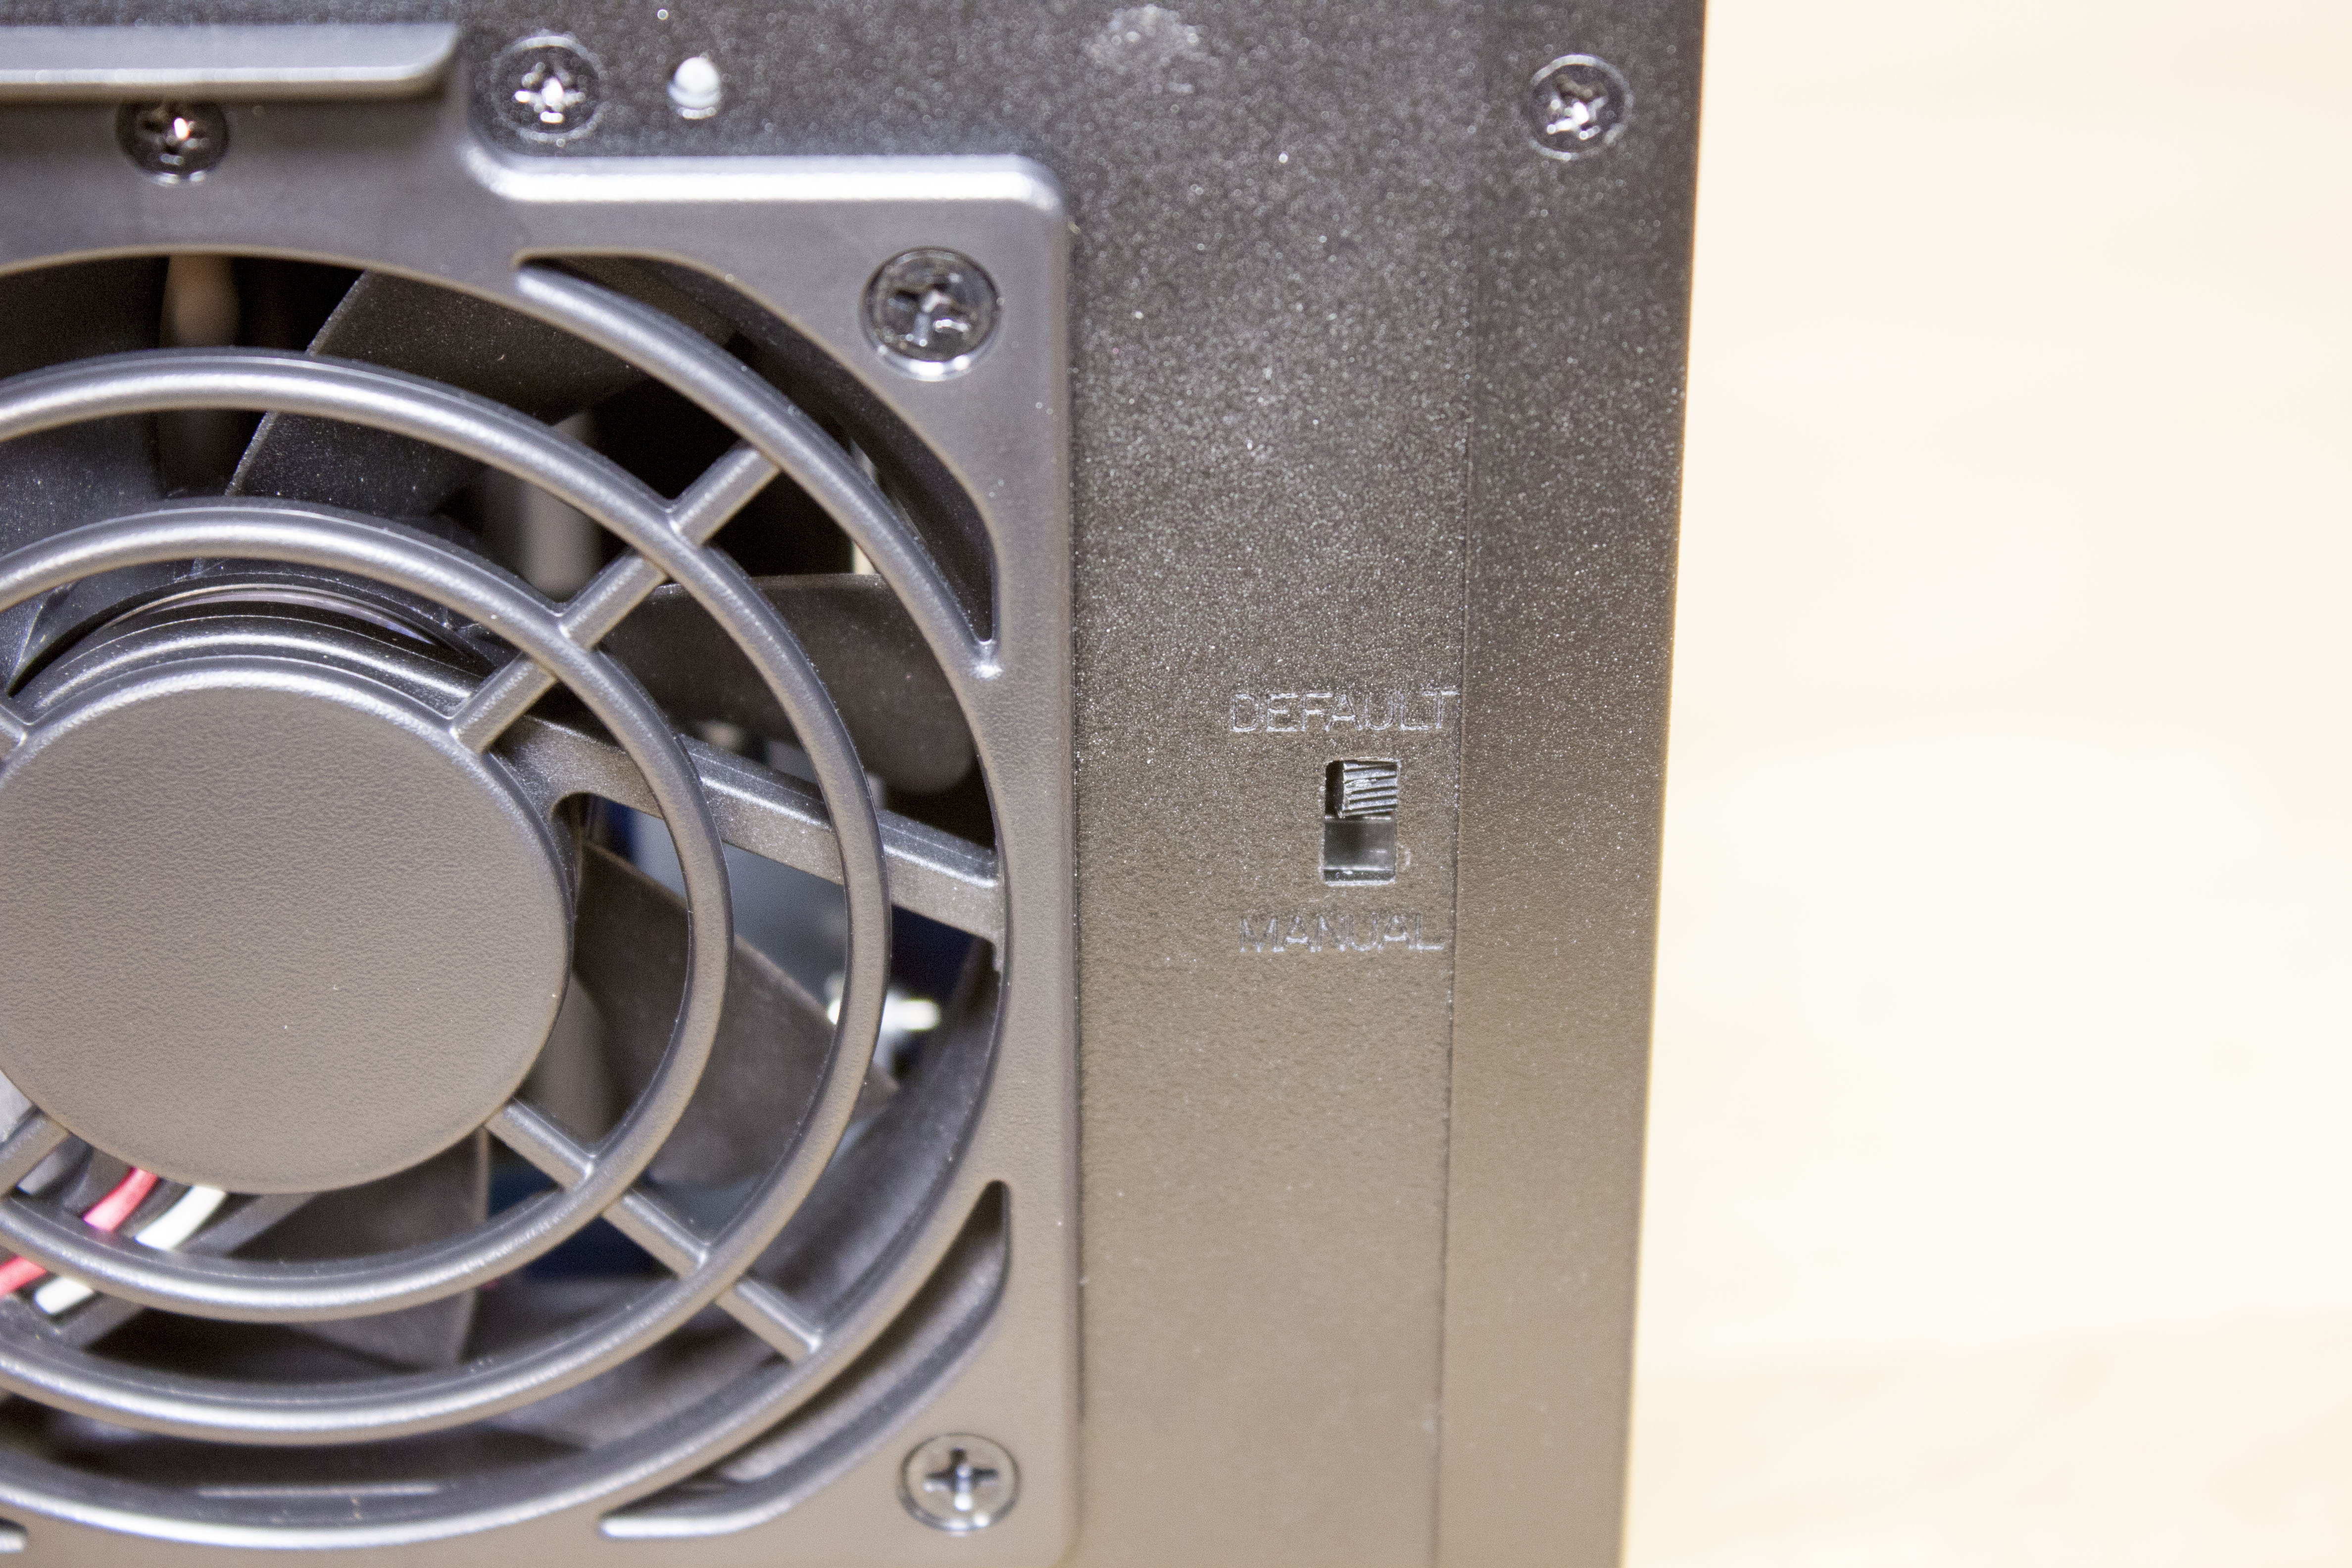
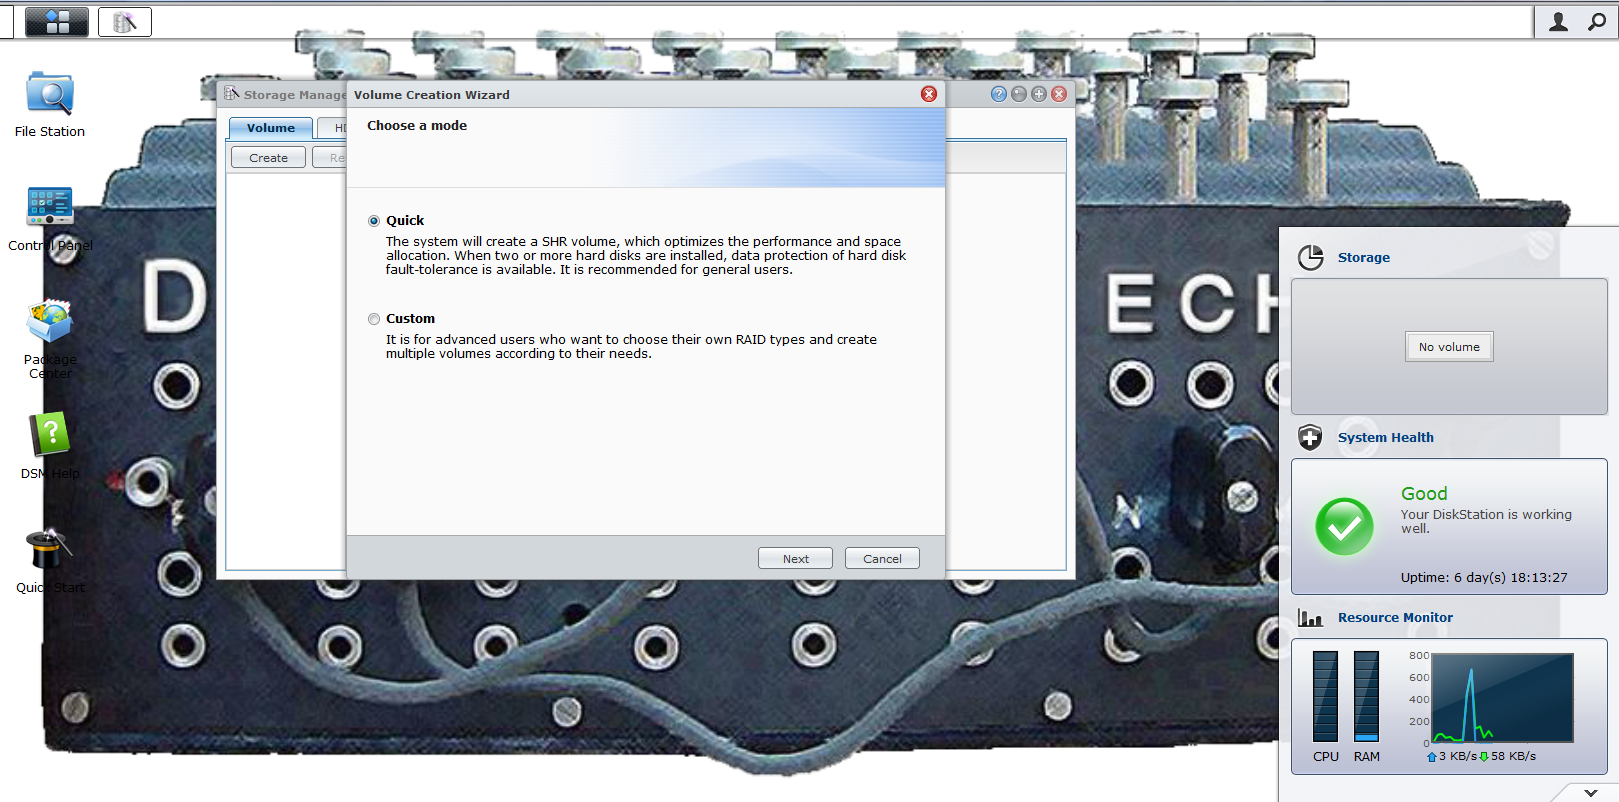
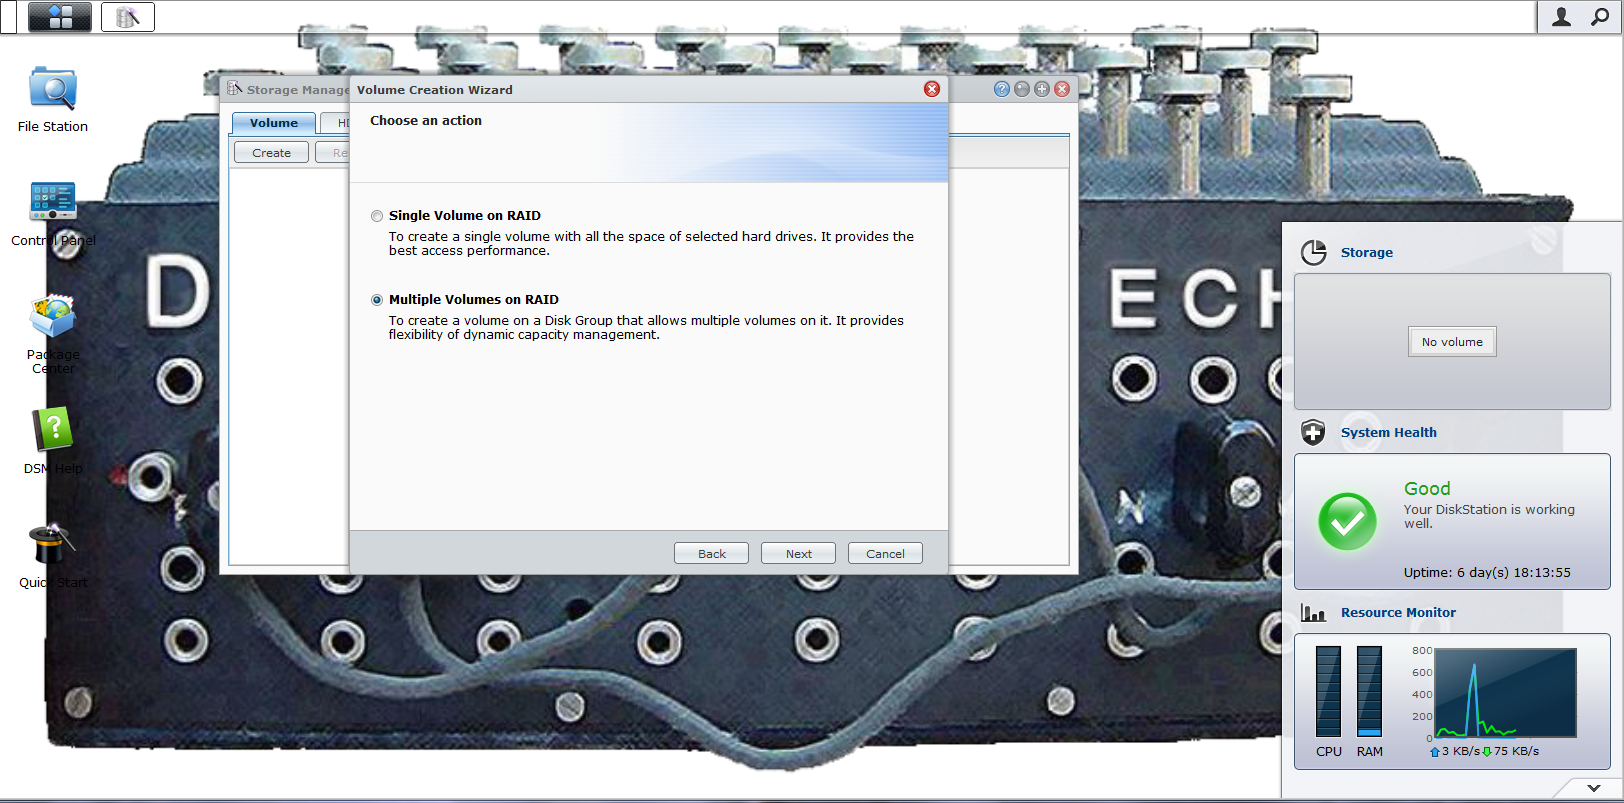
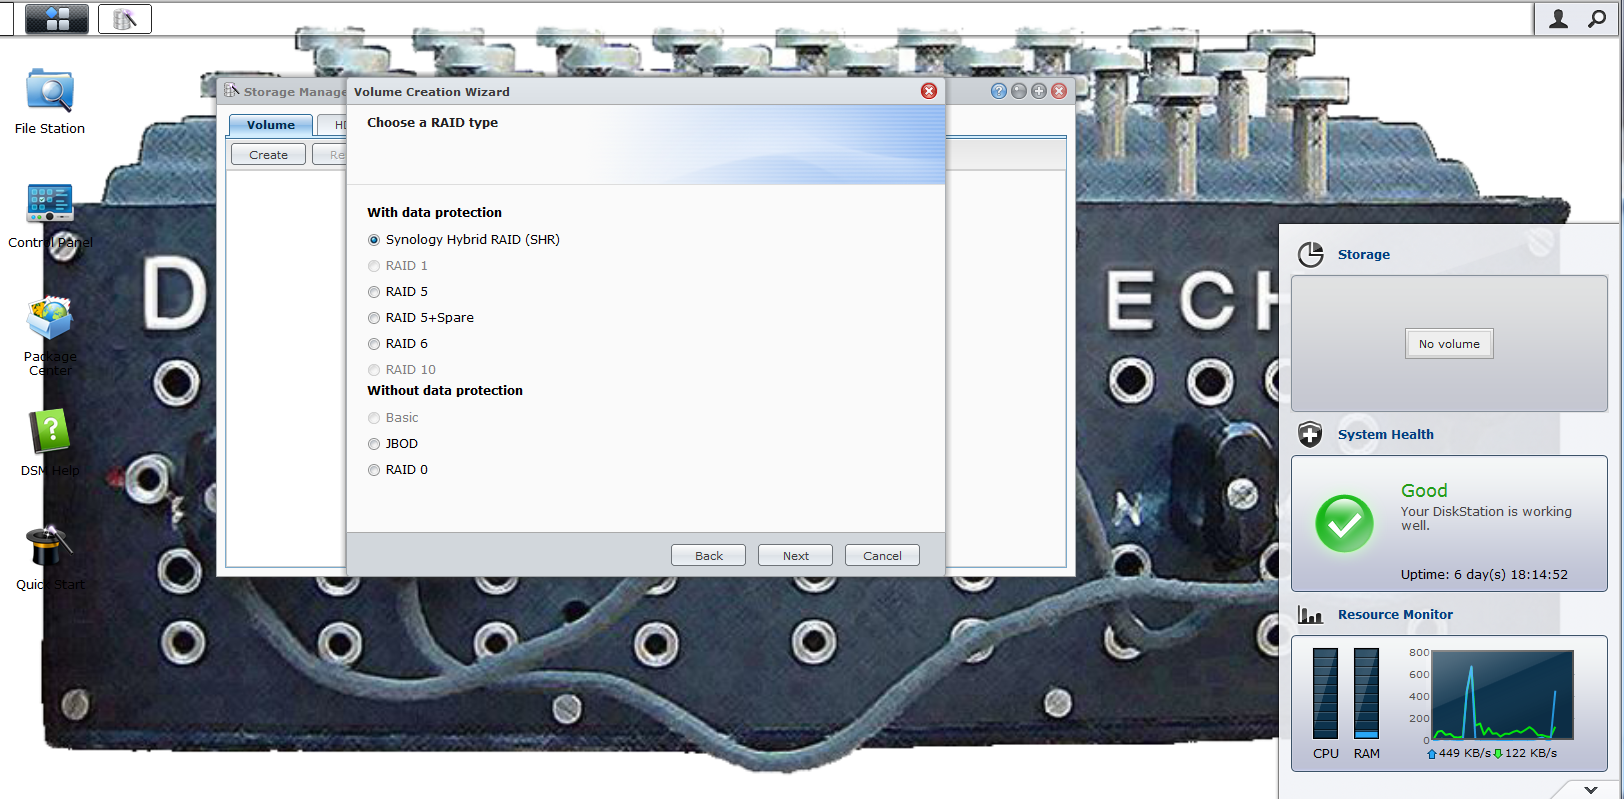
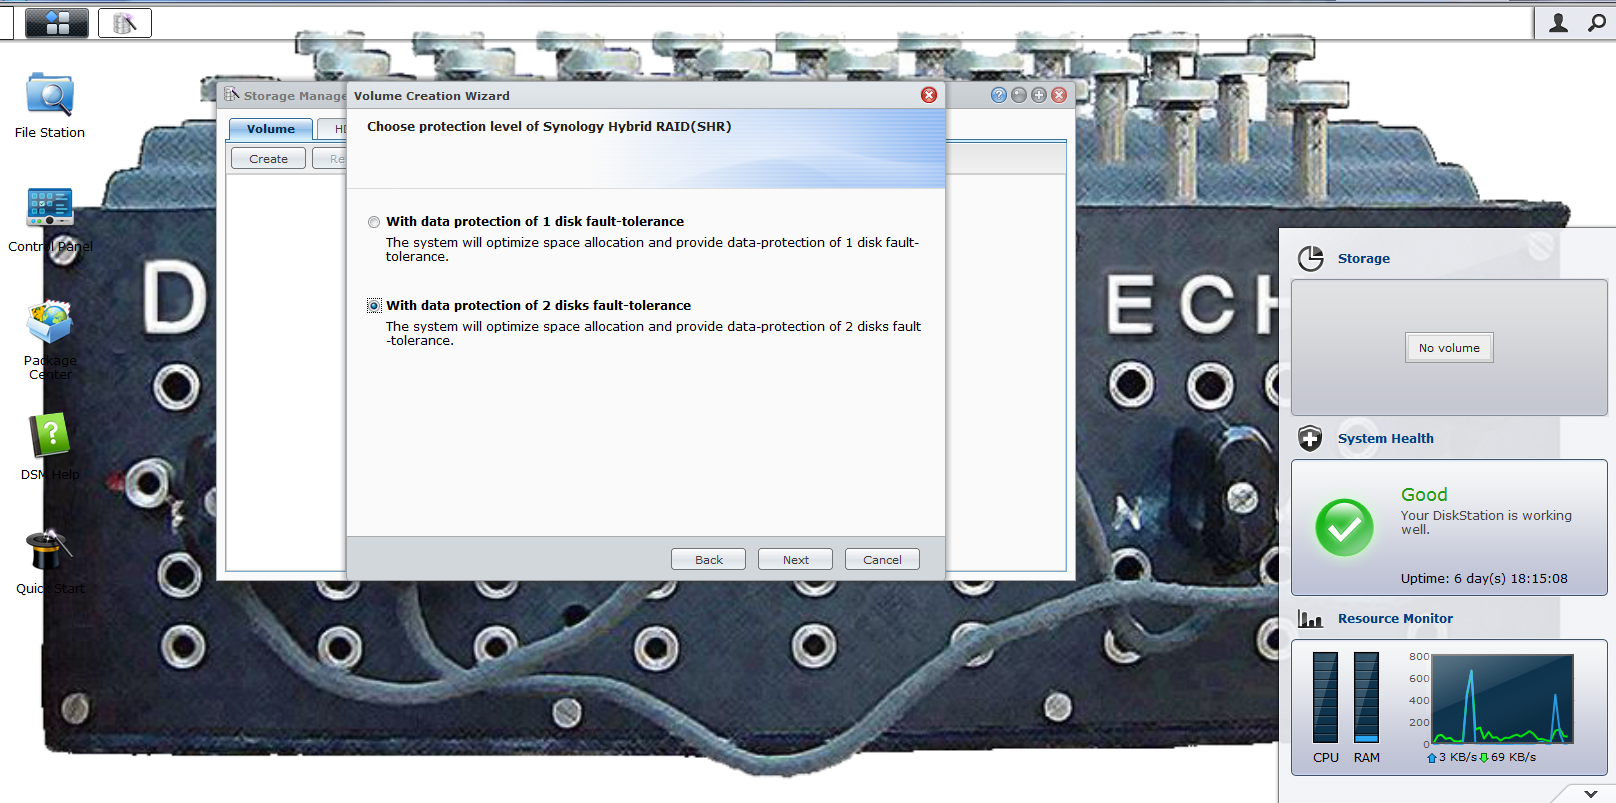
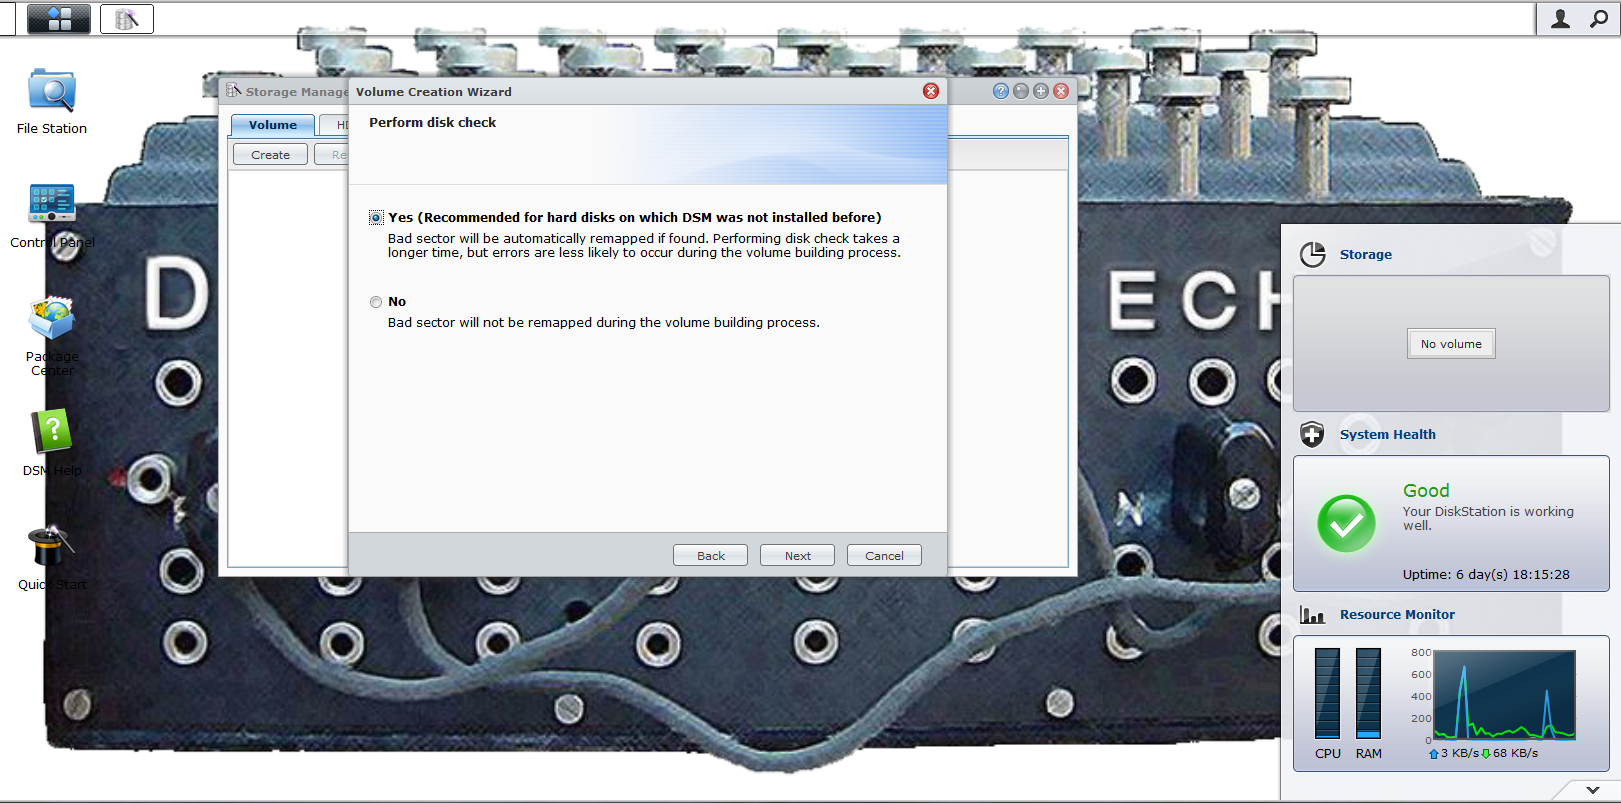
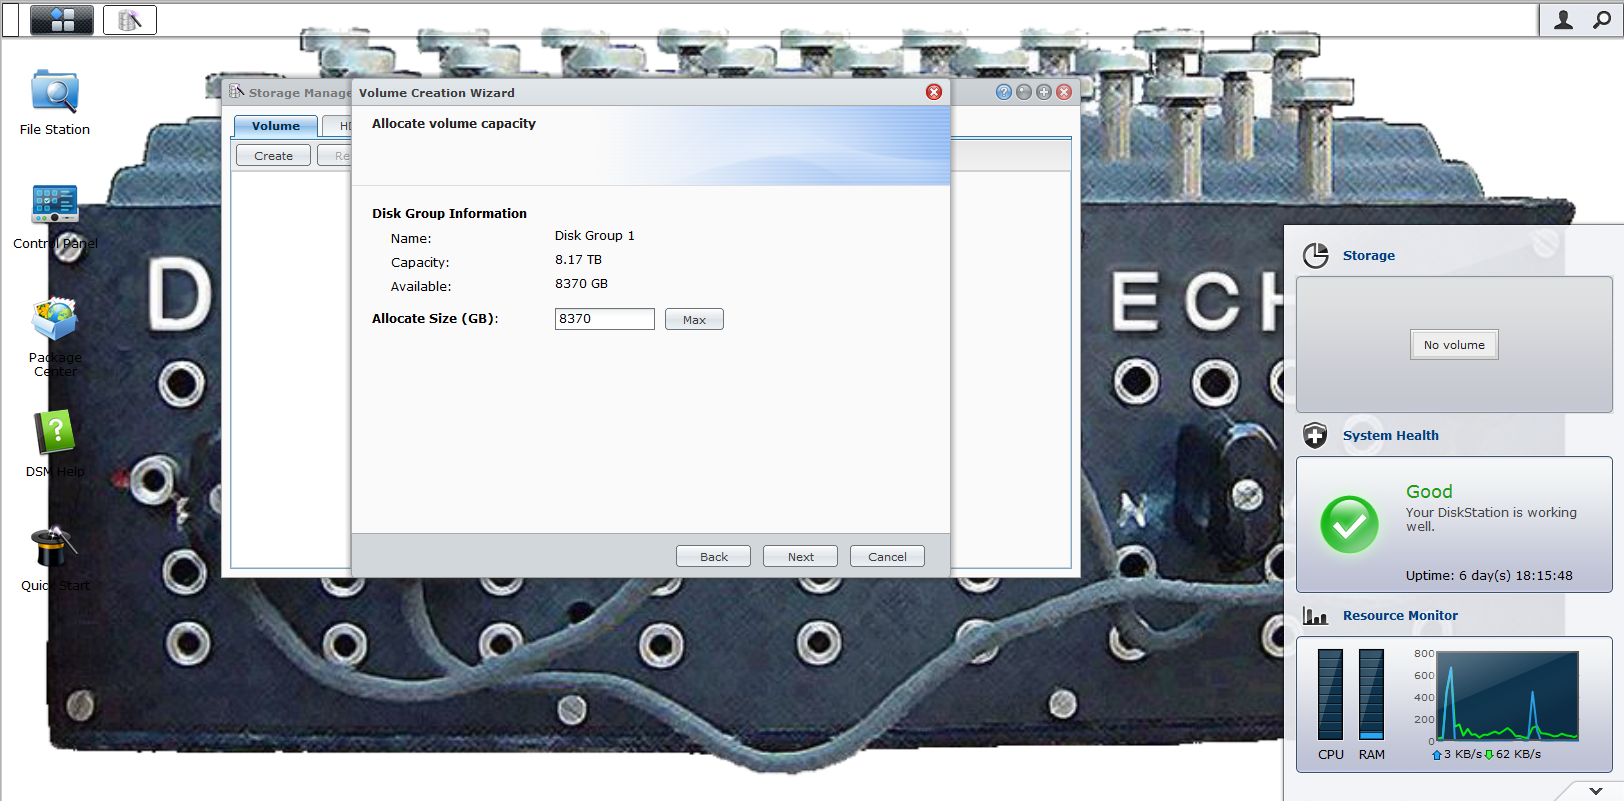
Once you are in Disk Station Manager the rest is easy you simply identify the drives you want to use, establish a disk group and then build the RAID structure you want. From there you can setup multiple volumes or make your new array one big volume. You can also add this to an existing volume that might be on the head-end unit. As we have the original DS1512+ setup as to be iSCSI volumes we created multiple volumes on our newly added DX513. We will say that while the volume creation was quick and simple the volume consistency check (which we recommend) took almost 24 hours to complete and there was a performance impact while it was running.
 |
 |
 |
 |
 |
 |
 |
 |
 |
