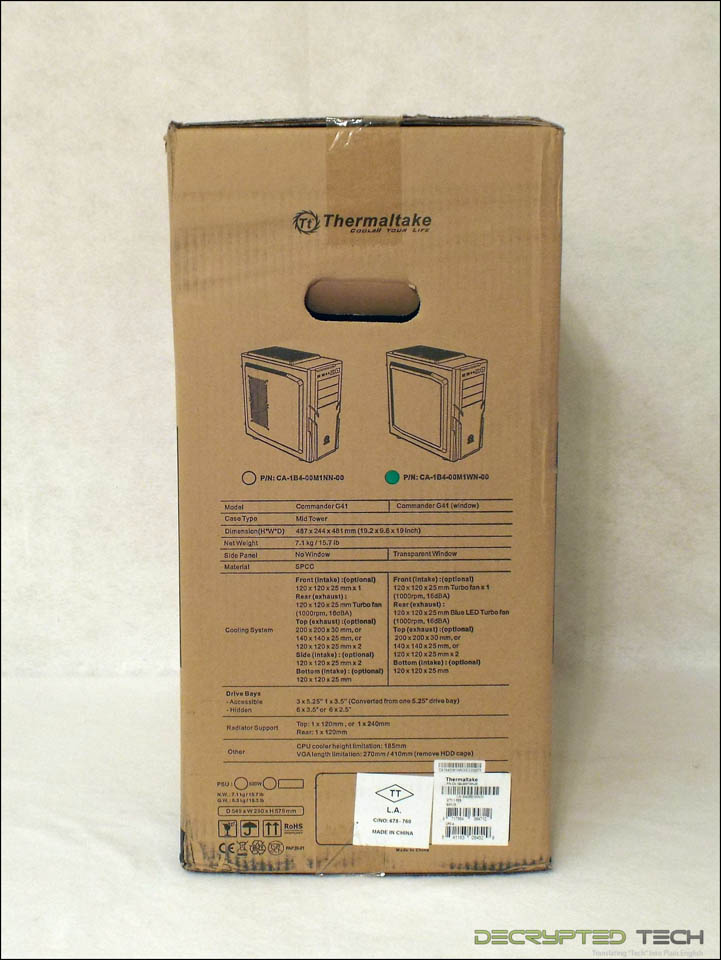
First off, specifications for the product as stated by the manufacturer:
Model: Commander G41 (Window)
Case Type: Mid-tower
Dimensions: 487 x 244 x 481mm
Net Weight: 15.6 lbs
Color: Interior & exterior black
Material: SPCC
Cooling:
Front (intake): 120 x 120 x 25mm Turbo fan x1 (1000 rpm, 16dBA)
Rear (exhaust): 120 x 120 x 25mm blue LED Turbo fan (1000 rpm, 16dBA)
Drive bays:
Accessible: 3 x 5.25”, 1 x 3.5” (converted from one 5.25” drive bay)
Hidden: 6 x 3.5” or 6 x 2.5”
Expansion slots: 8 + 1
Motherboards: ATX, micro ATX
I/O ports: USB 3.0 x 2, HD audio x1
CPU cooler height limitation: 185mm
VGA length limitation: 270mm (410mm with drive cage removed)
Radiator support
Top: 1 x 120mm or 1 x 240mm
Rear: 1 x 120mm
Packaging
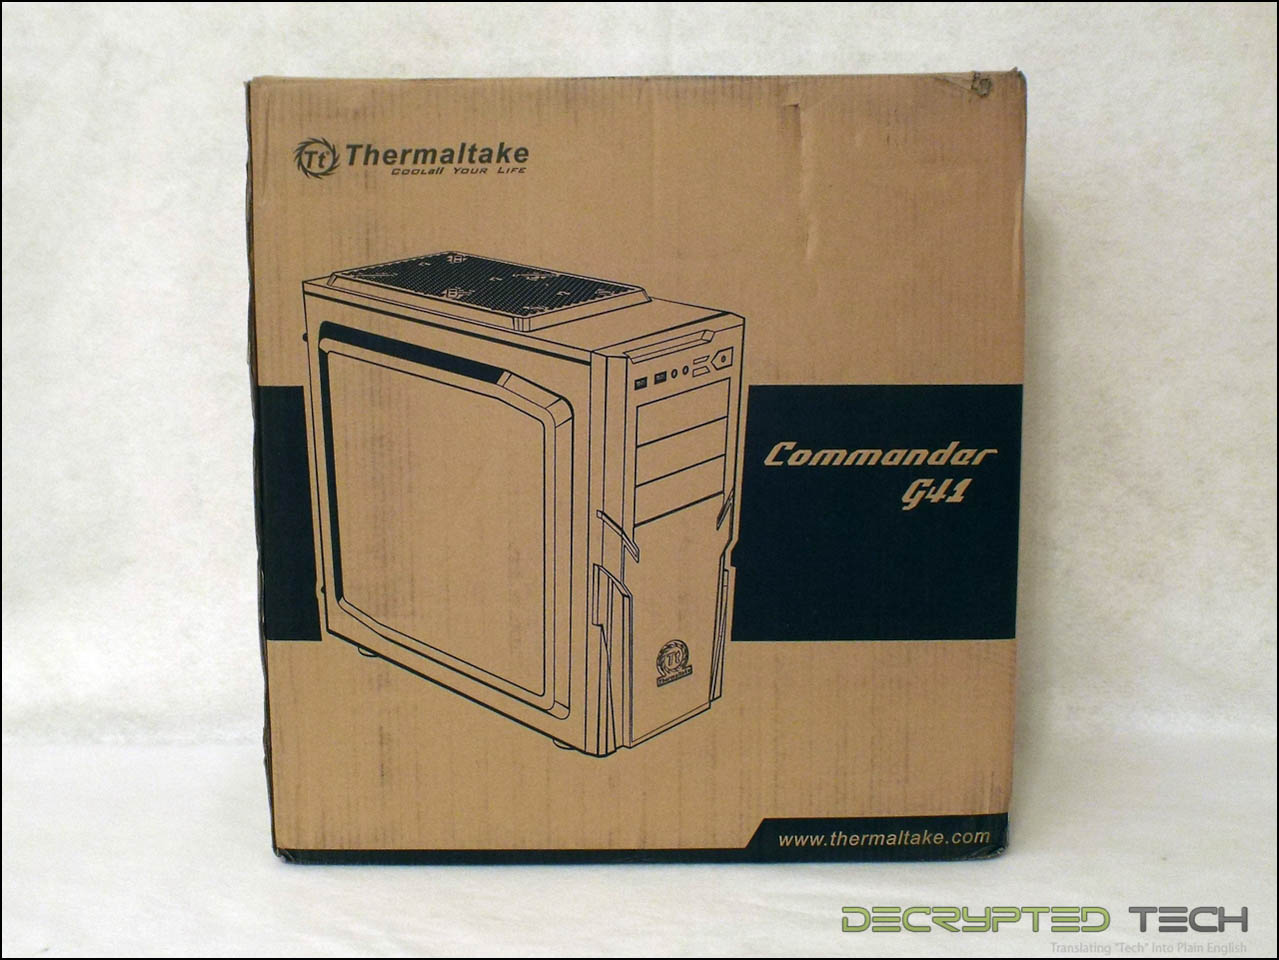
The G41 comes packaged in what has become standard fashion for computer cases. A simple brown box with the name of the product and the specifications contains two molded styrofoam blocks to cushion the Commander in transit. Additionally, the entire case is wrapped in a clear plastic bag.
 |
 |
 |
The case
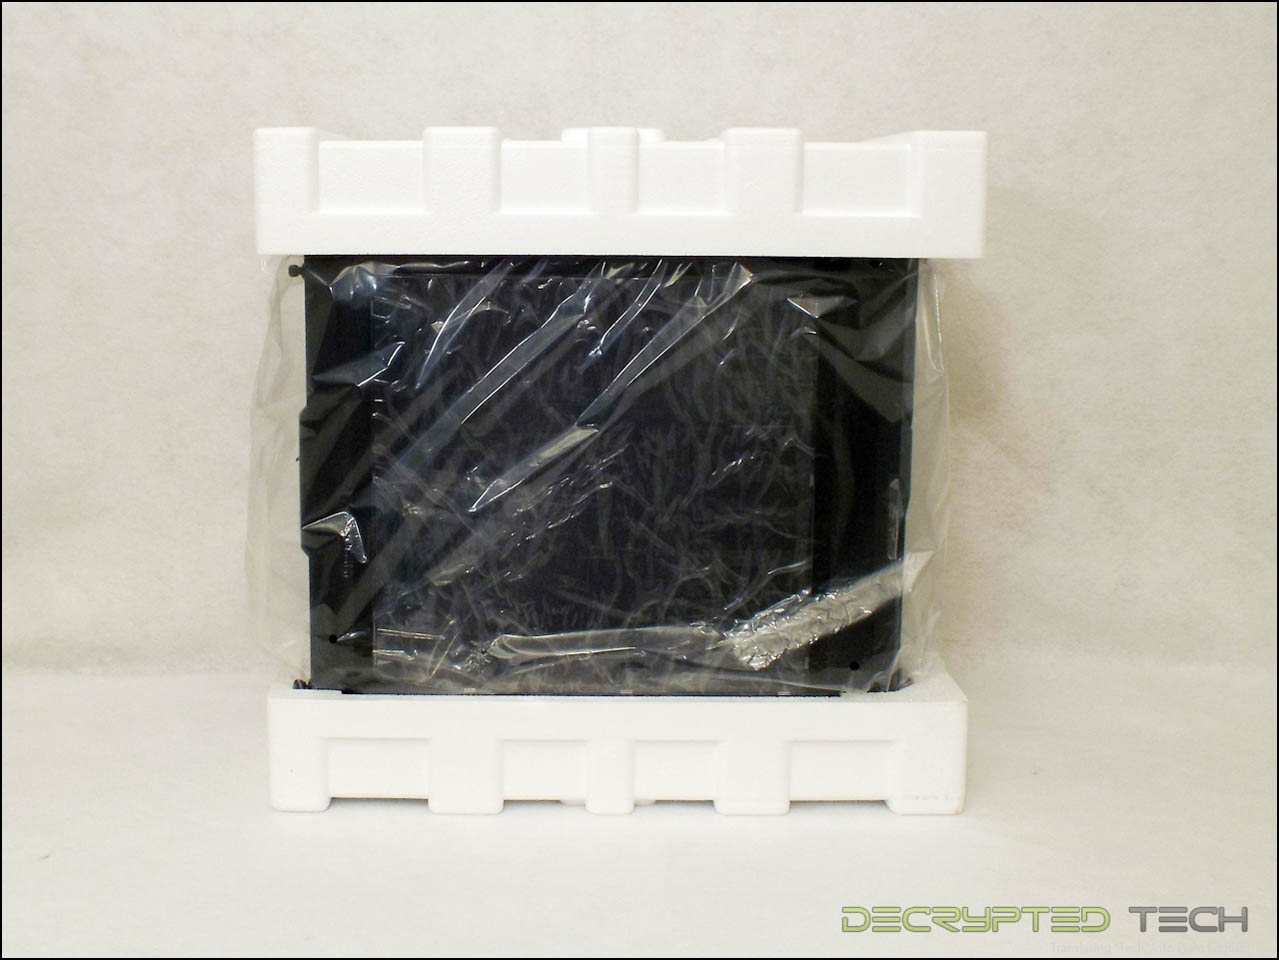
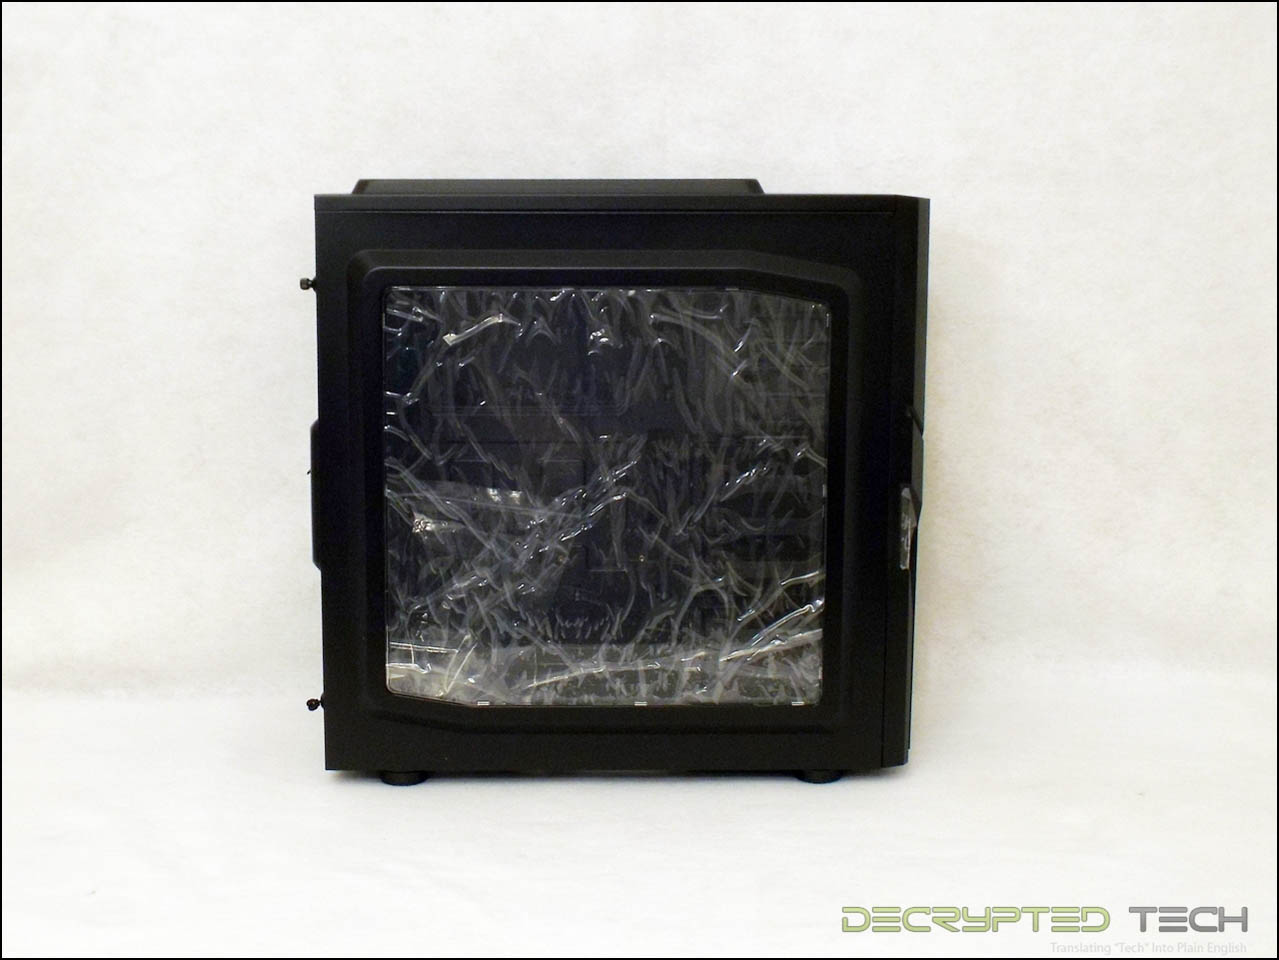
When I pulled the Commander out of its plastic bag I was immediately surprised to find more plastic. Lots of it. The large side window is layered inside and out with a sheet of protective plastic, as are the two glossy trim strips on the lower front portion of the case.
 |
 |
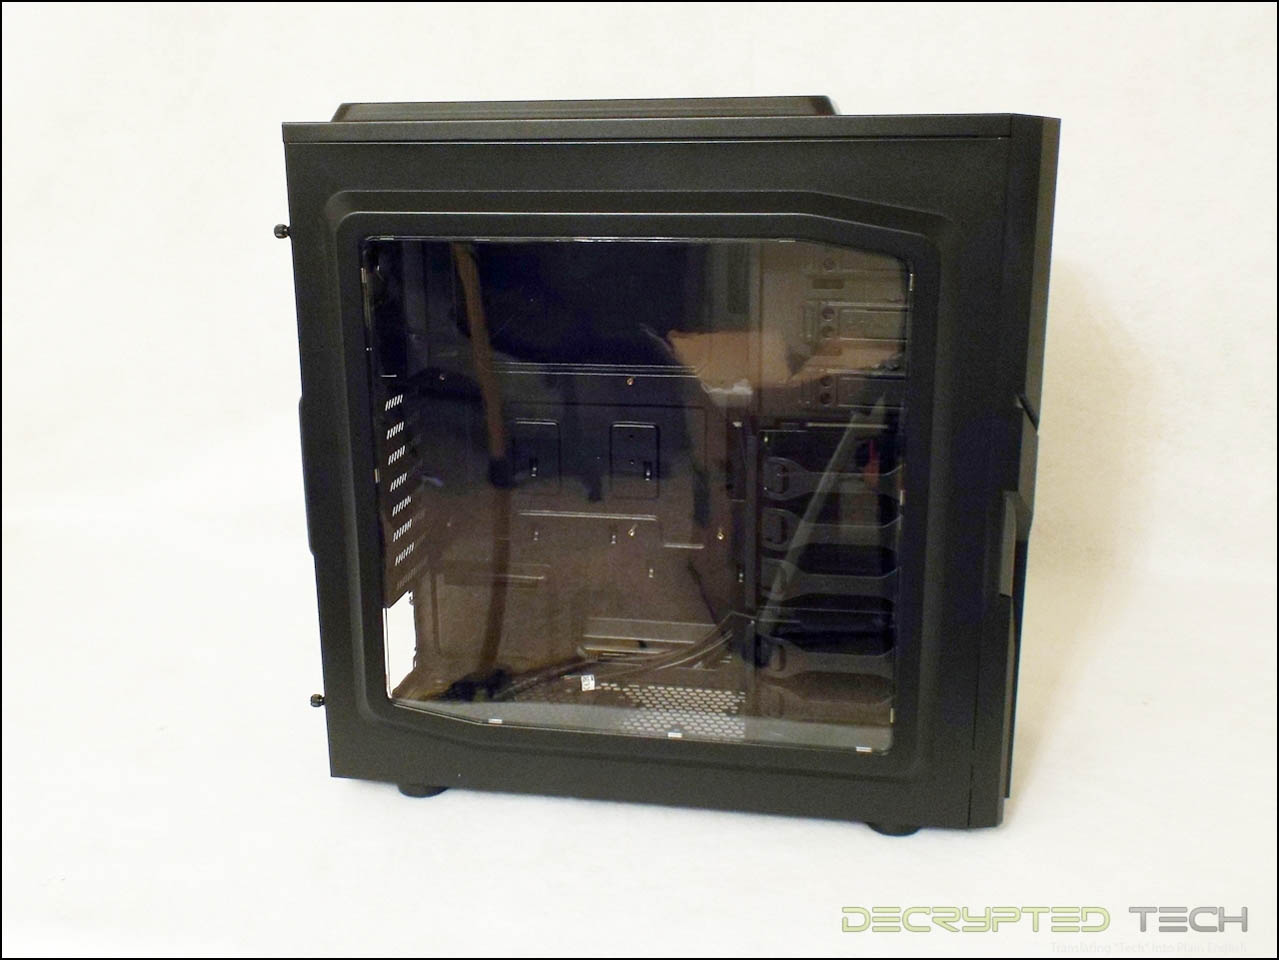
Of course I wasted no time getting it off of the case. I love peeling that stuff off for some reason. Once the last of the protective layering was gone I was able to get a better picture of the case as a whole. What struck me first was the sheer size of the side panel window. This is a mid-tower case, but a window this size somehow makes it look larger.
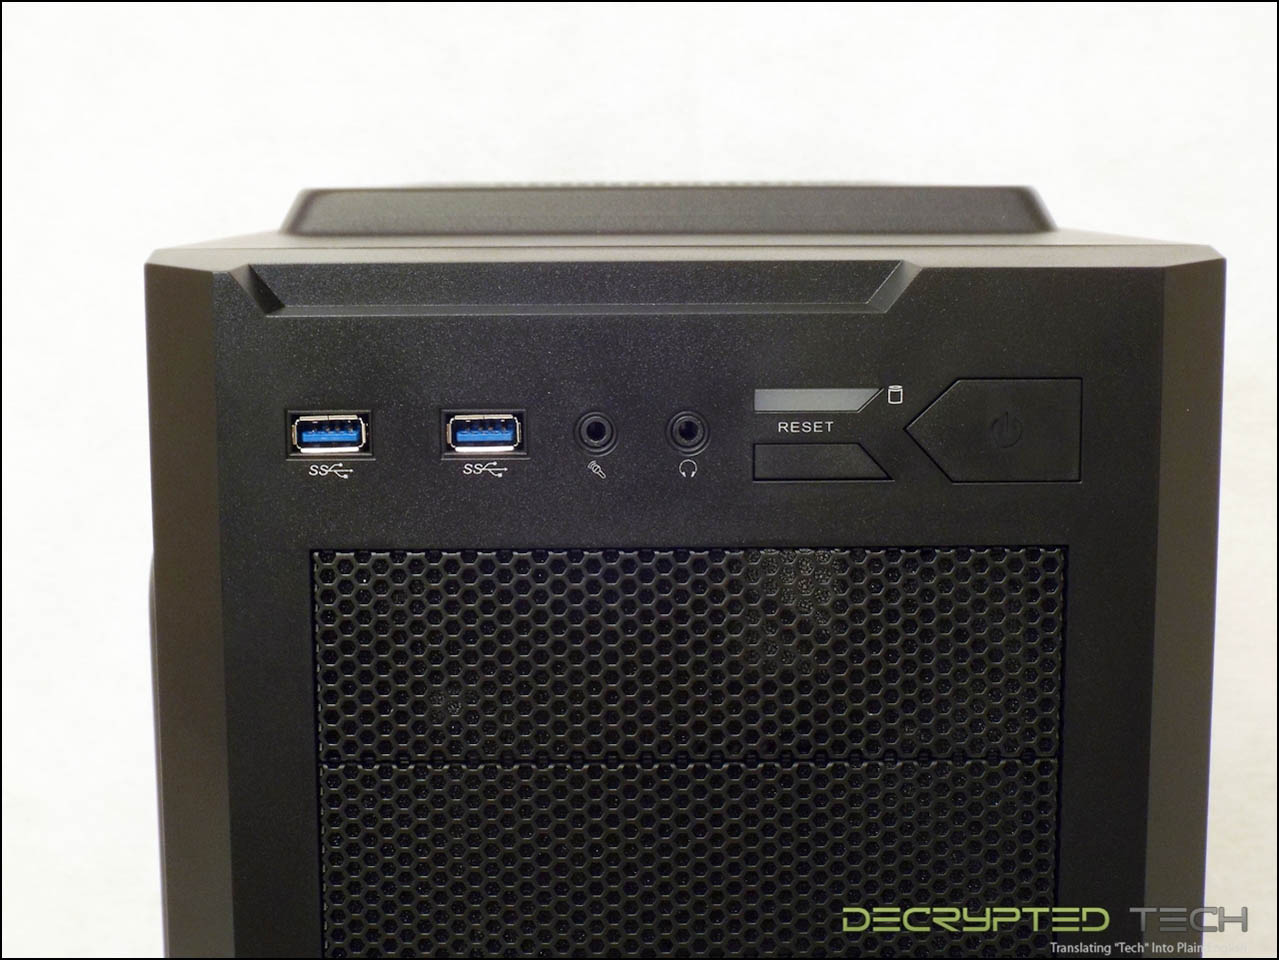
The front of the case shows those glossy stripes and a large stretch of mesh to accommodate air flow. Also visible are the three 5.25” drive bays and the I/O ports.

Looking closer shows the layout of the inputs. This is the first case I’ve tested that doesn’t have a single front-mounted USB 2.0 port. While there’s nothing wrong with that, if you’re using an older board without a USB 3.0 header you’ll need to get an adapter to be able to use either of the front USB ports.
The reset button is suitably flush with the front panel, making accidentally pressing it less likely. The power switch is much larger and logically located, but unfortunately it’s another of the all-too-familiar clicky switches that are becoming more and more common. These switches barely move at all, just make a click sound and have always felt incredibly cheap to me. While I know this isn’t a high-end enthusiast case there’s really no reason for this. Good-quality switches with actual travel to them could surely be had for a few cents a piece with the kind of buying power a company like Thermaltake has.
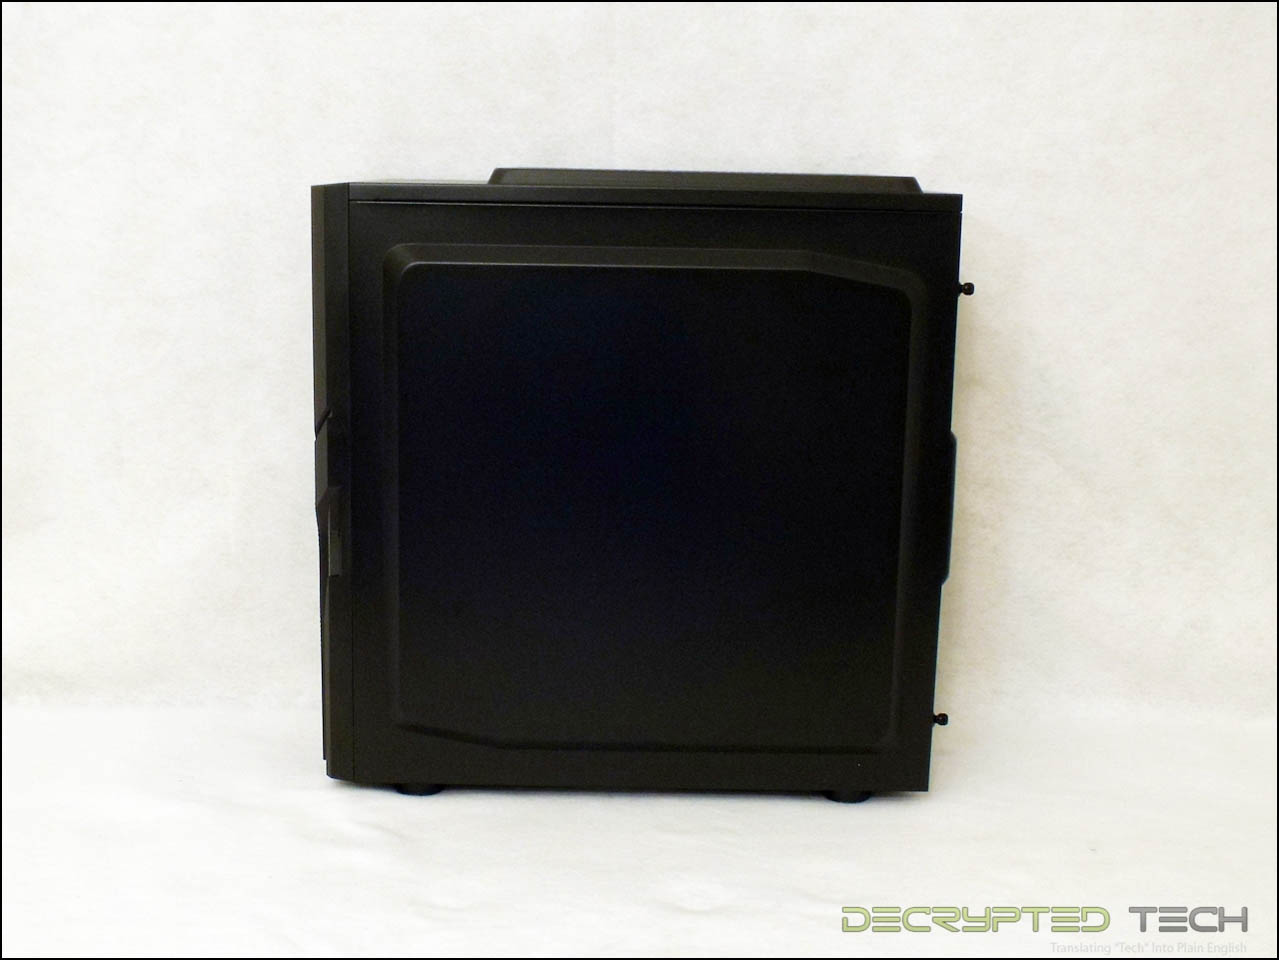
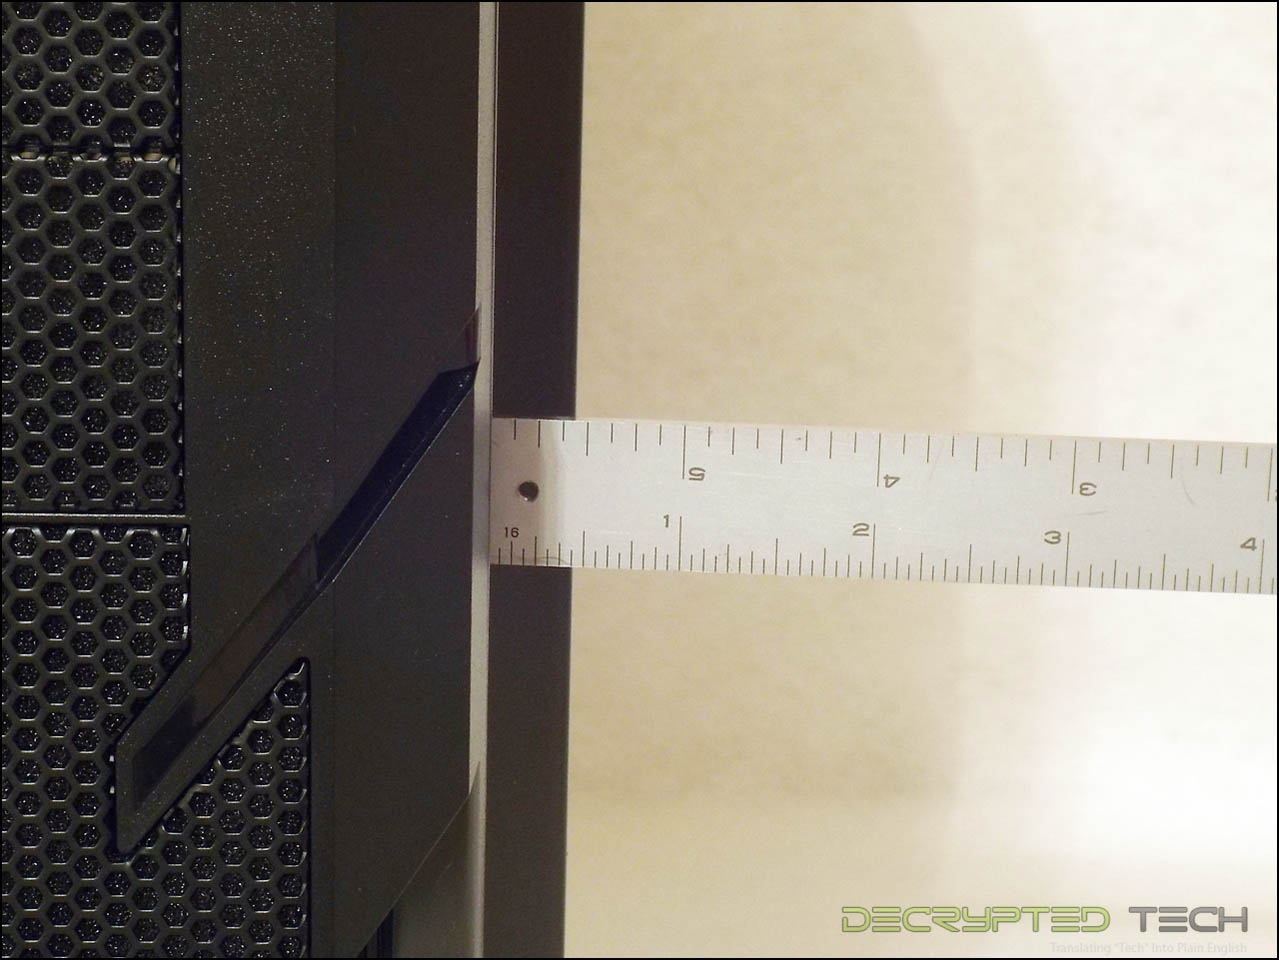
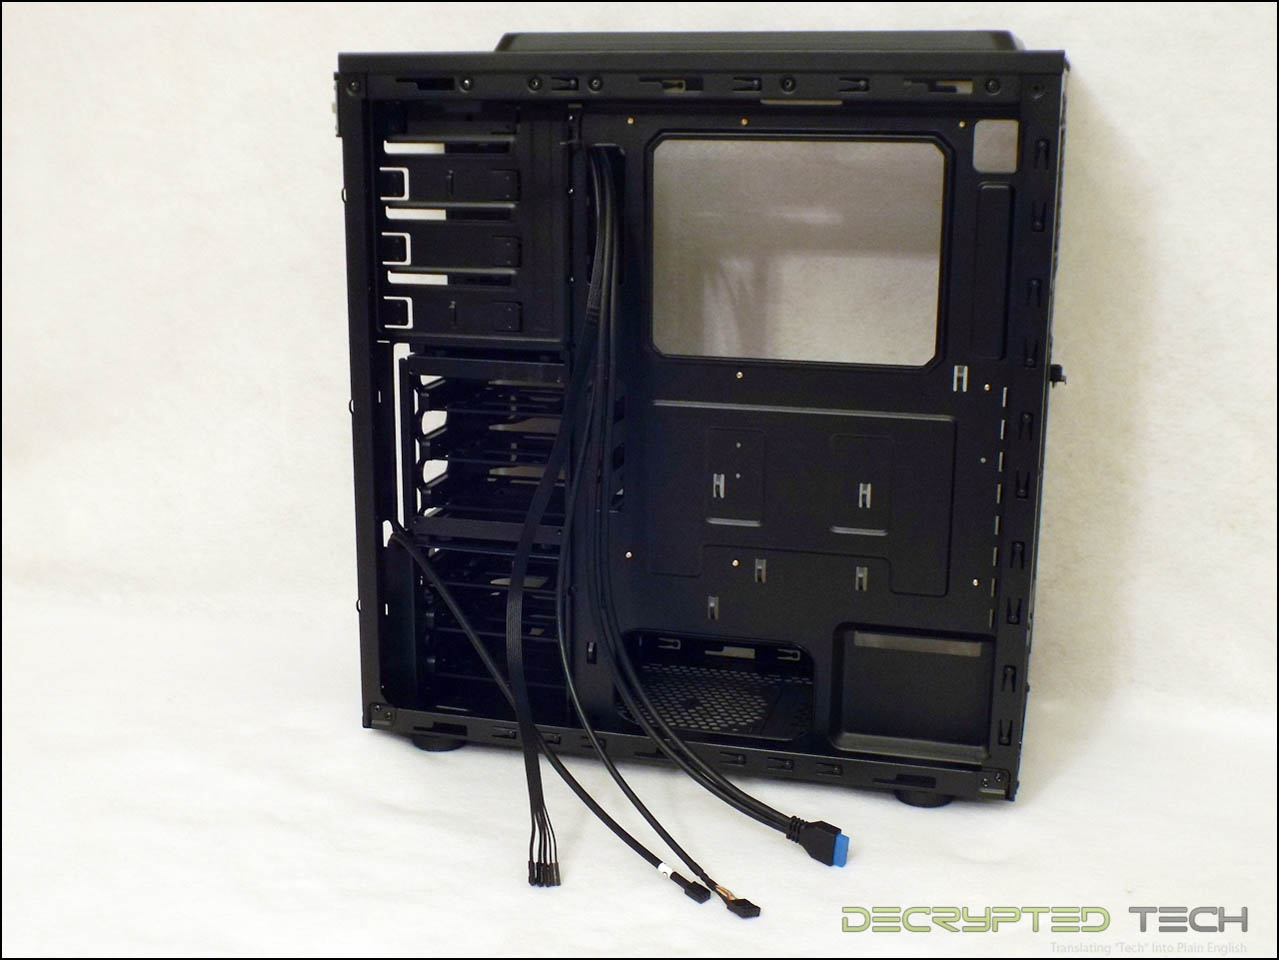
While the right side panel might look like a blank mirror image of the windowed left, as usual in a mainstream case, it actually protrudes quite a bit further. This is a good feature as it provides the builder with that very important space behind the motherboard for tucking and securing cables.
 |
 |
 |
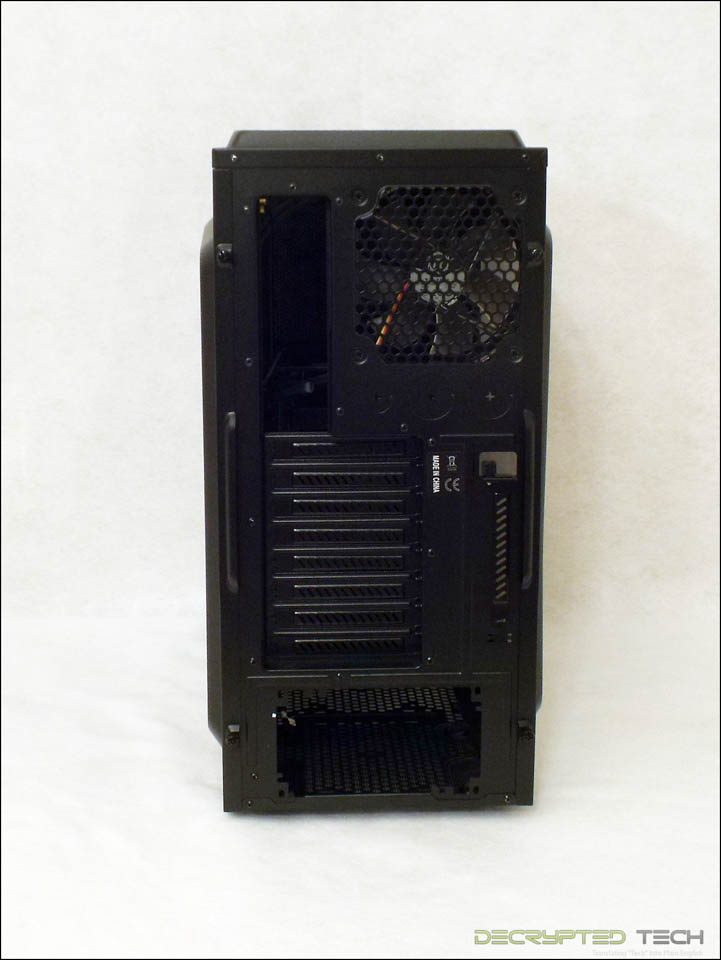
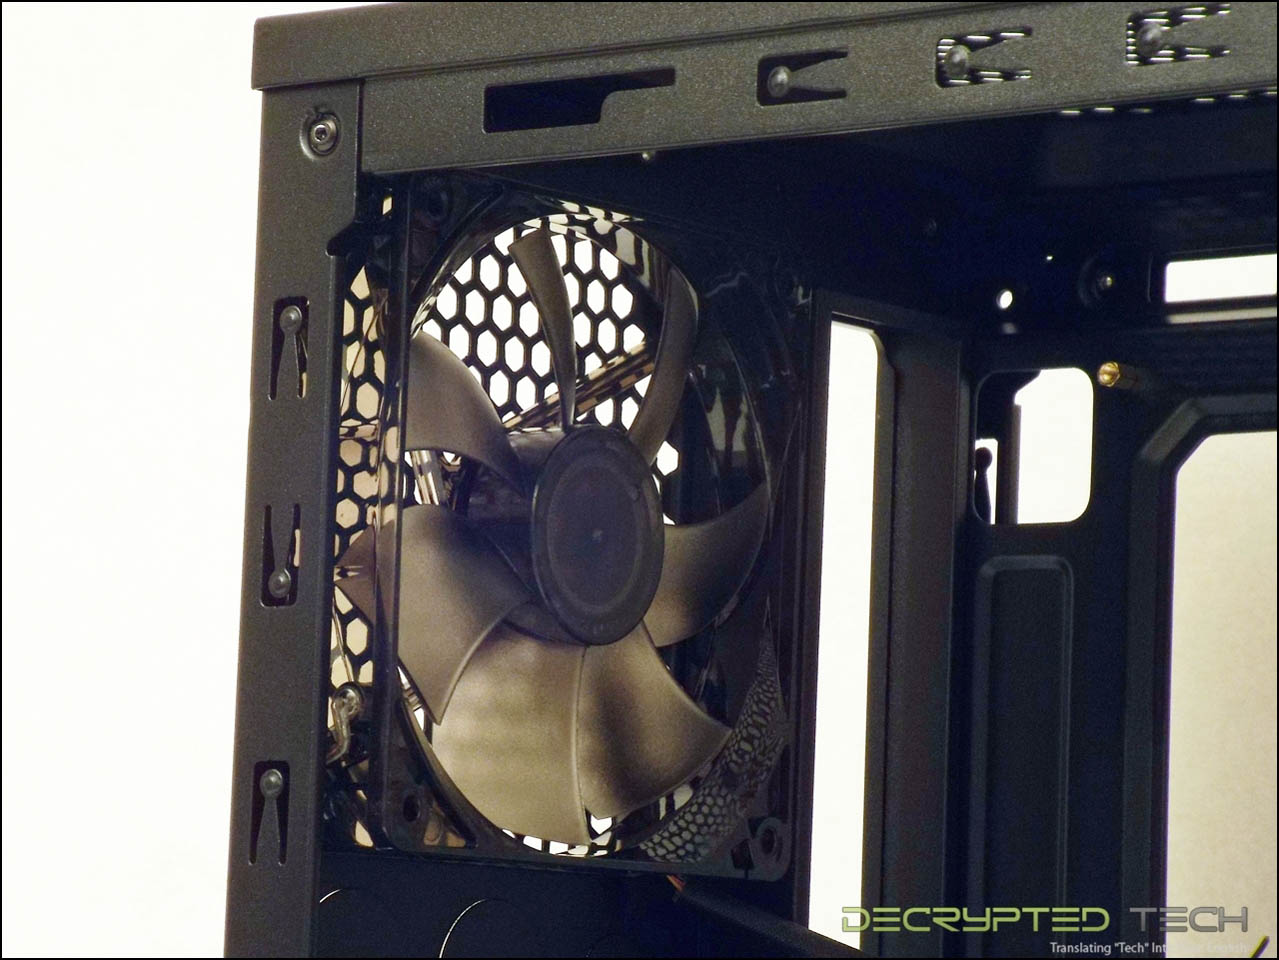
At the rear of the case we see the 8 + 1 expansion slots mentioned in the specifications, as well as the single 120mm exhaust fan. Unfortunately there are no mounting options for a larger fan here. Not really unexpected in a case this size. What was unexpected were the water-cooling holes. These have become standard-issue any more, but normally they come with the slug removed and grommets preinstalled. The Commander leaves that up to the buyer. Personally I think this makes more sense. With the plethora of all-in-one water coolers and smaller components for custom water cooling, the chances of using these holes to route tubing to the exterior of the case are increasingly slim. If I’m not going to use the holes I would rather they be solid like this rather than holes with rubber on them, and if Thermaltake can keep the price down a few cents by eliminating the grommets and time to knock out the slugs all the better.
 |
 |
Laying the case on its side to look at the top shows the massive ventilation area available here. Unlike the rear fan mount, this area gives the user some options. Though it comes without any fans installed, the mounting holes will support two 120mm fans, a single 140mm fan or a single massive 200mm fan. A single 120mm or 240mm radiator will also mount in this area.
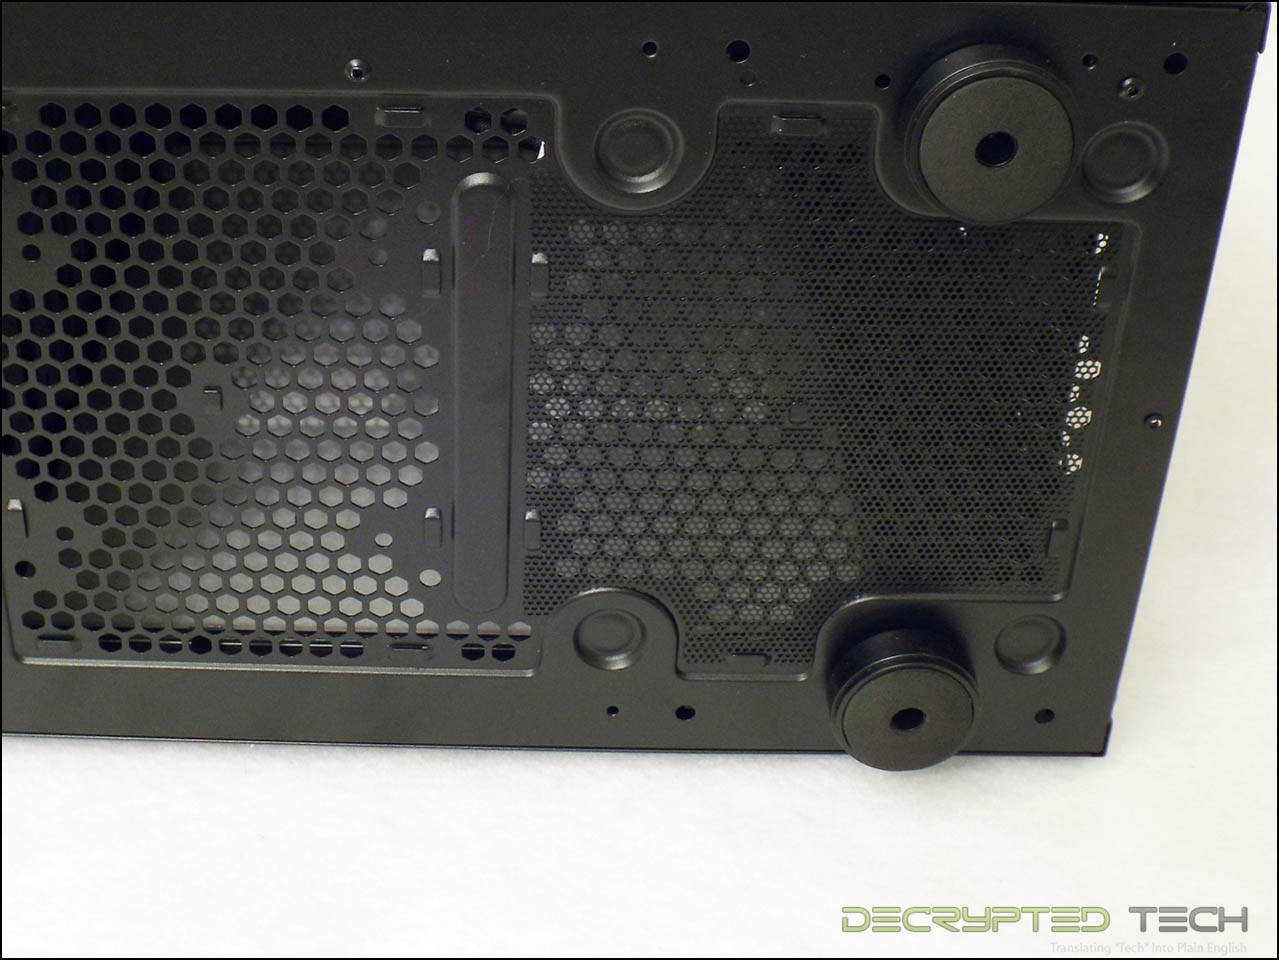
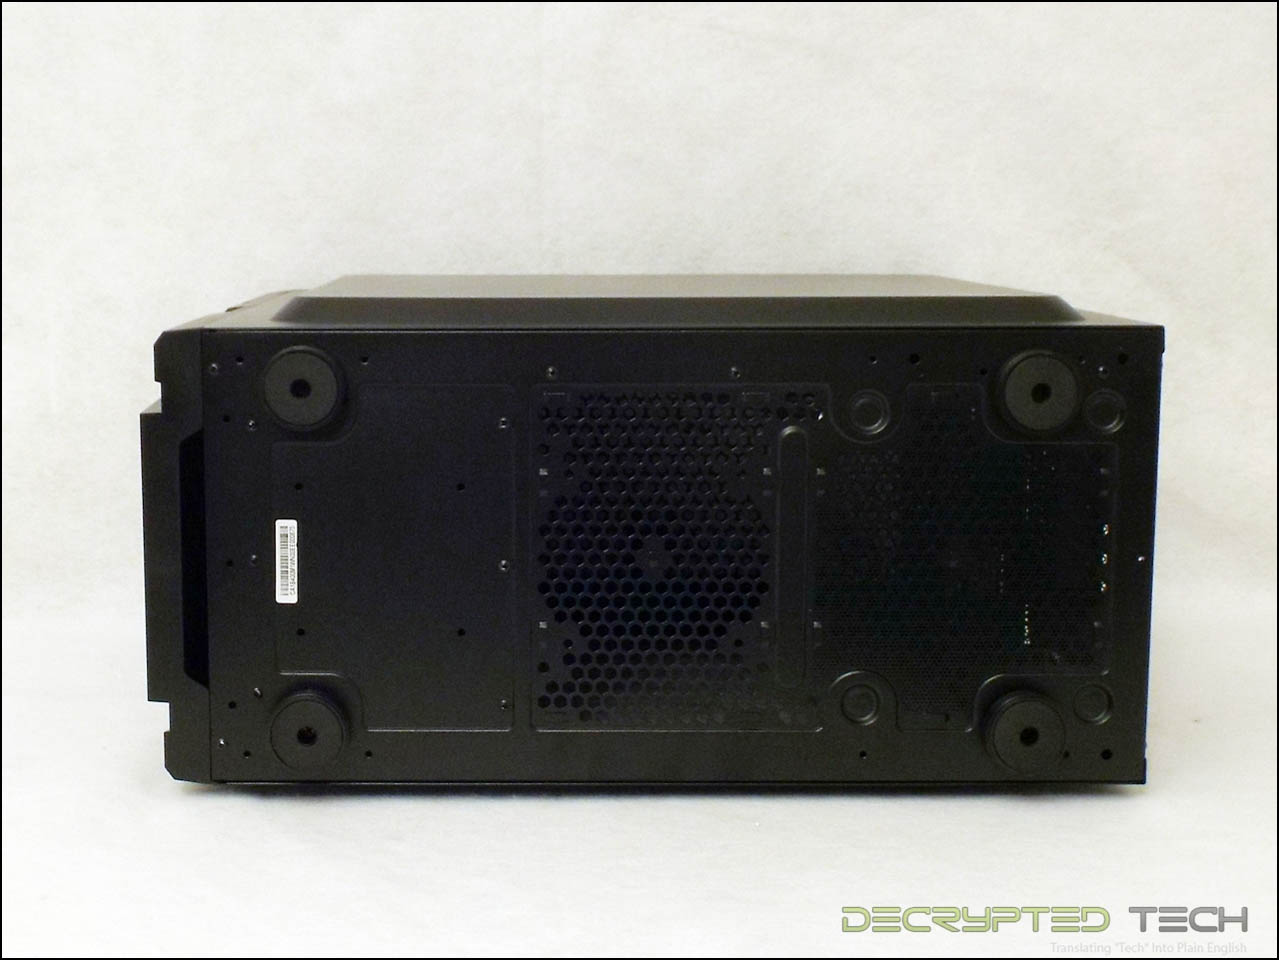
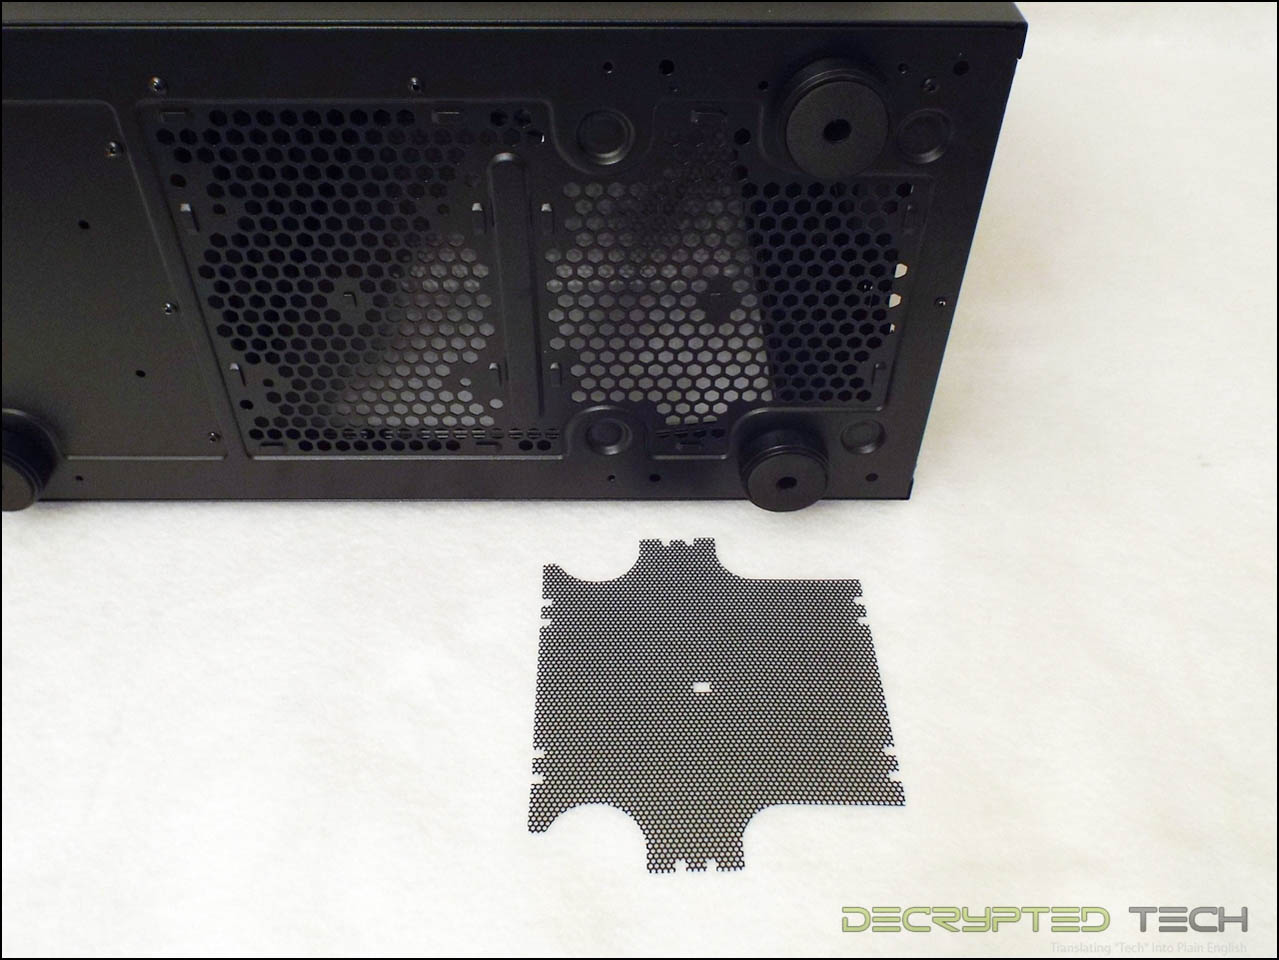
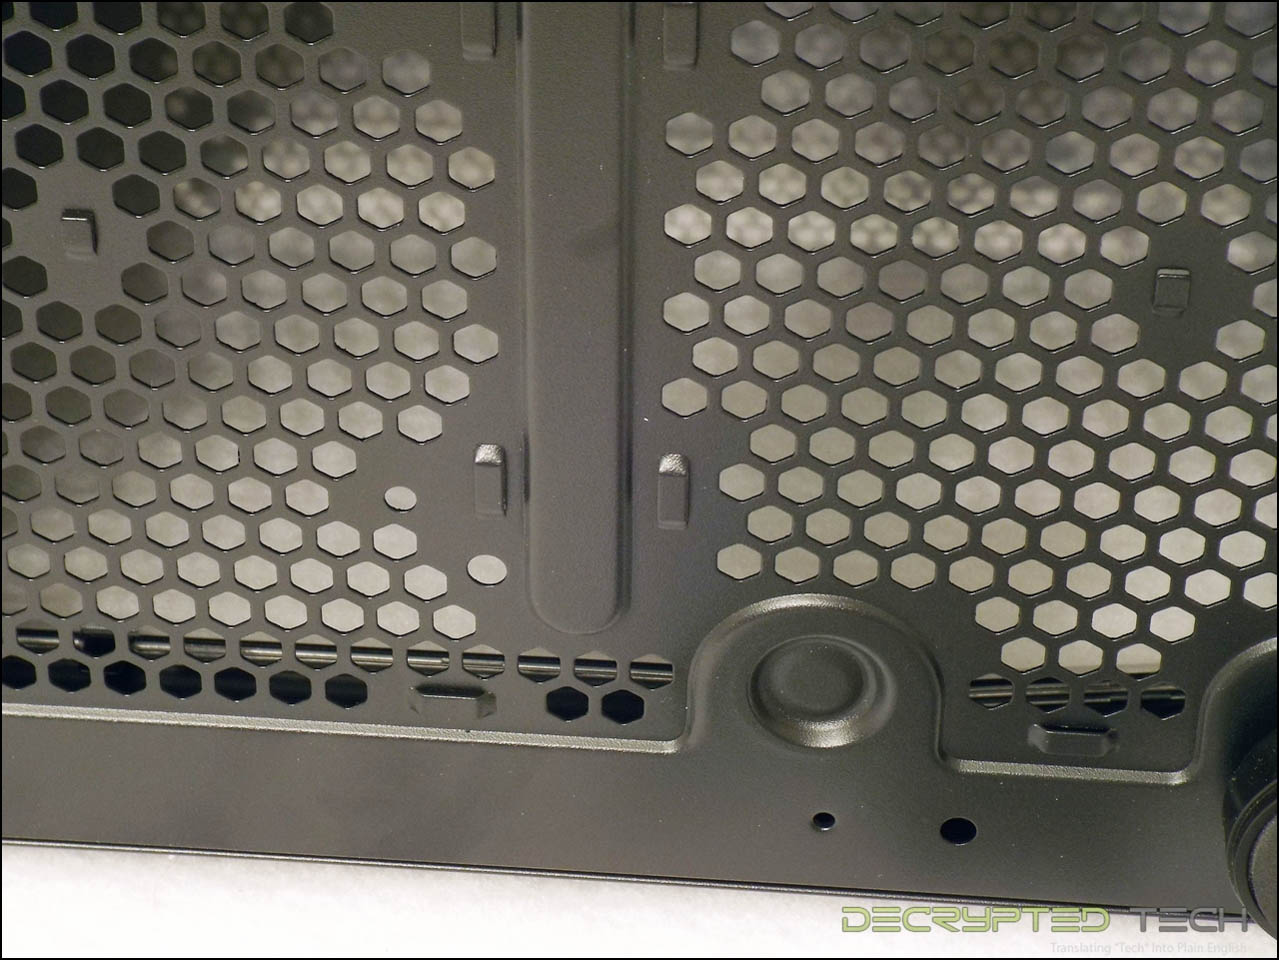
Looking at the bottom of the case shows yet another fan mounting location. A single 120mm fan can be mounted in the floor of the chassis in front of the PSU. Ventilation holes are of course provided for both, though only the PSU area is filtered. This is an interesting filter setup here, with a simple flat sheet of perforated plastic held in place with tabs much like wire tie anchors cut into the metal. The area for the fan mount has these tabs also but no filter pre-installed. If the right material could be found it would be pretty simple to cut one to fit.
 |
 |
 |

The front panel of the Commander comes off simply by pulling the bottom and is thankfully not attached to anything. There’s a special feeling you get when you yank that panel off only to discover that the I/O port came with it and it’s still tethered to the case by the cables. I hate that. While there is no filter readily visible for the front fan, I did find one. The entire front panel has a thin foam filter behind the mesh covering. It seems like it’s fine enough to do a good job catching dust but the only way to remove it is to bend the tabs on the back of the mesh panel and pull it off. Just to see how difficult that was (and to make sure the foam wasn’t glued in place) I did it. It took a good five minutes with needle-nosed pliers to get the mesh off completely and put it back on. While you should be able to clean the filter with compressed air, I would consider it non-removable.

Interior
Ok, time to open the case up and see what’s going on inside. Thermaltake has started using the “dropless” panel screws I first saw in the Cooler Master HAF Stacker. I love these.
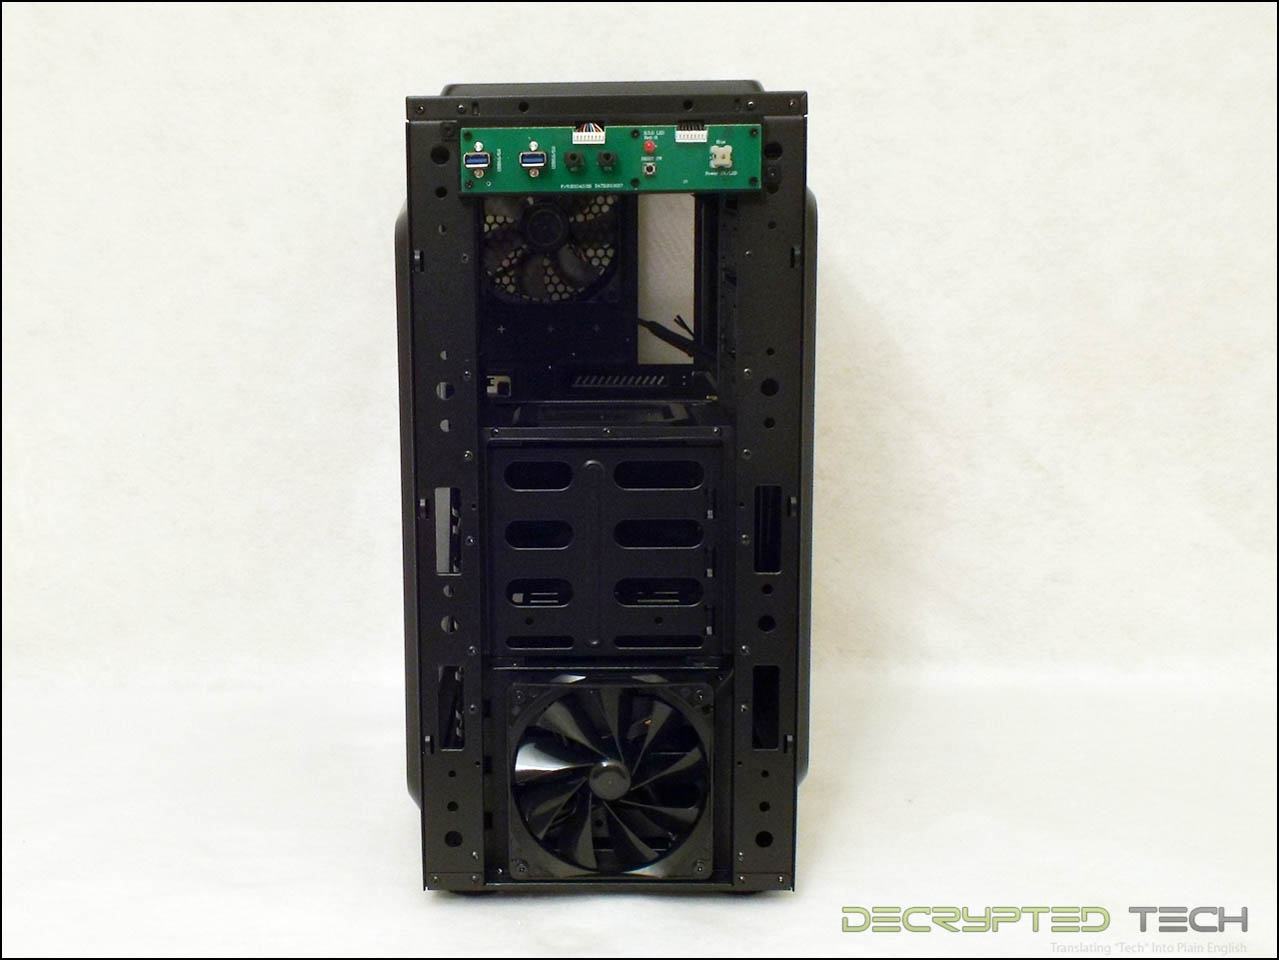
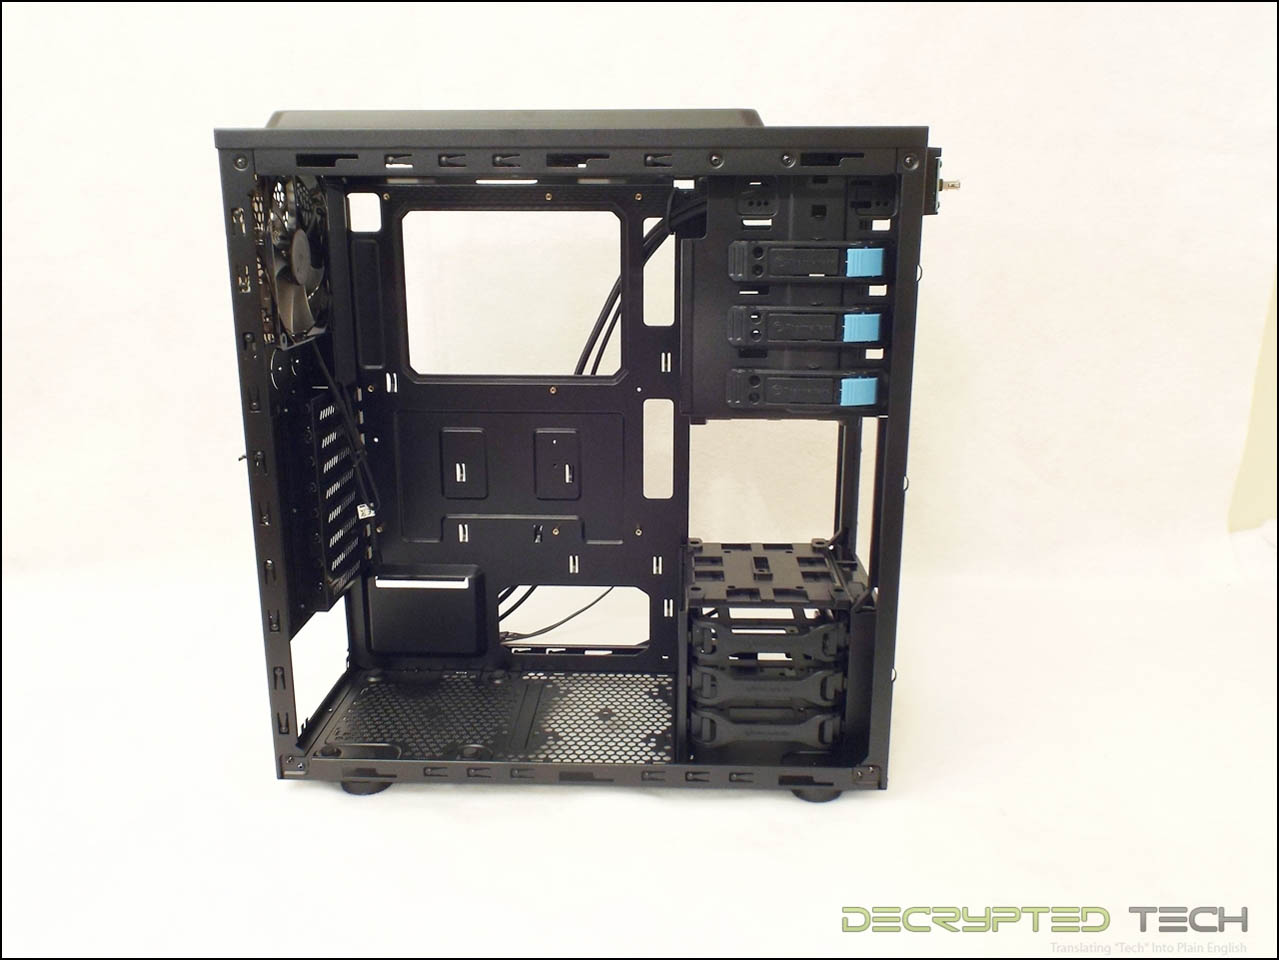
Inside the G41 the layout is fairly standard for the mid-tower category with some of the features we’ve come to expect. There is a large cutout in the motherboard tray for the CPU backplate, a smaller cutout beside it for the auxiliary power cable, six hard drive bays and three internal 5.25” drive bays.
Around back there are several anchor points for cable ties for cable management and the cables for the front panel and the intake fan.
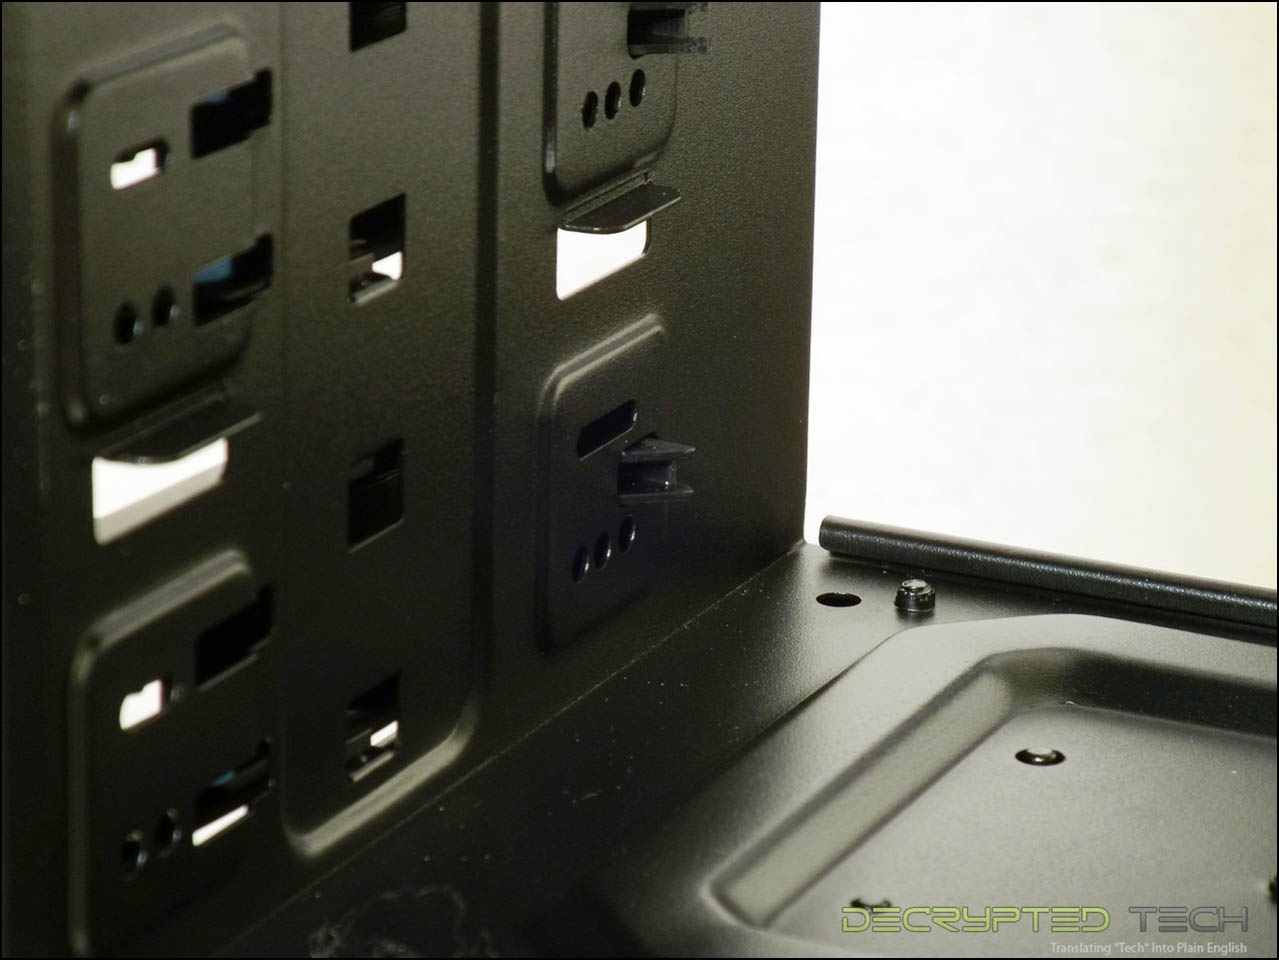
Back inside I took a closer look at the tool-free 5.25” drive bays. It seems everyone is always trying something different with these; something that will make it that much easier to install optical drives or other devices without the need for tools. Personally I think it’s funny that without exception every single system like that that I’ve seen addresses retention only on the left side of the device. This inevitably leads to some play in it after installation. I find it really annoying to feel my DVD drive move inward when I press the eject button, so I always end up securing the thing with tools on the right side anyway.
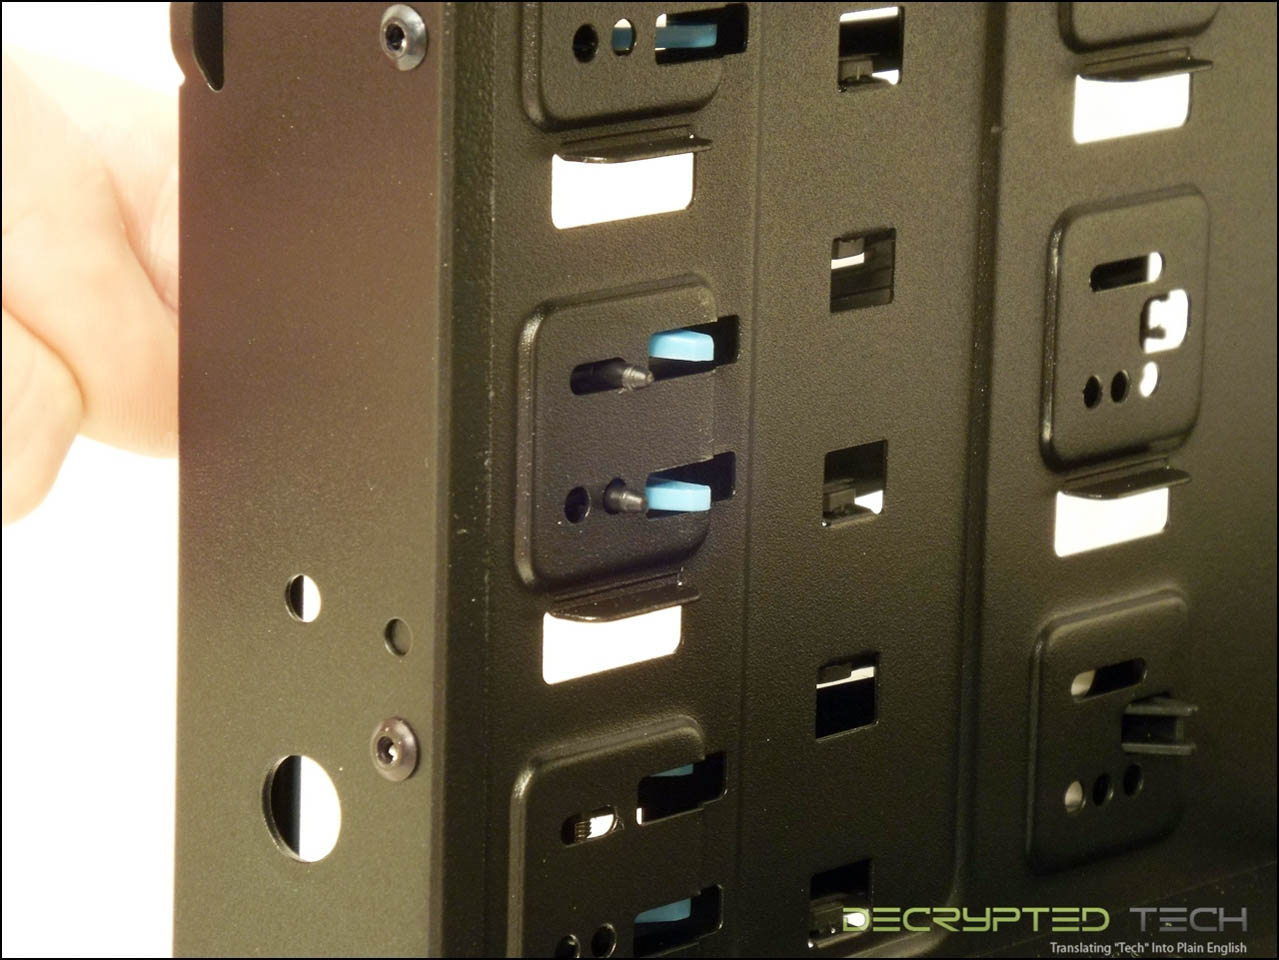
Thermaltake has yet another approach to the tool problem here, one I’ve not seen before. When a device is slid into the bay to install it, the installer doesn’t have to press anything at all. A sloped lever at the rear of the bay is pressed inward by the device itself when it goes in, and that in turn pushes the retention pins outward, locking them into the screw holes in the device. I’ll have to admit that this is the simplest installation setup I’ve seen yet. When the device needs to be removed, the user just has to press on the large blue tab on the side of the bay to release the retaining pins and pull it out.
 |
 |
 |
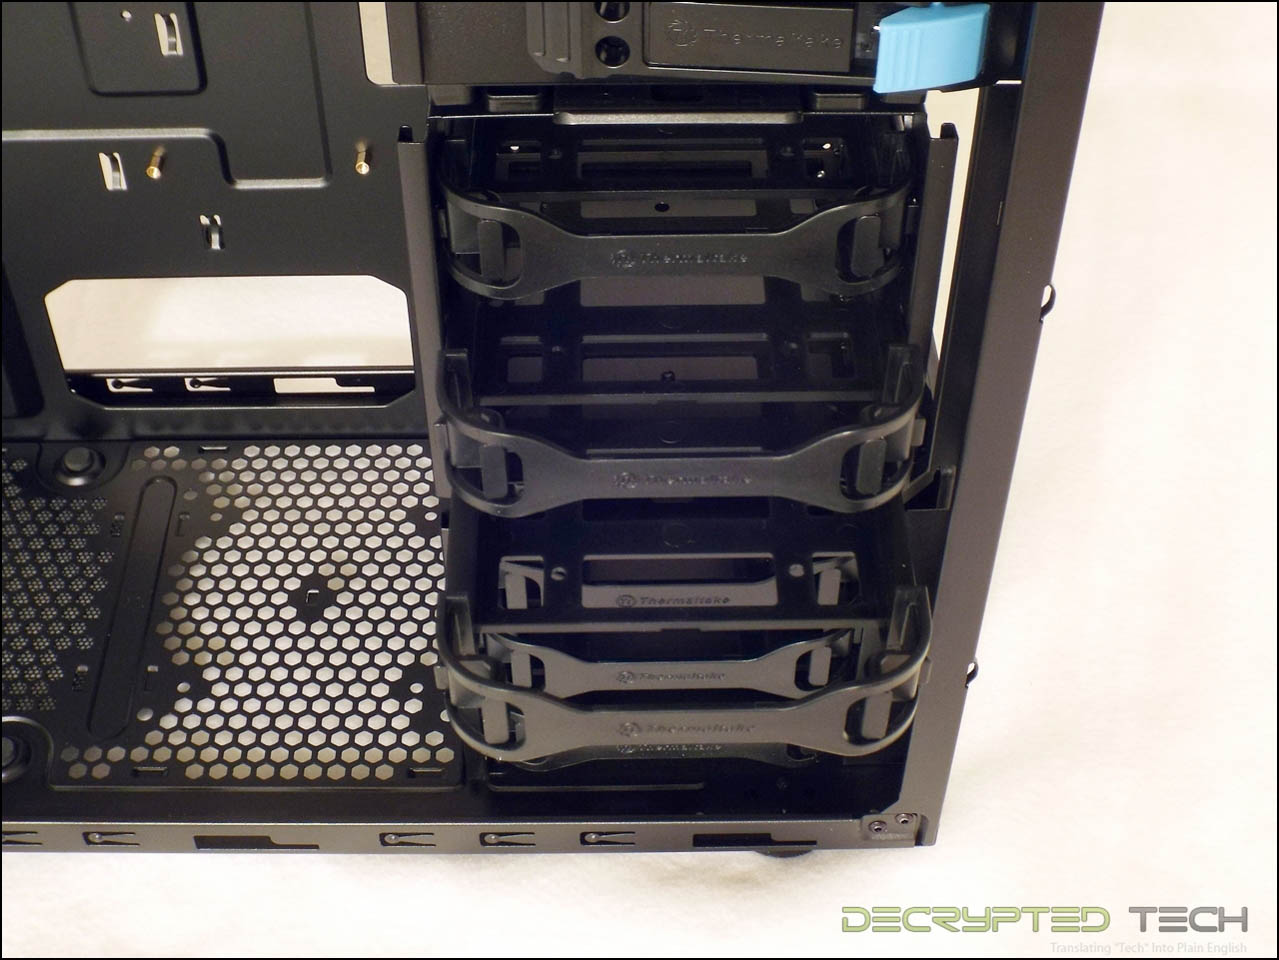
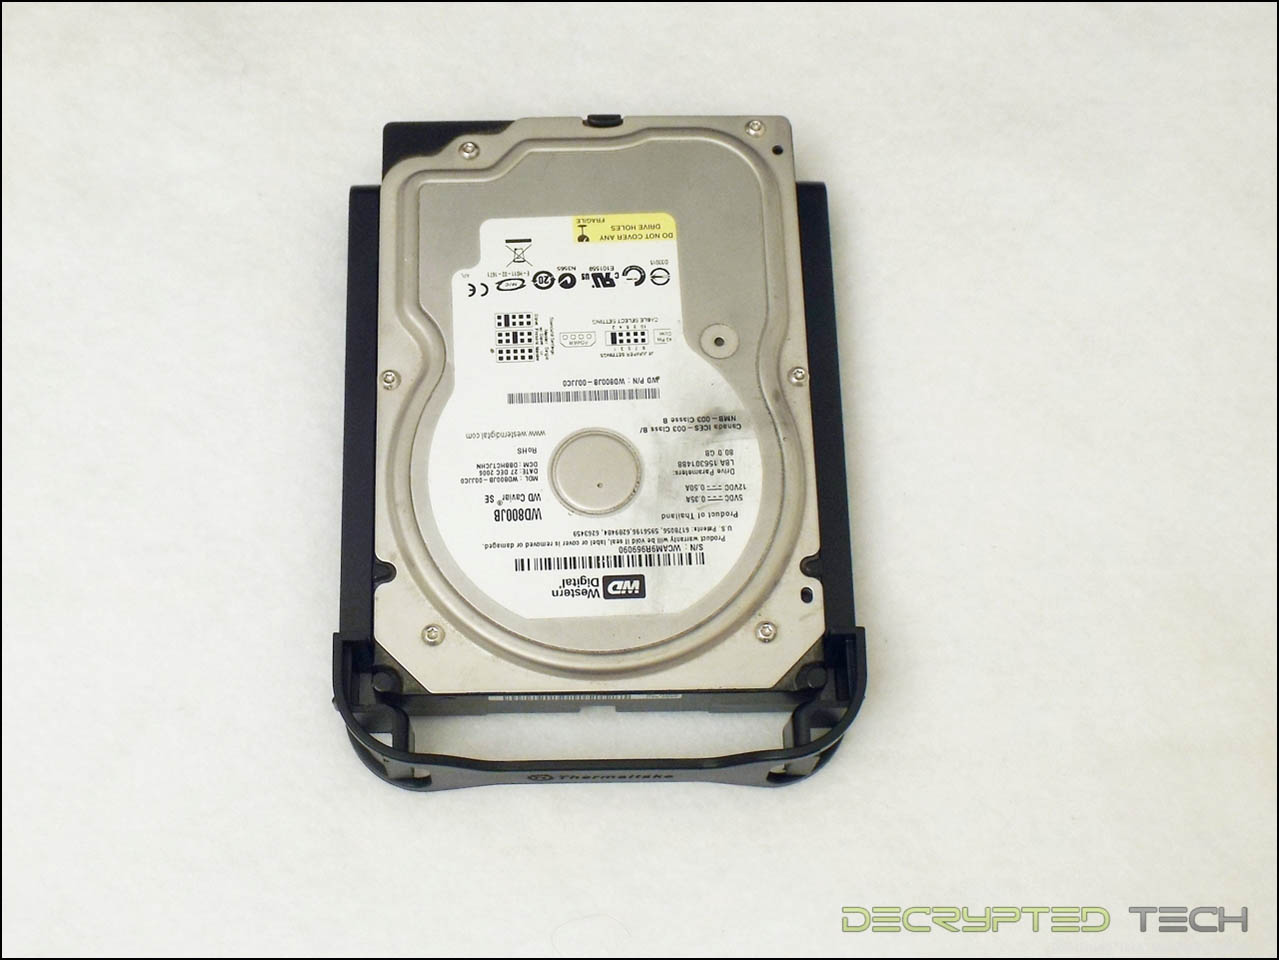
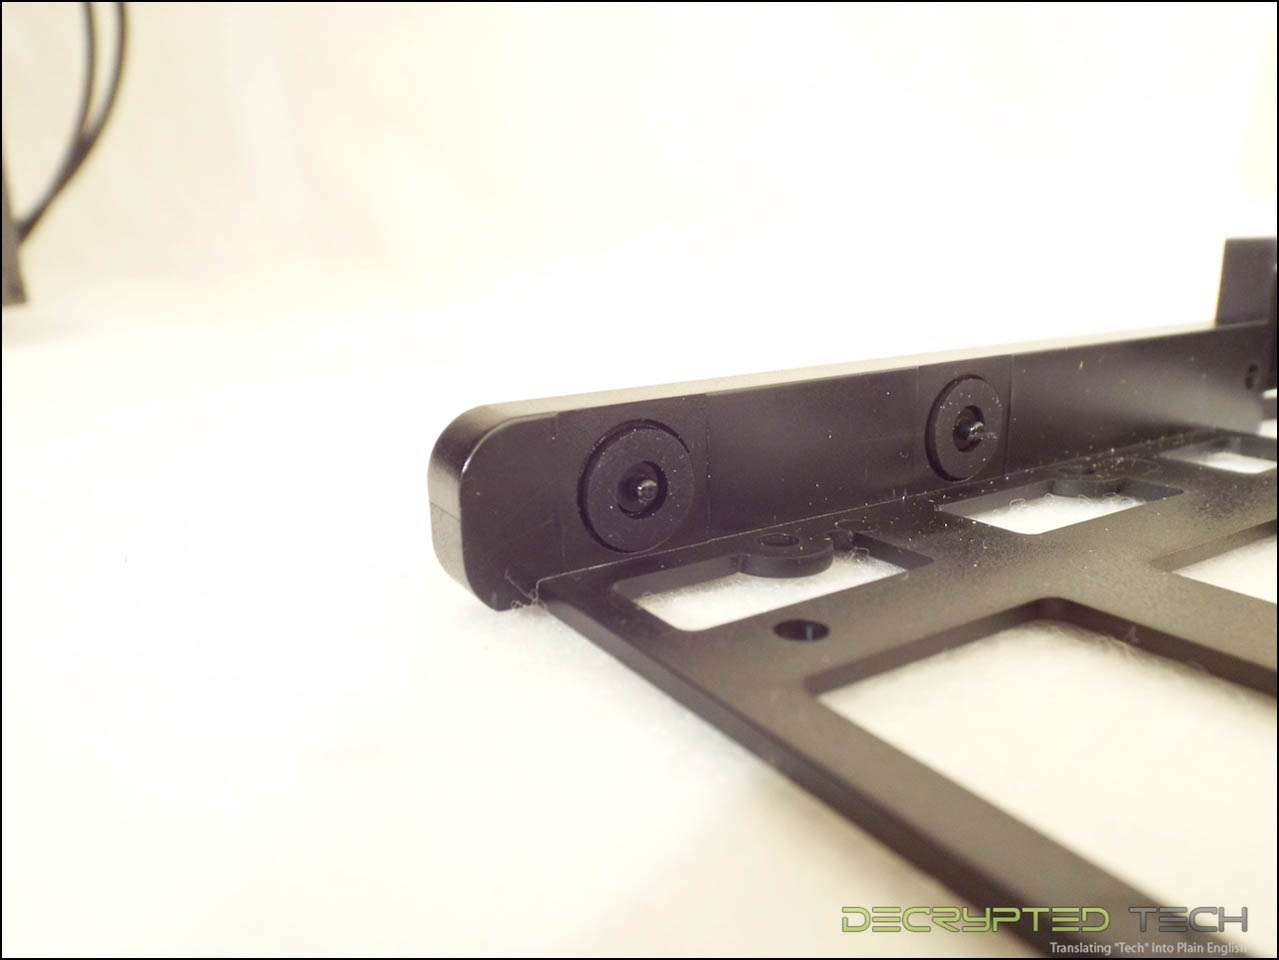
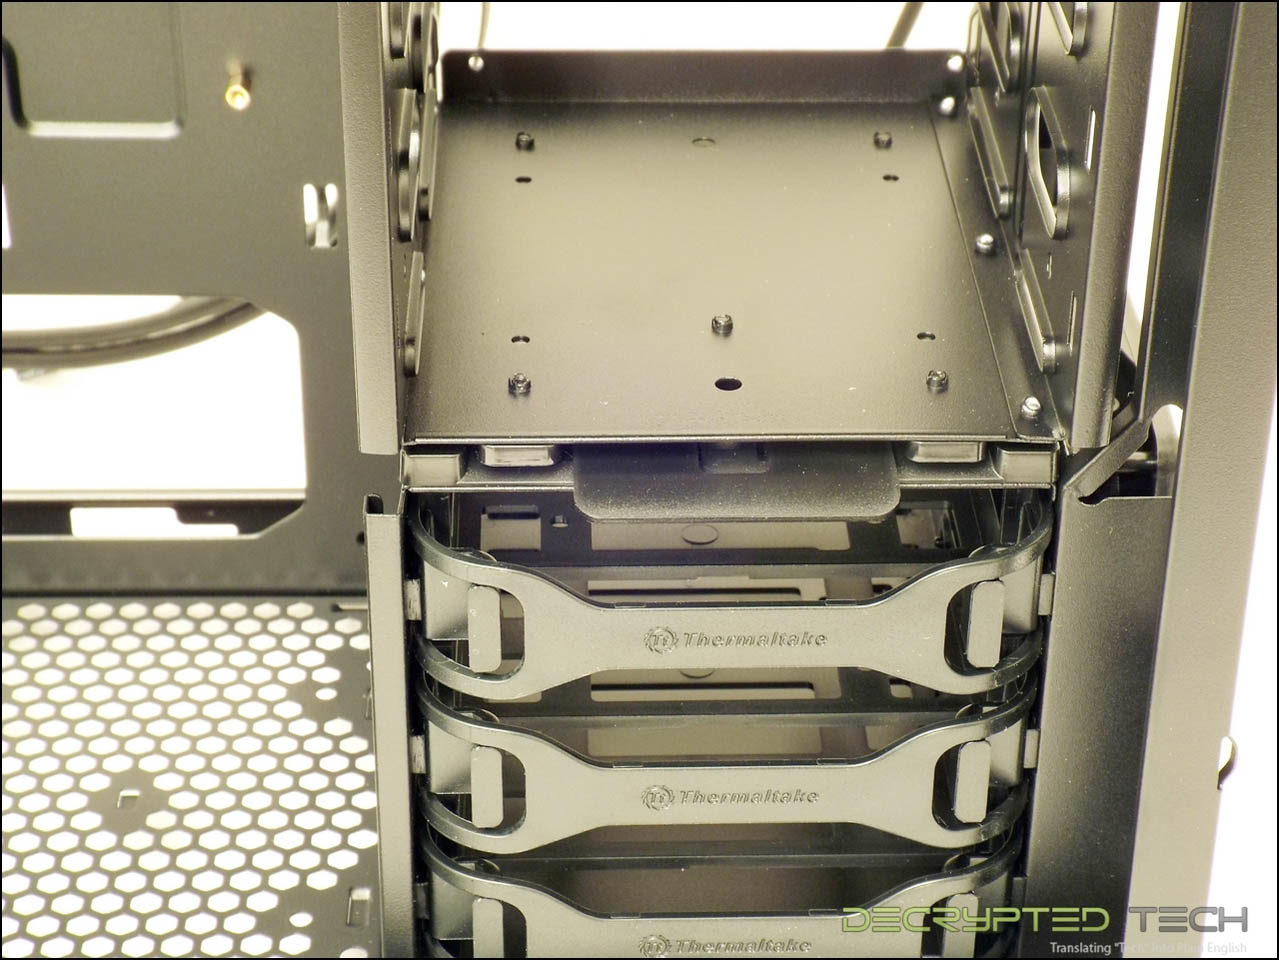
Directly below these drives are the hard drive cages. These are of course also tool free, but unlike some of the other cradles I’ve seen lately, they are all one piece. There are no tabs to bend, no sections to slide out, no moving parts at all. To install the drive, one side is put in place with the retention pins in the drive holes and then the other side is literally bent away from the drive to allow it to snap in place. Most of the drive cradles I’ve seen wouldn’t take that kind of stress, but these seem very solid and won’t bend much past the point that they have to bend to allow insertion of the drive. Note that there are also two holes in the sides of the cradle and four in the bottom for screw mounting should that be desired.
 |
 |
 |
 |
 |
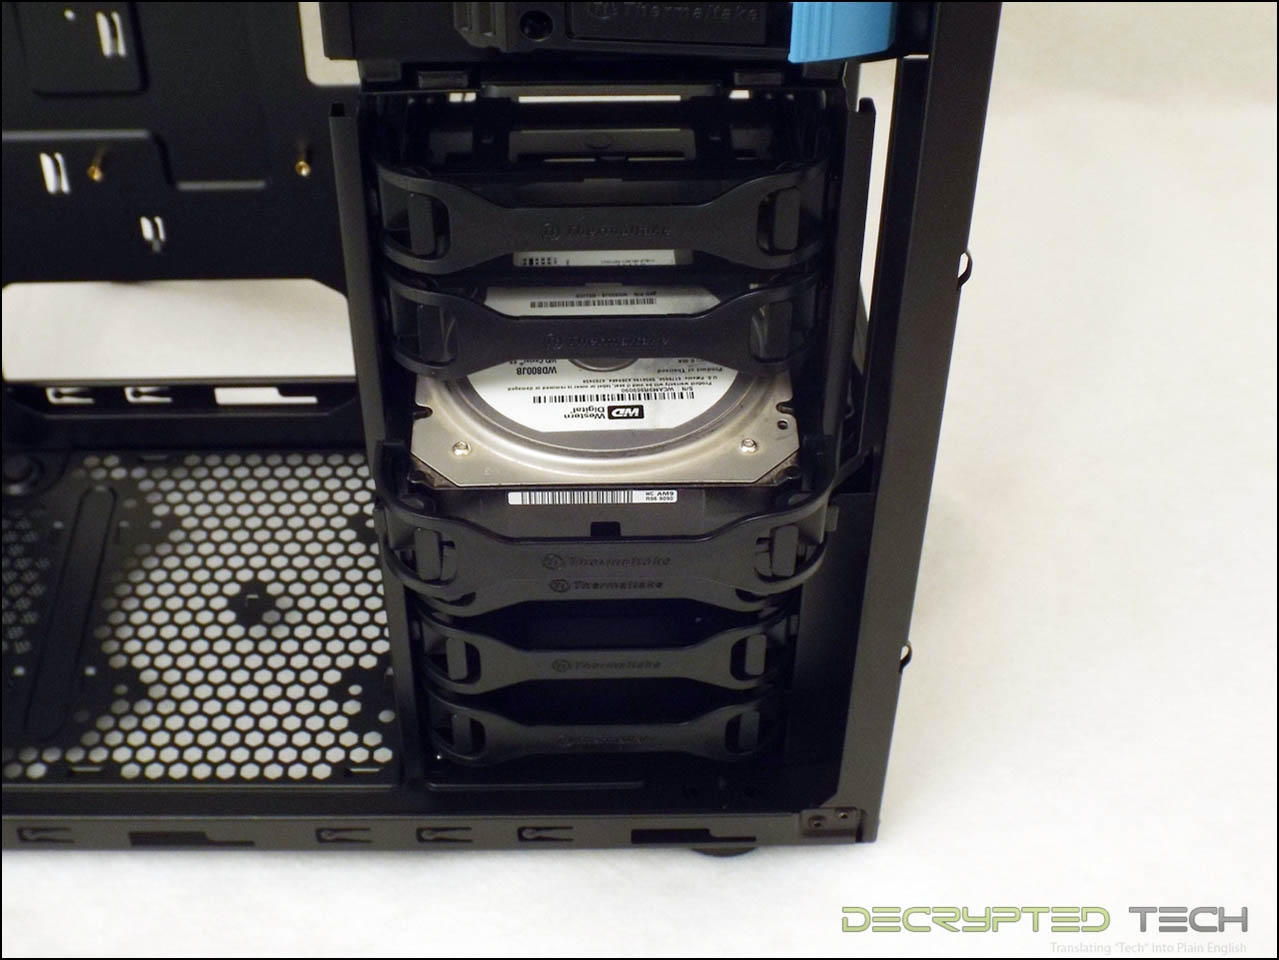
While the lower drive cage is riveted to the bottom of the case, the upper cage is removable simply by pressing two release tabs and pulling it out. This is actually a critical feature for this case, as this bay lines up with the location of the most commonly-used PCIe x16 slots on most motherboards and allows the installation of longer video cards. In our test build we were able to install an older Sapphire HD4870 with a huge aftermarket cooler without pulling these bays but anything longer wouldn’t have fit.
 |
 |
 |
Accessories
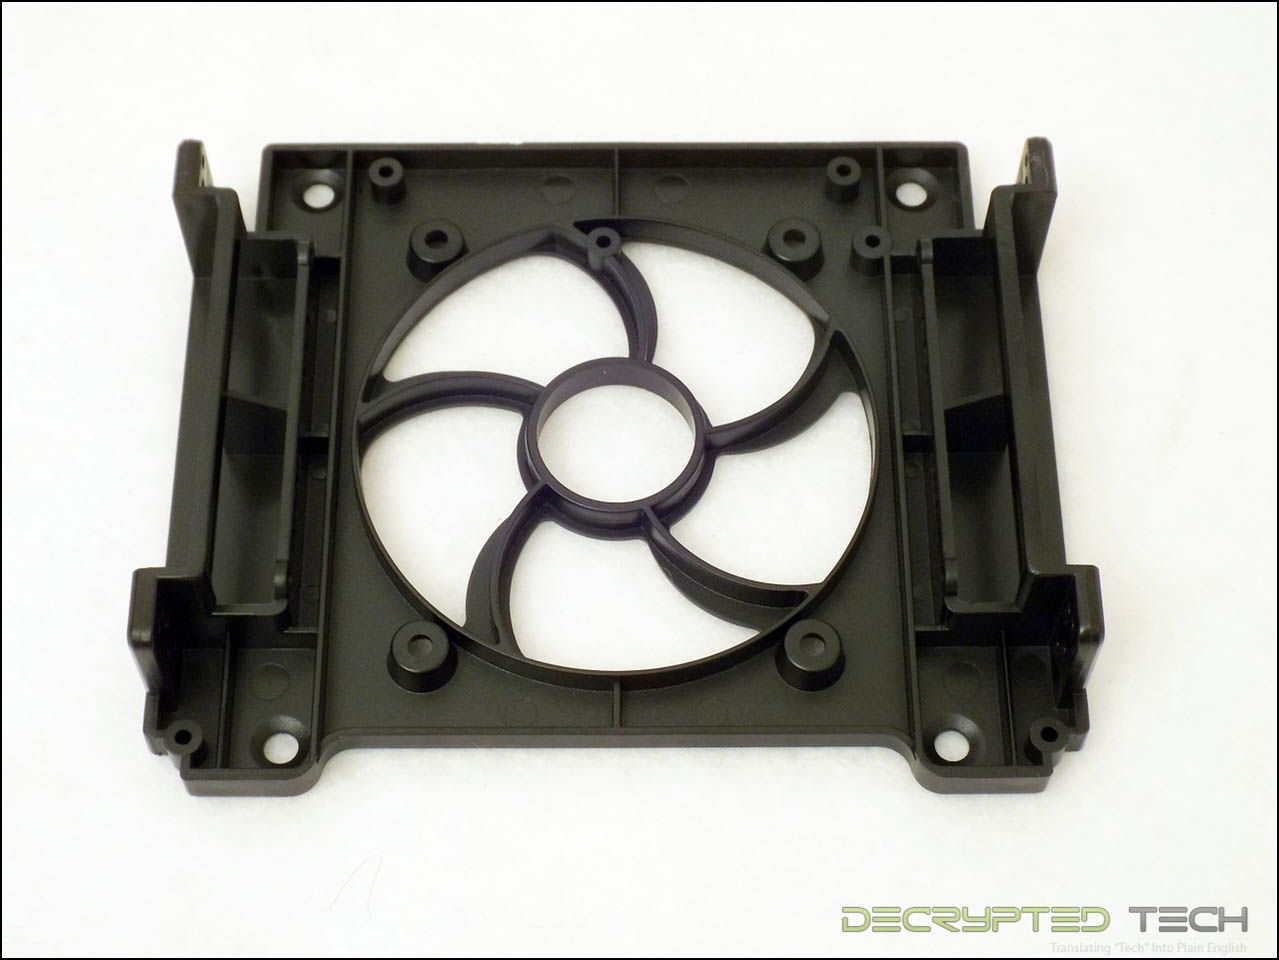
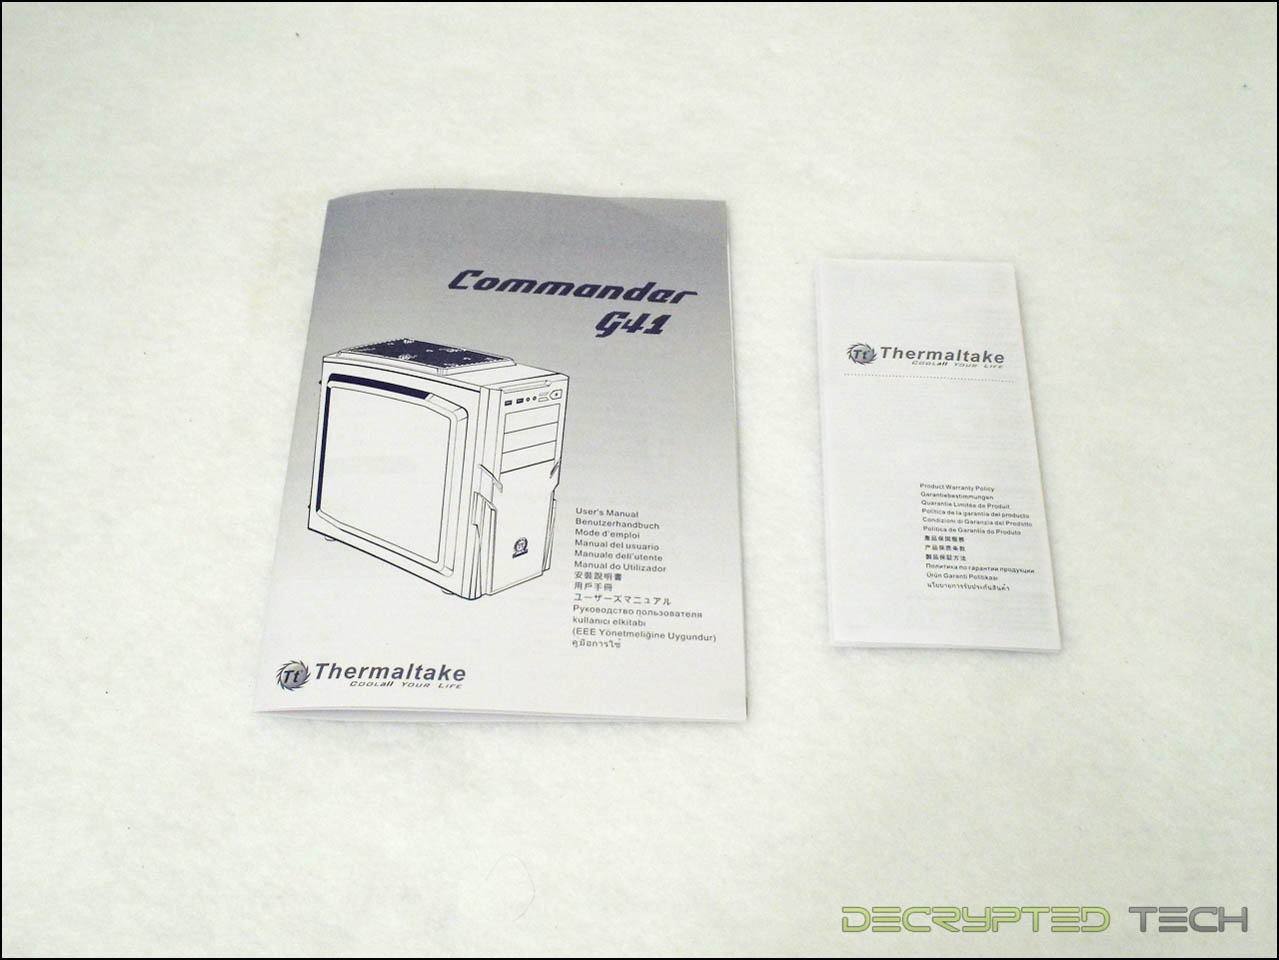
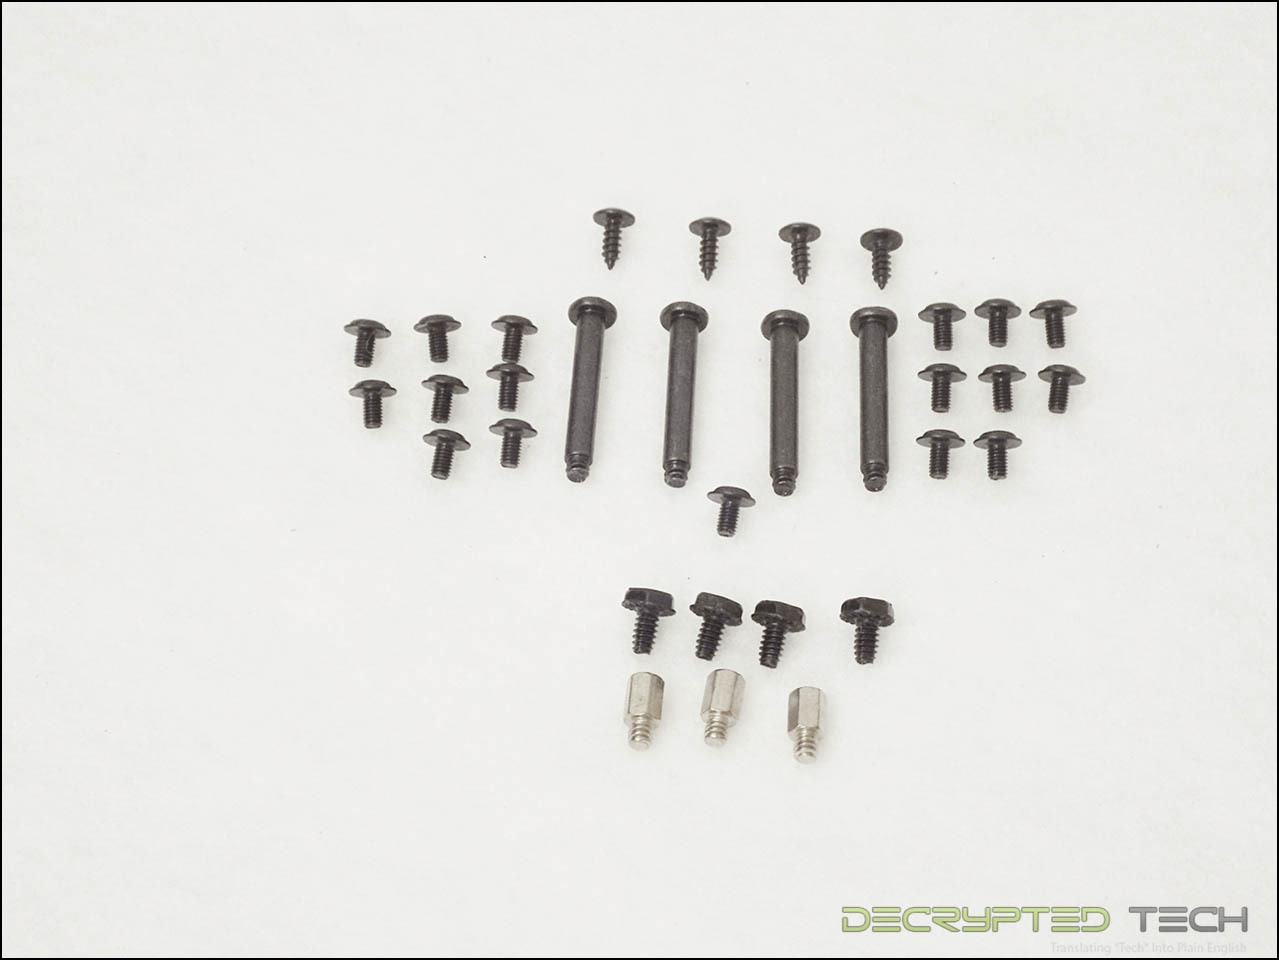
While the accessories that come with a case don’t normally warrant their own section in a review, I came on a mystery here and a prospective buyer should know what I found. First off, the case comes with the standard accessories; a manual, 3.5” conversion plate for external devices, cable ties, screws and a 3.5” drive bay adapter.
|
 |
 |
It was the adapter and the screws that confused me. That adapter is a solid piece of plastic and is way more complicated than it needs to be for its job, and the screw kit included four additional fan mounting screws (the long ones with threads only at the very end). These screws are very specific for that job, but there are no holes for fan mounts anywhere else in the front. The outermost holes in the adapter were spaced for a 120mm fan, and after some experimentation I realized that this adapter would fit in the front of the 5.25” drive bay vertically, allowing the installation of a second front fan as long as none of those bays are populated. No mention of that was made in the manual or on Thermaltake’s own site, but our Thermaltake rep was able to confirm that was one of its intended purposes.
Test build
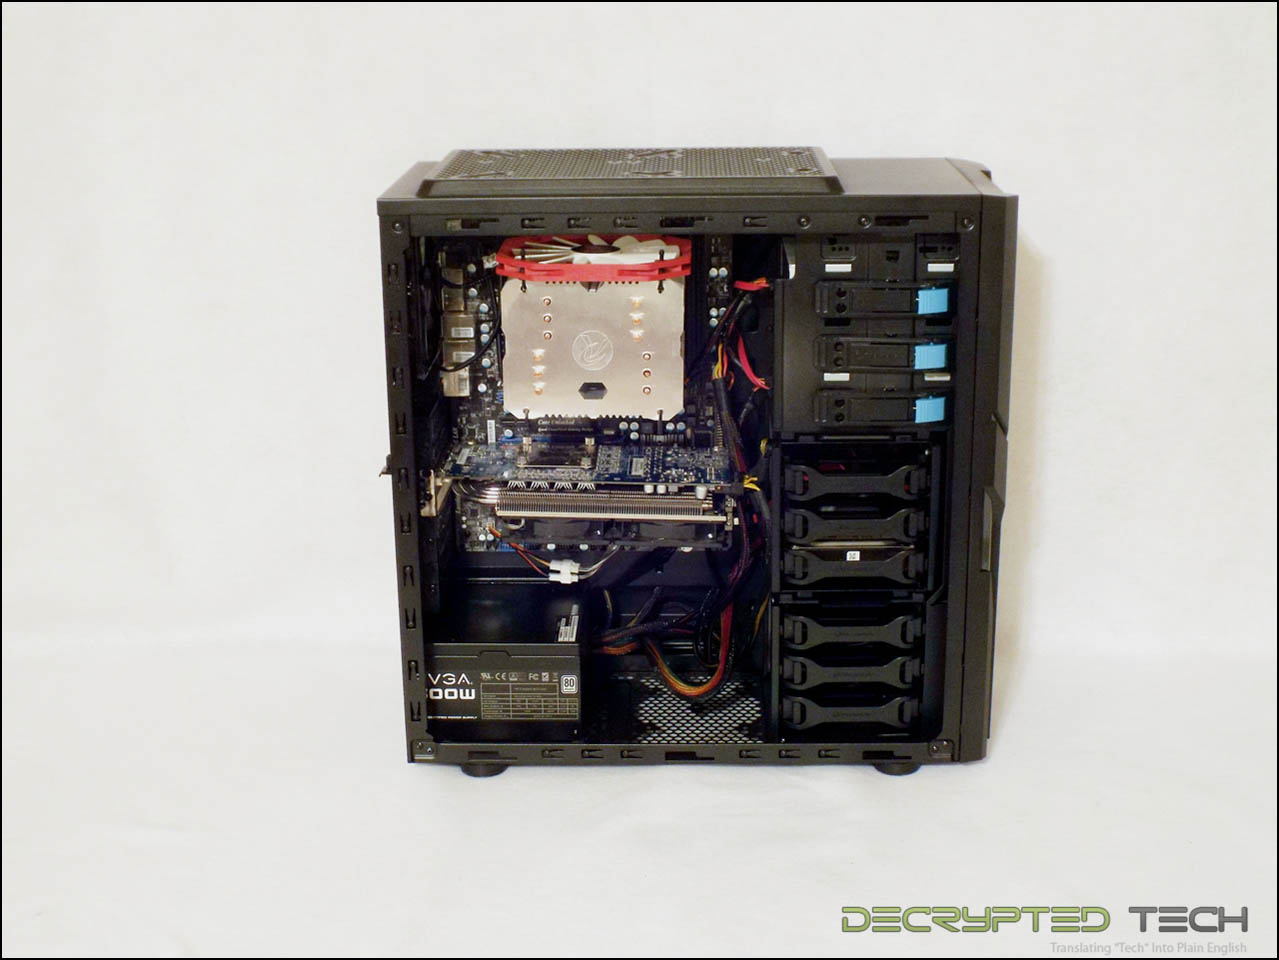
To test the ease of use on this case, I built a system with the following components:
MSI 890FXA-GD70 ATX motherboard
8GB (2x4) Corsair Dominator memory
Sapphire HD4870 video card with Thermalright T-Rad2 cooler
Asus DVD recorder
Western Digital 3.5” hard drive
EVGA 500-watt ATX power supply
Raijintek Ereboss CPU cooler
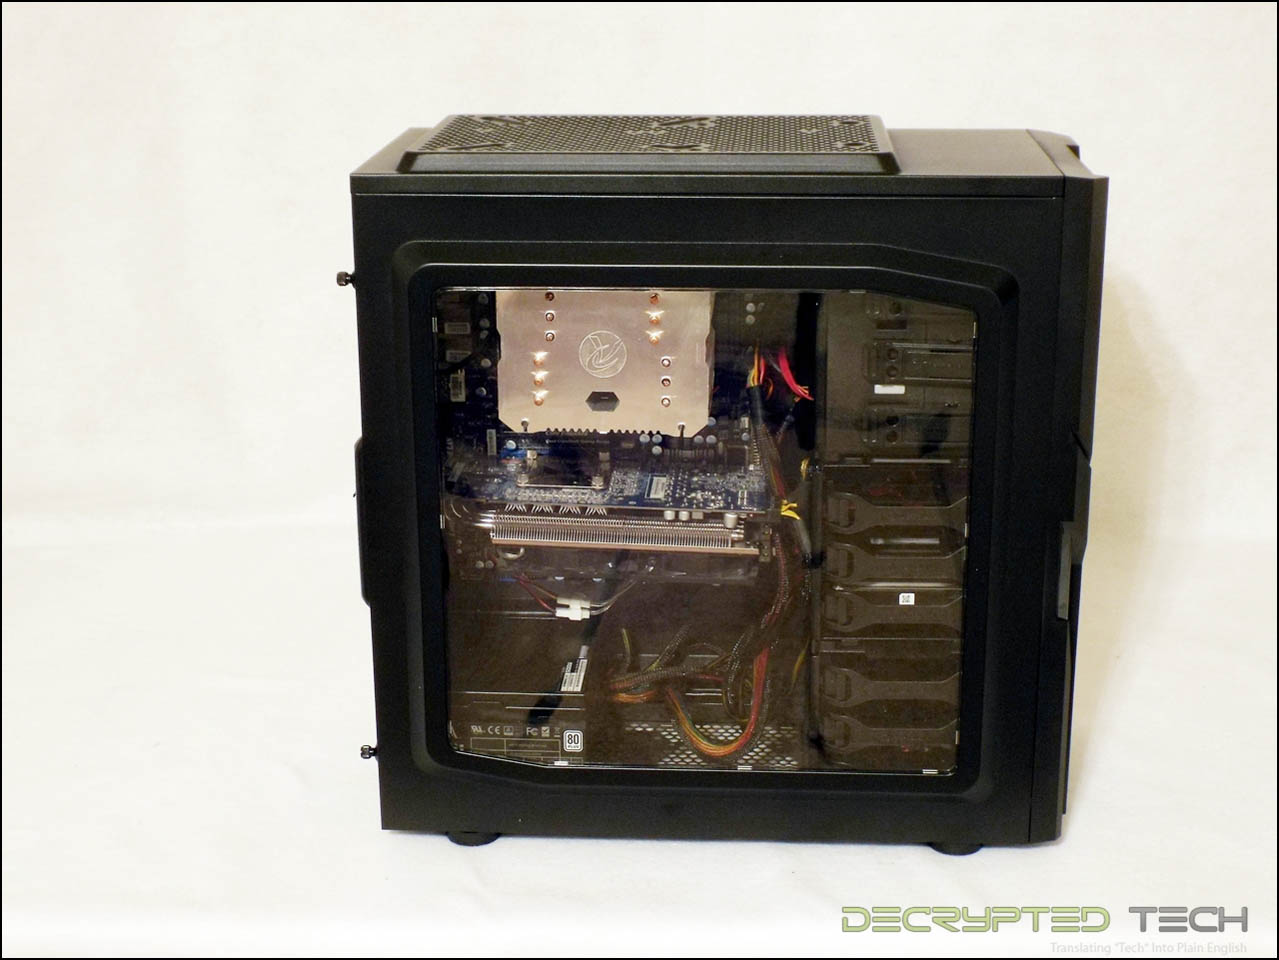
Overall the installation was fairly painless. While I did have some trouble connecting the power to my video card, removal of that center drive bay would have made that simple. The huge Ereboss air cooler fit the case without a problem, and the cavernous space between the motherboard tray and the right side panel made tucking away the unused cables a breeze. The huge side panel will likely encourage even the most slovenly PC builder to tidy up their system a little bit.
 |
 |
Conclusion
The Commander G41 from Thermaltake is a good-looking case with some nice features. With the ability to house 120mm or 240mm radiators and with multiple fan options, it offers some flexibility in a small package and is easy to work in. Its lack of USB 2.0 support and somewhat lacking air filter system are unfortunate but overall it is a solid choice for a build. The retail price of $69 put it right in the middle of what is arguably the most densely populated pricing band in the business. With that much competition Thermaltake might want to consider lowering the price on this model a few dollars to make it stand out against the other options.
As it stands, with the feature set, construction and price of the G41, I’m giving it the Silver Key award. Keep up the good work, guys!
 |
Tell us what you think in our Forum
