Reading time is around minutes.
BIOS -
BIOS is an acronym that stands for Basic Input/Output System. It is meant to control your product at a very low level. As of right now there are three regularly used BIOS formats (there are actually more than that but there are three common ones). These are the AMI (American Megatrends Incorporated), Award, and Phoenix.
 |
 |
 |
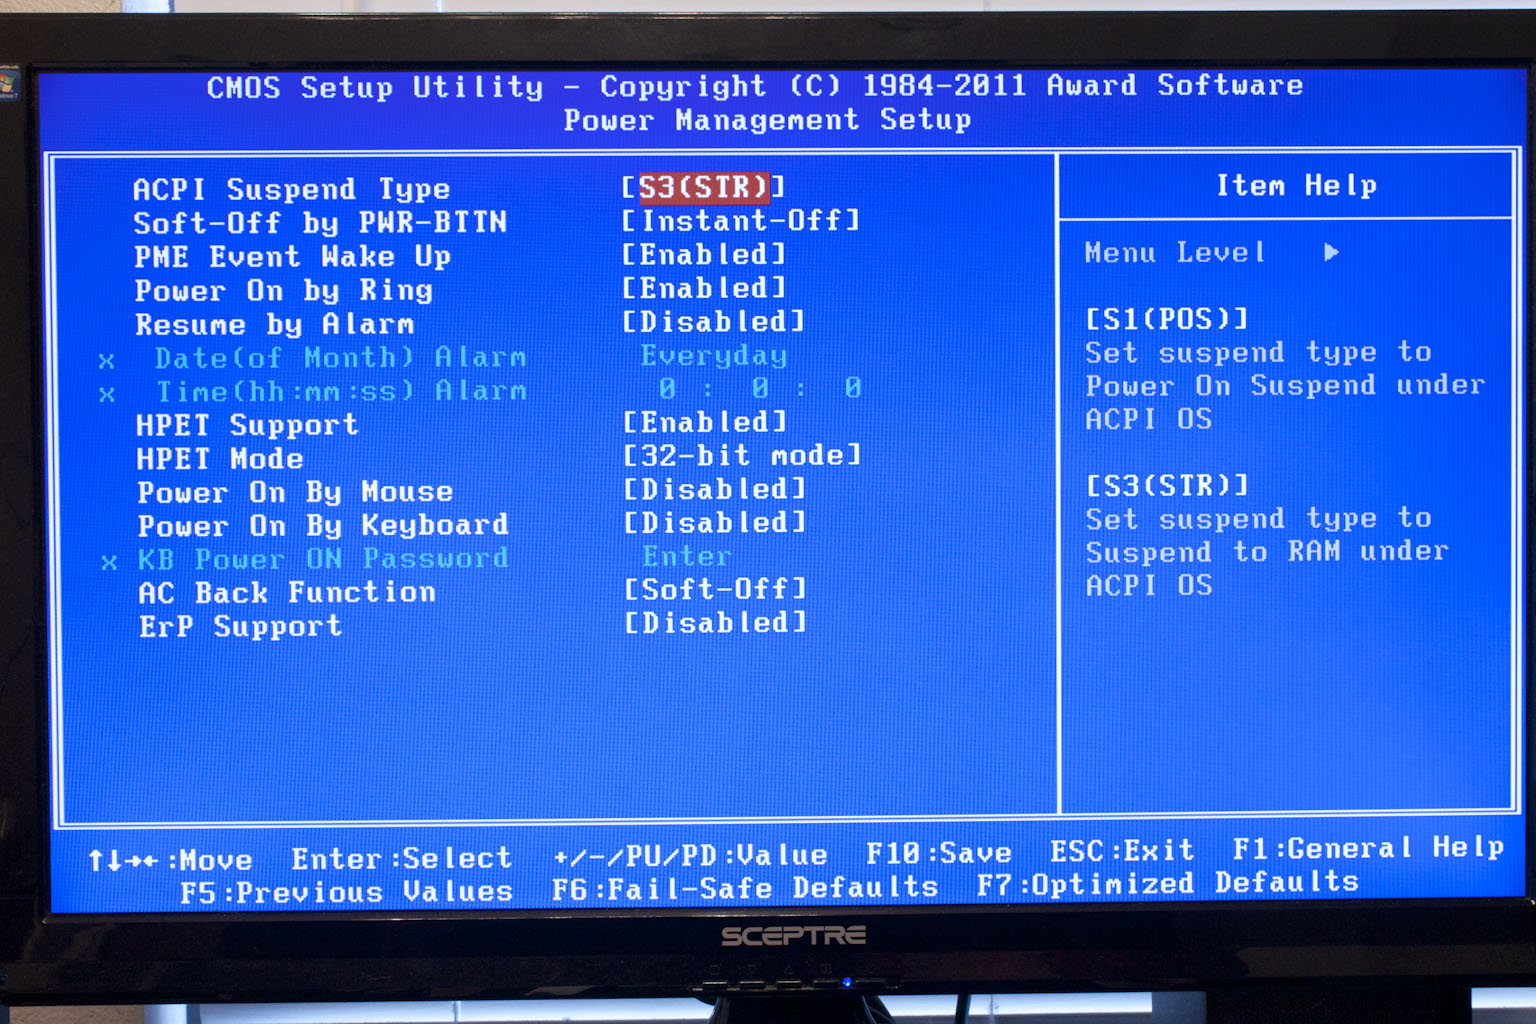
Normally our BIOS section is sort of dull. Think about it, we cover the same thing over and over. Here is the overclocking section, here are the peripherals. It is needed and can identify where someone is offering more customizations over another. The same can be said for the actual BIOS on the Z68X-UD3H B3. The BIOS is the same customized Award BIOS that we have come to expect from Gigabyte. This is not completely a bad thing as Gigabyte has done some work to keep things clean and easy to navigate.
 |
 |
 |
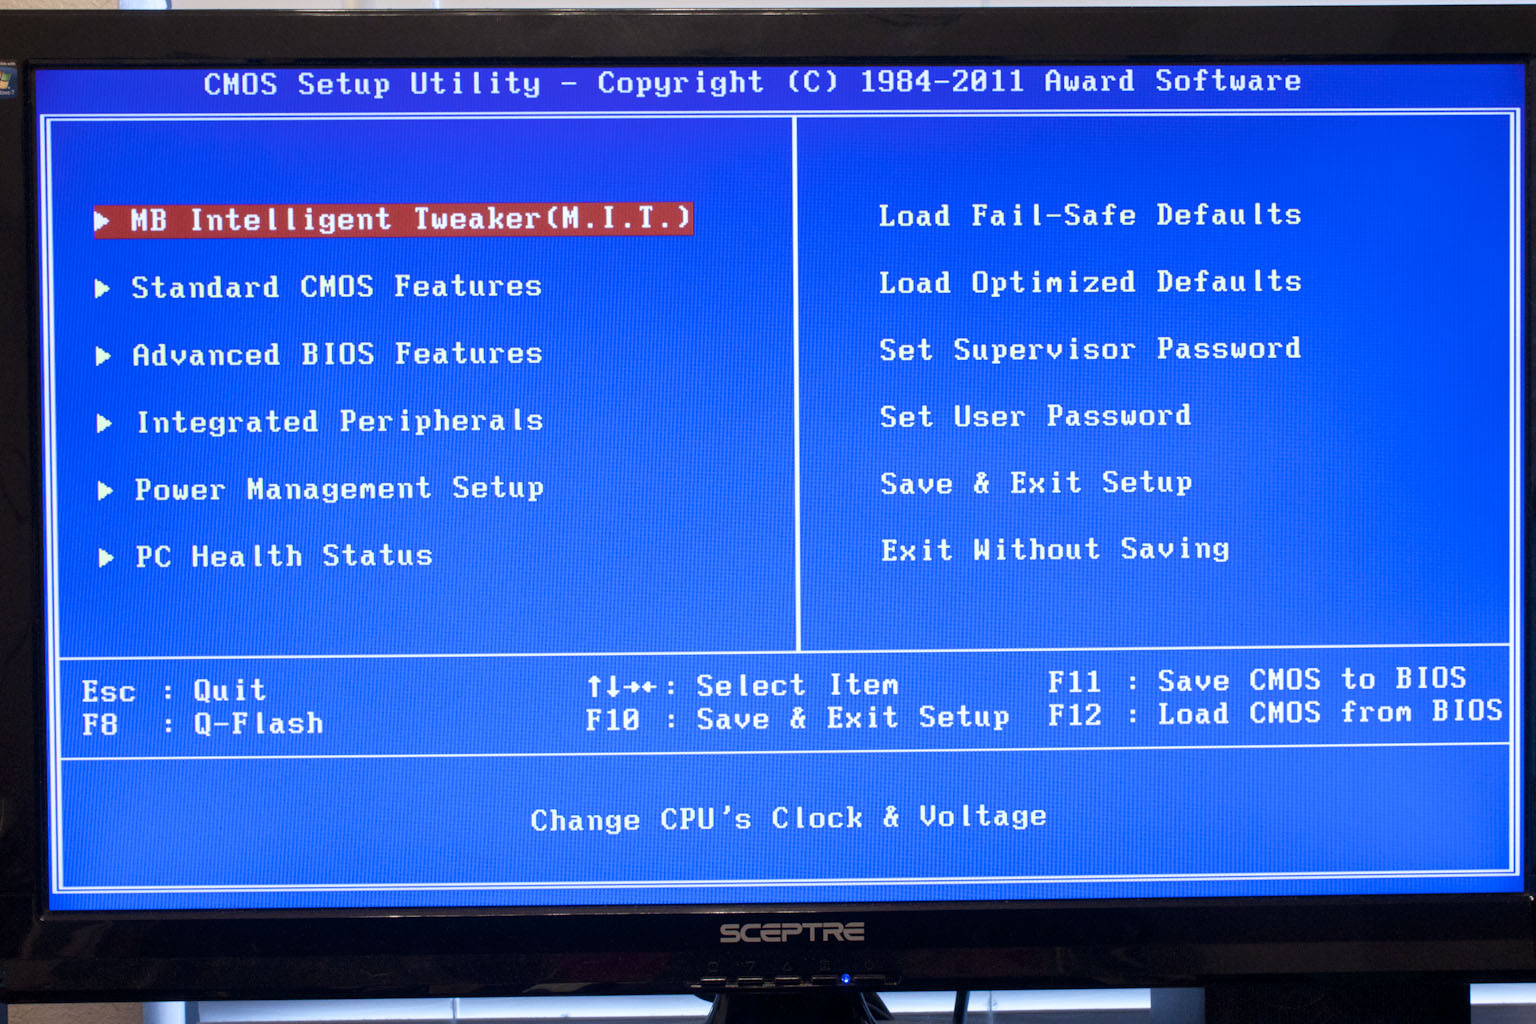
As you can see the BIOS layout is pretty much what you would expect from a Gigabyte motherboard.
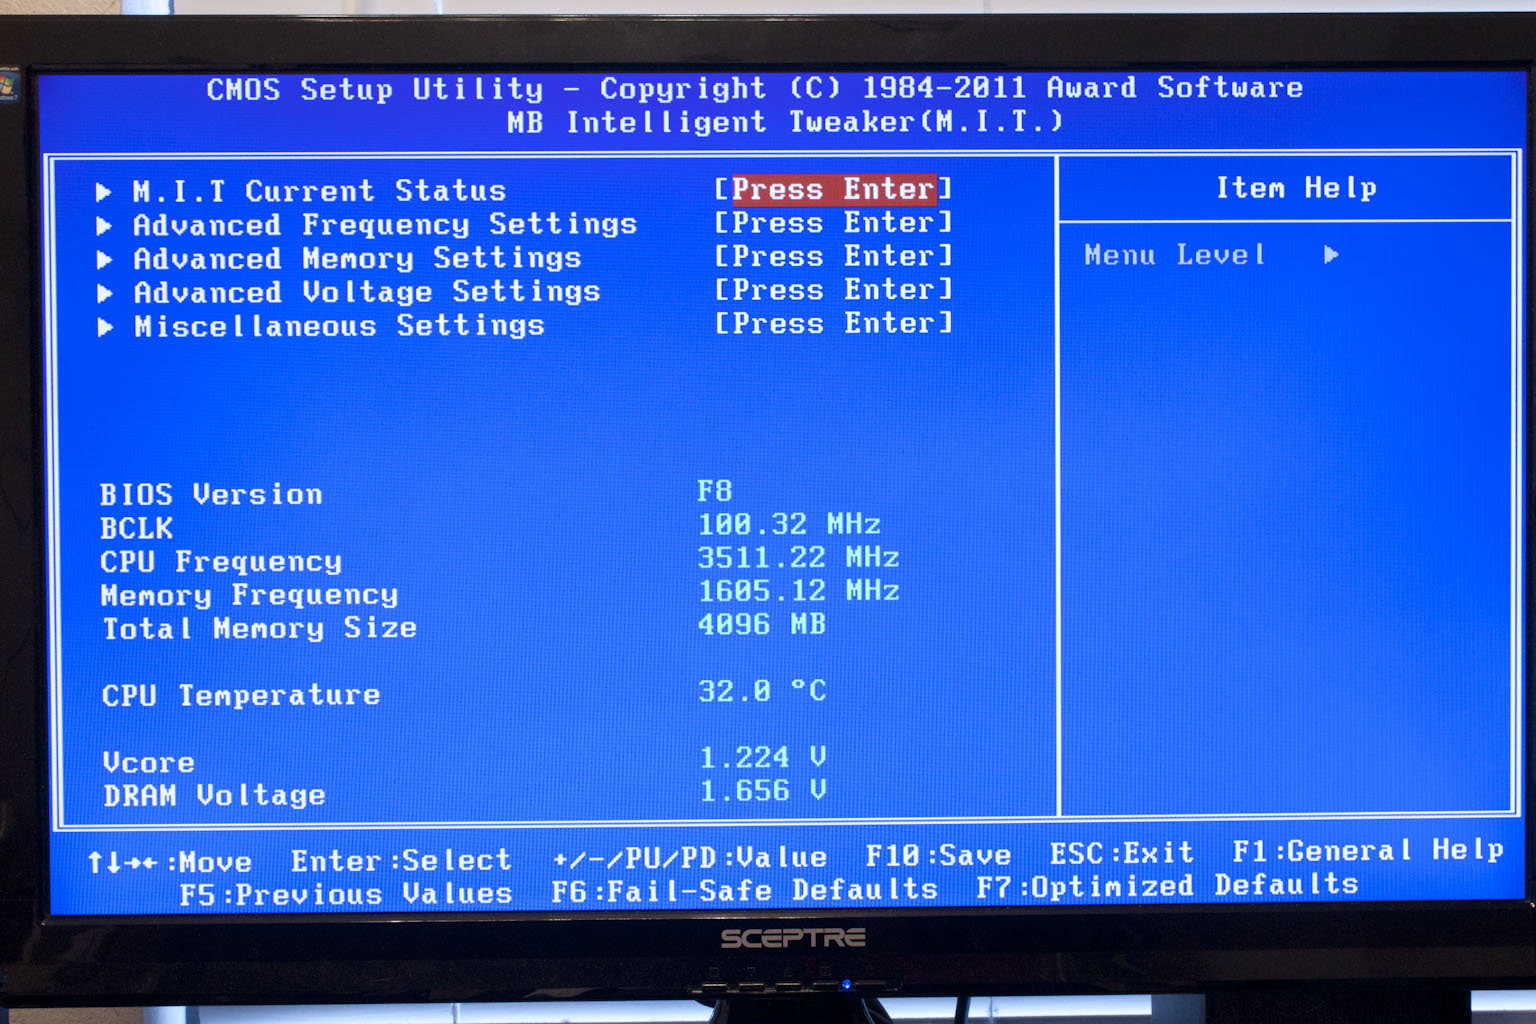
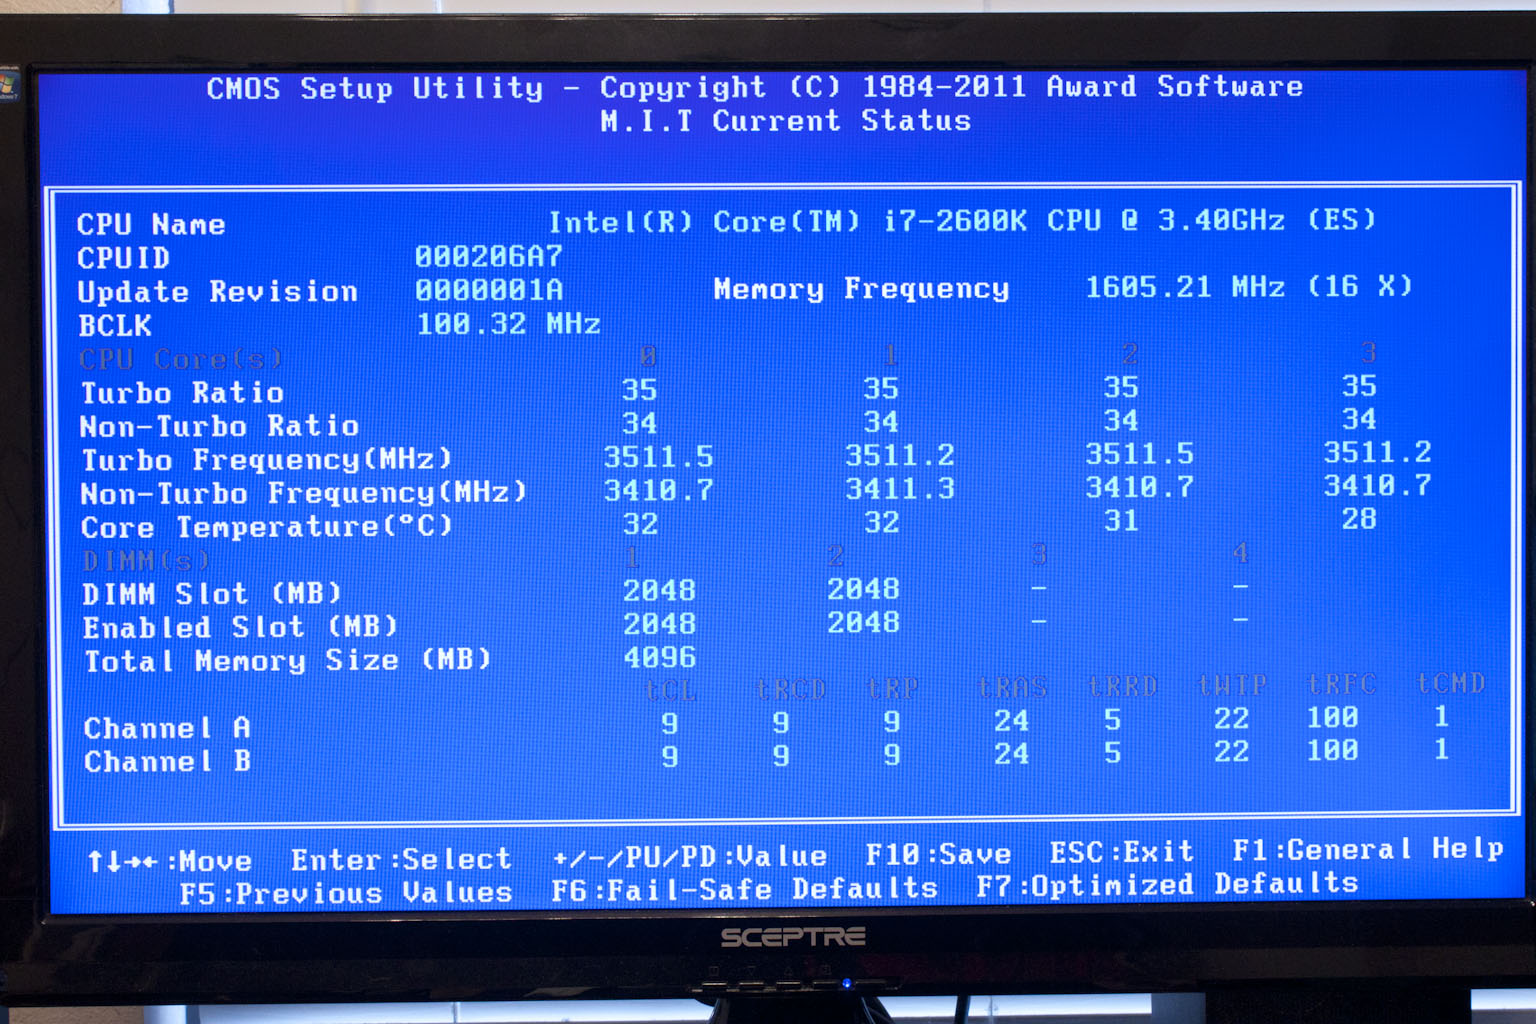
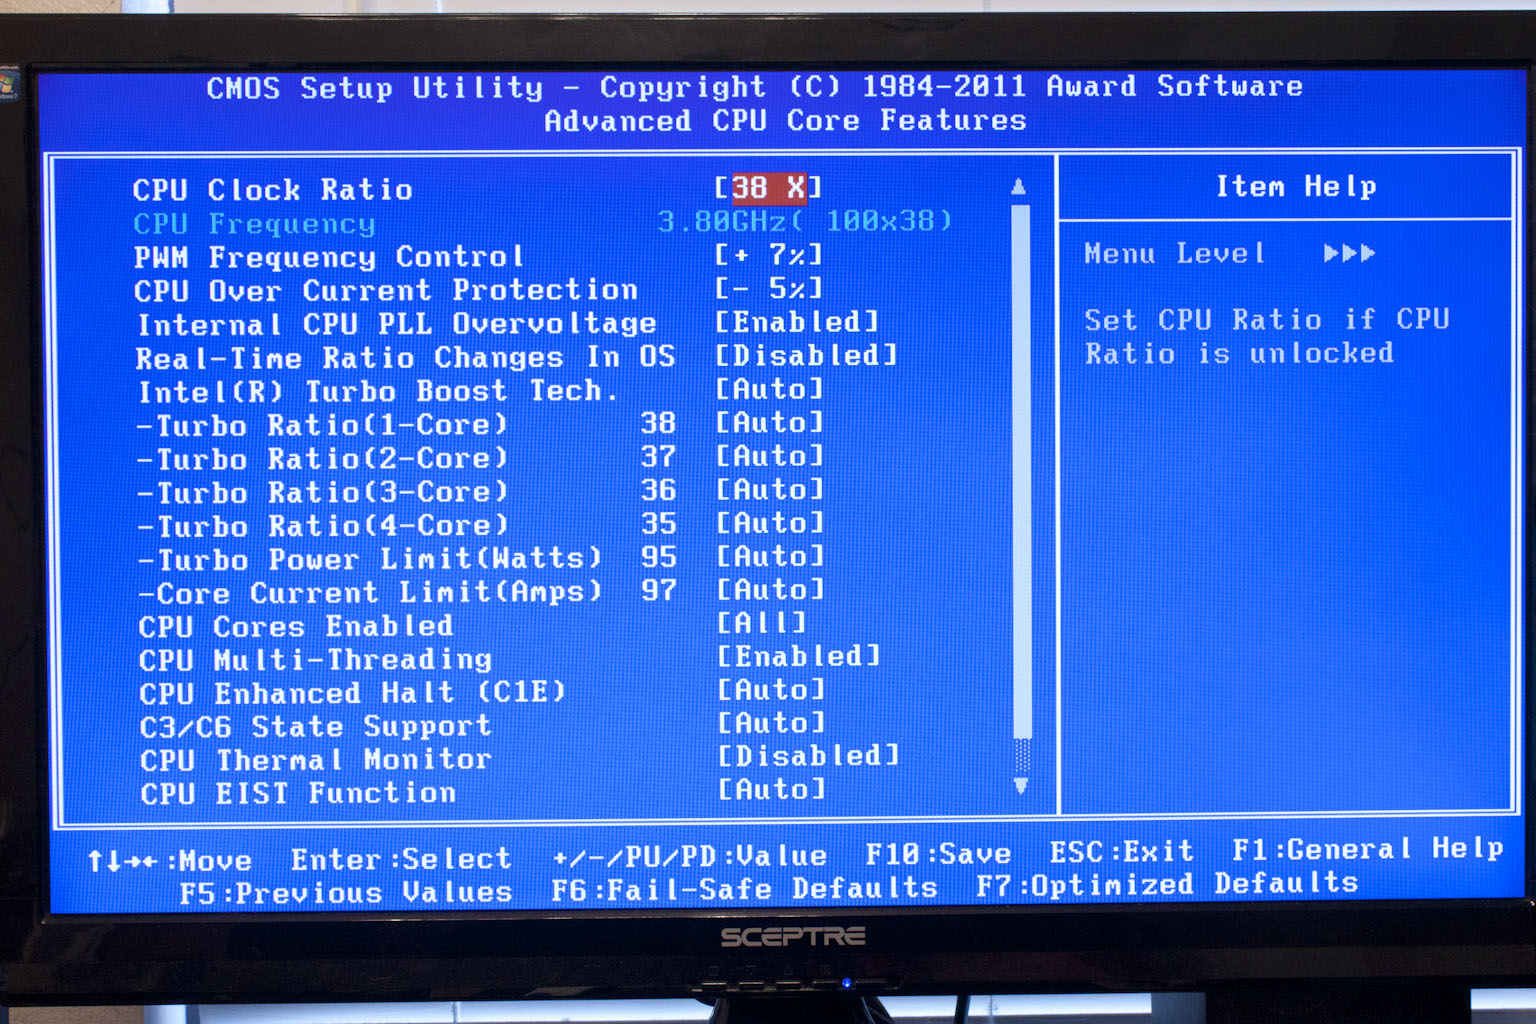
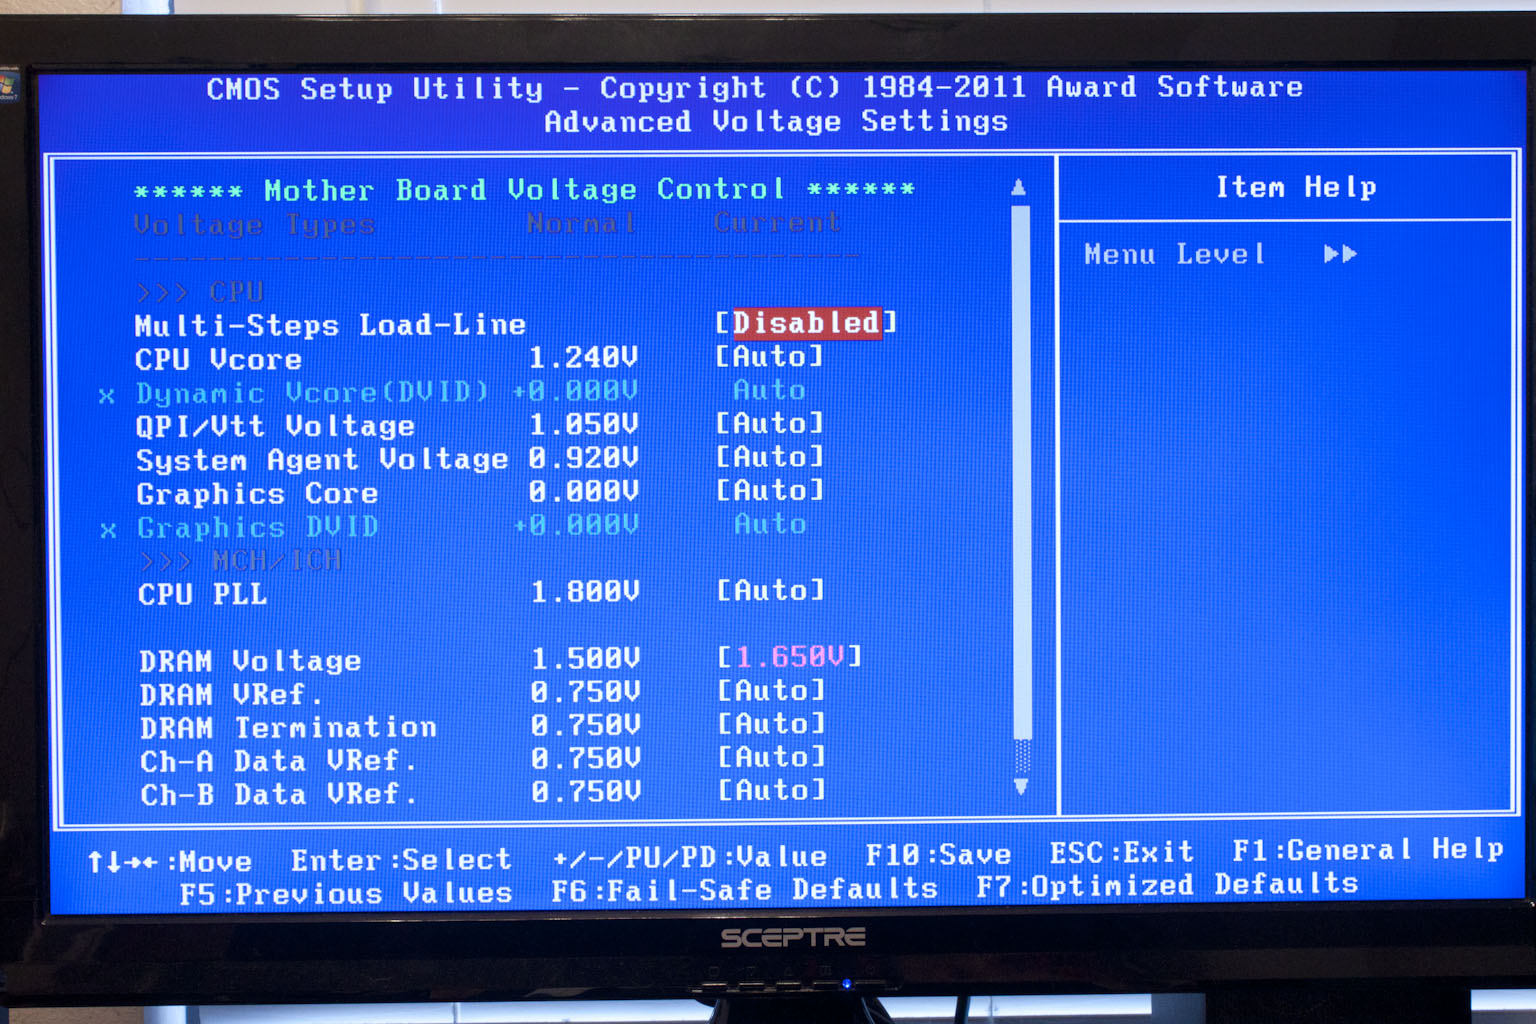
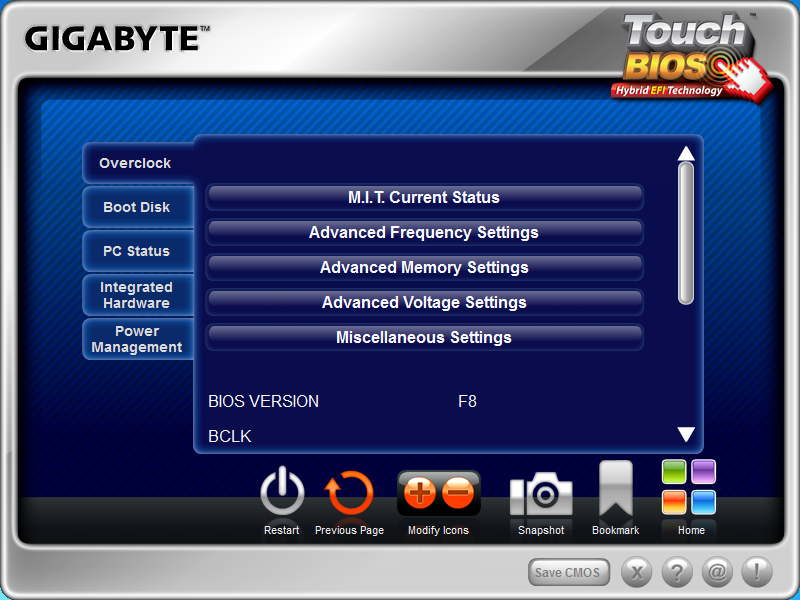
There is not much new to talk about from this end, but we will cover some of the highlights. As usual the M.I.T. pages are well laid out and keep to the clean and simple.
 |
 |
 |
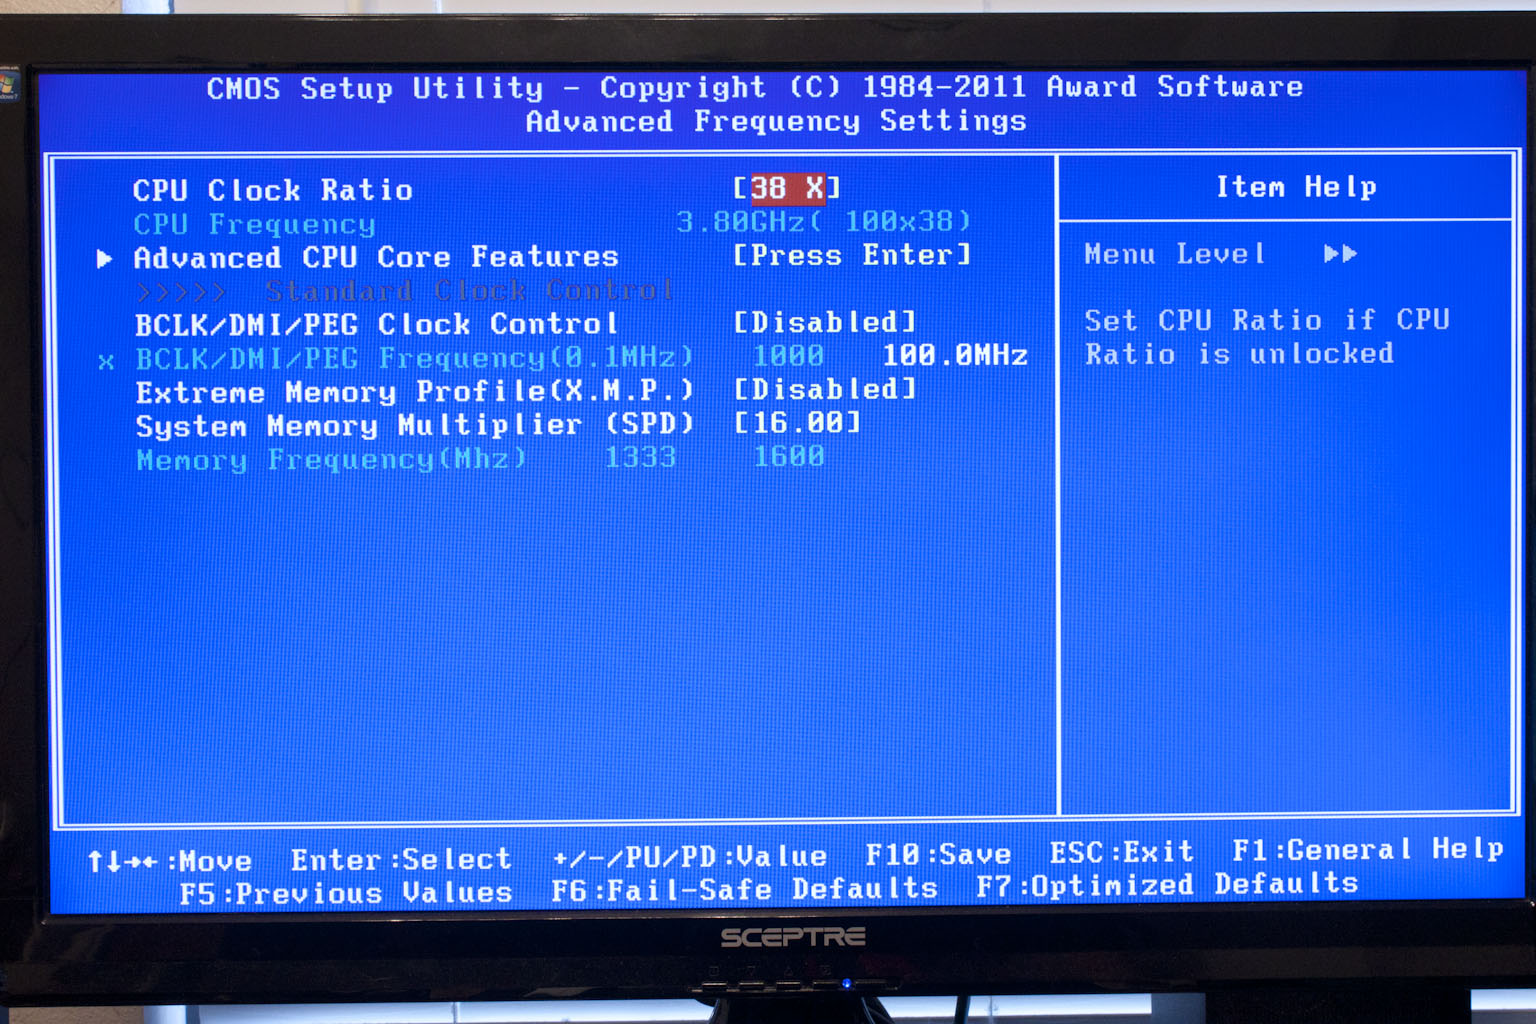
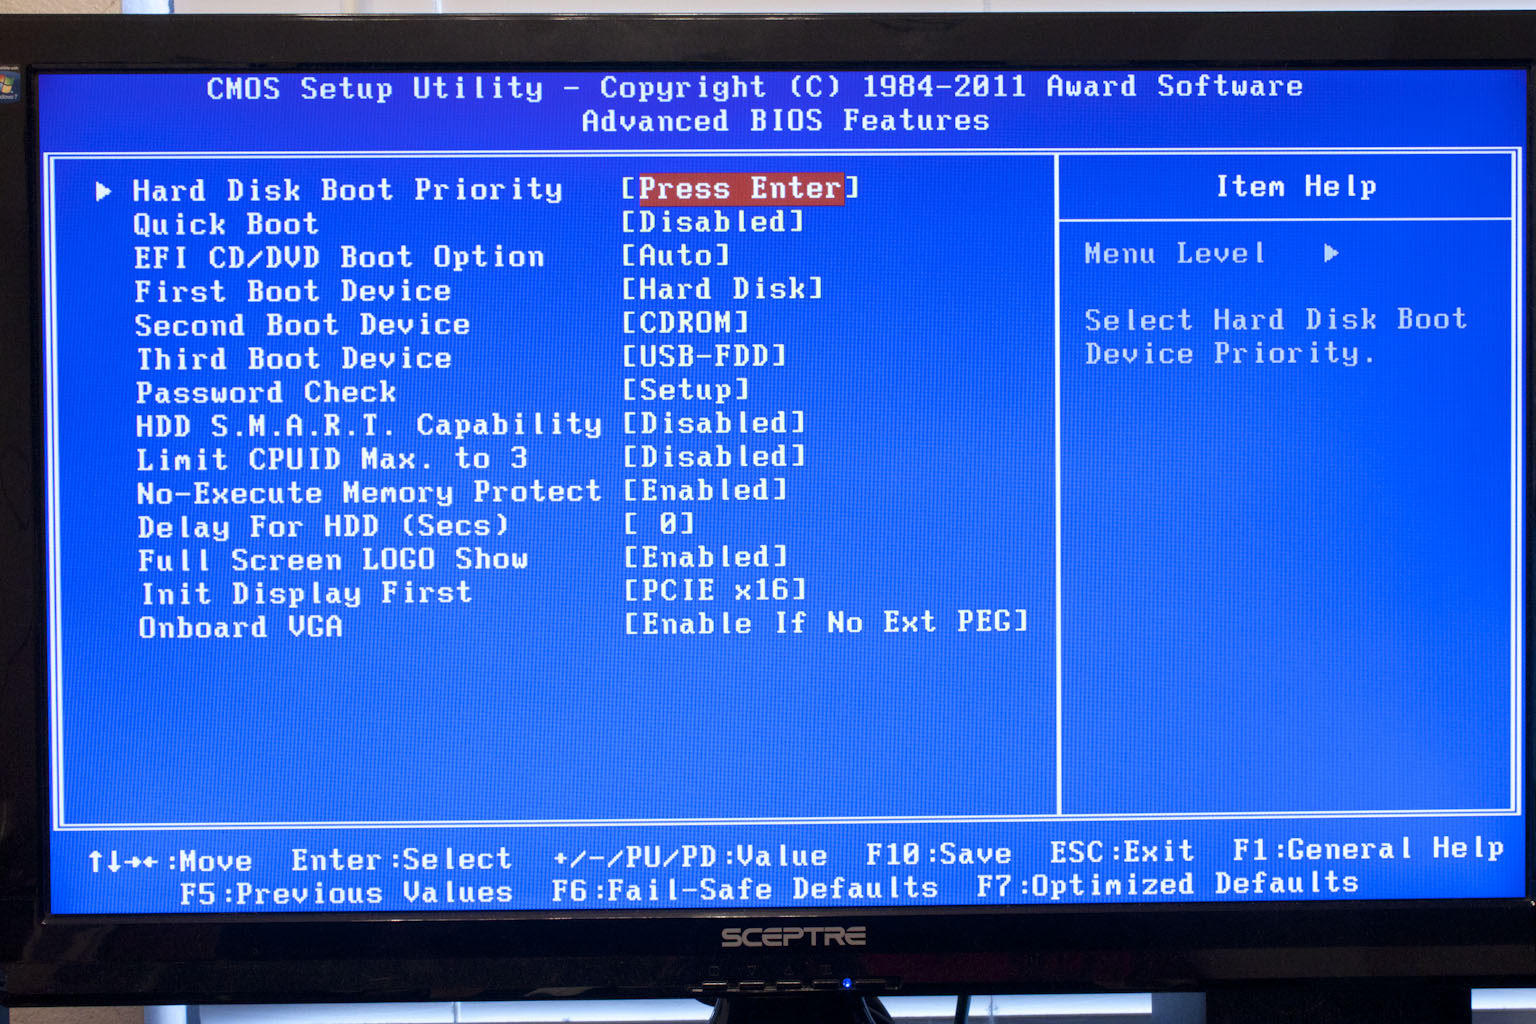
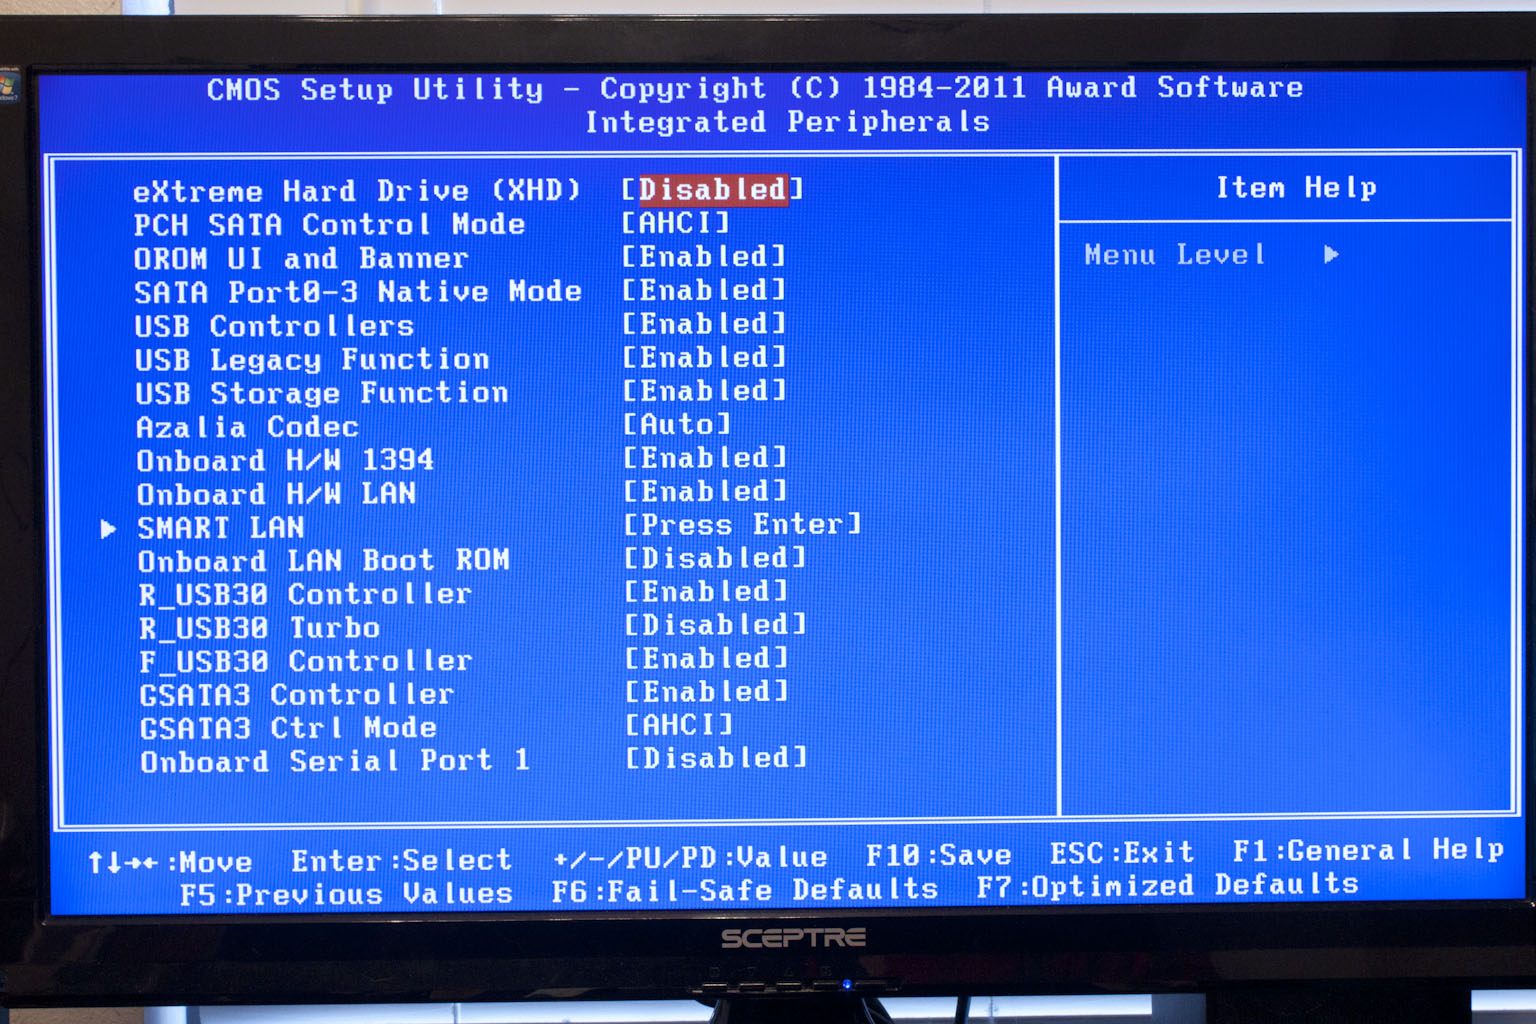
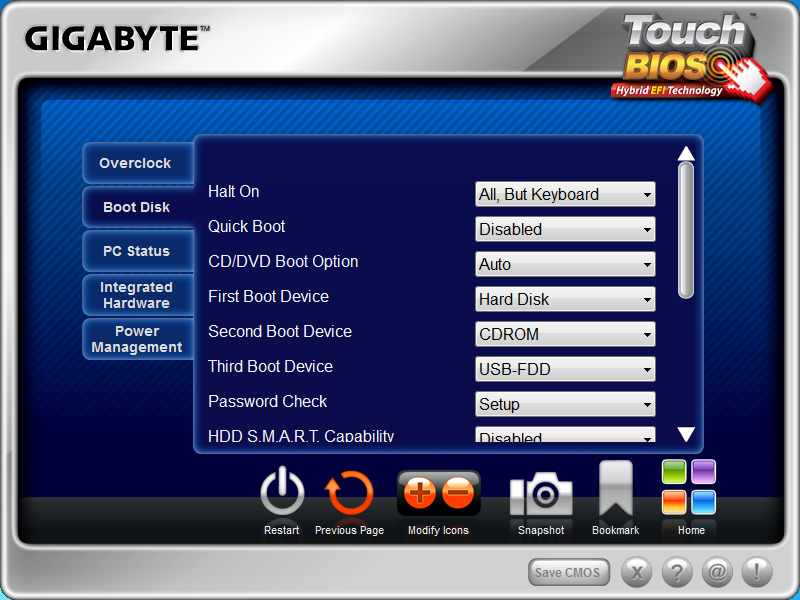
The rest of the BIOS falls into familiar categories like the Advanced BIOS features, Integrated Peripherals, etc.
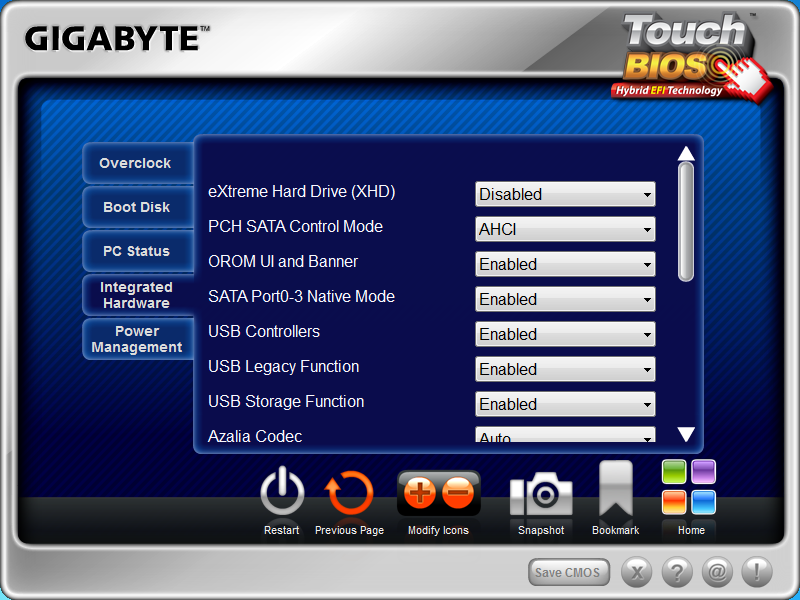
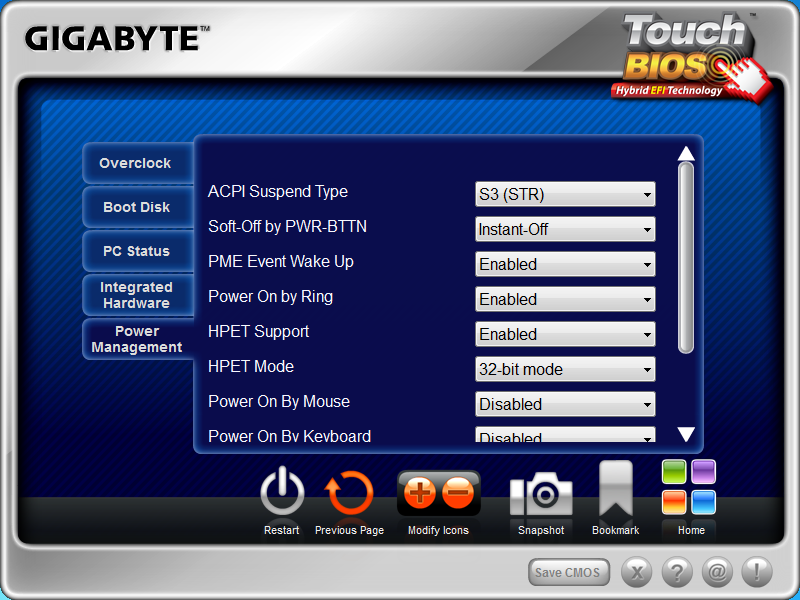
We told you that we had more to write about than the normal boring BIOS features that we usually talk about and we do. With the Z68X-UD3H we installed Gigabyte’s TouchBIOS. This is a Window’s based extension of the board BIOS. It looks like an EFI BIOS but runs inside a window in your OS. Unfortunately, the window that it opens up is not resizable. This can make navigation through it a little cumbersome, but it is still a good concept. 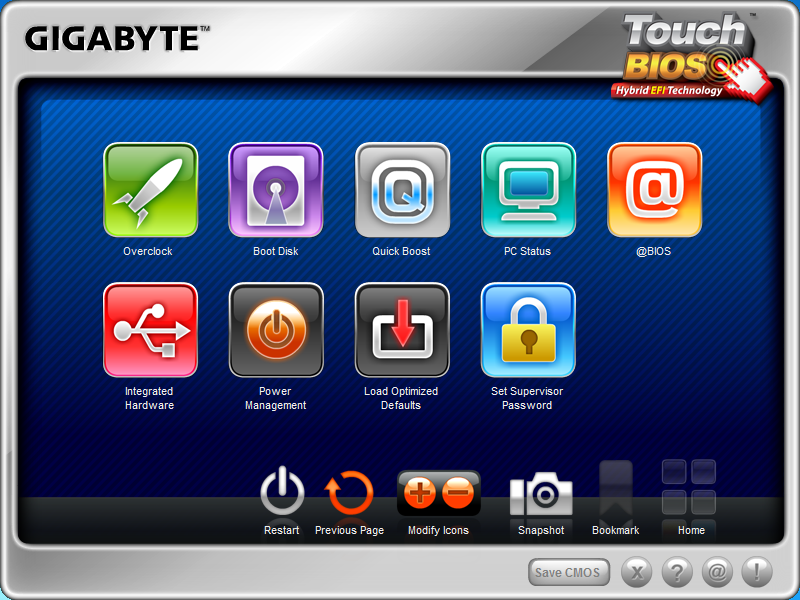
 |
 |
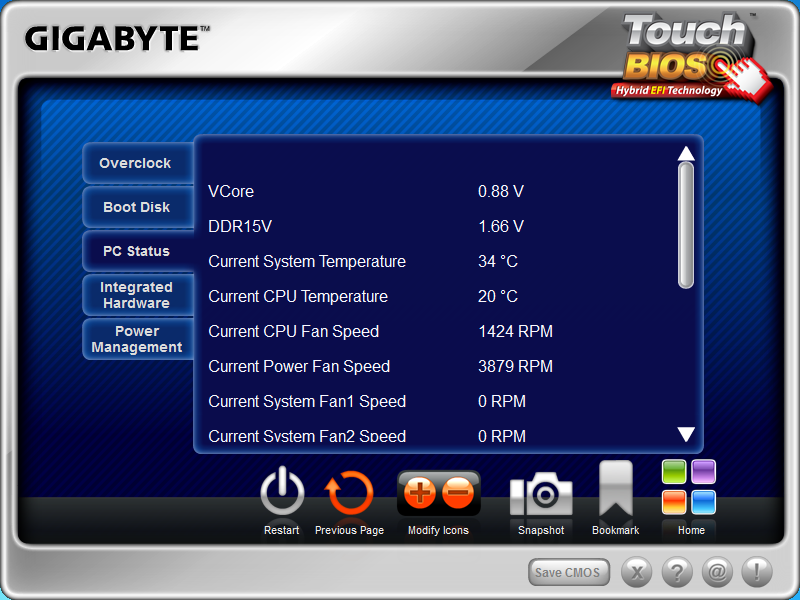 |
Inside the TouchBIOS unlike many overclocking tools you get an exact replication of all of the normal BIOS functions plus a few nice extras. On the down side to apply any of these you have to reboot. Even with this little inconvenience it is still a nice feature.
 |
 |
Overclocking -
Overclocking the Gigabyte Z68X-UD3H B3 was as easy as any of the recent chipsets from Intel (P55, P67, Z68 etc). I started off with a 51x multiplier but found that the system was not able to sustain that much of a power draw. Although I was able to get through HyperPi, Cinebench and even Lightwave 3D I was not able to finish my transcoding tests. There was simply too much going on, it would start the parsing and indexing only to bluescreen and then reboot. With a single step down to a multiplier of 50 we were able to get everything stable with the built-in GPU on the Core i7 2600k. We ran into the same thing when we dropped the Asus HD5870 V2 we use in the Lab. Despite the fact that we had stability at 50x we could not maintain that with the HD5870 in the board. Again we had to back things down one notch to 49x to get back our stability. We have both CPUz shots below. 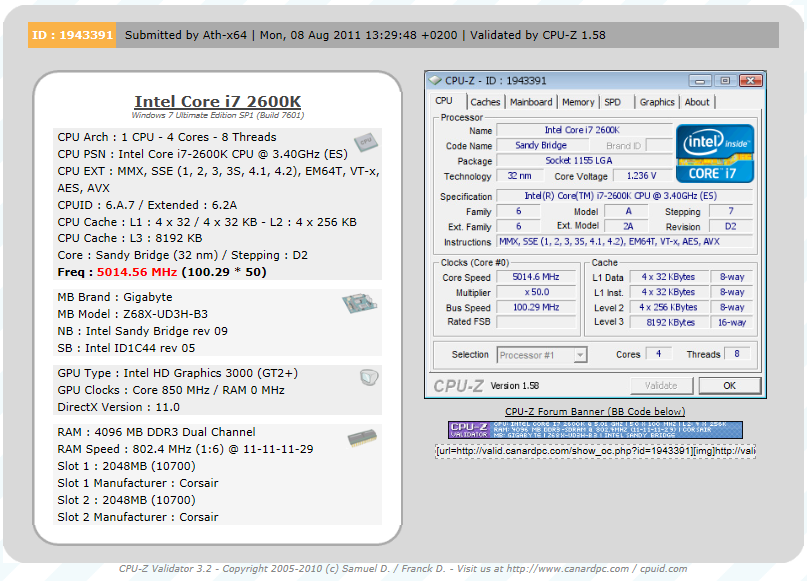 Gigavyte Z68X-UD3H B3 Overclock with CPU Only
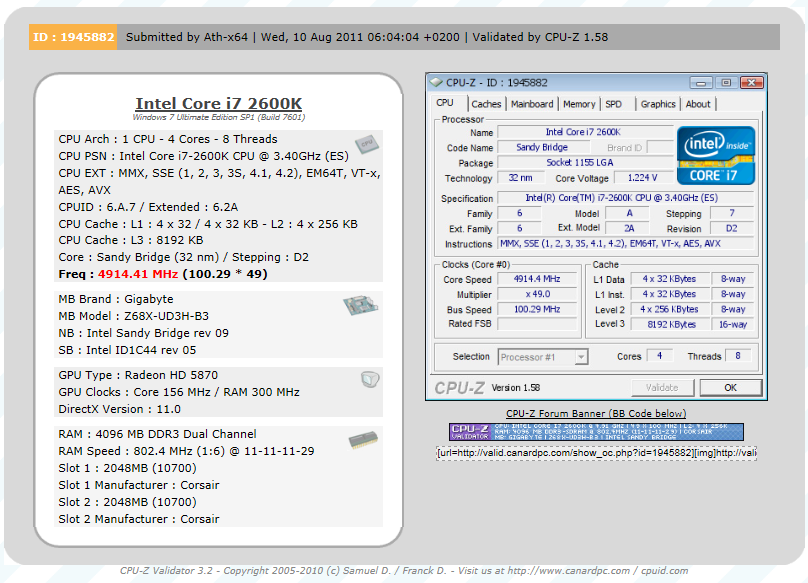 Gigabyte Z68X-UD3H Overclock with an HD5870 installed
Of course overclocking is a picky subject. I can buy to identical CPUs from the store and they will not always perform the same way under stress. This is the same with motherboards, RAM and GPUs. So again it is important to keep in mind that our results represent a specific hardware configuration. Yours may be similar but will rarely be identical.
Overclocking Tools -
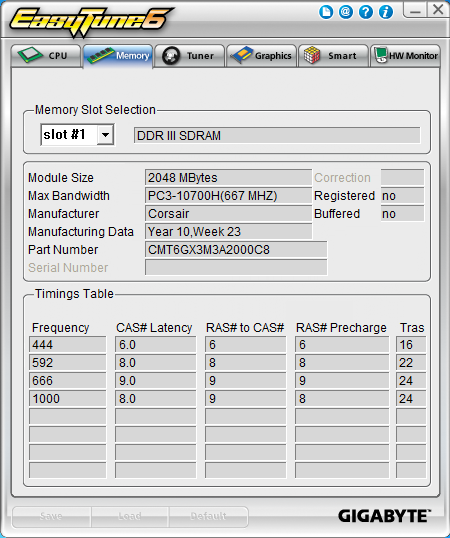
Gigabyte’s tools of choice is EasyTune6. This is a suite of tools that are combined in a single UI. I have to say that in my opinion the UI is a little boring and there are pages that get in the way of what it is intended to do. However, this does not take away from the functionality or the performance; this is just a personal thing. The first two pages get you the same information as you find get from CPUz. It is not until the third page (well really the first page when you open the application) that you get into the real workings of EasyTune6. 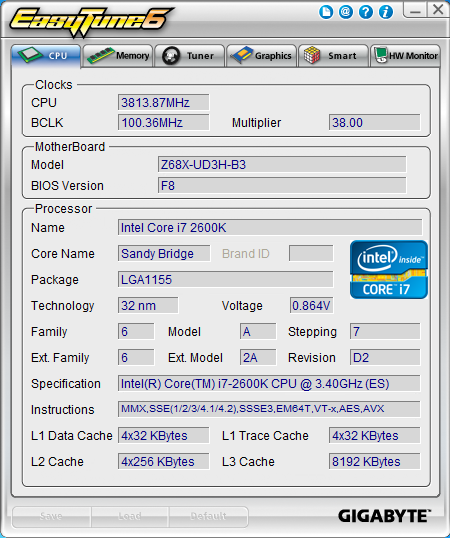
 |
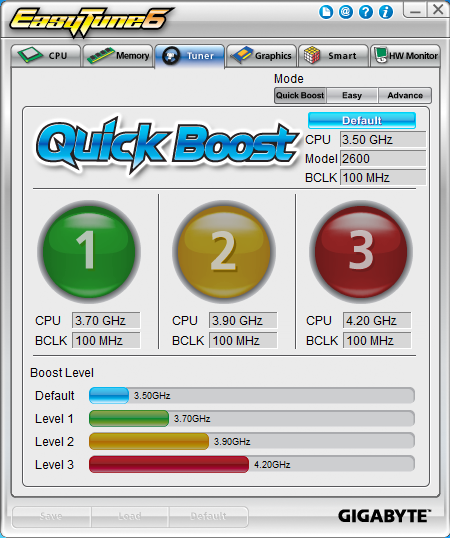 |
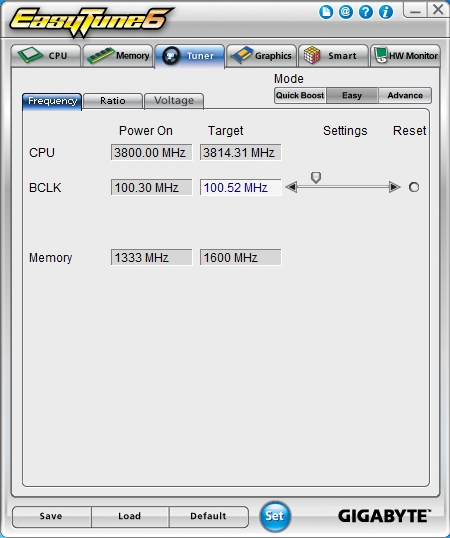
The third page in is the Tuner Page. You start off on the Quick Boost page. Here you have three options for a one stop overclock. The first two are probably places that you won’t want to go if you bought this board and the third; well that is just a pit stop on the way to higher speeds.
 |
 |
 |
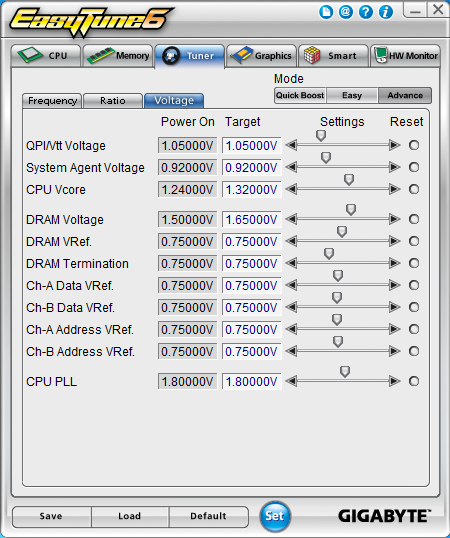 |
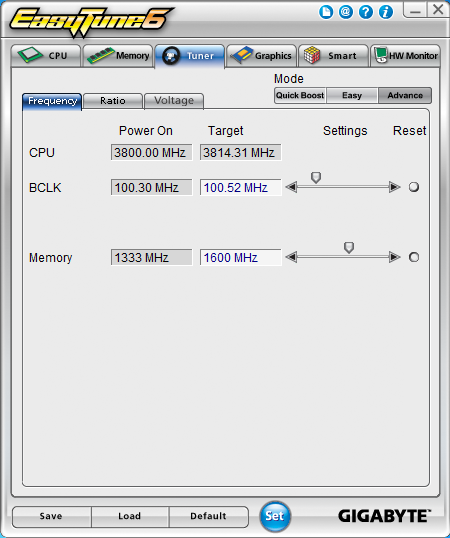
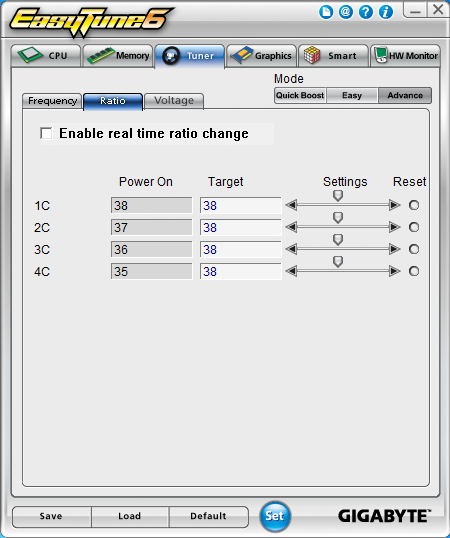
For the people that really bought this board for what it is intended you will want to skip over the “easy” button and head right on into the advanced settings pages. Here you can really do some damage. You have access to the BCLK, Memory, and PCIe frequencies. You also get to play with the Ratios, and a ton of voltage options. Like I said you can do some damage here. Just a note, if you change the memory speed you will need to reboot.
 |
 |
 |
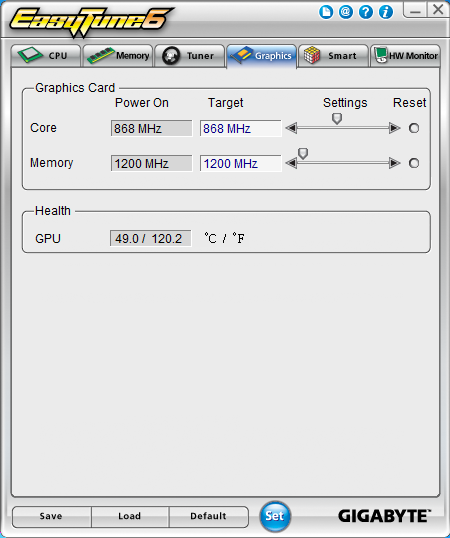
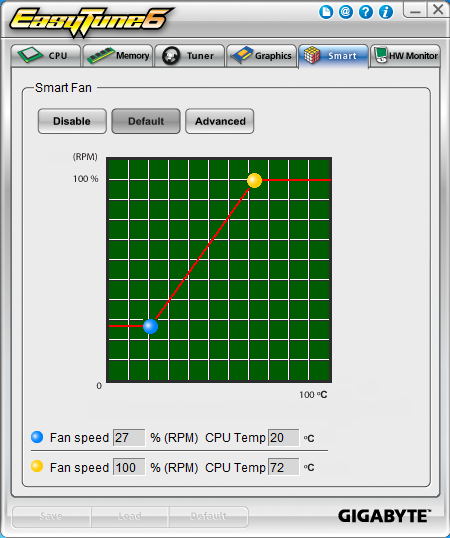
The next three tabs let you OC the GPU (well most of them), setup and work with the Smart Fan settings, and monitor the temperatures and voltages. I have honestly never used the GPU overclocking function but I have tinkered with the smart fans and the H/W monitor.
