Reading time is around minutes.
BIOS -
BIOS is an acronym that stands for Basic Input/Output System. It is meant to control your product at a very low level. As of right now there are three regularly used BIOS formats (there are actually more than that but there are three common ones). These are the AMI (American Megatrends Incorporated), Award, and Phoenix. Of course for the most part the days of the traditional BIOS are gone. It has been replaced by the UEFI (Unified Extensible Firmware Interface). This is a fancy way of putting a GUI (graphical user interface) on top of the BIOS controls. It makes it easier to navigate and can also allow each manufacturer to put more customizations into the look and feel of their BIOS systems.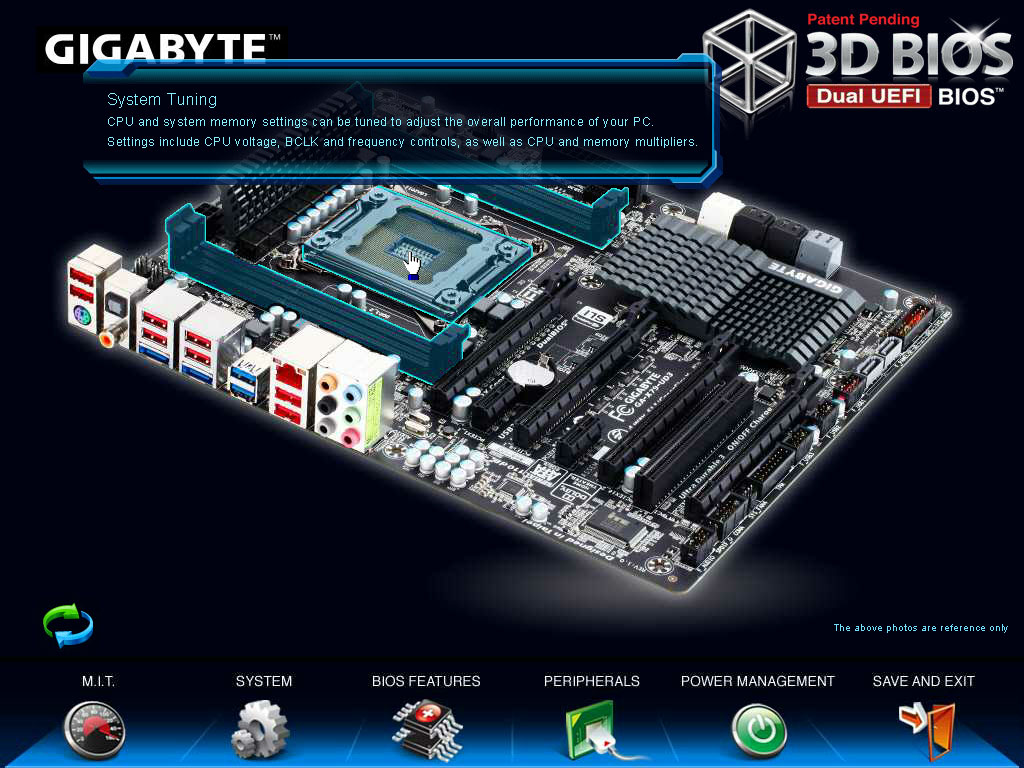
Gigabyte chose to do something a little different, but also similar to what we are seeing as a trend with other manufacturers. They have an overlay they call the 3D BIOS. This is really just a quick options screen that allows you to visually choose the particular part of the motherboard you want to tweak. It makes it much faster to move around for someone that is new to playing in the BIOS, but most of your enthusiasts will still want all of the options you get with the full BIOS.
 |
 |
 |
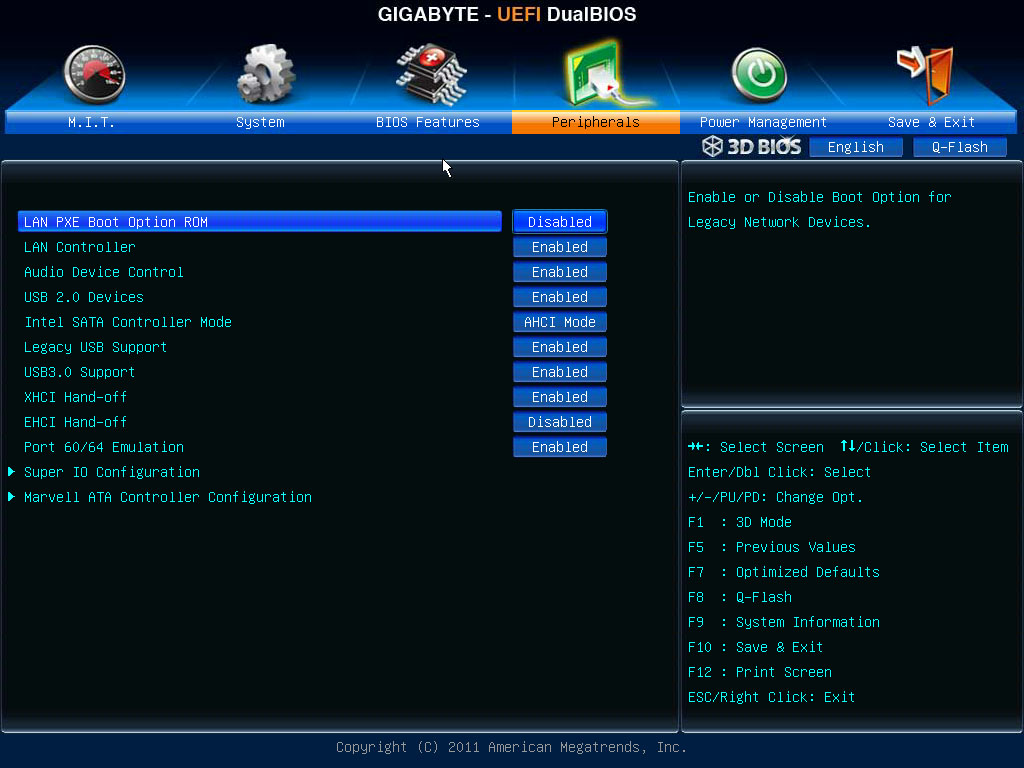
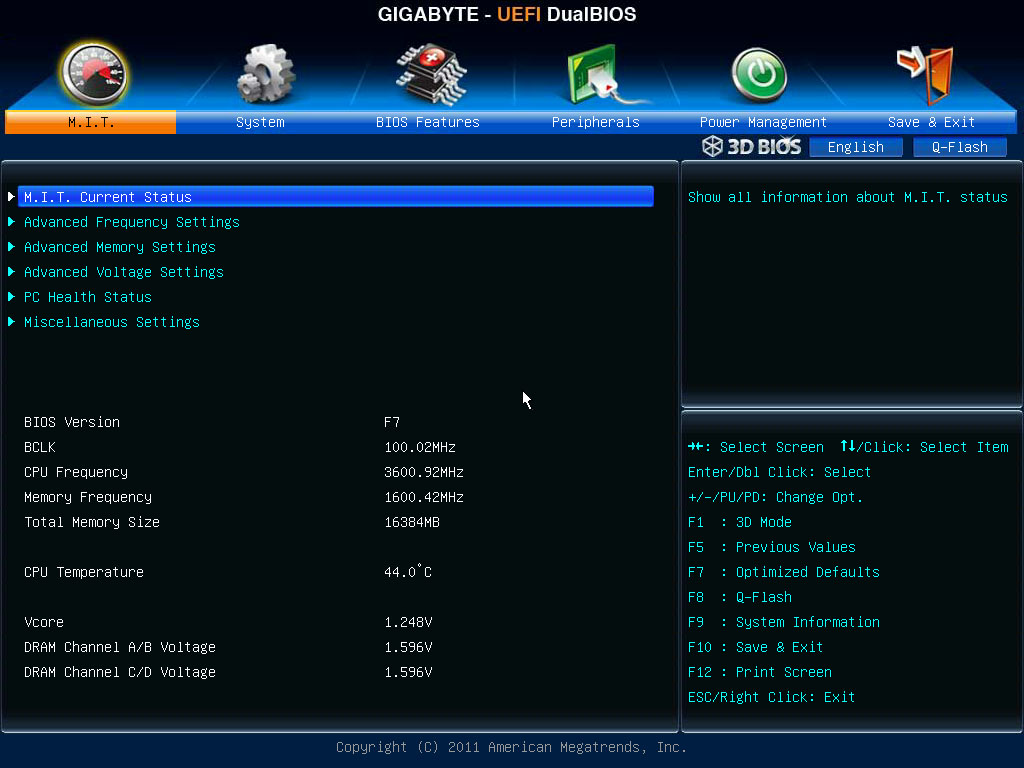
Once you get past the 3D BIOS the rest of the BIOS is still very clean and also has the same feel that you would get from older BIOSes from Gigabyte.
Overclocking –
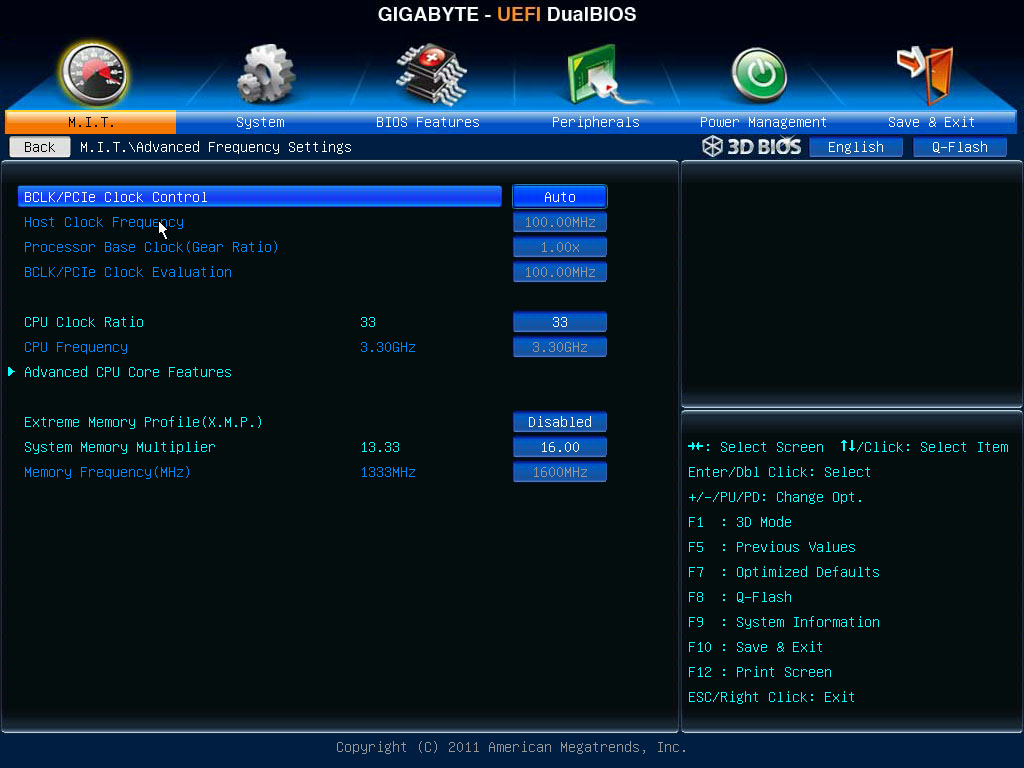
Overclocking on the UD3 was not as good as we thought it might be. With the four slots for memory we were pretty sure that we would be able to push this board fairly high. However we had issues with the multiplier over 40. For some reason the board was not stable at that multiplier and we did not have time to tinker with it to get it stable. Instead we opted to change the BCLK ratio and push the multiplier up to 36. This gave us a nice 4.5GHz overclock which we were able to maintain though all of our testing. 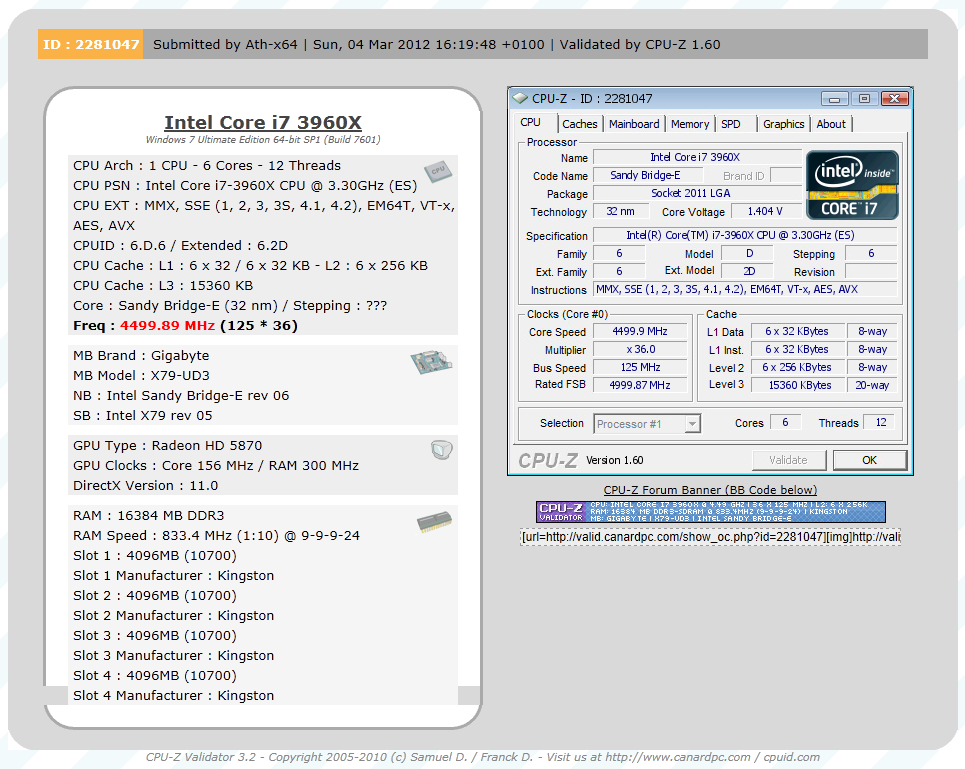
Of course overclocking is a picky subject. I can buy to identical CPUs from the store and they will not always perform the same way under stress. This is the same with motherboards, RAM and GPUs. So again it is important to keep in mind that our results represent a specific hardw
are configuration. Yours may be similar but will rarely be identical.
Overclocking Tools -
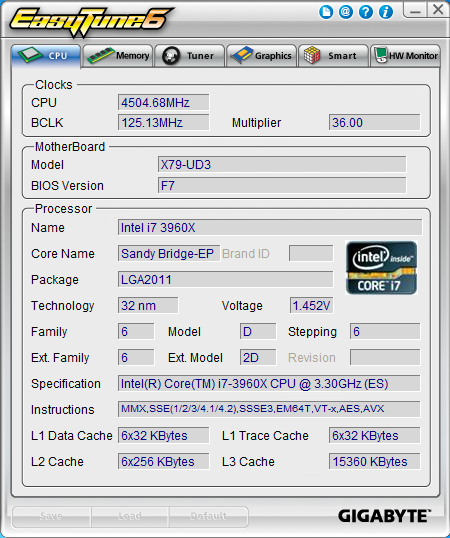
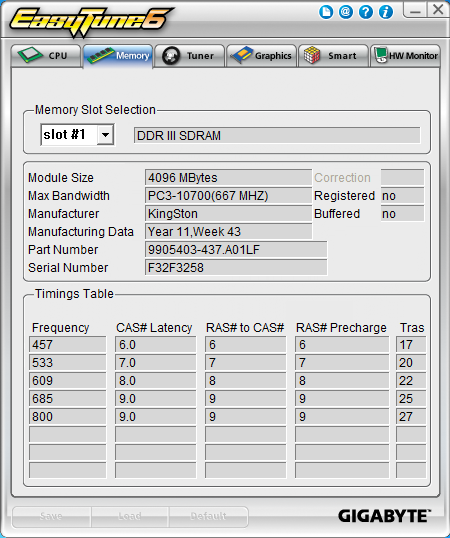
As you might have guessed the X79-UD3 also comes with Gigabyte’s EasyTeun6. We have covered this tool on more than one occasion so we will not go into too much detail, but we will say that the utility is functional if somewhat cluttered and non-intuitive. The first two pages are pretty much the same information you would see from a CPUz readout for your processor and memory.
 |
 |
The third deals with overclocking. You have three levels of control here; 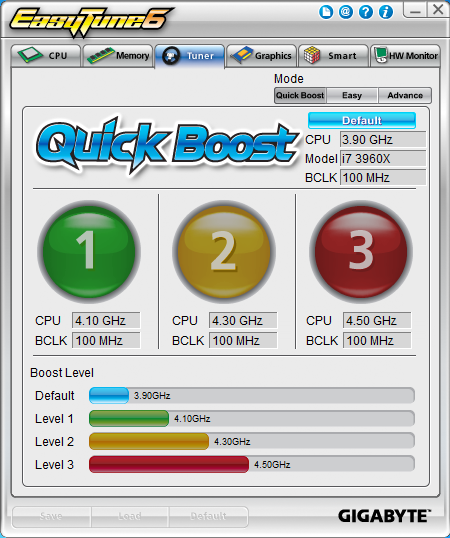
QuickBoost which gives you three click-and-go options for overclocking. 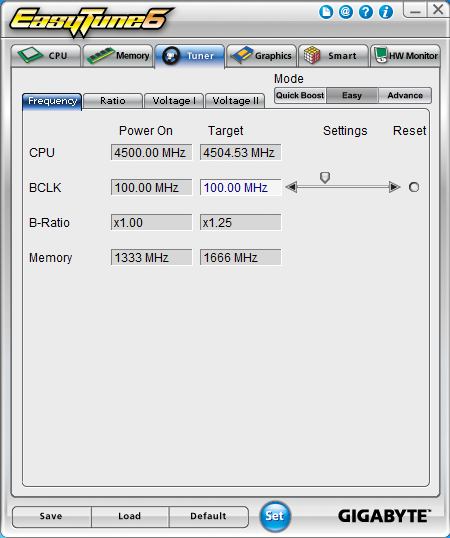
Easy which only lets you adjust the BCLK
 |
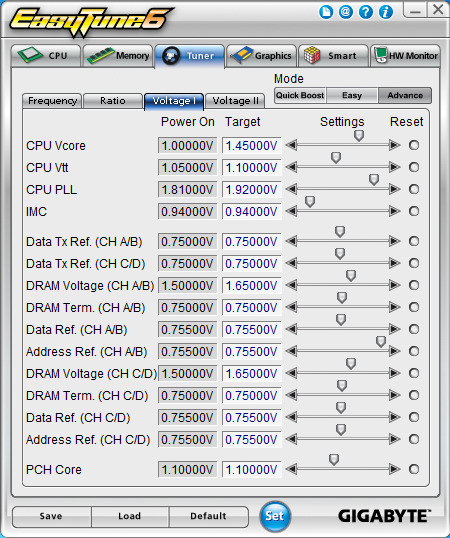 |
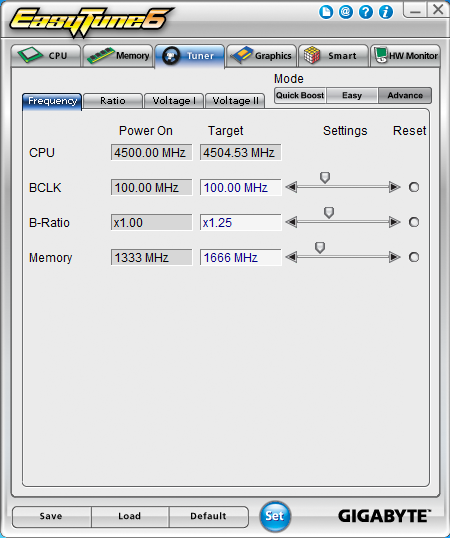
Advanced which gives you a very large number of options for overclocking from inside Windows.
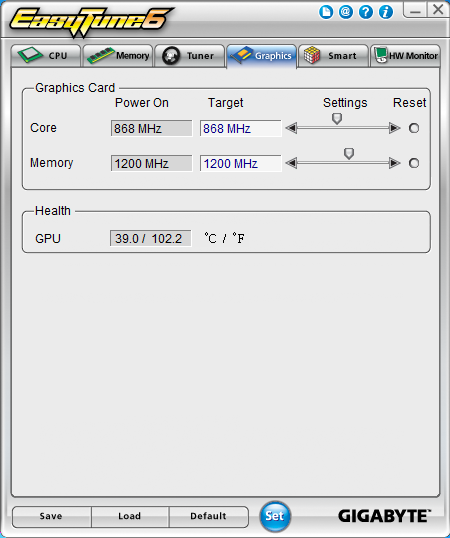
Tab number fours lets you overclock some GPUs, but only up to the limits of their default voltage. There are no options for voltage tweaking, even if the card supports it.
 |
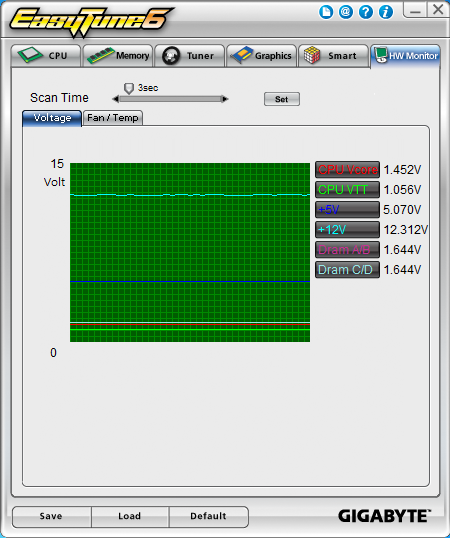 |
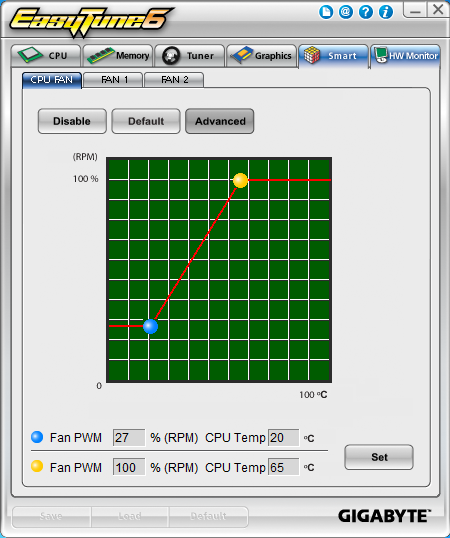
The last two pages deal with monitoring and cooling. Page five has options to adjust the SmartFan profiles while page six is your hardware monitor.
Like we said, functional but not the cleanest utility out there.
