Reading time is around minutes.
The Layout -
The layout of any motherboard is important. Even simple mistakes in component placement or the signal traces can cause major issued in performance and stability. With the ATX form factor we find that this is even truer; the devices we drop onto them demand more and cleaner power while the signal speeds push faster and faster. The first thing that stands out about the Sabertooth P67 is that it is covered by a plastic shell. Asus calls this Thermal Armor and it is intended to make sure that heat from the board and heat from the components do not mingle (it also ensures that air from any CPU fan is pushed around the board for the best cooling effect.
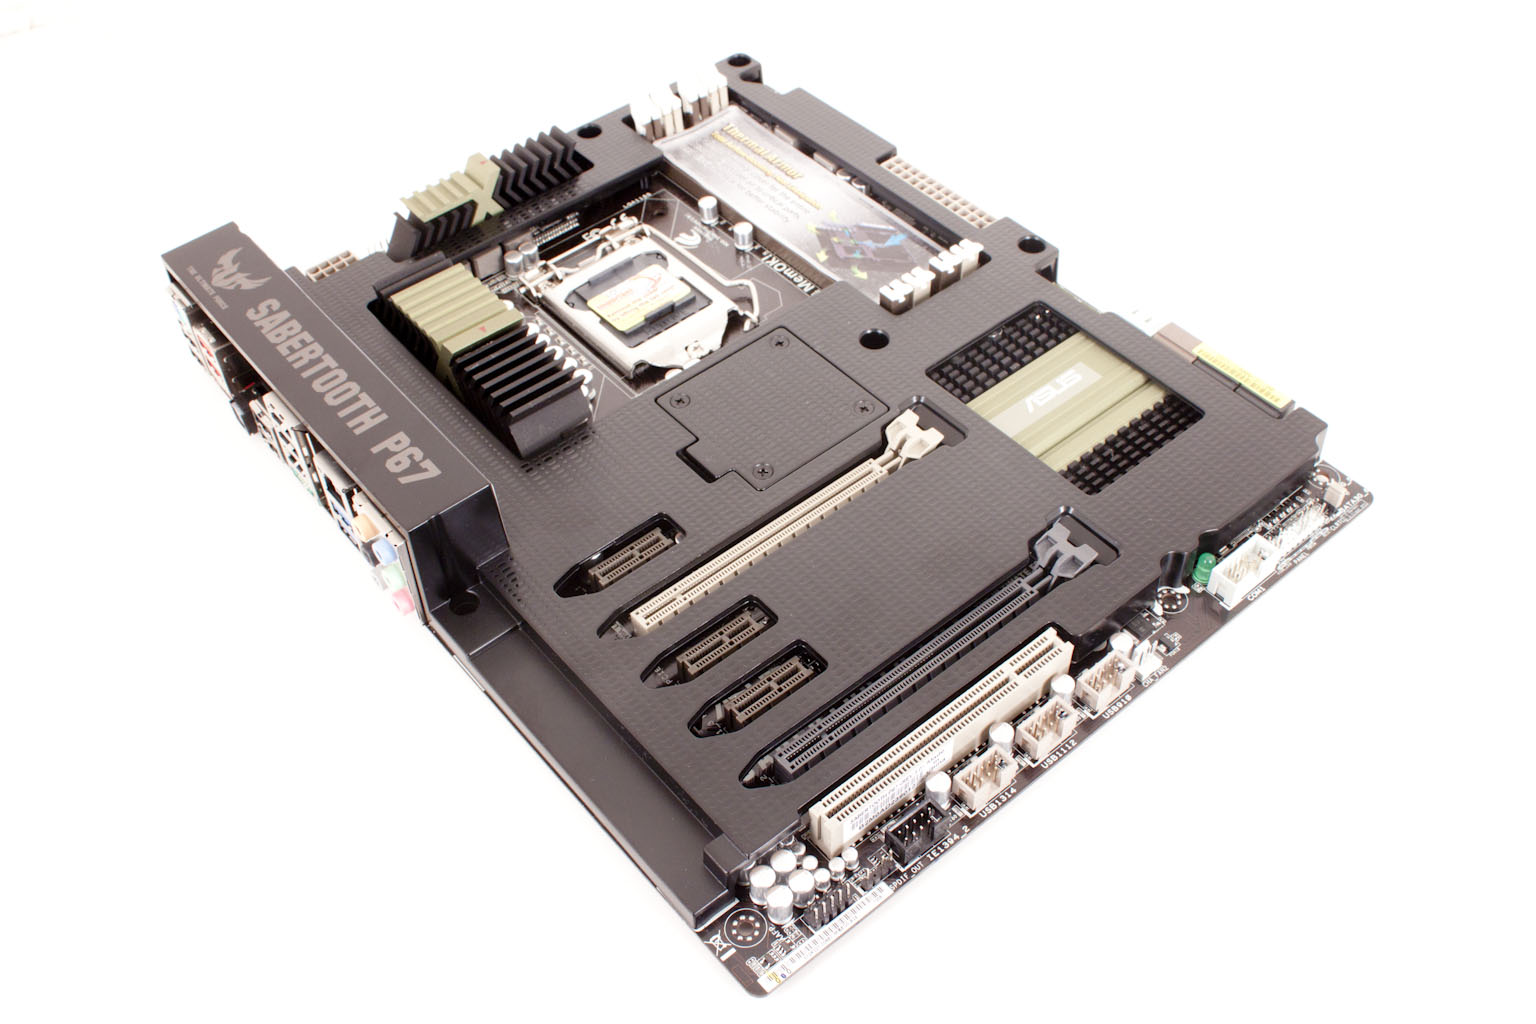
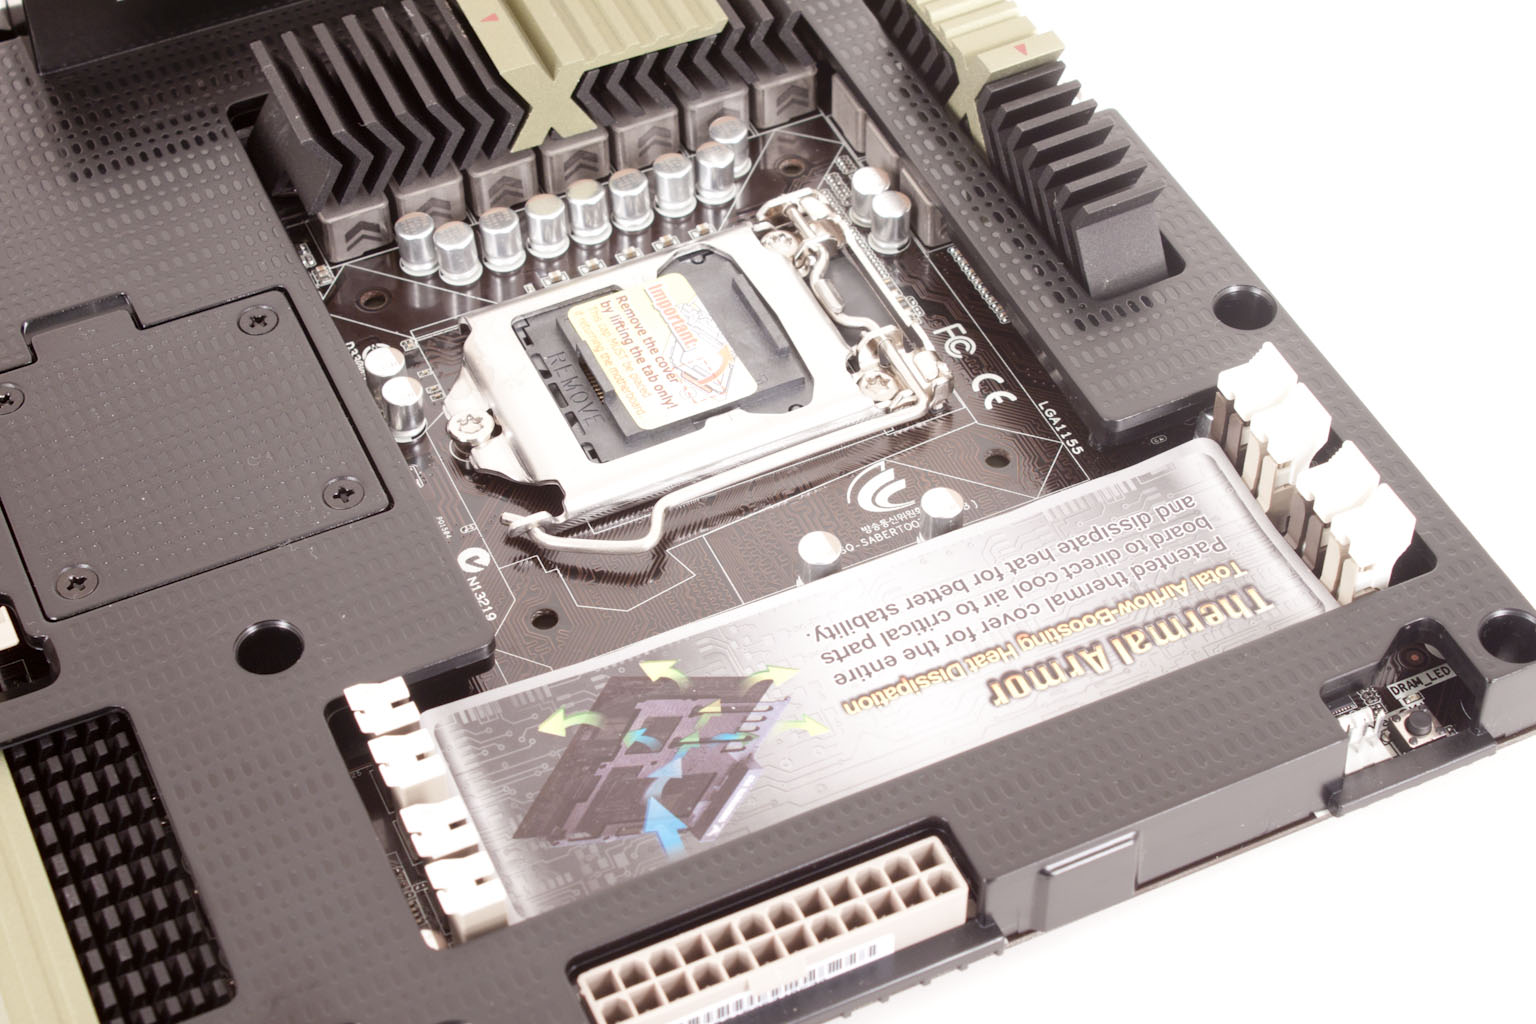
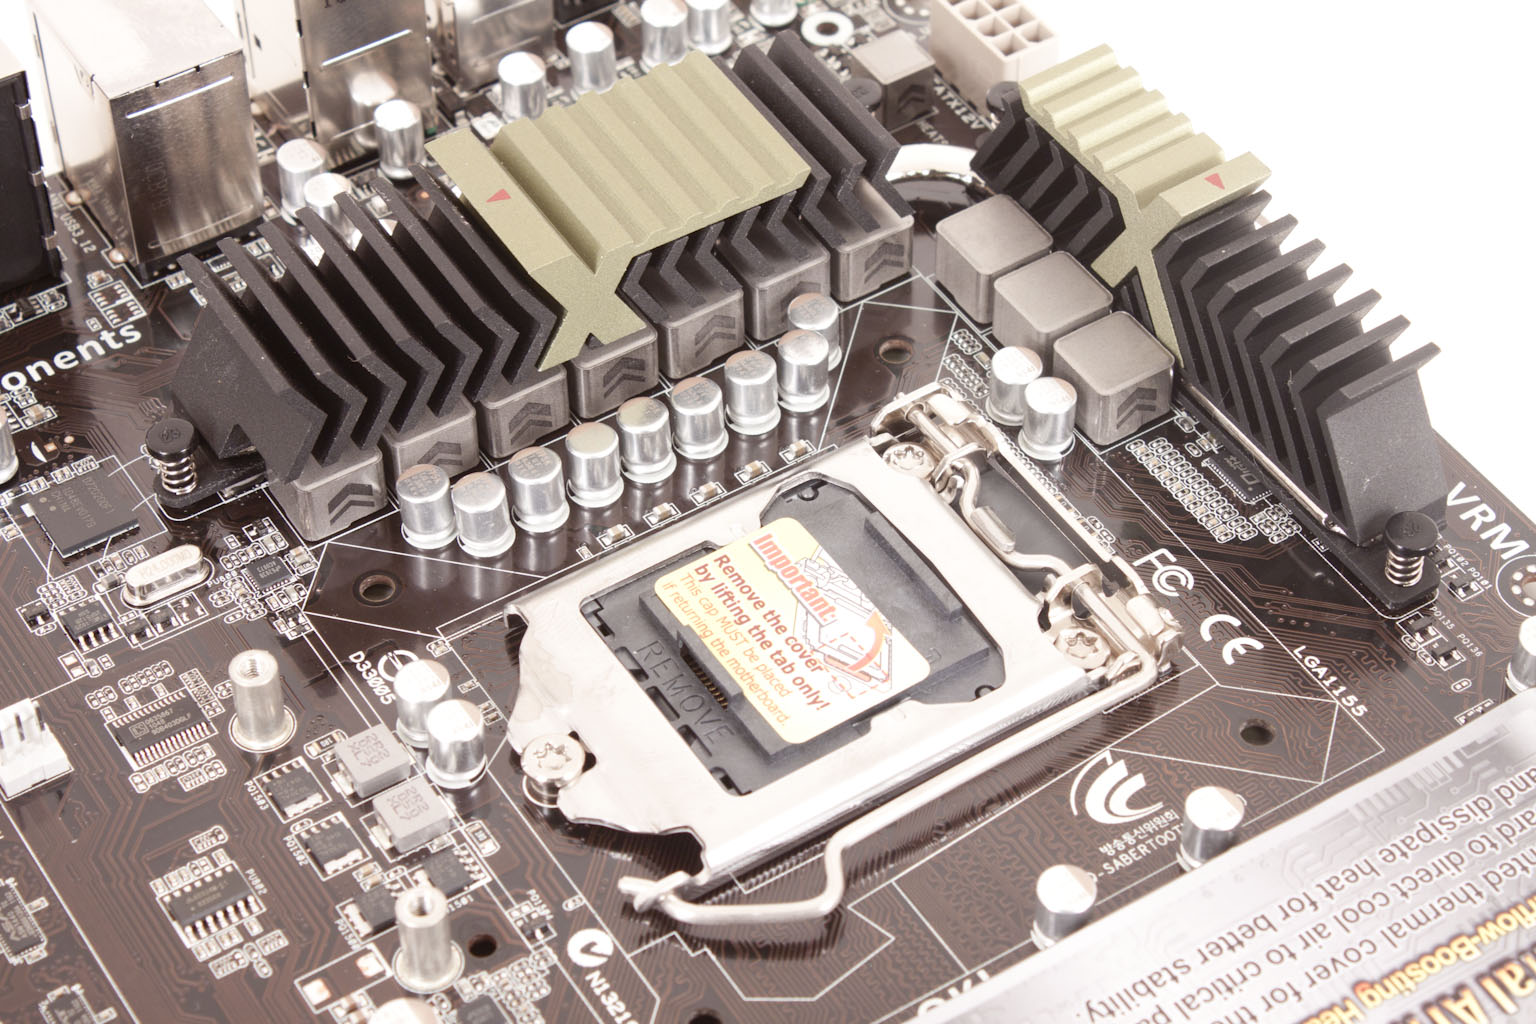
Moving back to our normal starting point we find a sticker about the Thermal Armor that we were just talking about (and that you cannot miss). This is on top of the RAM slots which are left exposed through the Thermal Armor. There is not a whole lot to see with the cover on though. The CPU is also left pretty exposed as is the area between this and the RAM. We can also see a row of solid caps. Right behind them we can see some chokes. They have a couple of chevrons on them these remind me of corporal’s stripes and tie in with the military theme. The Heatsinks over the power regulation components (MOSFETs etc) are of an interesting design and are coated with a material that is supposed to allow for better heat dissipation. The extra 8-pin Aux power connector is also located up here along the upper edge of the board. This placing makes is a little easier to reach unless you have the board mounted in a smaller case.
 |
 |
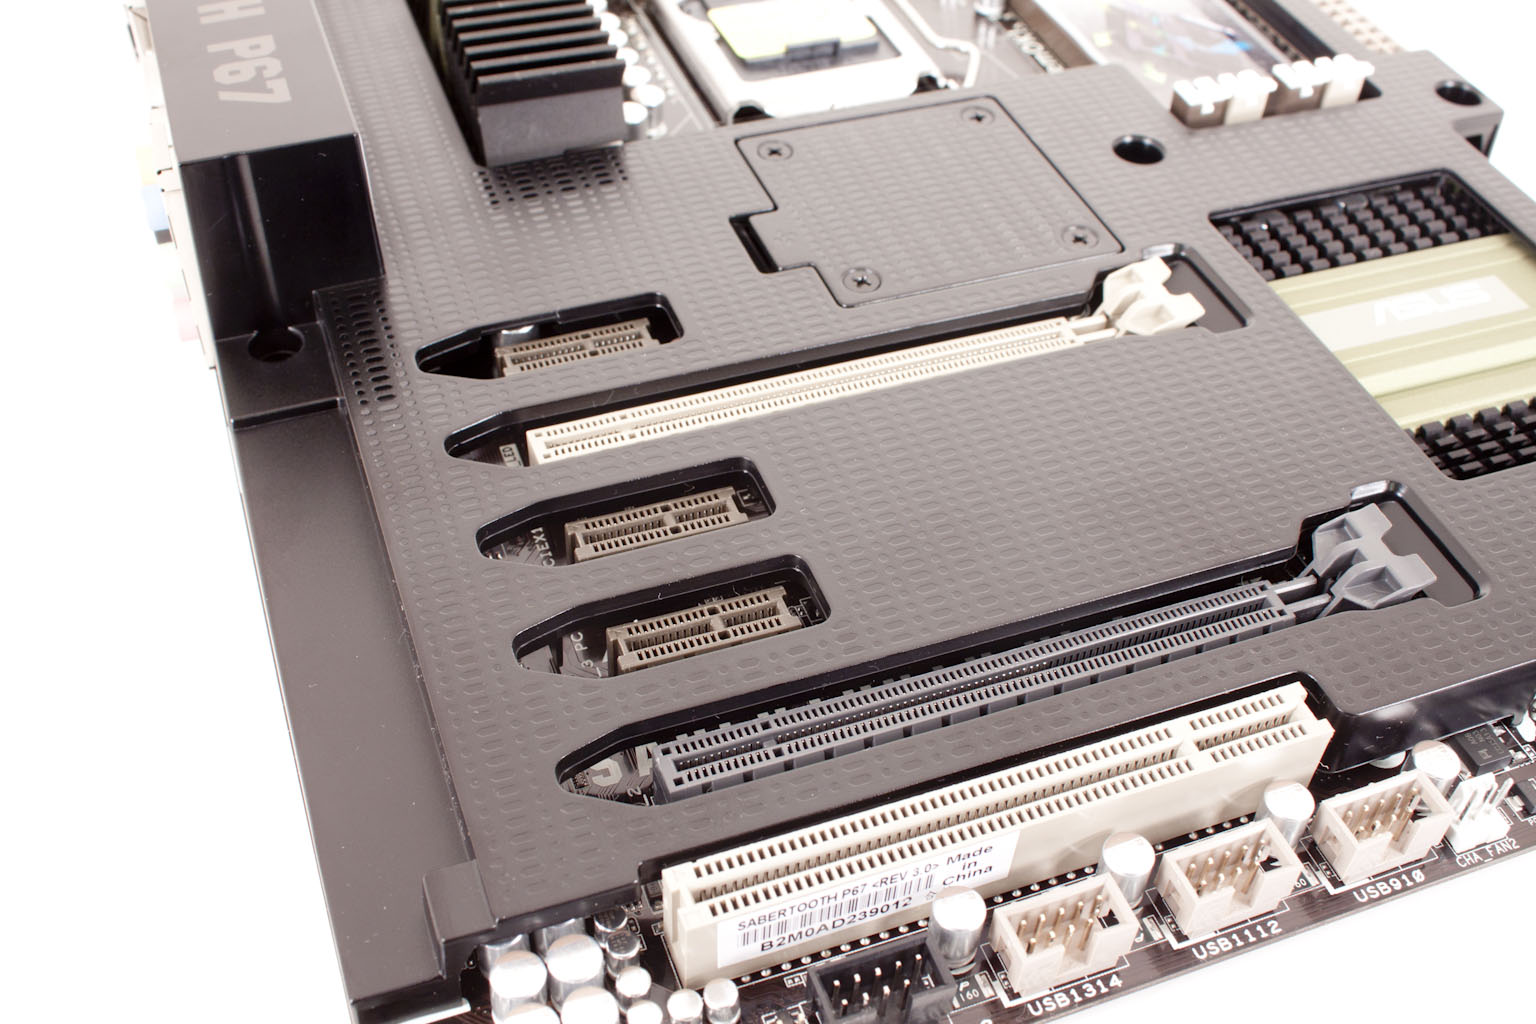
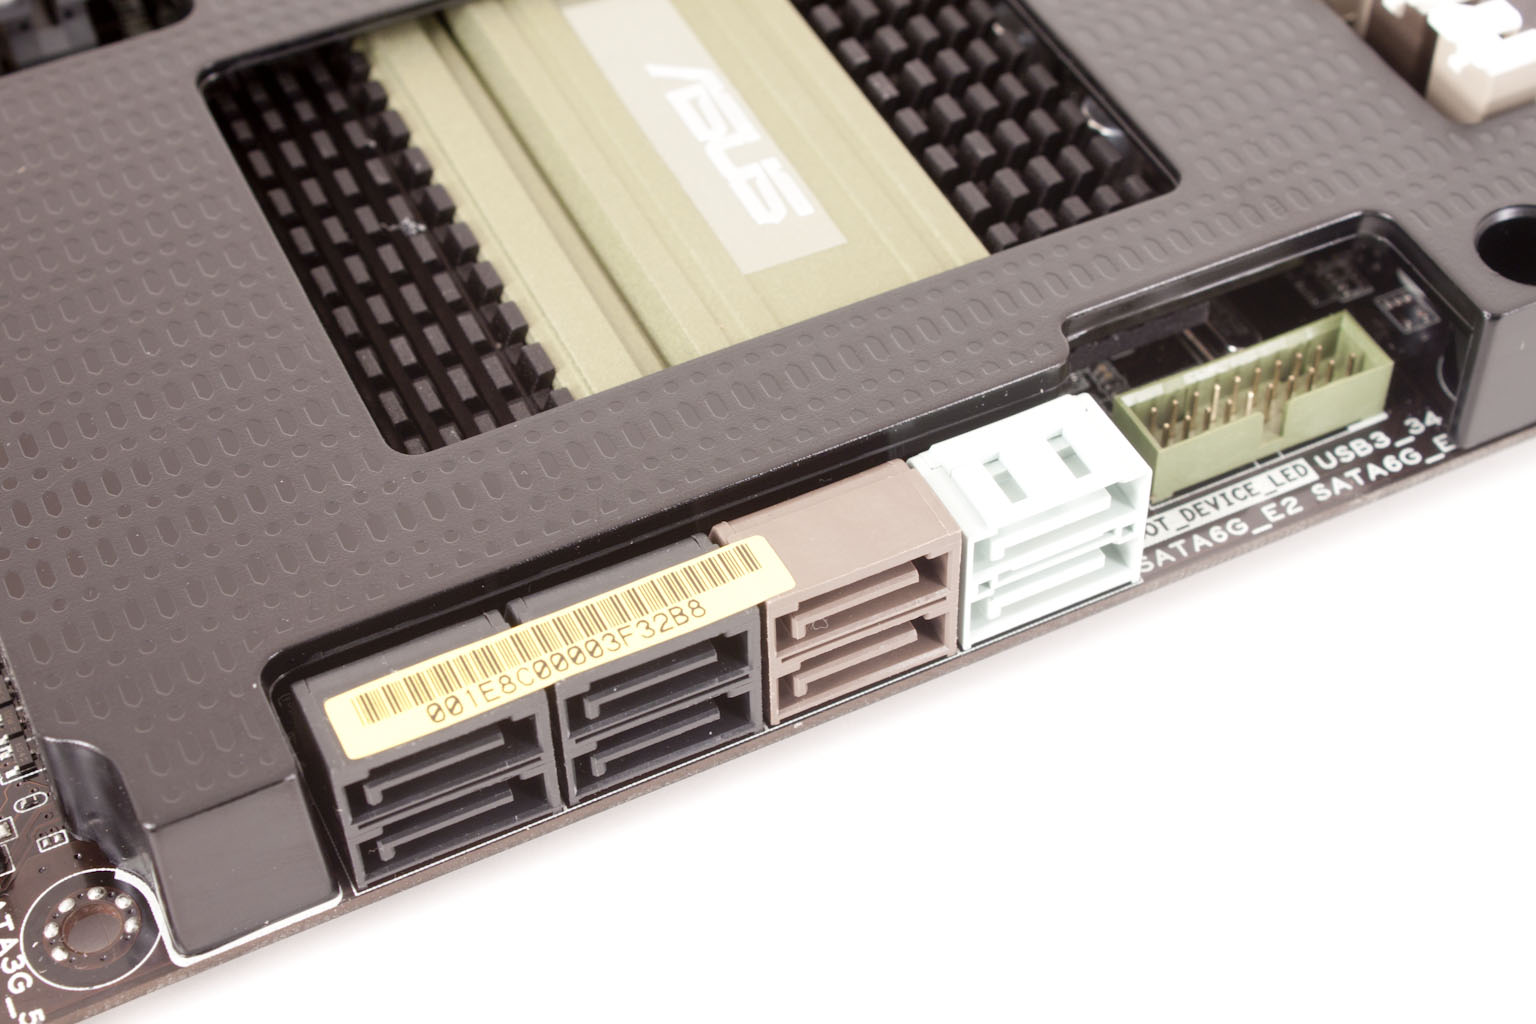
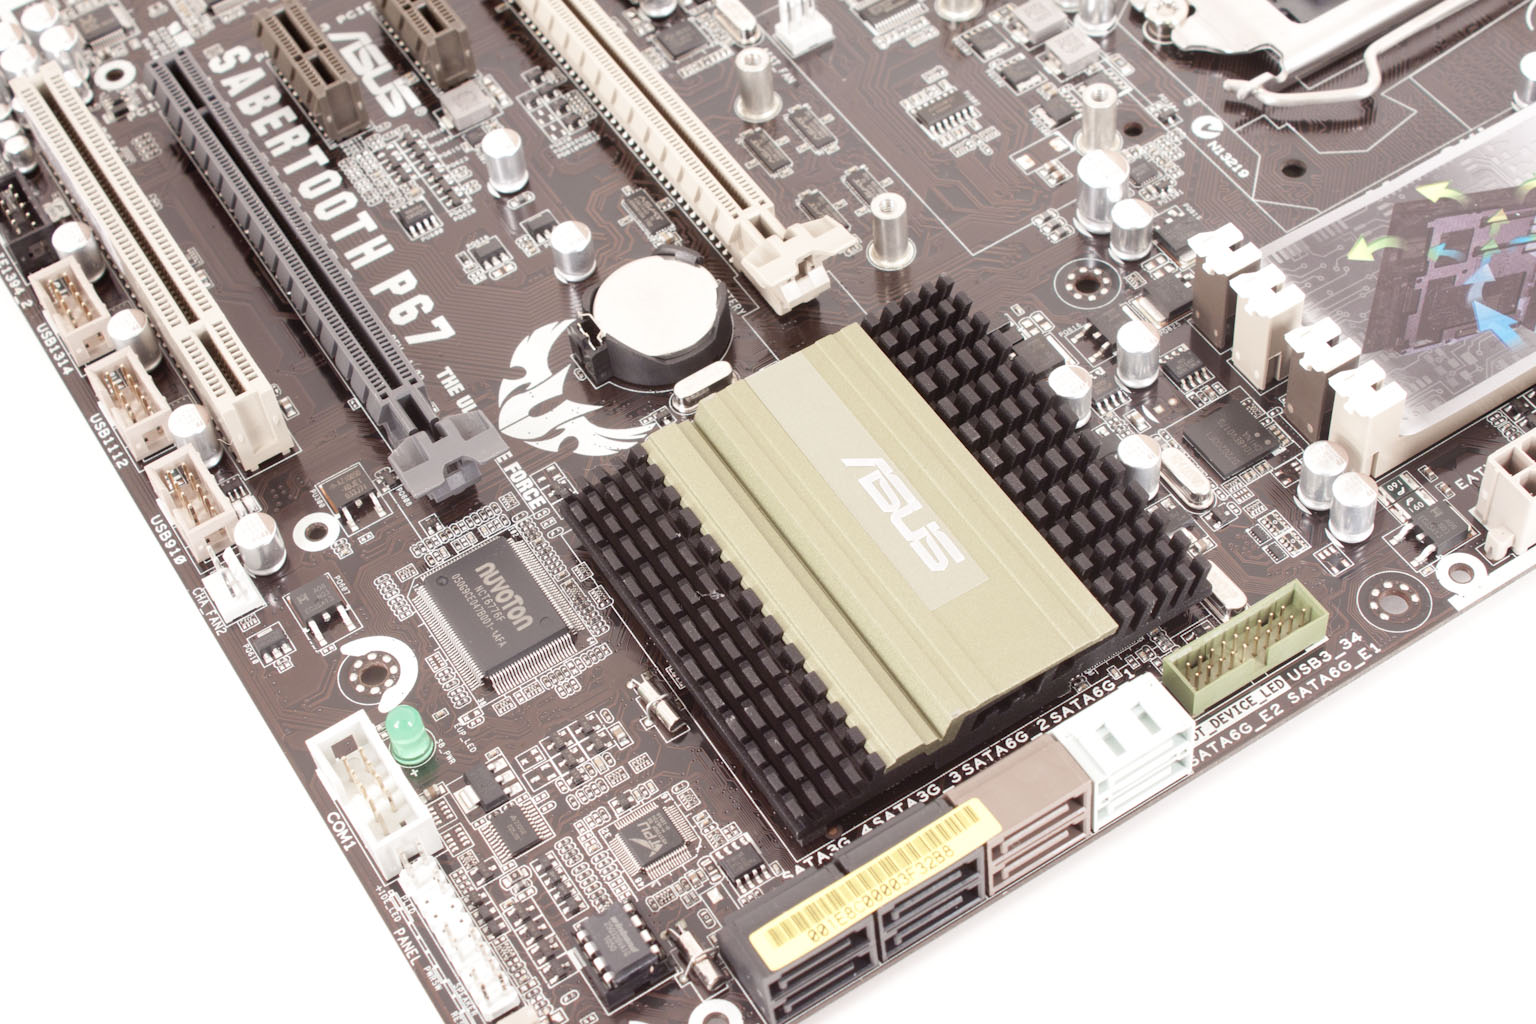
Moving down to the lower half of the board I we find three PCIe x1 slots, two x16 mechanical slots (these operate as x8 if both are populated), and a single PCI slot. Swinging the board around we find the SATA ports. With the Sabertooth P67 you get a total of eight ports. Four are SATA II and four are SATA 3.0; two of these SATA 3.0 (the brown ports) are run right from the B3 stepping Cougar Point while the other two are controlled by a Marvell controller (the gray ones). Right next to the bank of SATA ports is a USB 3.0 header for any front USB 3.0 headers.
 |
 |
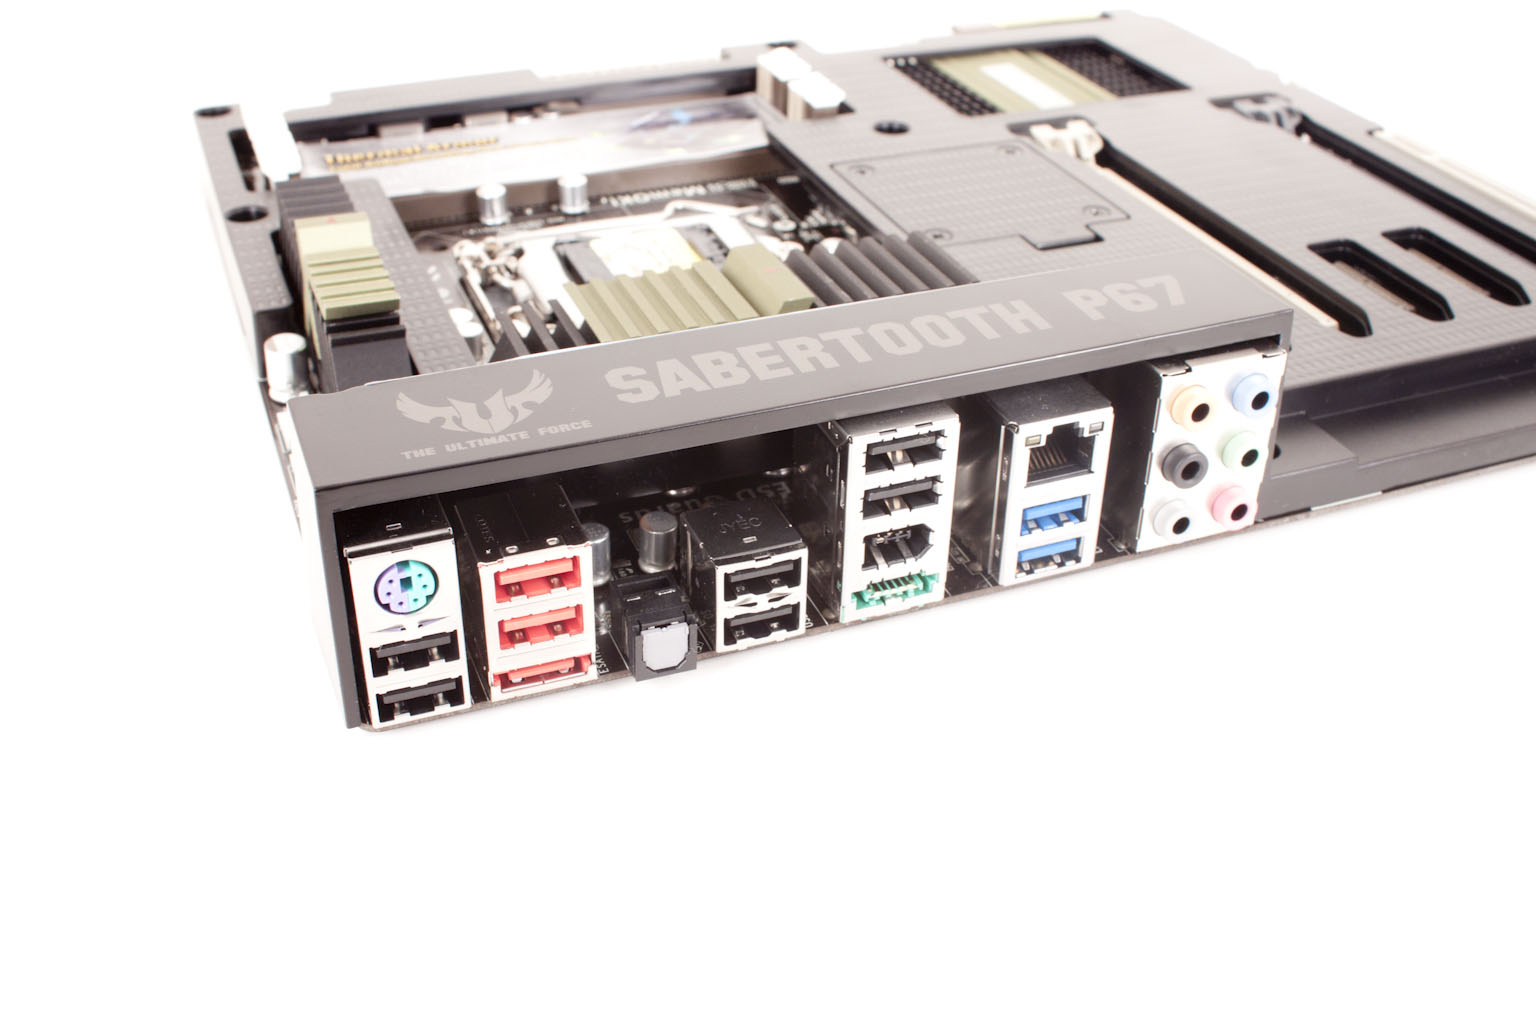
Looking at the I/O ports (these are still under the Thermal Armor) you get a typical array of ports. Nothing fancy really, but more than enough to satisfy most people’s needs.
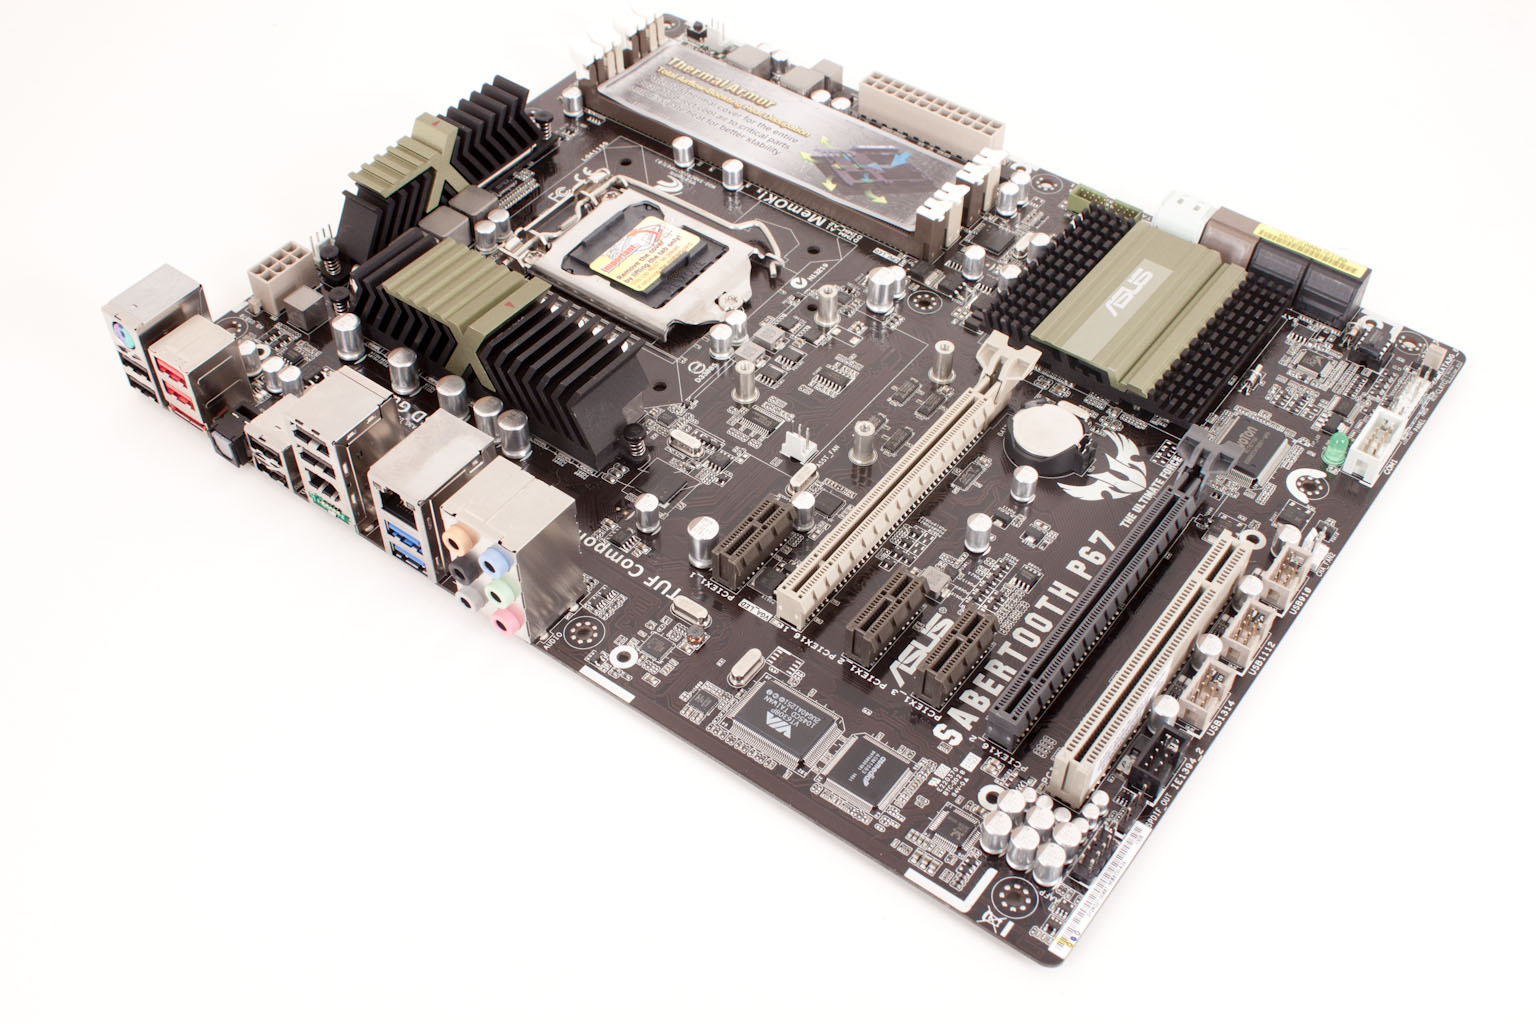
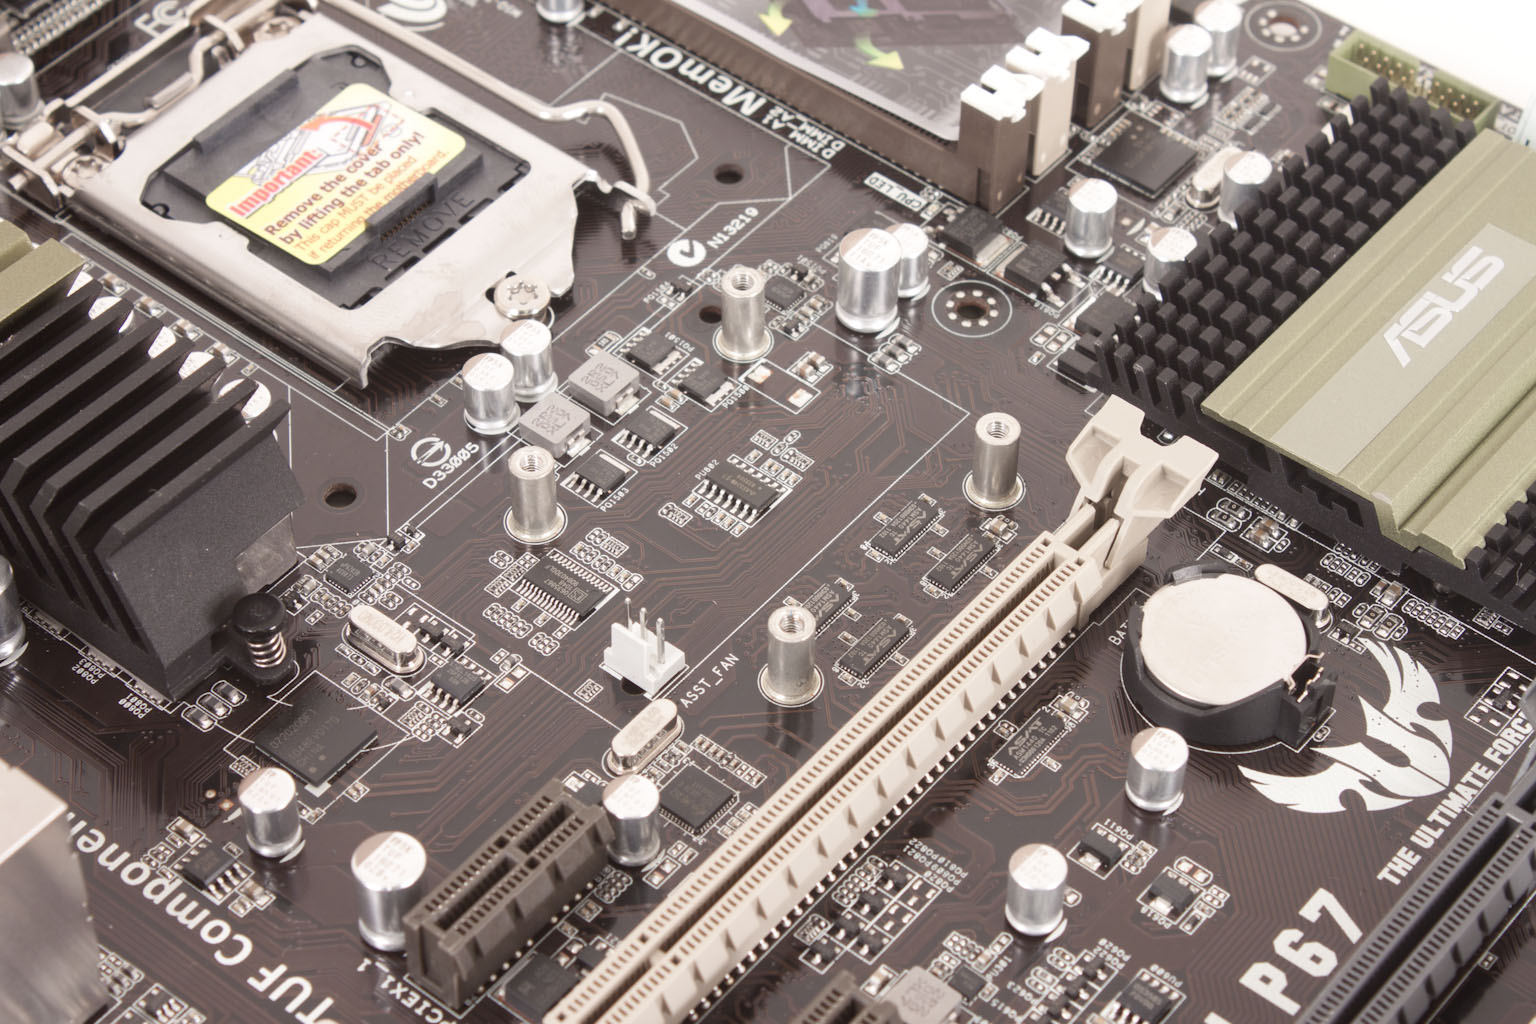
Now that we have taken a walk around the board with the Thermal Armor on we are going to look at the Sabertooth P67 with its clothes off. When we look at the Sabertooth we find that Asus has made sure that the components (especially the Capacitors) are well spaced to ensure that heat does not build up too much. They also put an interesting group of mount points; when you look at this with the armor on you see what looks like a hatch. This covers up these four mounts which are here for a fan to assist in keeping the Sabertooth cool if you decide on water cooling for this board.
 |
 |
 |
In general the Sabertooth is well designed; it is not exciting like an ROG board, at least not in the traditional sense, but it is intriguing and it makes us wonder what type of performance we are going to see and how much punishment this would take in terms of heat and other stressors.
