Reading time is around minutes.
BIOS -
BIOS is an acronym that stands for Basic Input/Output System. It is meant to control your product at a very low level. As of right now there are three regularly used BIOS formats (there are actually more than that but there are three common ones). These are the AMI (American Megatrends Incorporated), Award, and Phoenix. 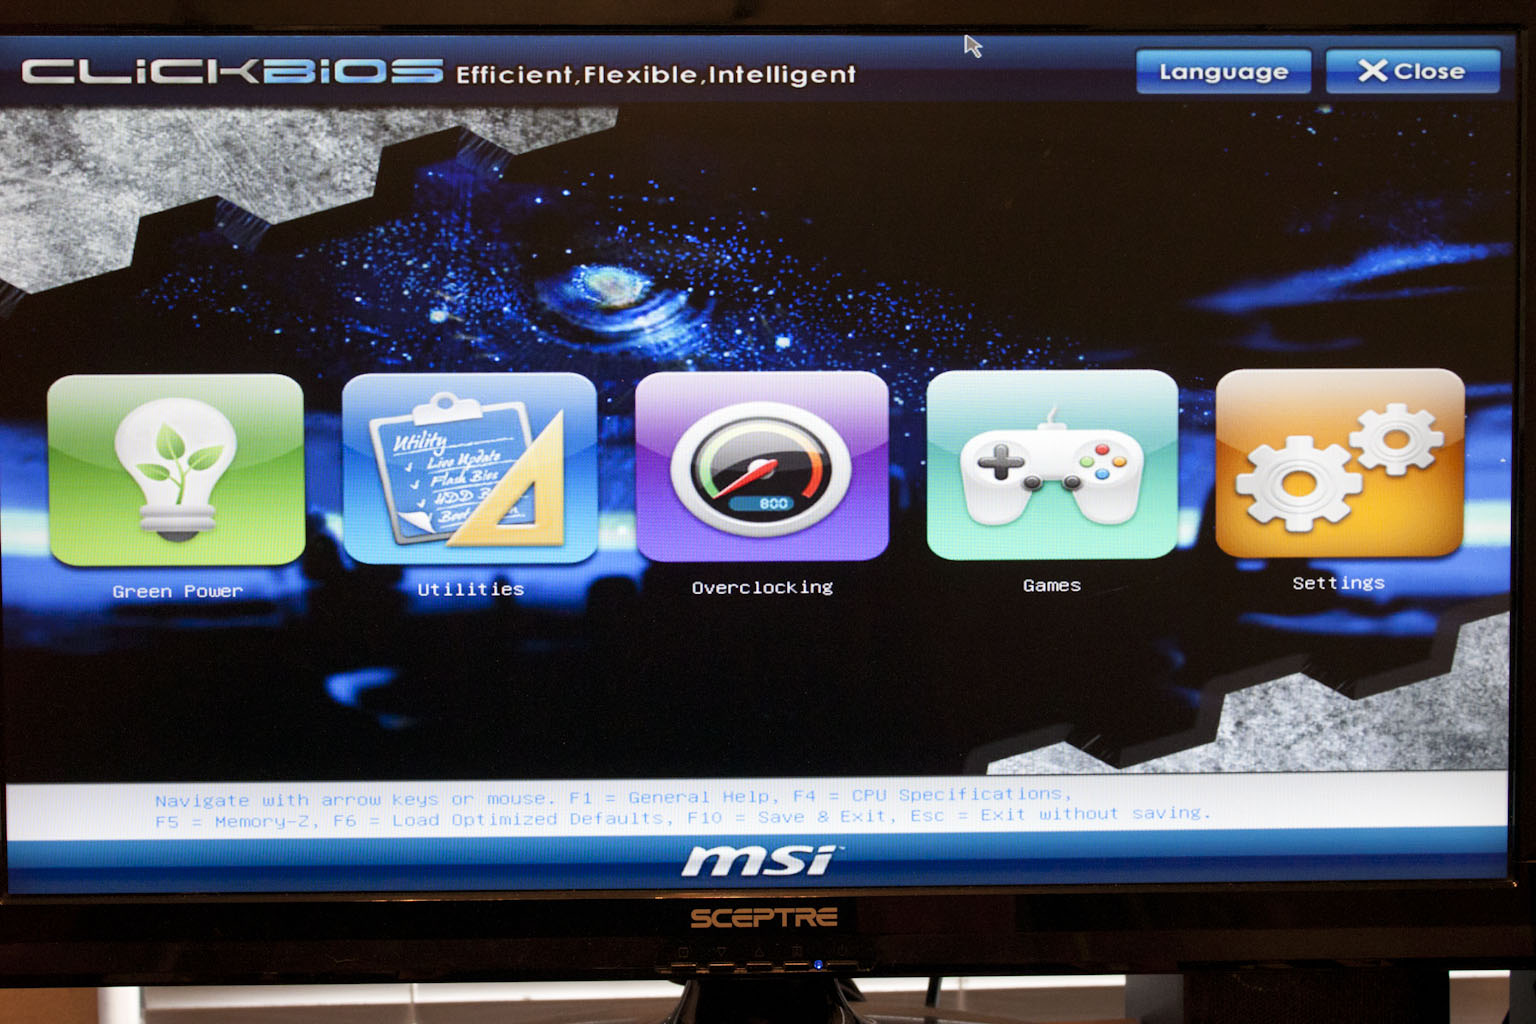
MSI is using the EFI BIOS (Which MSI calls the ClickBIOS) on the Z68A-GD80 B3 it is very similar to the BIOS on the P67s in fact we could honestly not tell the difference between the two interfaces if you were to put them side by side. Although I am not a fan of the cartoonish look and the feel of the MSI BIOS is a little clunky I can admit that I like the direction it is going. When you hit the landing page you have five major categories to choose from. Each of these has an Icon to represent it on the screen. In the upper right hand corner there are two buttons; one lets you exit while the other allows you to choose the display language. We will kick things off in the “Green Power” section.
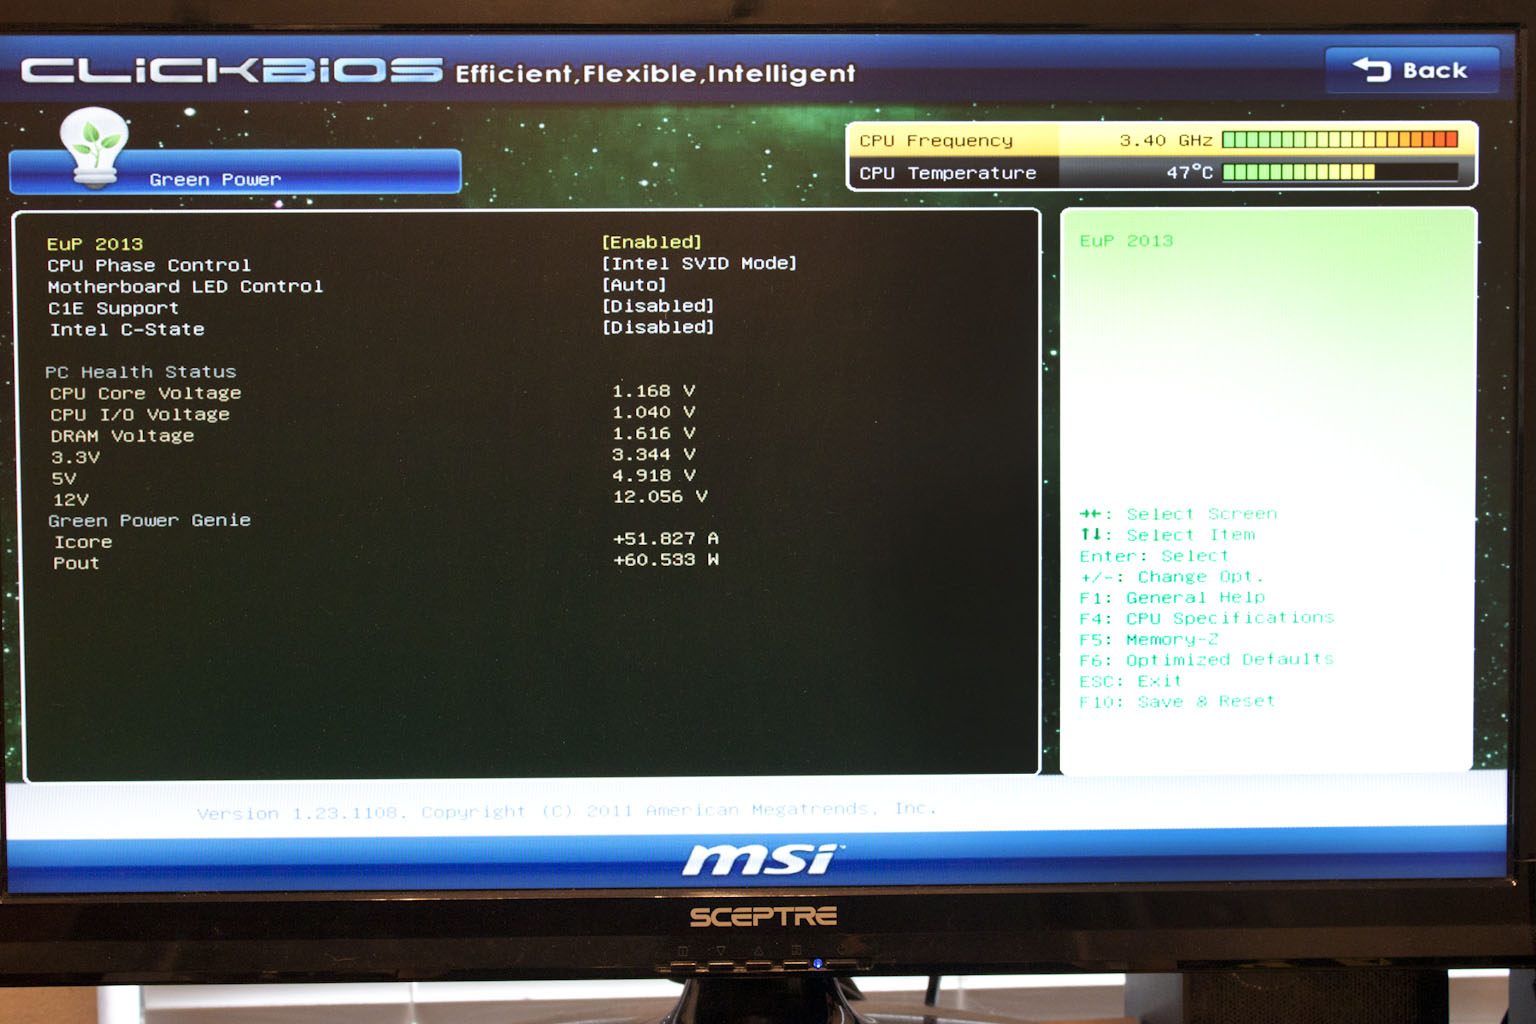
As you can imagine the Green Power section has the items that control your power subsystem. As you enter each sub system page you will notice that you have a read out of the current CPU speed and temp. There is not too much to talk about here so let’s move on.
 |
 |
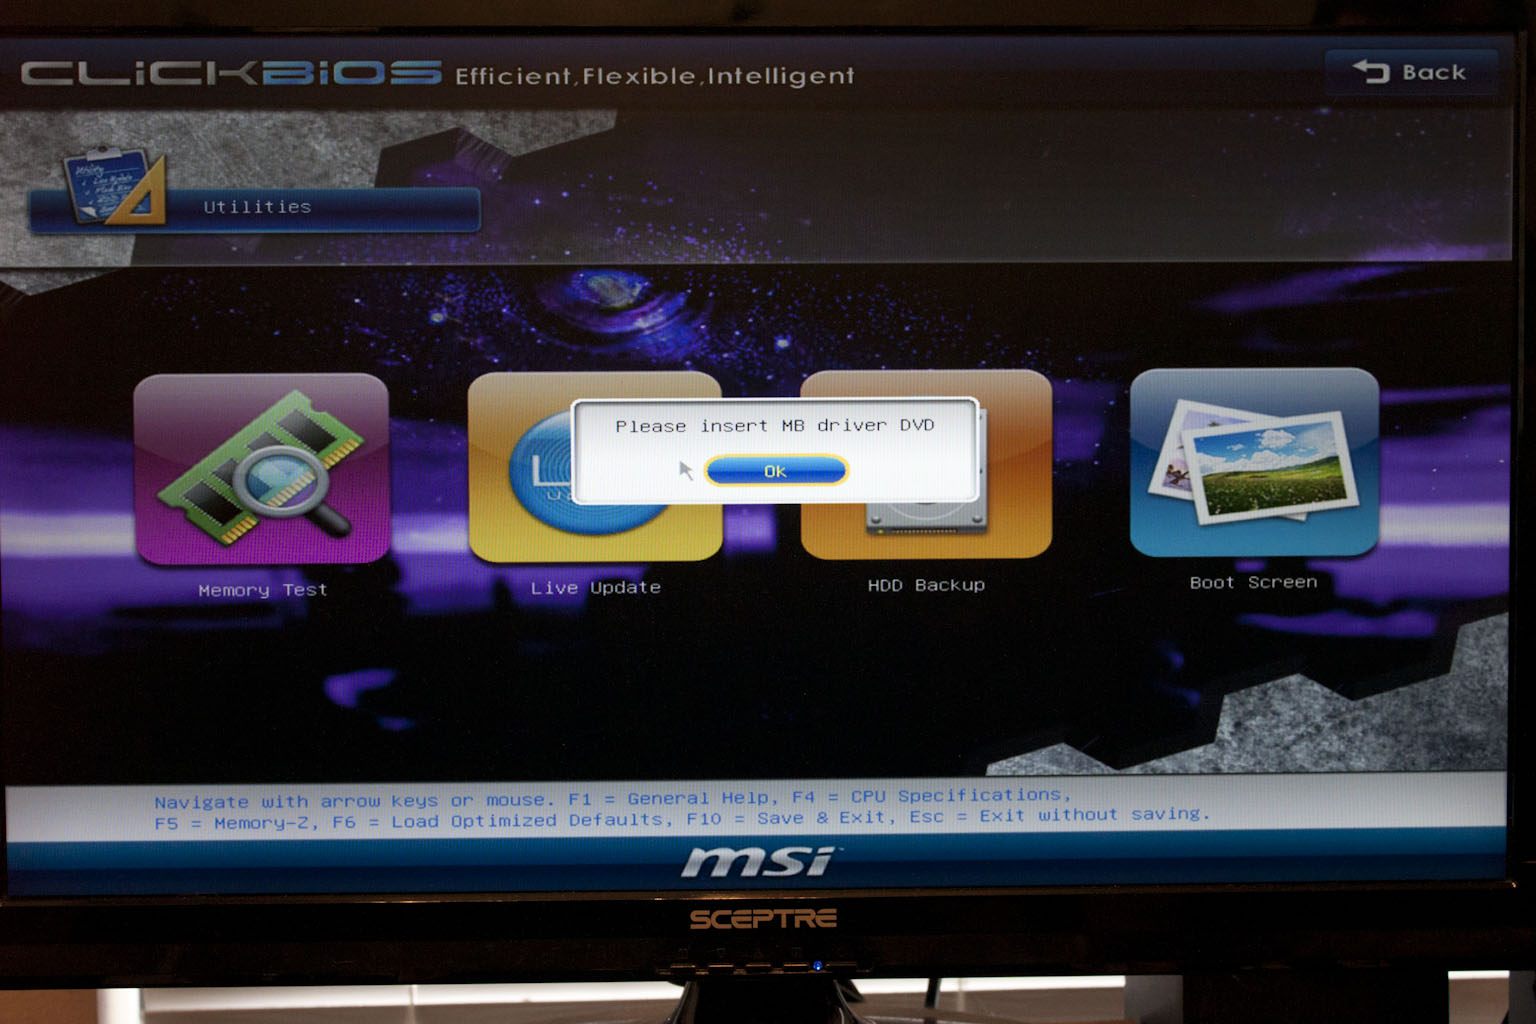 |
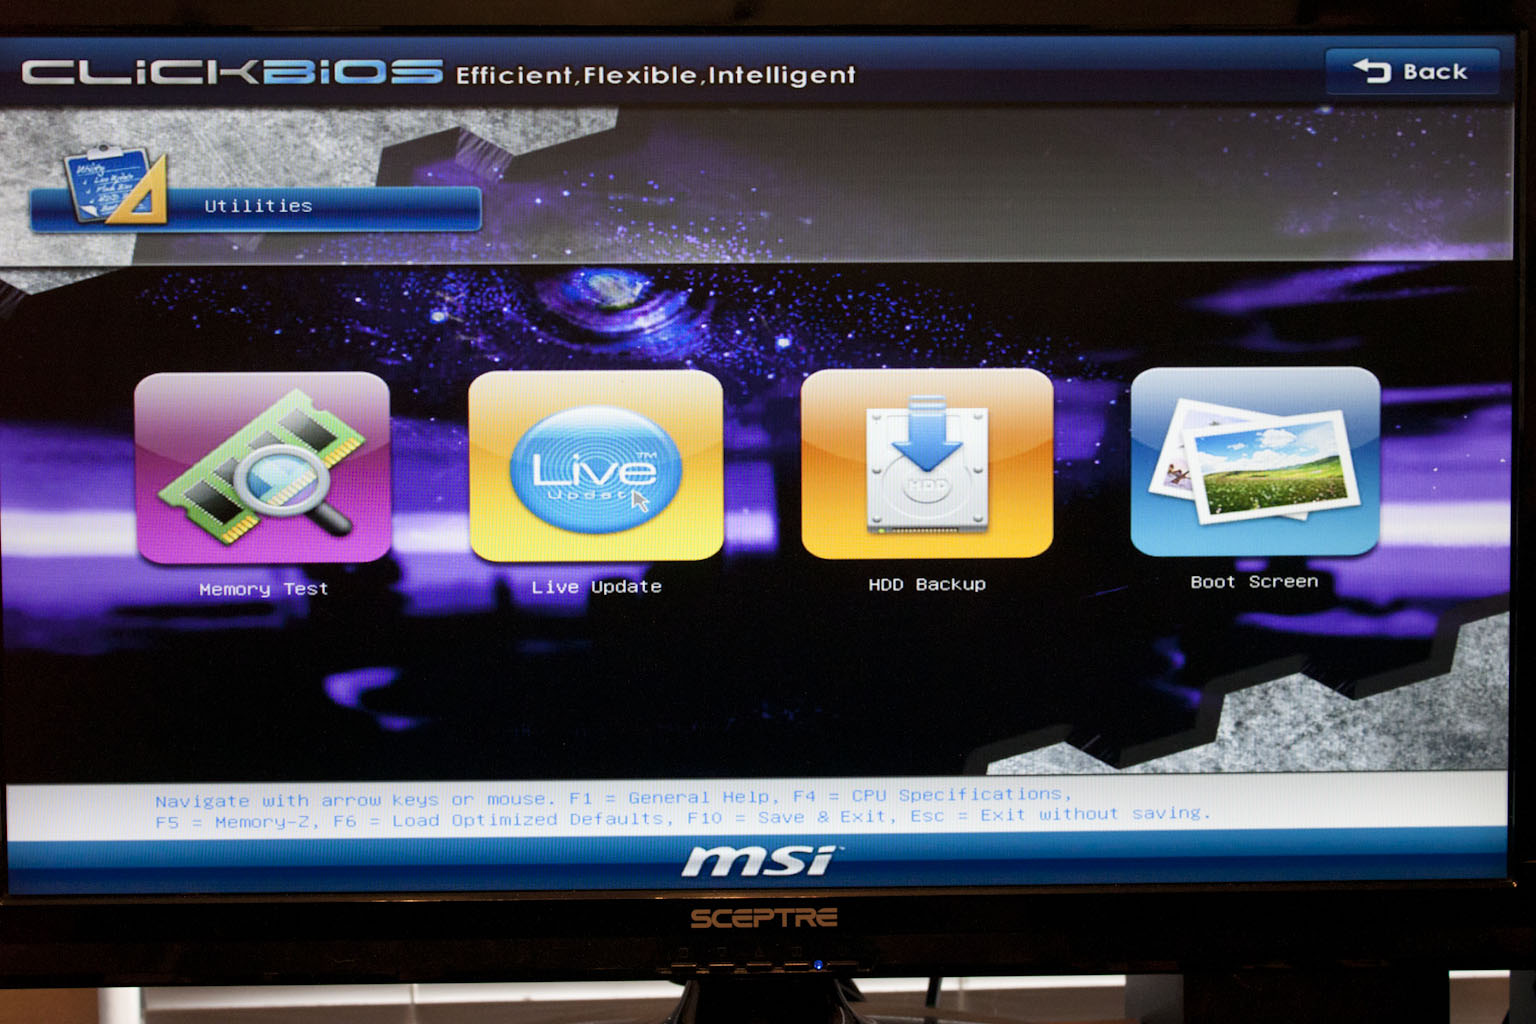
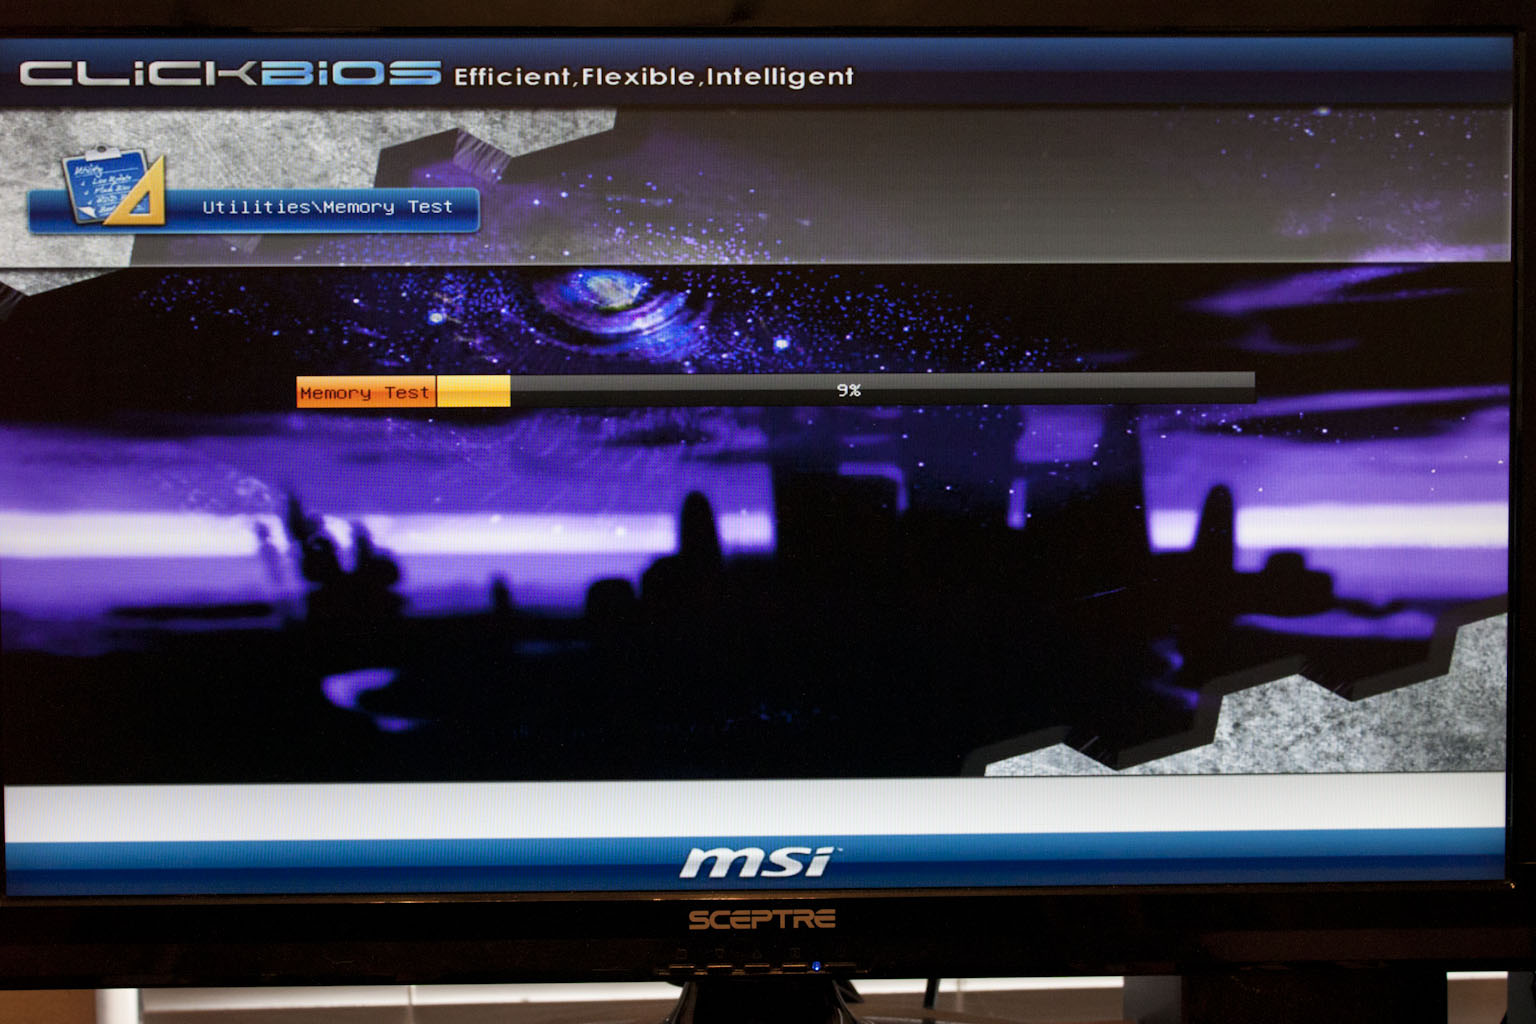
Next up is the utilities section; here you get a few decent items like a memory tester, MSI’s Live Update, an image based backup utility, and a way to change the boot screen image. To use both the Live Update and Backup utilities you will need to have the drivers DVD in the drive.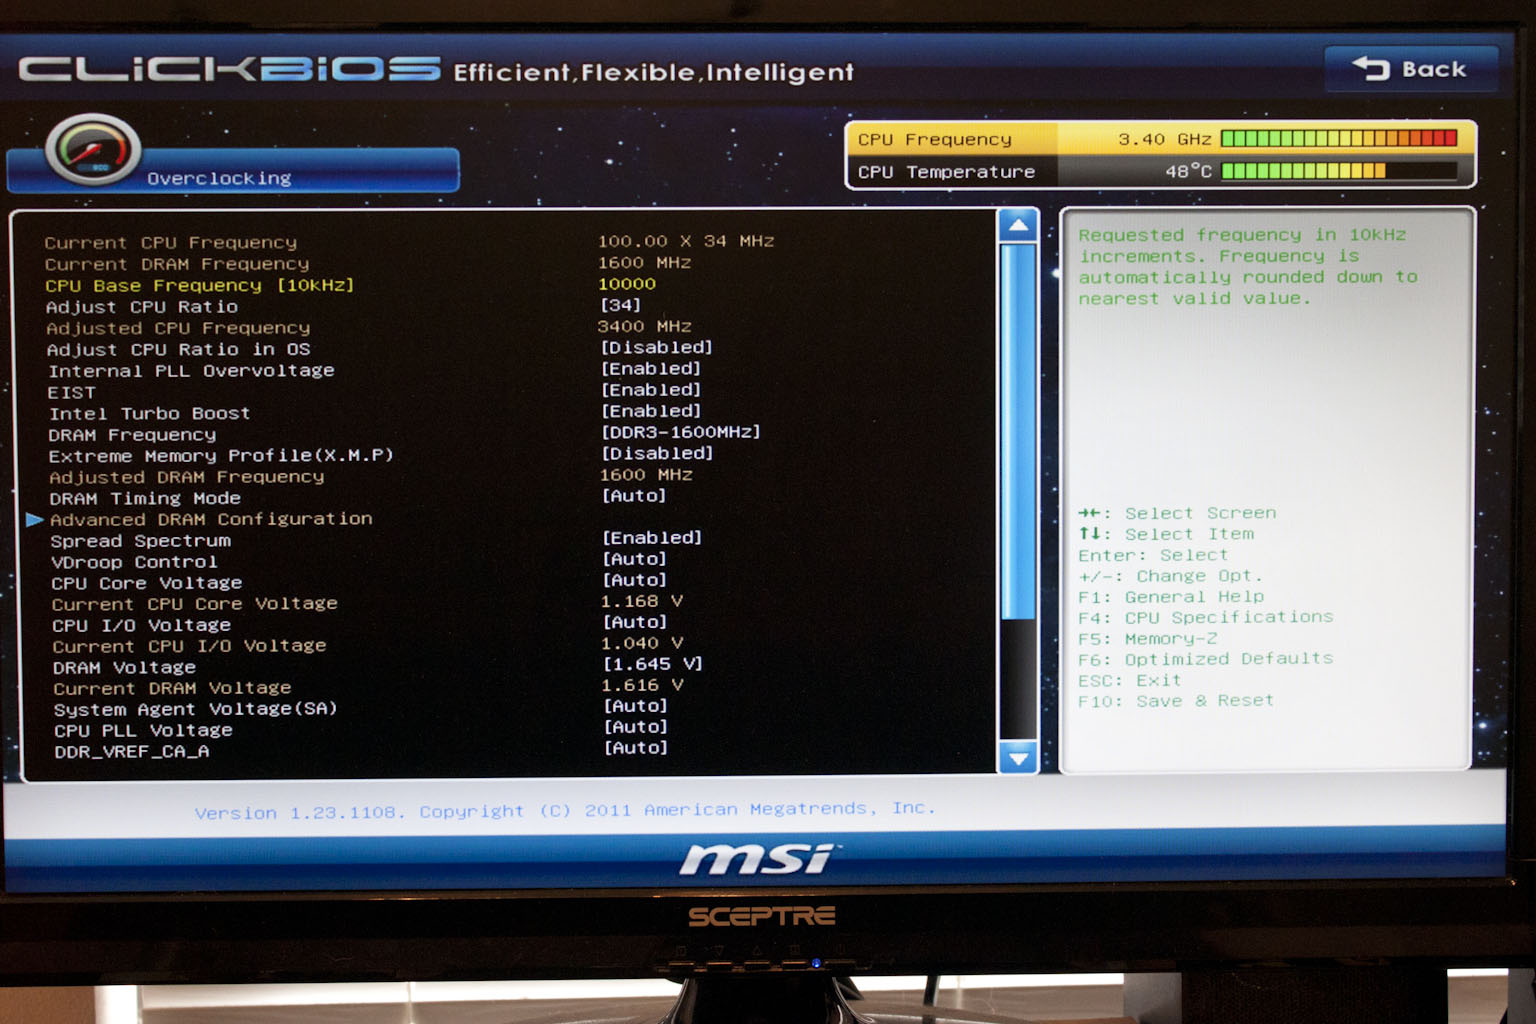
In the middle of all of this we find the overclocking page. Here is where you go to push your CPU to its maximum potential. MSI has not gone light here so you should be able to get some decent clocks if you try.
 |
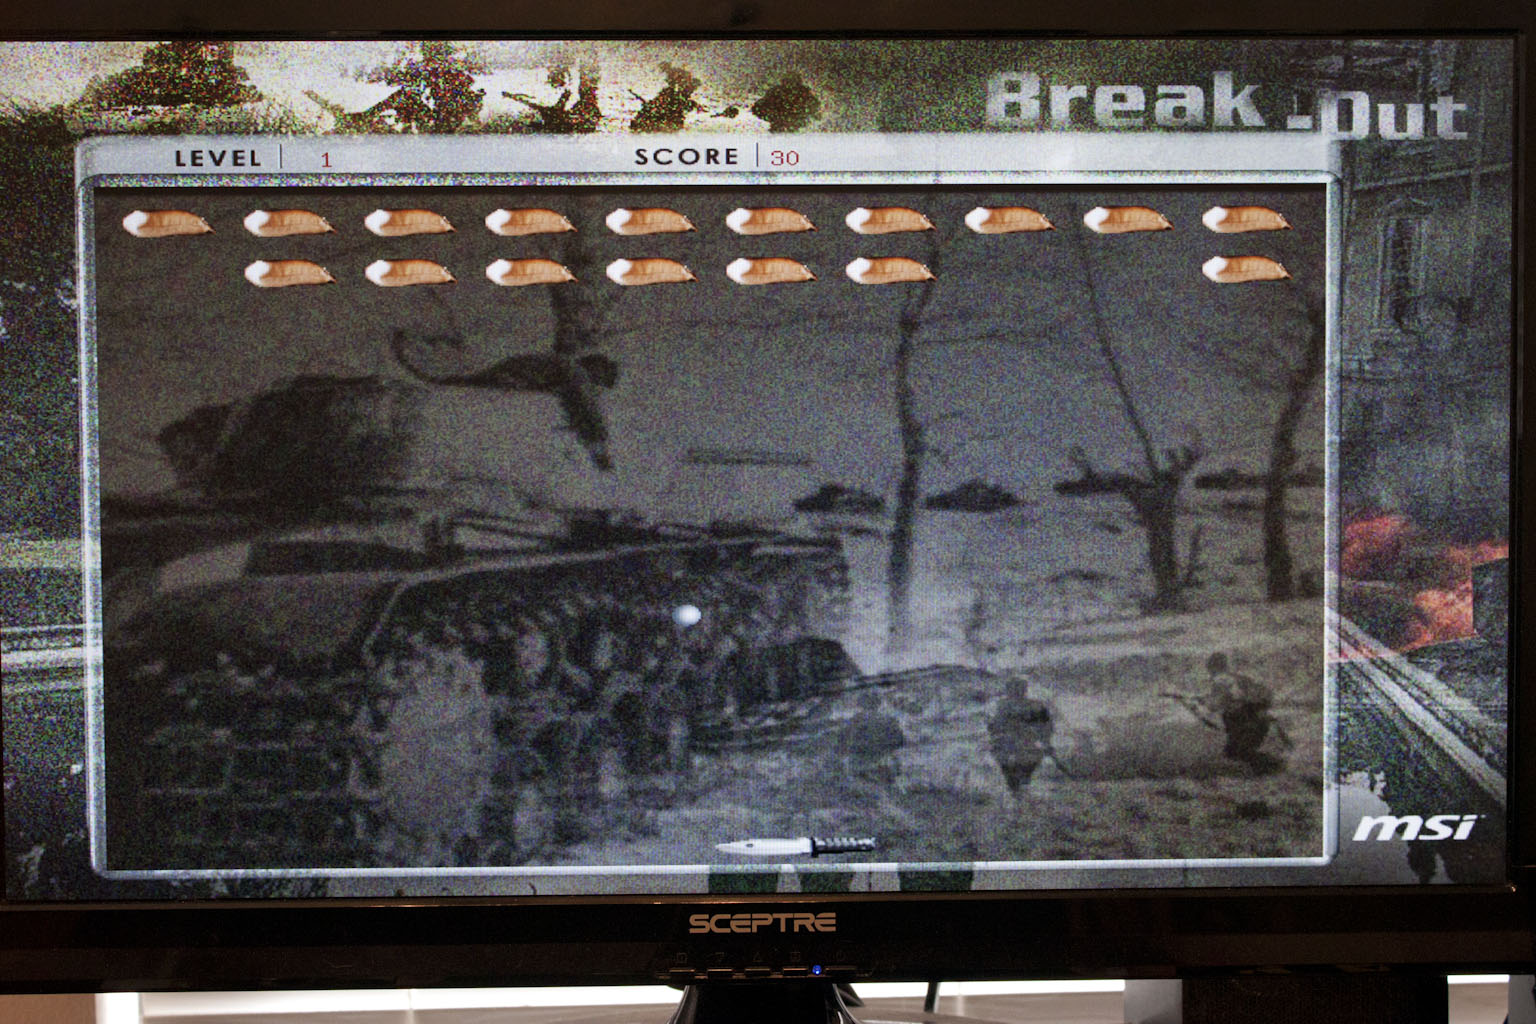 |
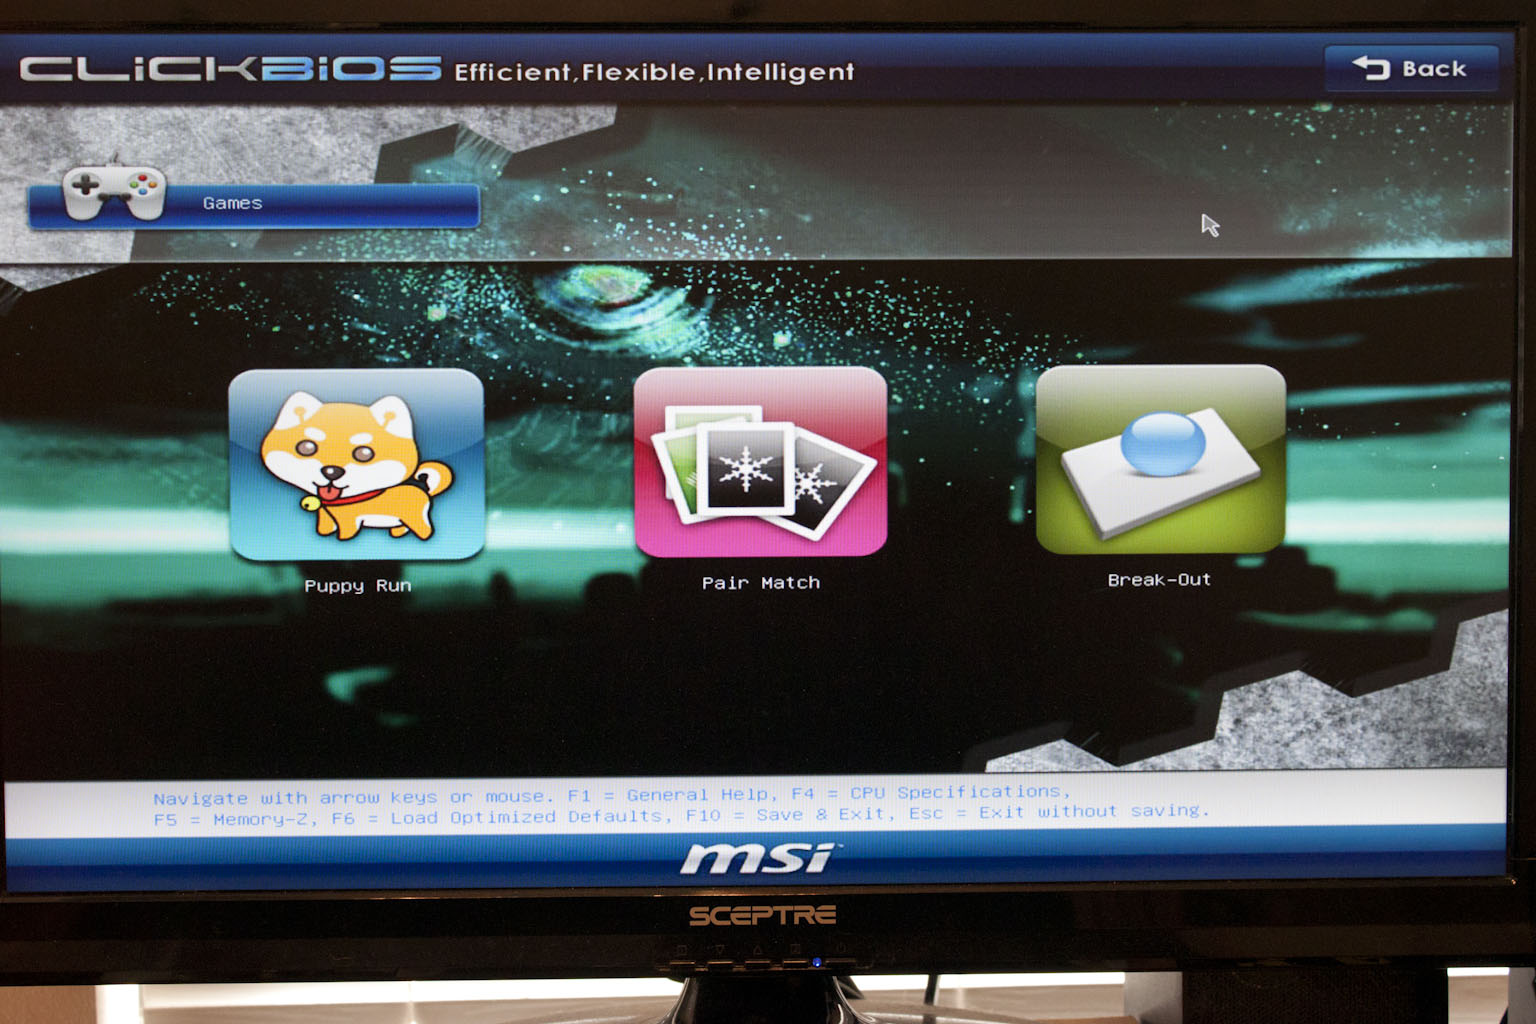
Now the fourth section is just plain silly. I mean come on, games in the BIOS? And these are just plain cheesy too. To get any of them to even show up you have to have the drivers DVD in place again. For the most part I think you will not worry too much about this one section.
 |
 |
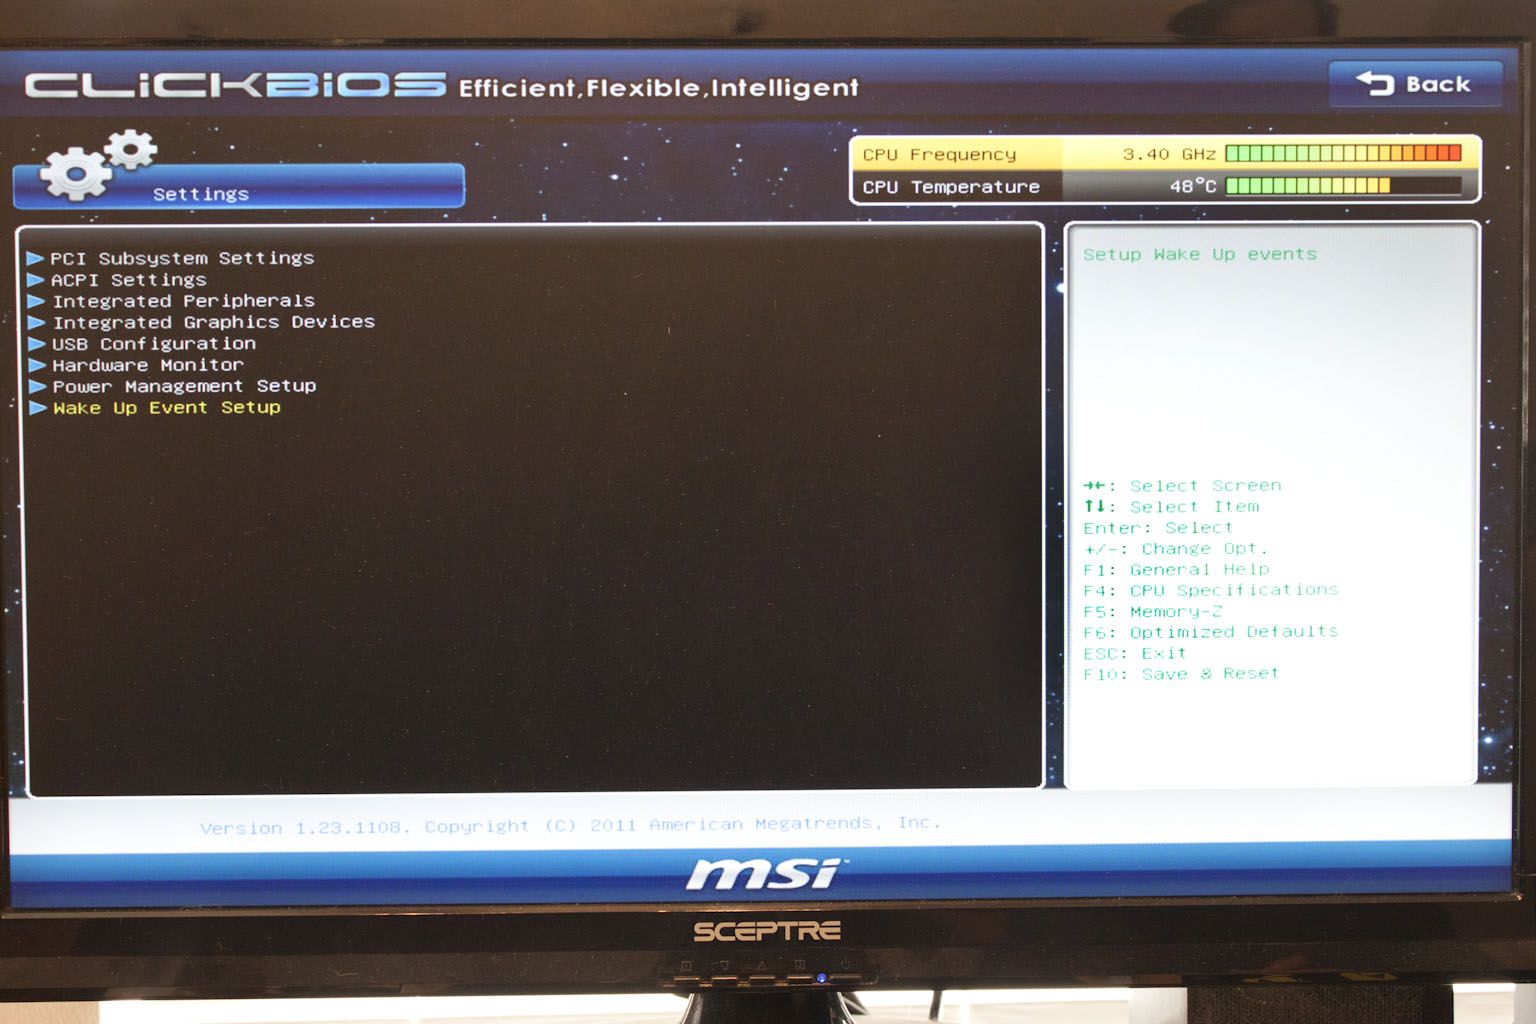 |
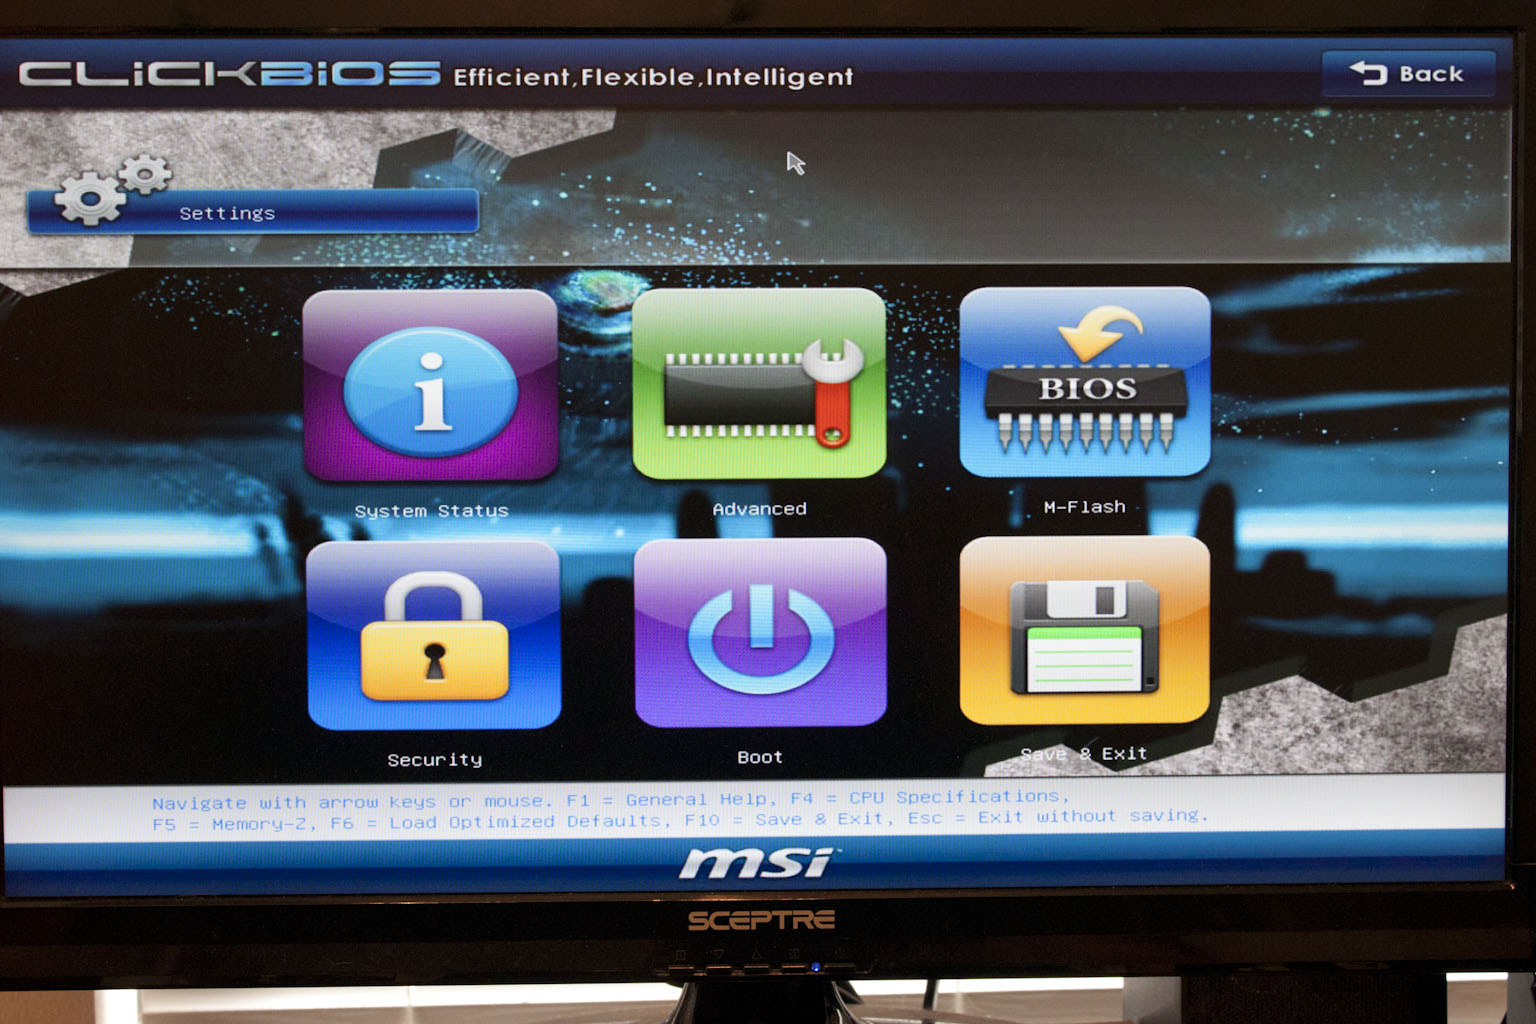
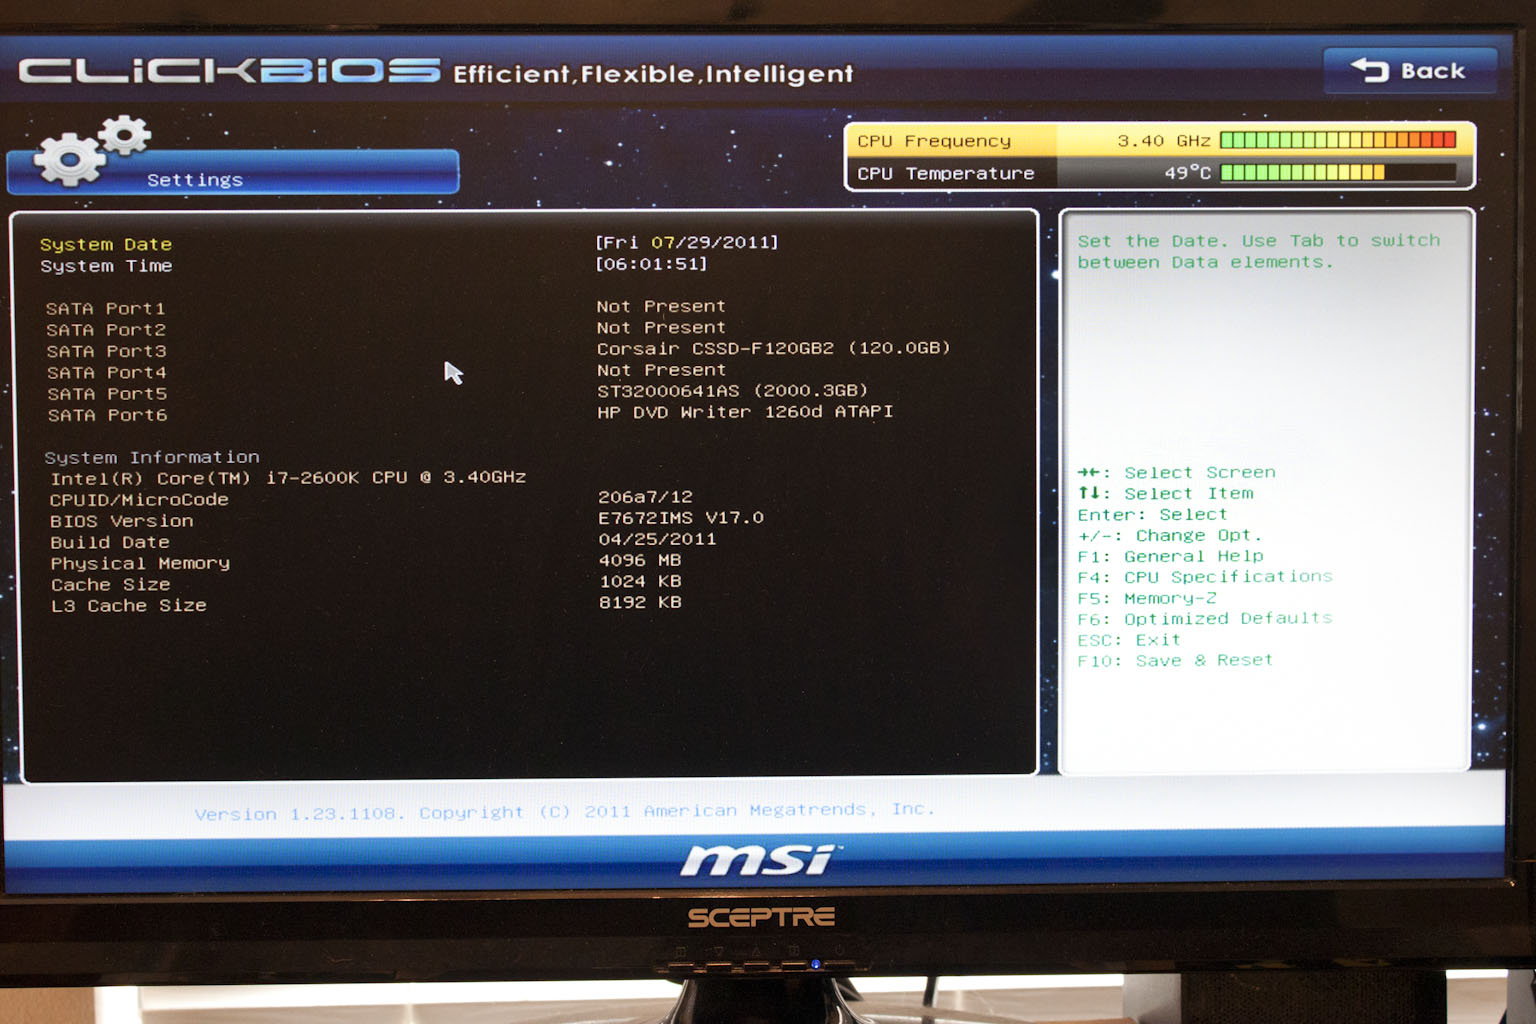
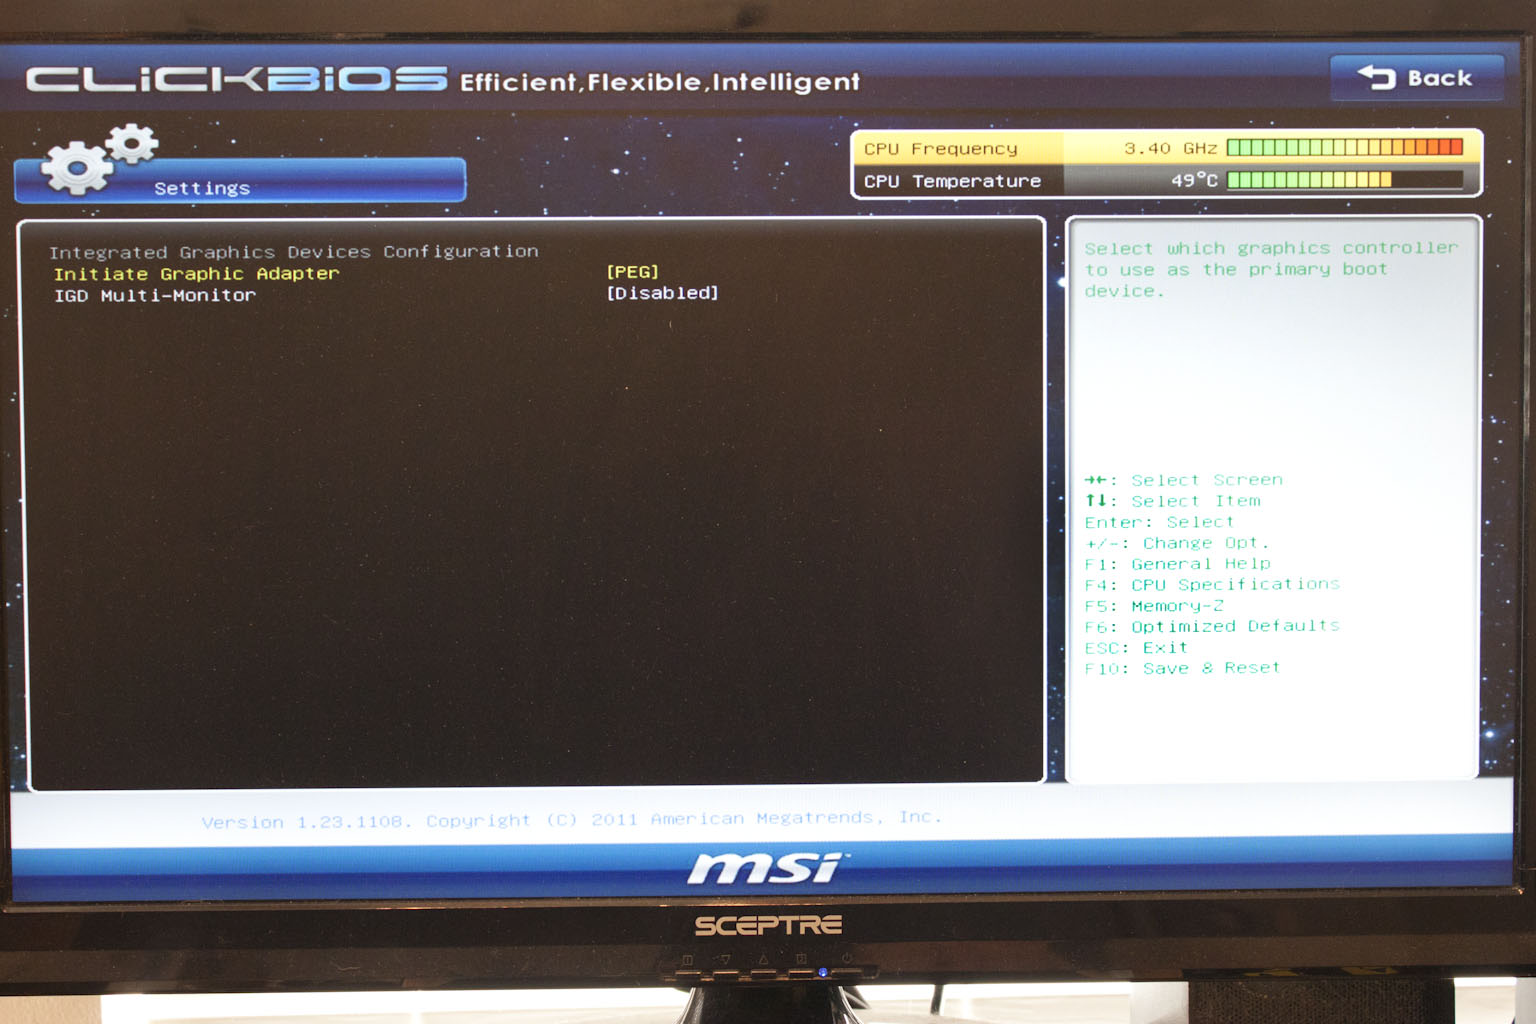
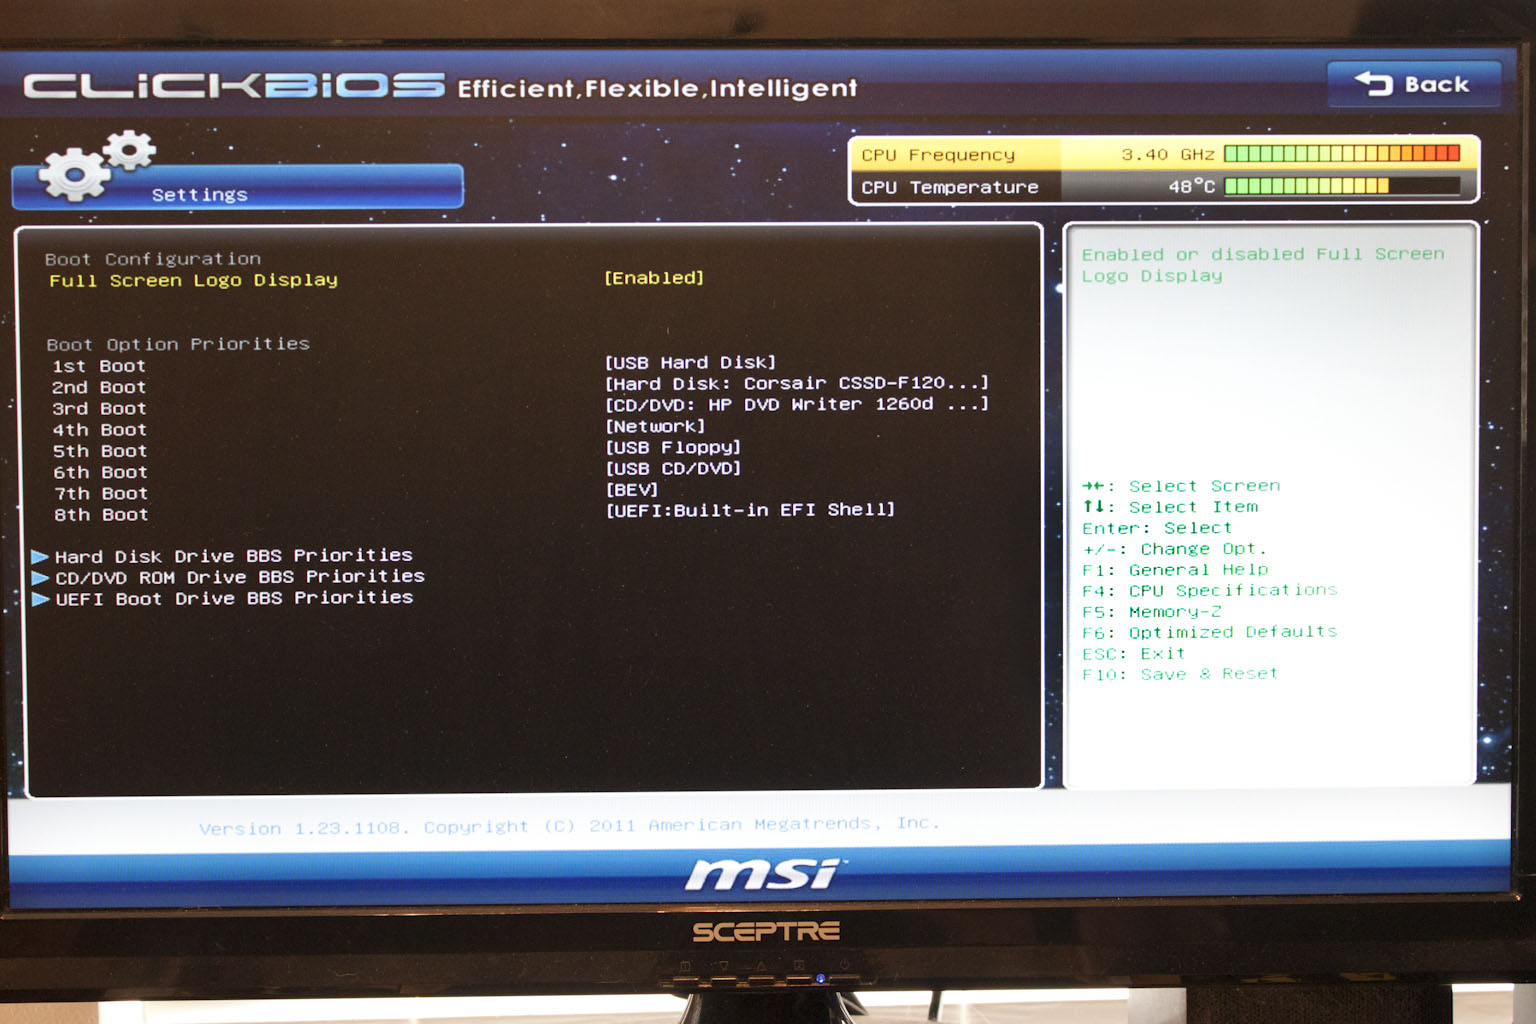
The last section here is the Settings section. This is where you find all of the ancillary sections of the BIOS that you used to ignore while you were busy trying to fry your CPU. I am talking about places like the Advanced Settings, On Board Peripherals, Boot Menu etc. They are handy to have but it is nice to have them all in one place and out of the way.
 |
 |
 |
Like I said, the MSI Click BIOS is a little cartoonish and clunky but it is certainly heading in the right direction and we did not find anything that made us feel it would hinder our performance or overclocking.
Overclocking -
I was more than a little surprised at the overclocking potential in the MSI Z68A-GD80. We kicked things off at 5.1GHz but soon found that this speed was not going to be stable. We could get through a run of HyperPi, but even attempting to run Lightwave or Cinebench caused an instant blue screen and we were done. After tinkering with 5.0GHz and a few voltages we found we had to back off to 4.888GHz (really 4.9 but CPUz kept reading it as 99.5MHz x49. This became our final clock and matches up to our record clock on this particular i7 2600k. I can honestly say that with some additional tweaking I feel we would be able to get at least 5.0GHz if not 5.1 out of this board.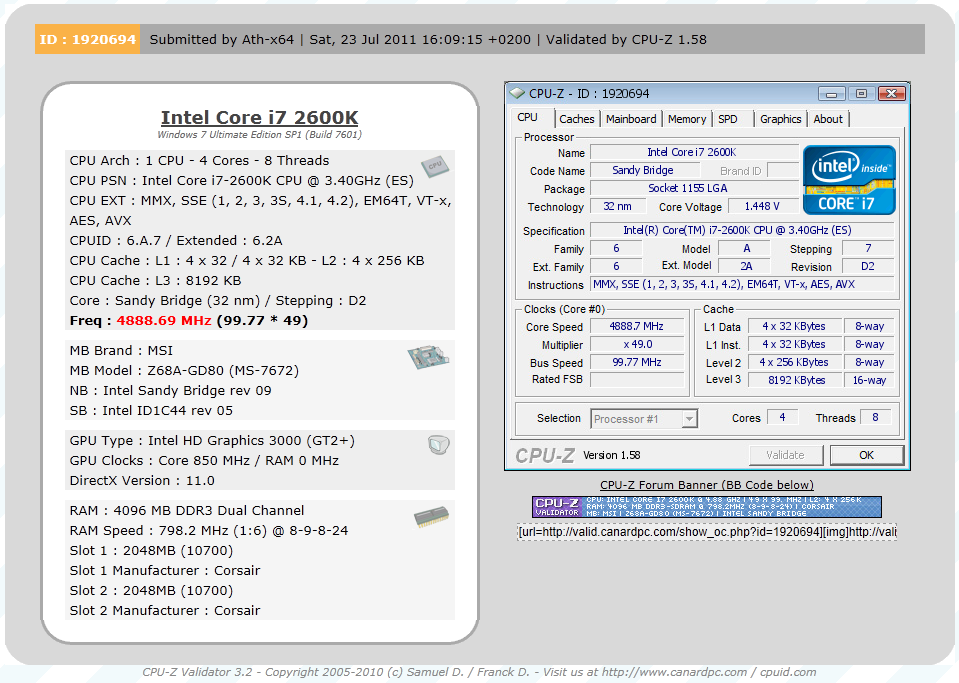
Of course overclocking is a picky subject. I can buy to identical CPUs from the store and they will not always perform the same way under stress. This is the same with motherboards, RAM and GPUs. So again it is important to keep in mind that our results represent a specific hardware configuration. Yours may be similar but will rarely be identical.
Overclocking Tools -
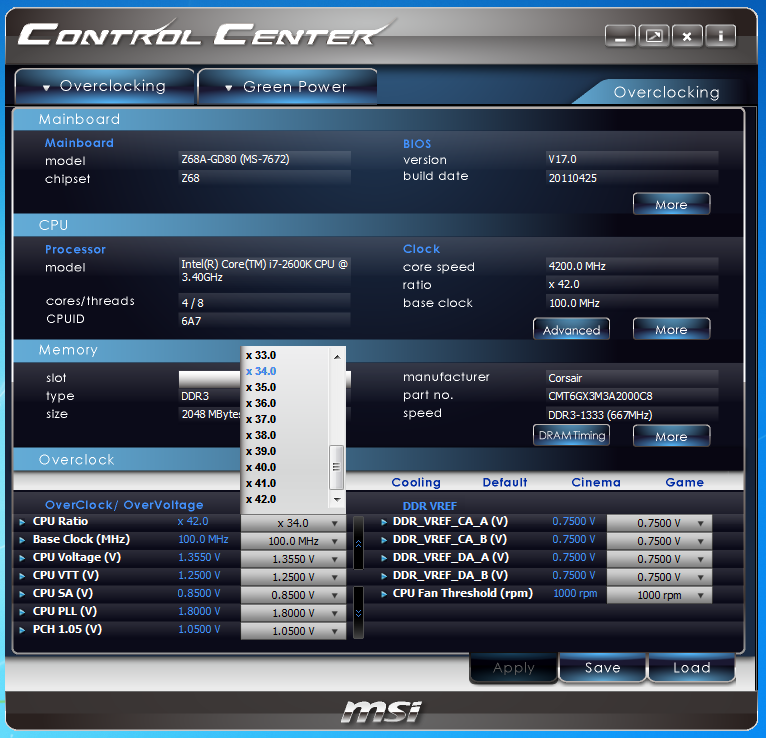
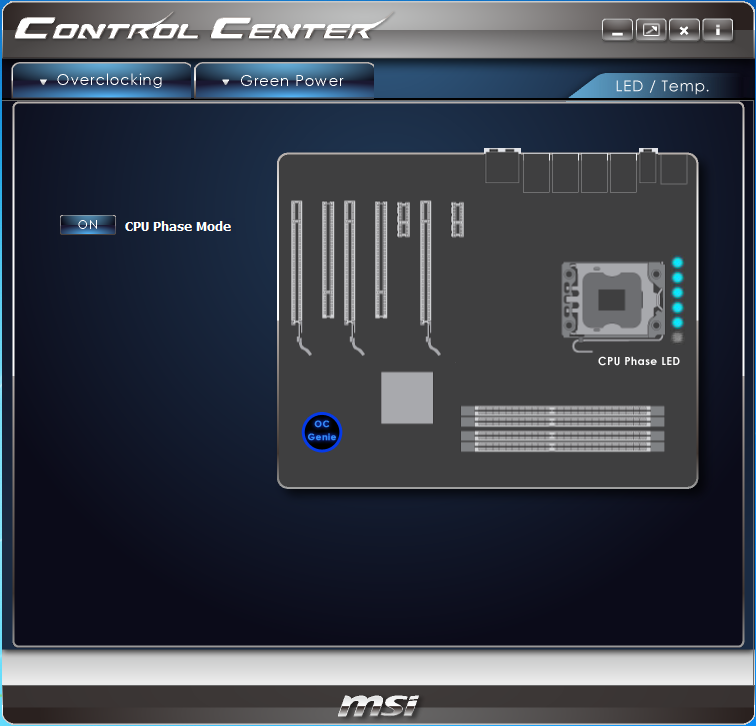
MSI’s overclocking utility is called Control Center and it does pretty much that. When you open up this utility you have options for controlling quite a bit of the board. One item to note, if you are going to use this to overclock you will want to make sure you enable adjusting the ratio in Windows. Otherwise if you play with the ratio it can reset it back to 34 (which can ruin a good OC run). Oddly enough even if you turn this setting on we saw a maximum ratio of 42 available in this software. So if you are looking to push past this you will want to stick with the BIOS. 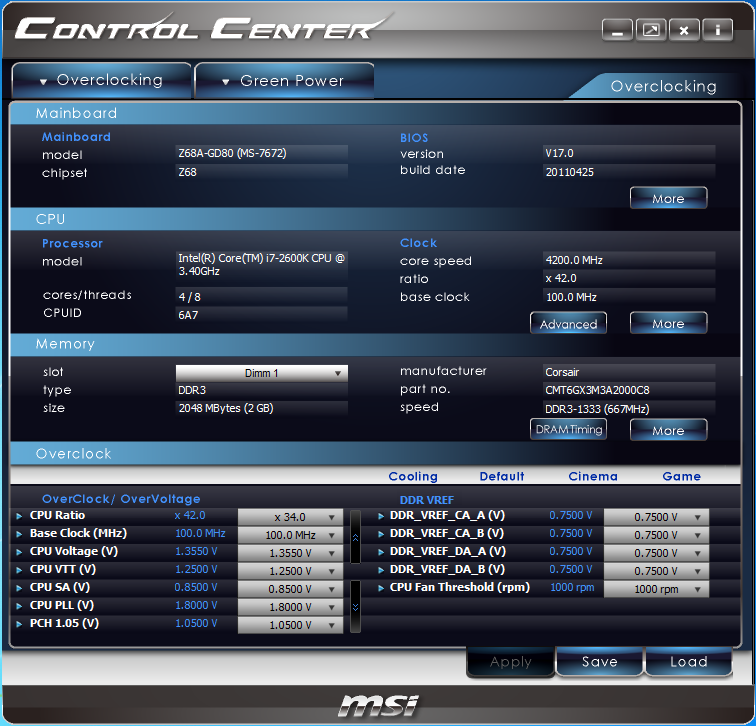
Some of the other BIOS settings (besides the overclocking settings) are replicated here in Control Center; you also have some of the Green Power options along with a nice page that shows you how to use the OC Genie.
 |
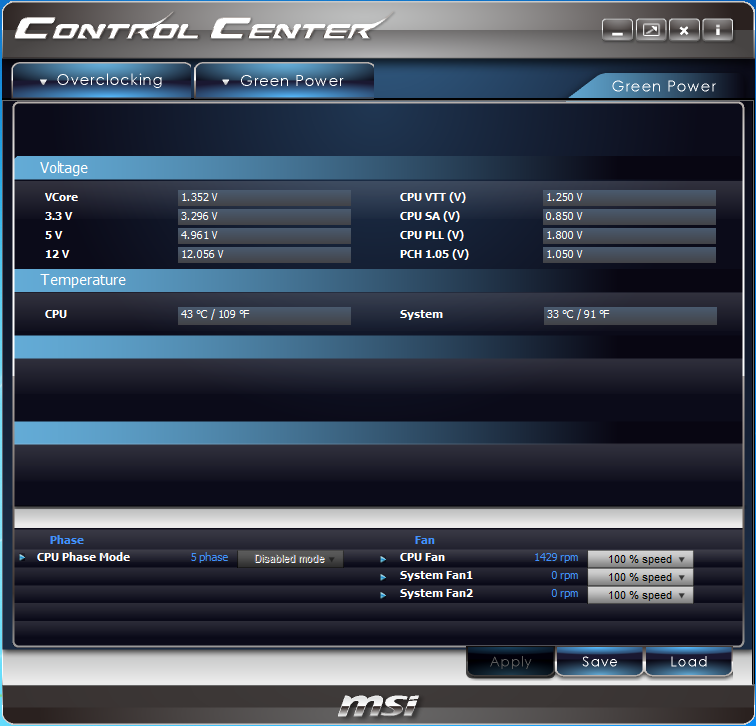 |
It really is not a bad tool, but for some reason on this board it was limited to a 42x ratio.