The Layout -
The layout of any motherboard is important. Even simple mistakes in component placement or the signal traces can cause major issued in performance and stability. With the ATX form factor we find that this is even truer; the devices we drop onto them demand more and cleaner power while the signal speeds push faster and faster.
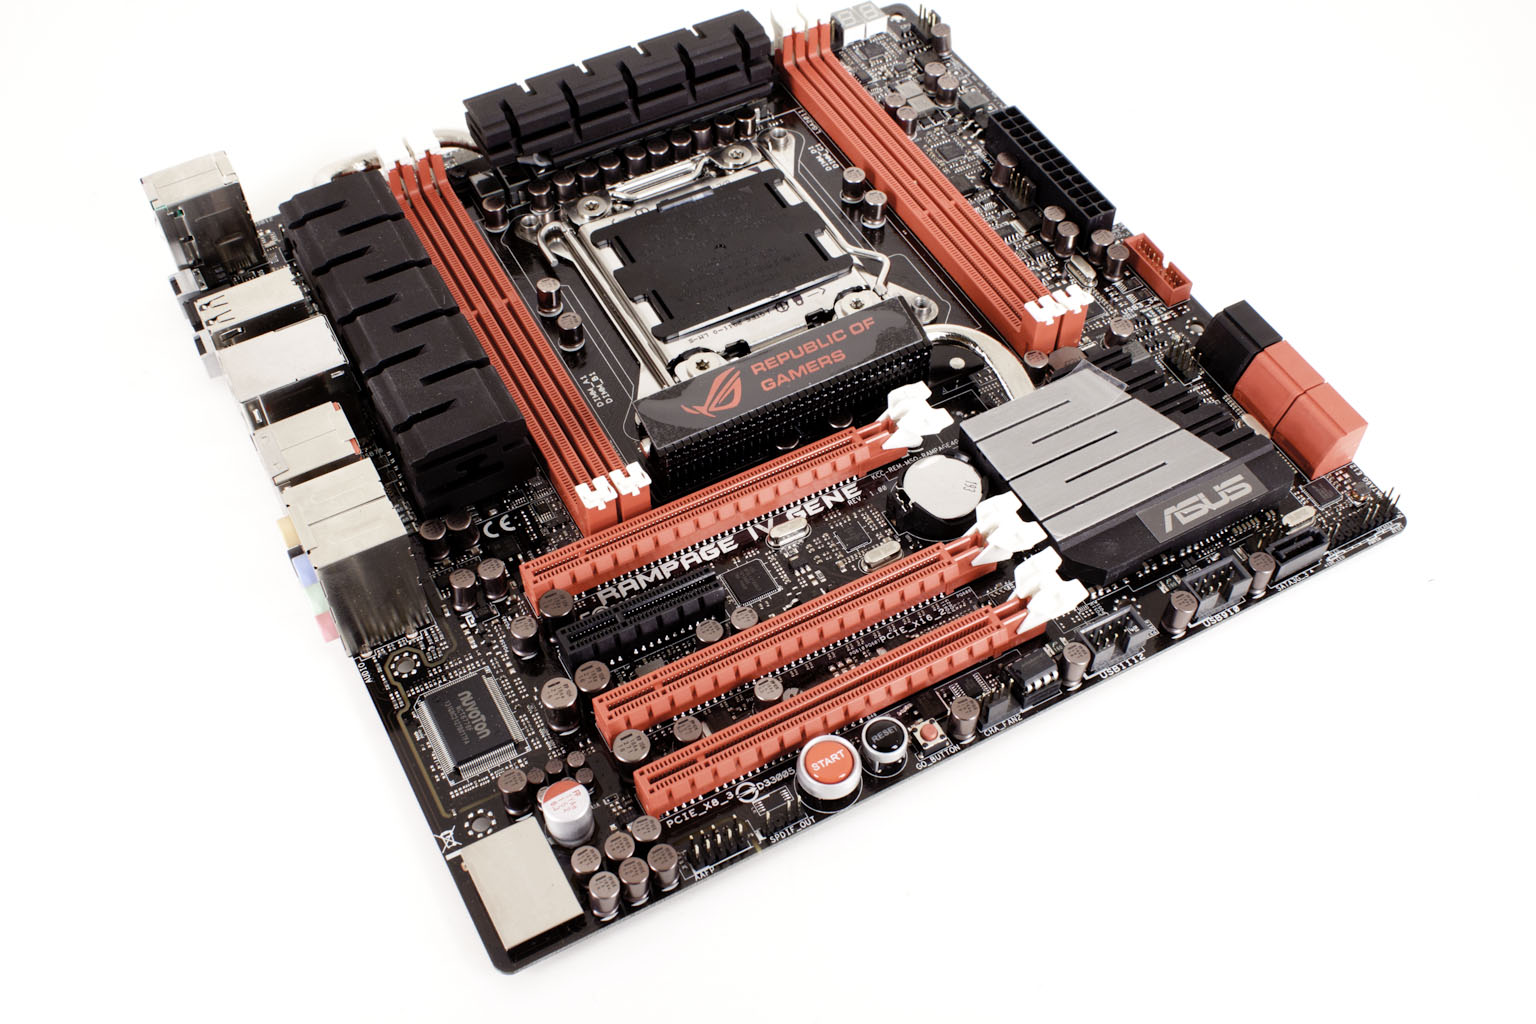
As you can see from the picture above the Rampage IV Gene is a MicroATX motherboard. This means that Asus has to stuff all of the same components into this board that they put into their Formula and Extreme. Of course they have to compromise and leave some items out, but you are still getting a ton of items packed into this small platform.
 |
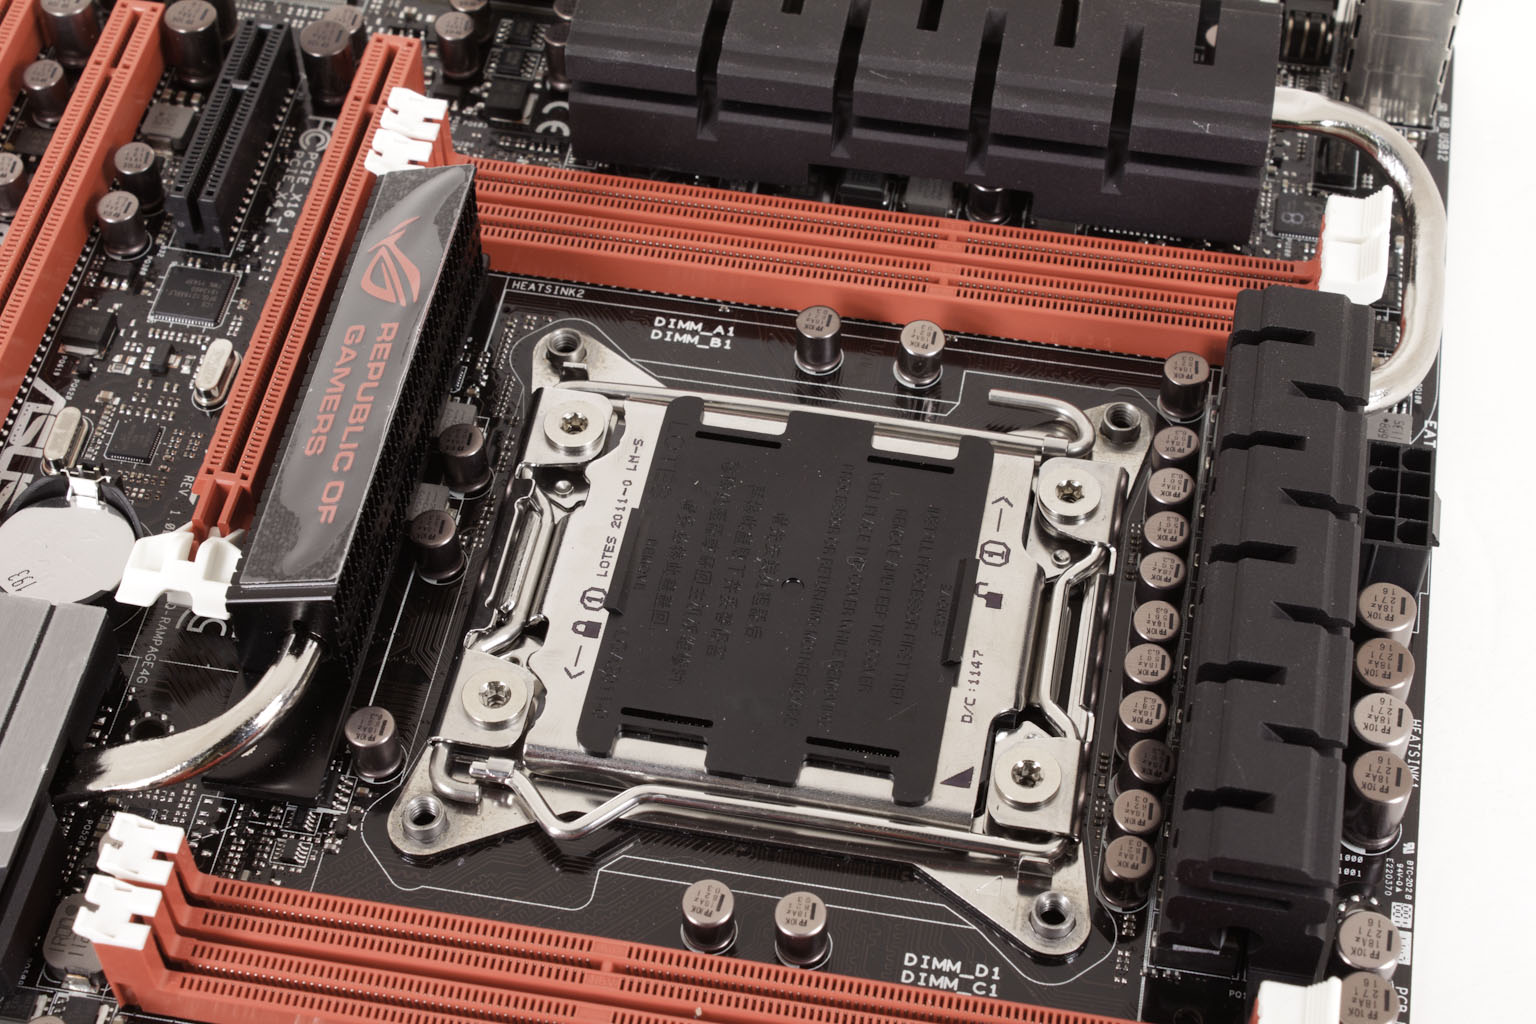 |
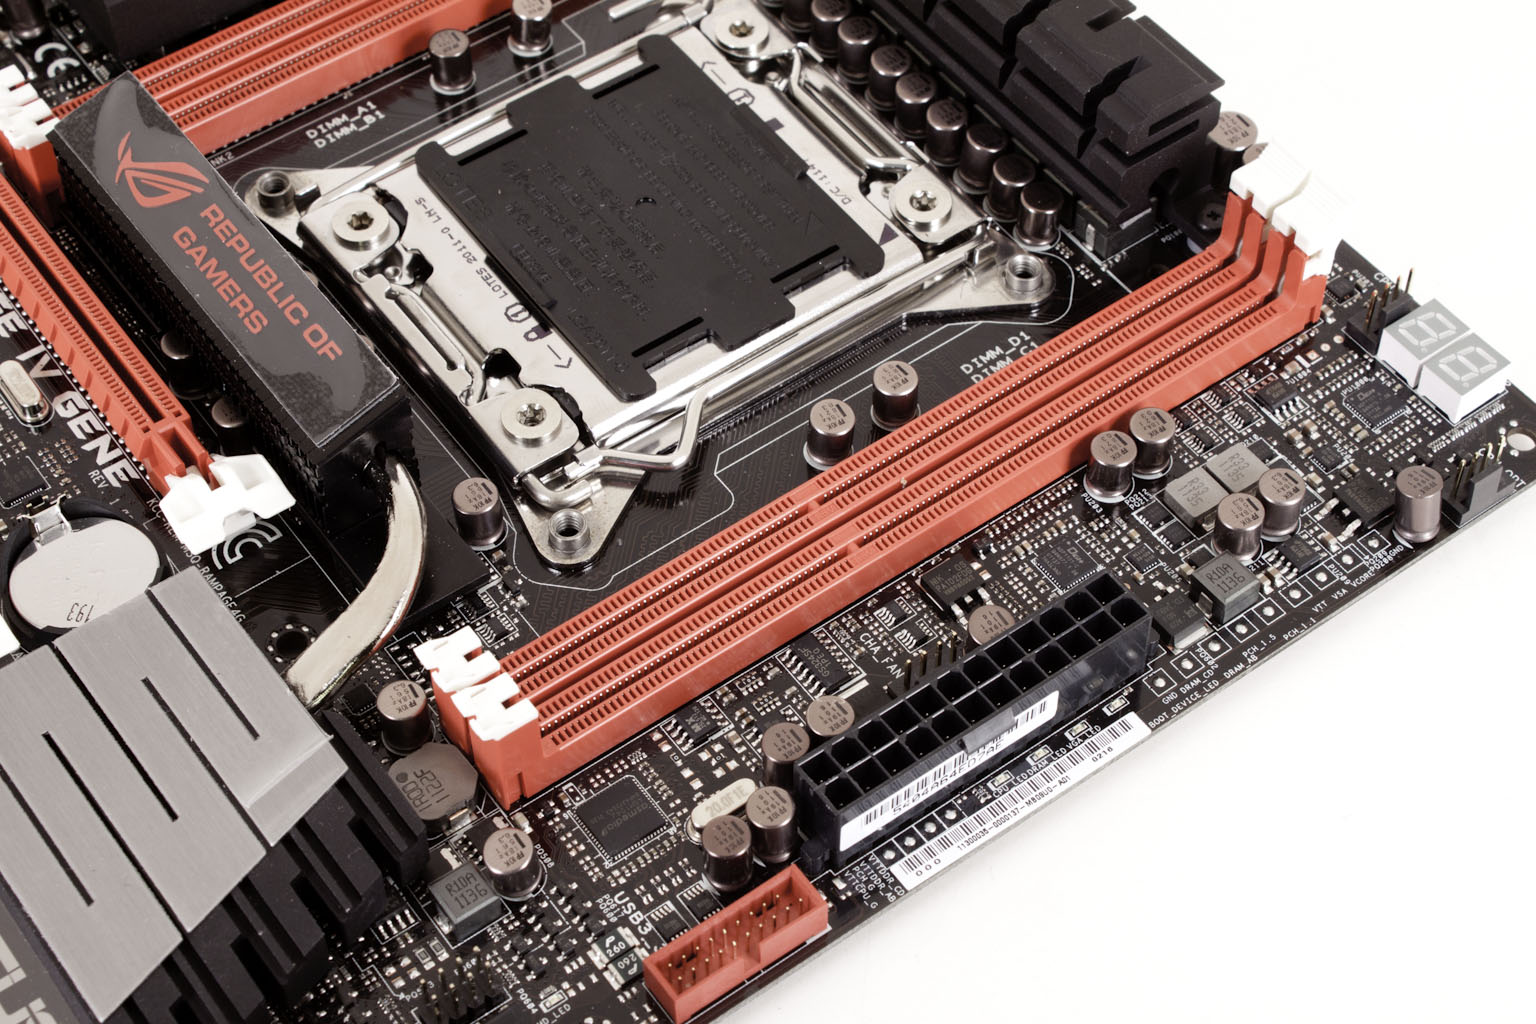
Starting our normal walk-around we can see right away that the major feature of this board’s design is the LGA 2011 socket and the four RAM slots that are required for Quad-Channel performance. This certain takes up considerably more room than the same setup on an LGA 1155 board. The hurdle here for Asus engineers is to get all of the tracing laid out properly to ensure both stability and performance. The good thing here is that Asus has always spent the extra time to make sure their boards traces are laid out properly. Looking at the upper right edge of the Rampage IV Gene you can see just how cramped this board is with components due to its smaller size. Still you are going to get ROG features like voltage read points, diagnostic LEDs multiple 4-pin fan headers and more. If you look closely you can see the complex tracing layout between the CPU socket and the two right side RAM slots.
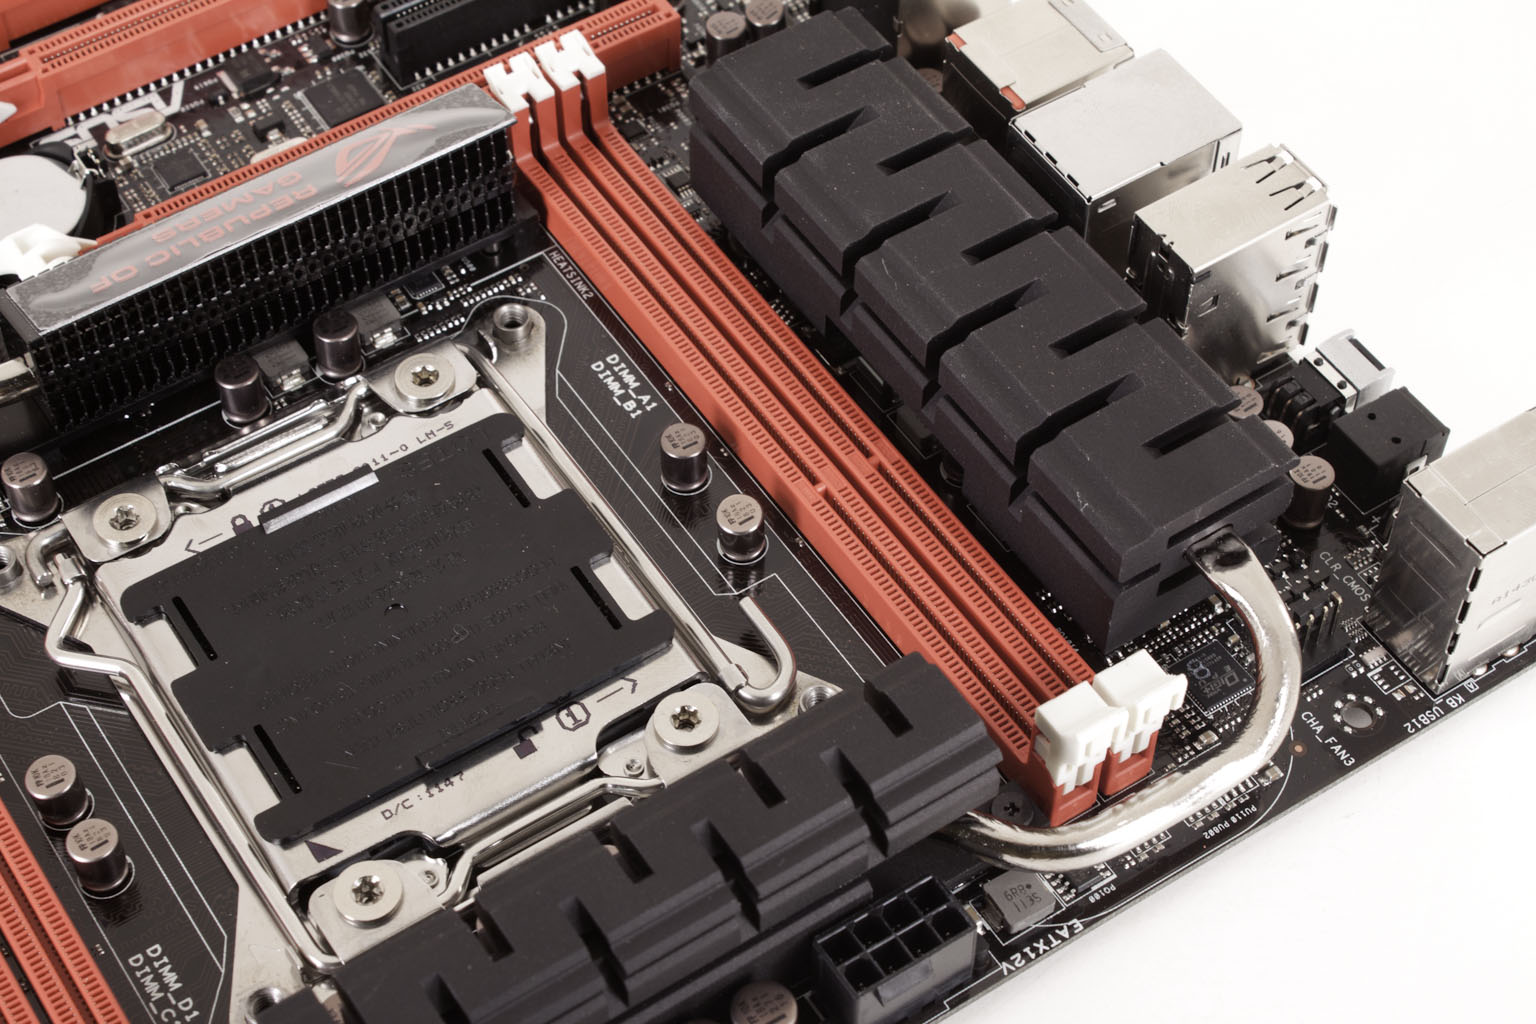
In this view of the board we can see the new solid caps that Asus is putting on their ROG boards along with the cooling they have implanted to make sure everything is operating at the proper temperature. This cooling system has the same powder coating that we saw on the Sabertooth a while ago. According to Asus it should help the heatsinks to dissipate heat better and improve your cooling performance. Of course all of that still depends on air flow. For those that are counting along with us at home you can get a glimpse of 4-pin fan header number 3 in this shot along with the awkward placement of the 8-pin aux power header.
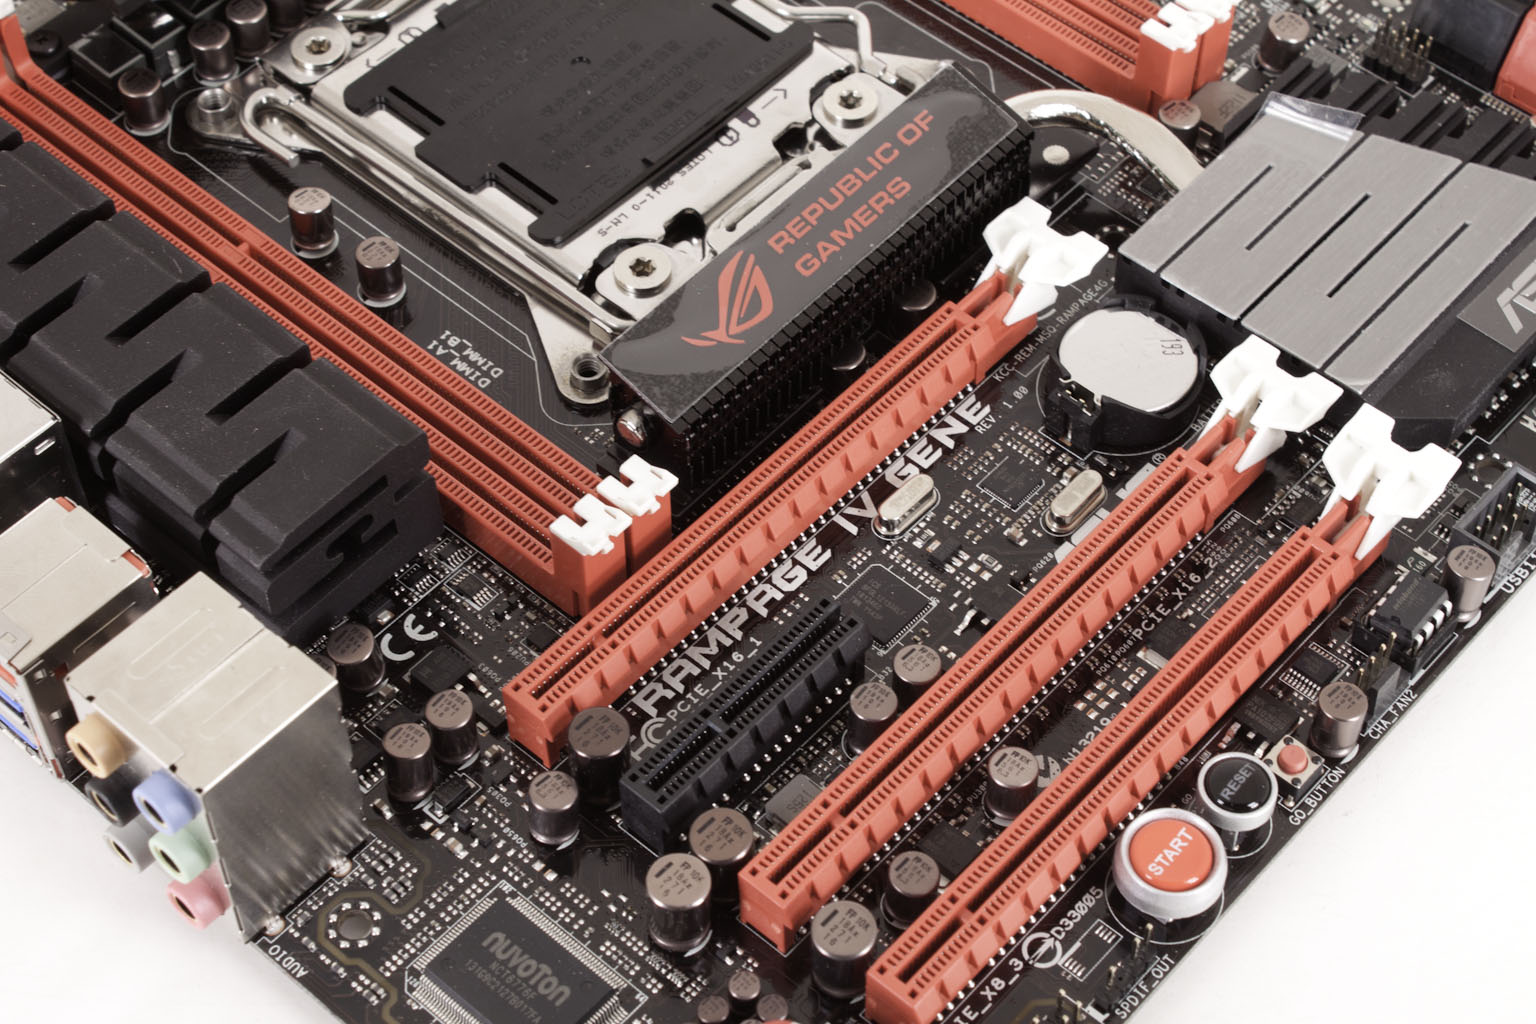
Moving down the board we find the peripheral slots. There are three x16 mechanical slots on the board and they break down like this:
X16 slots one and two are both capable of Gen 3.0 performance at full x16 even when running crossfire or SLI.
Slot three is set to run Gen 3.0 up to x8 max. The single x4 slots visible on the board is also only wired to run at x4 and is also not recommended for use with GPUs. The manual does reference having four “VGA cards” in the system, but we do not see how that is possible.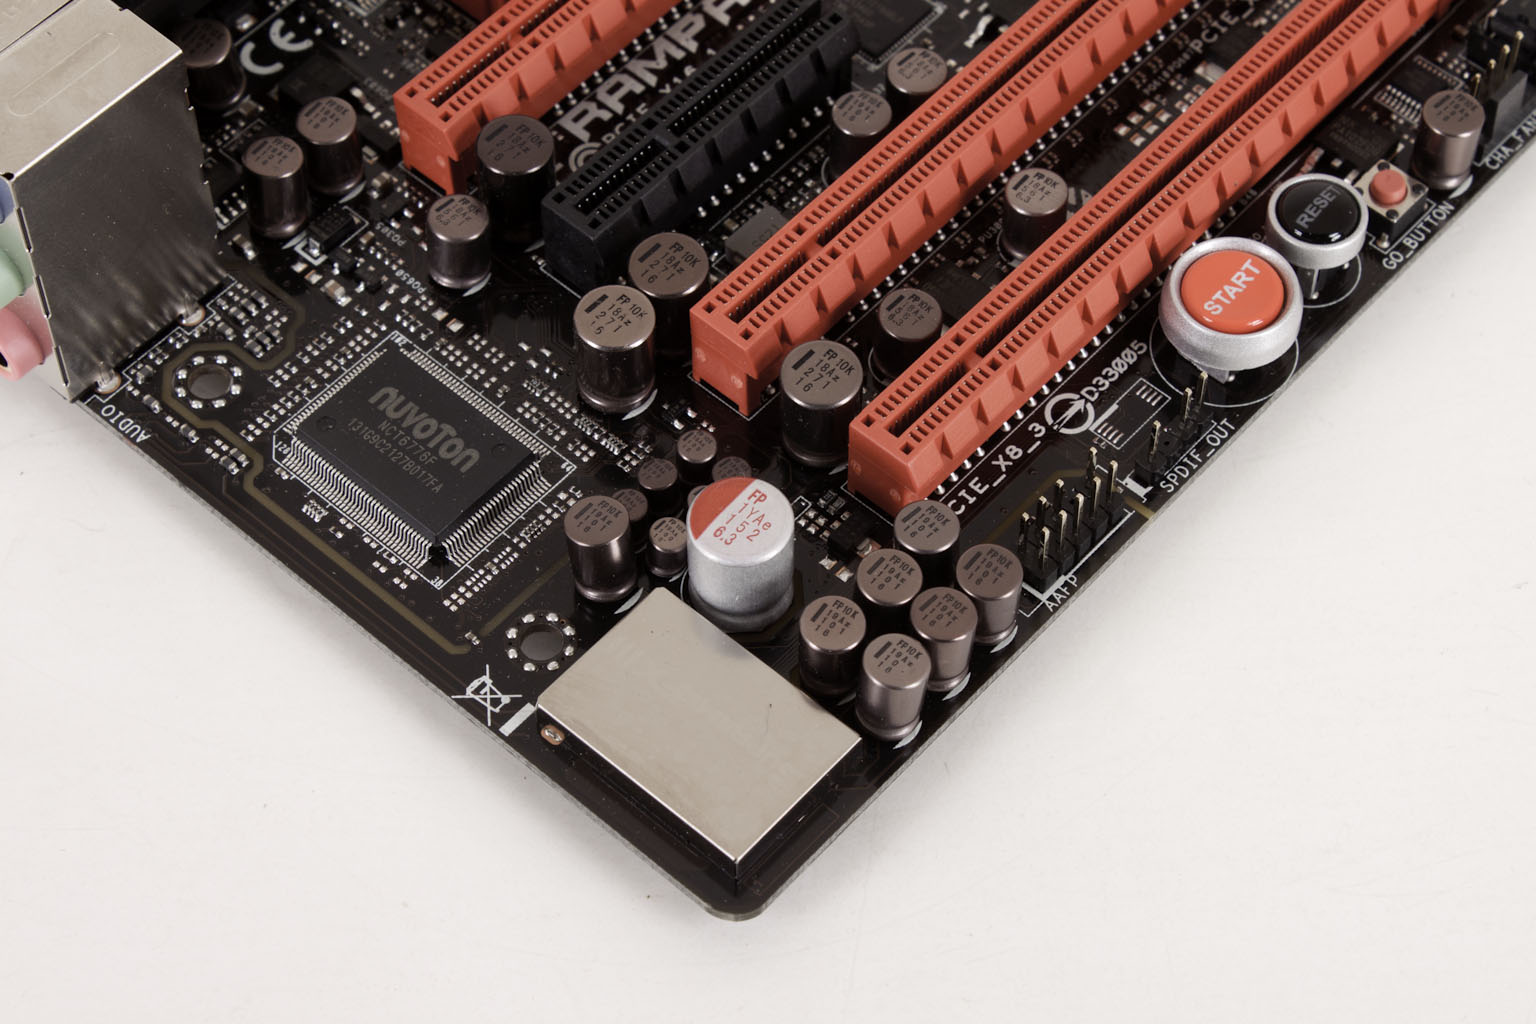
Along the bottom edge of the Rampage IV Gene Asus has stuffed in quite a few headers (including 4-pin PWM Fan header 4) and board mounted controls. These are items that Asus does really well, the controls are study, easy to spot and of course nice looking for when you have the Gene mounted on your open air test bench. You can also see the PCB separation of the audio components. As we mention in our video, this will help reduce the amount of electronic noise that would otherwise affect your audio signal. It is a slight, but measureable difference in performance.
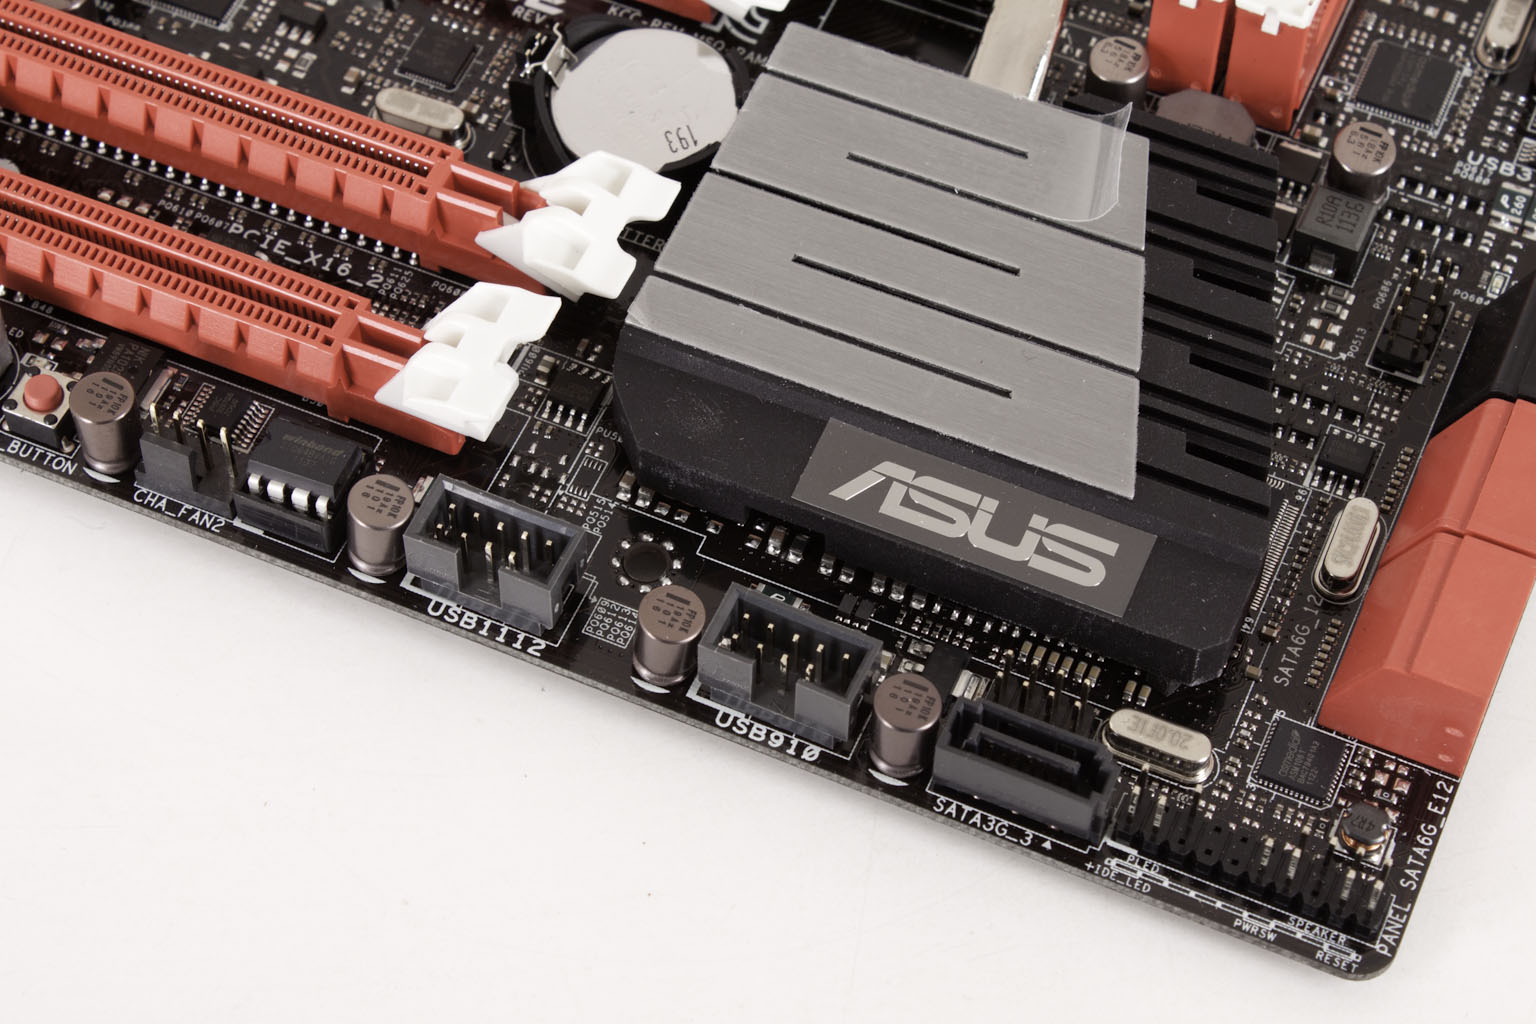
Moving to the front of the Rampage IV Gene we find a single vertically mounted SATA port. This is a SATA 2 port and should be used if you have an eSATA header in your case (at least that is what Asus thinks it should be used for. Speaking of SATA ports there are four SATA 3.0 ports and two SATA 2.0 ports (the red are SATA 3 and the black are SATA 2). The middle two red ports are from the X79 PCH while the two lower red ports are from an ASMedia ASM1061 SATA 3.0 controller. Asus feels that if you are picking up this board you are more than likely going to spend the extra for the higher performing drives, and they are right.
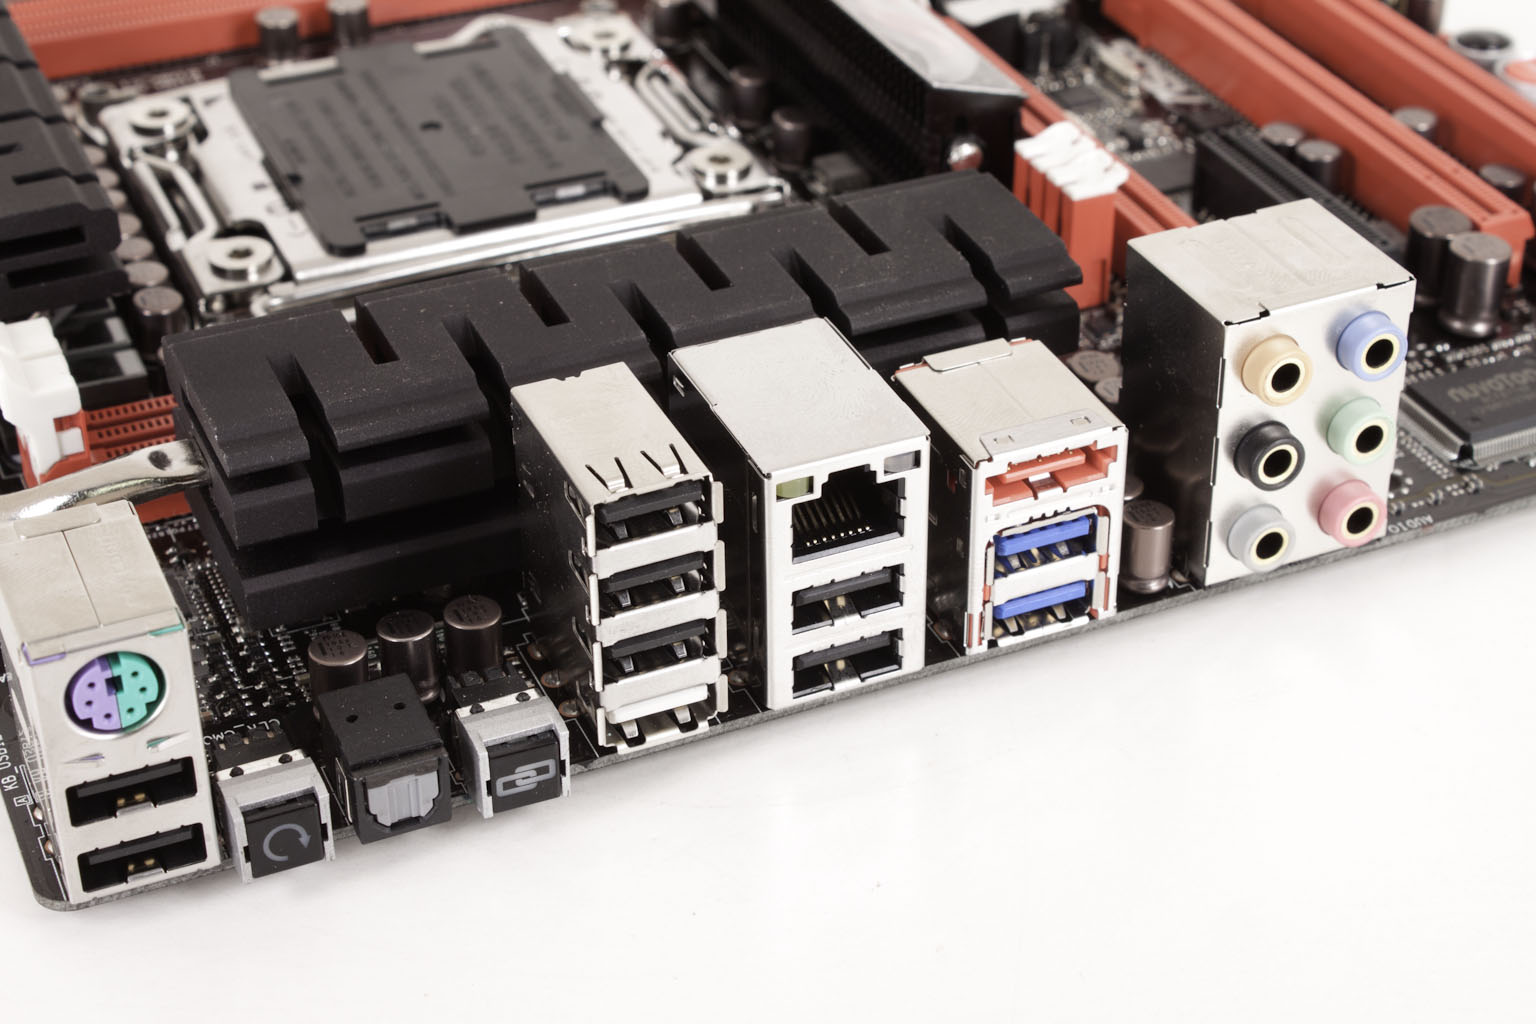
Moving around to the back I/O cluster… well things are pretty normal here. You have a P/S2 port (for mice or keyboards) a BIOS reset button, ROG Connect button, 7 USB 2.0 ports. (the white one it for the ROG Connect), 2 USB 3.0 ports and a single eSATA port. The SupremeFX III audio out options are pretty standard really, but they round out a solid layout here.


