The Layout -
The layout of any motherboard is important. Even simple mistakes in component placement or the signal traces can cause major issued in performance and stability. With the ATX form factor we find that this is even truer; the devices we drop onto them demand more and cleaner power while the signal speeds push faster and faster. It is getting old telling everyone about the benefits and downsides of the ATX layout, but as that is part of our review process we will start out with the big ones. The 8-pin aux power connector is in a bad place, the board design makes trace layouts more difficult to design as speeds increase.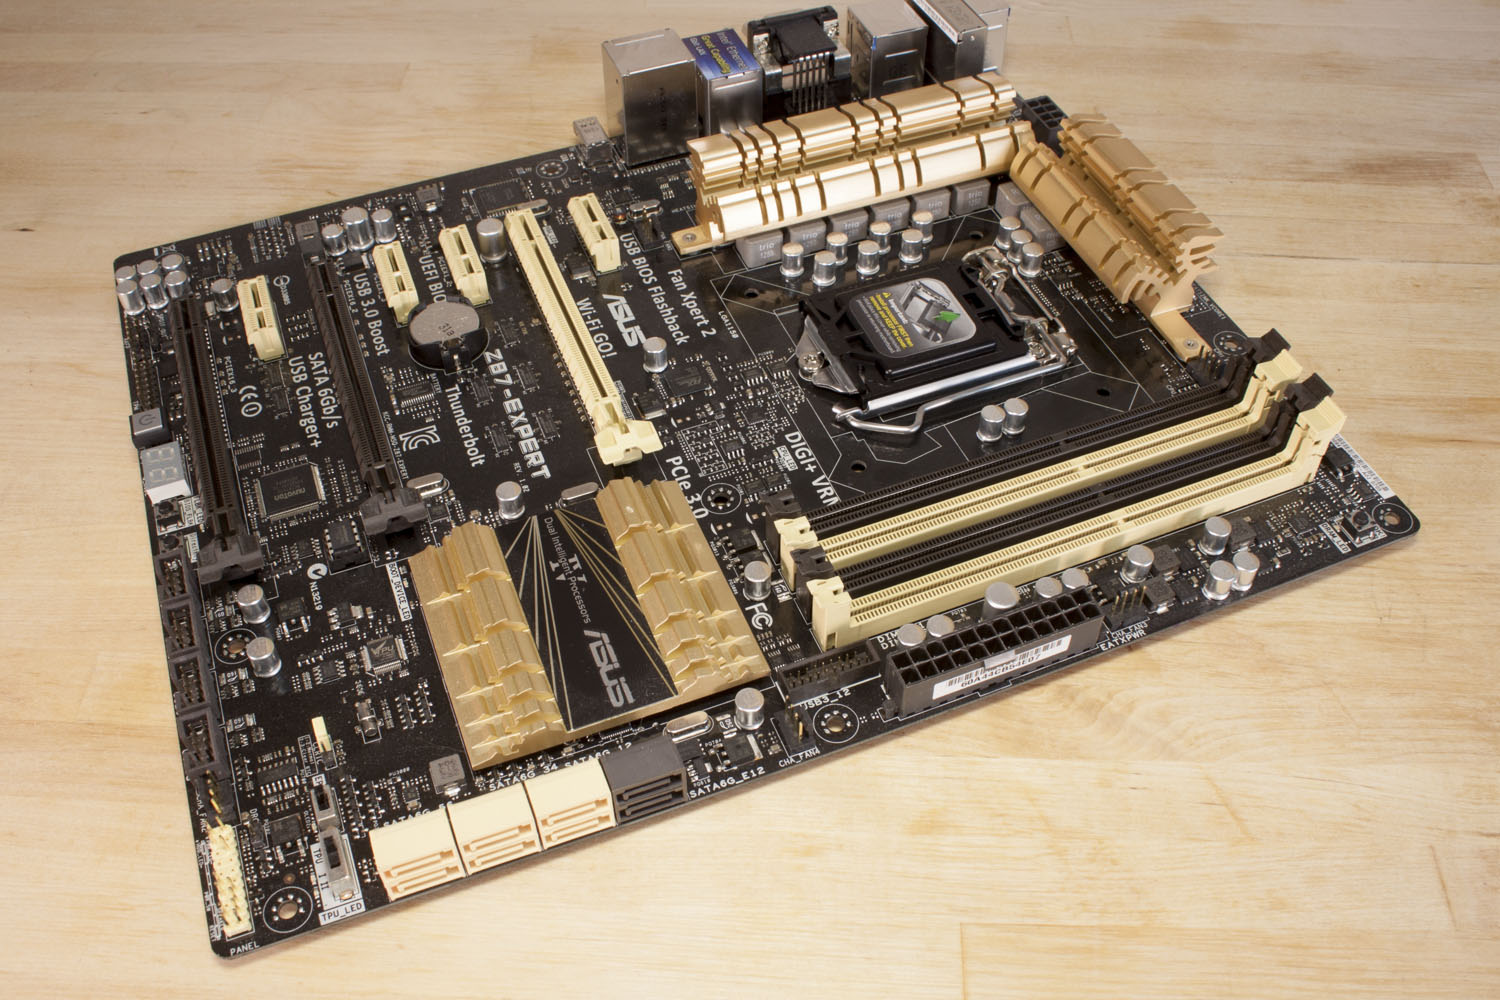
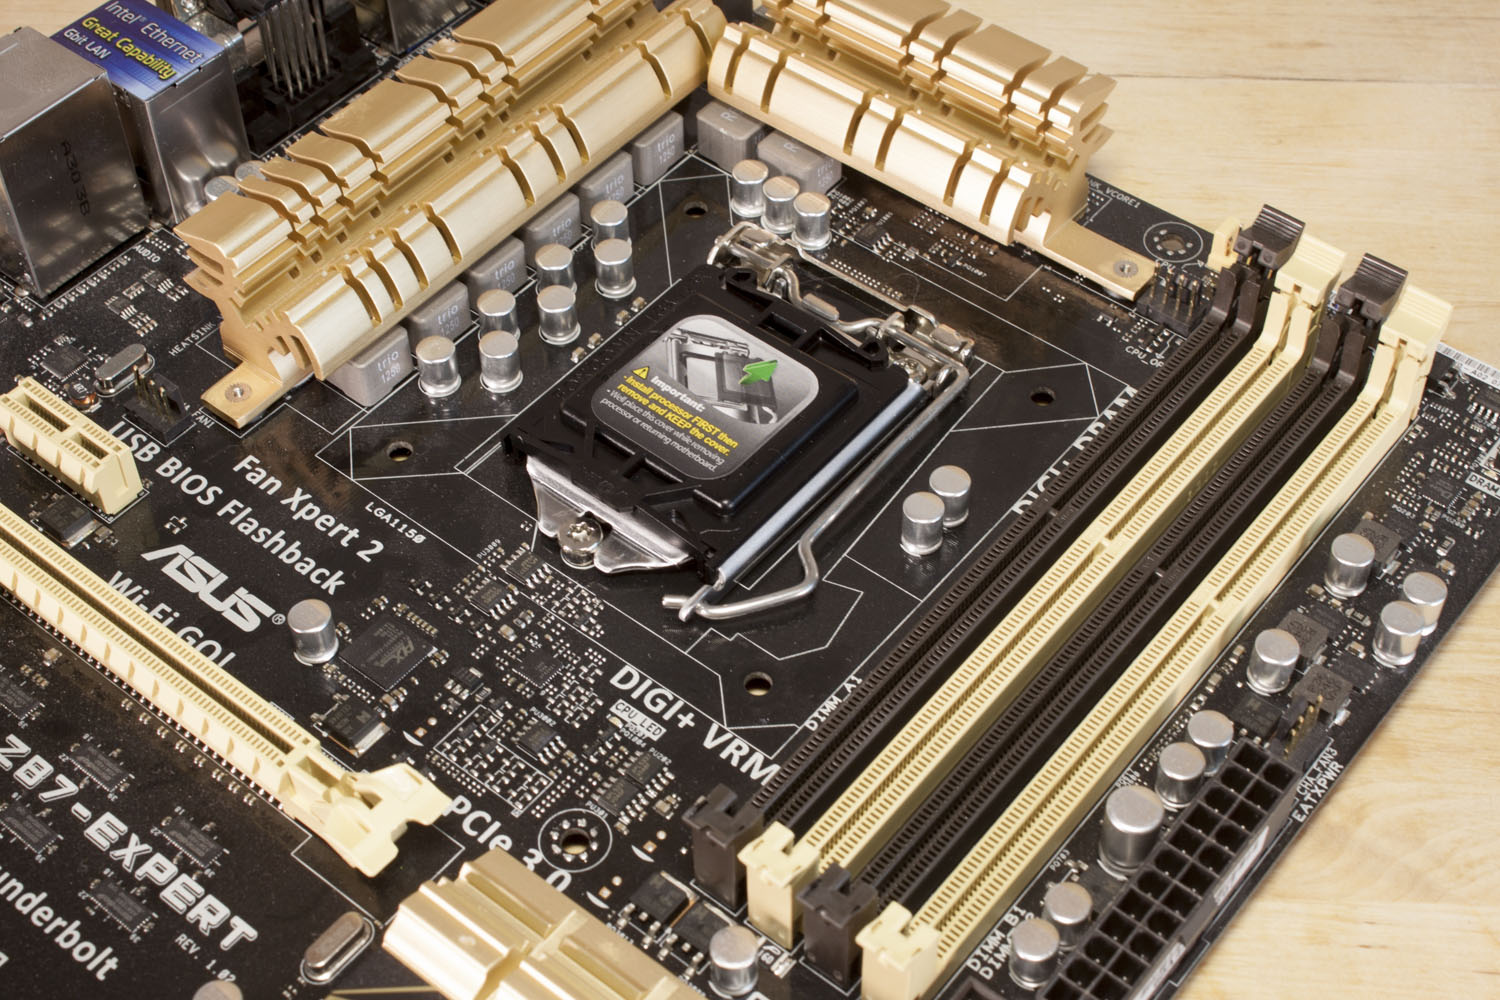
The upper half of the board is dedicated to the CPU, memory and power. Here we see the 1150 socket and RAM slots. The Z7-Expert can support up to 32GB of memory (4 x 8GB modules) at speeds of up to 3GHz with overclocking. The power regulation (including Nichicon caps) is cooled by a pair of gold colored heatsinks. The change to this new color scheme is, well unusual. We understand why they would want to move to a different color scheme (to avoid looking like their competition), but gold actually makes the board look a little cheesy. We also find the MemoryOK! Button which can help you get around memory problem if you are having them.
 |
 |
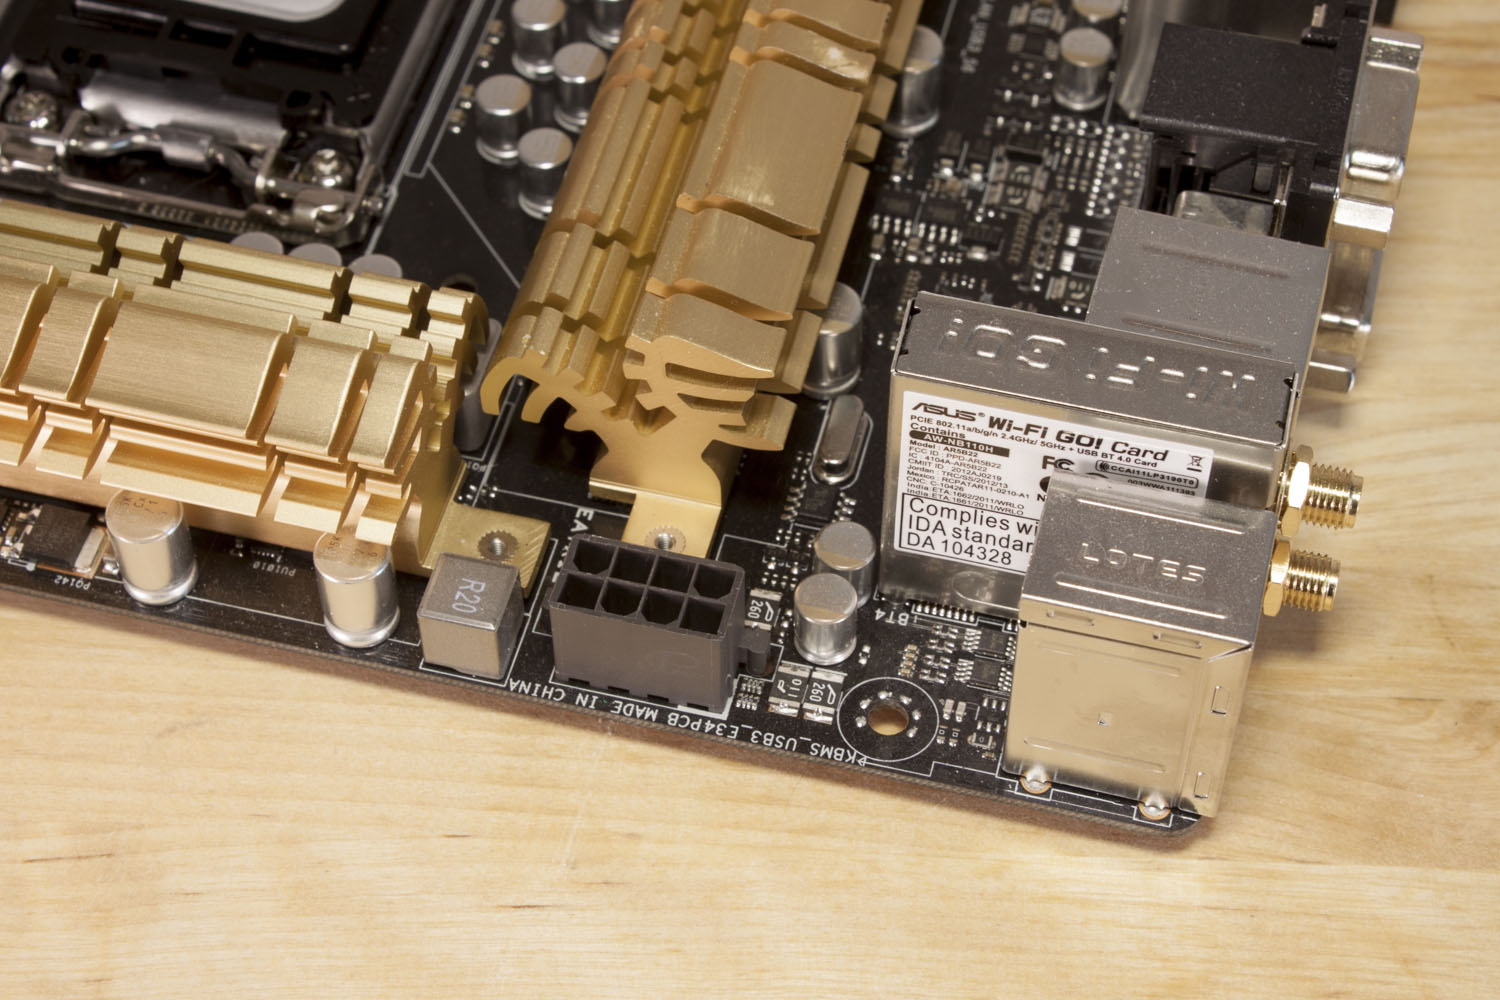 |
Turning the board a little we find that awkward little 8-pin aux power connector. We also get a glimpse of the Asus WiFi Go! Card, which is an interesting feature that Asus has been putting into their newer motherboards. We will cover that feature later.
Moving down the board we find the peripheral slots on the board. There are three x16 mechanical slots and four x1 slots. Of the three x16 slots only slot one is full x16 electrical, the other two are maxed out at x8 (although Asus has them labeled as x16).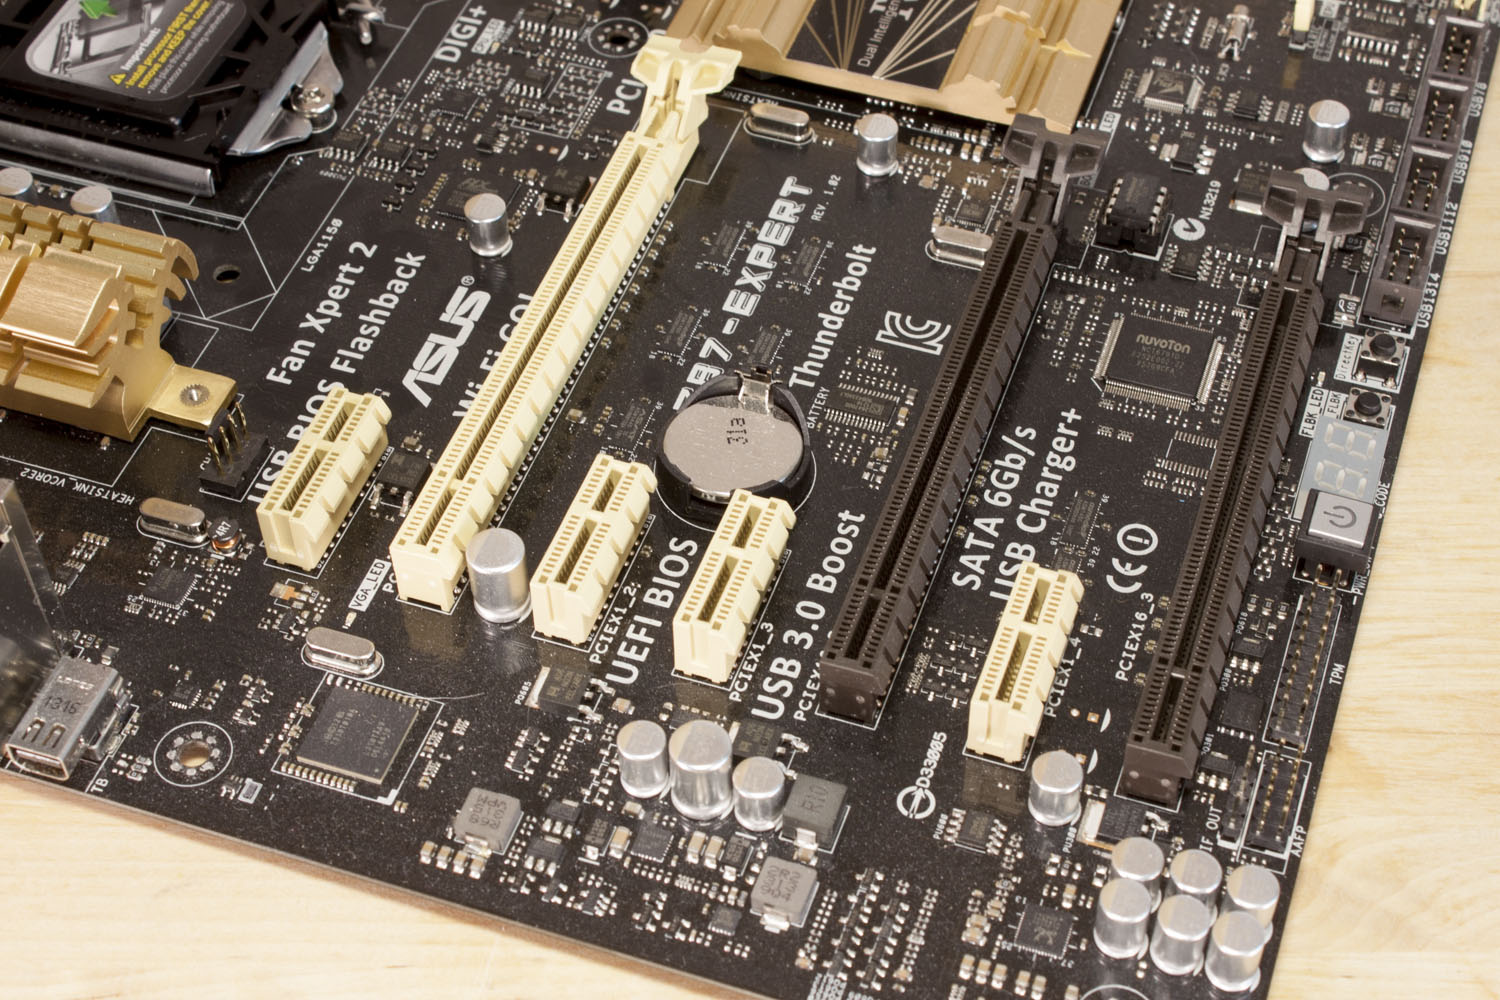
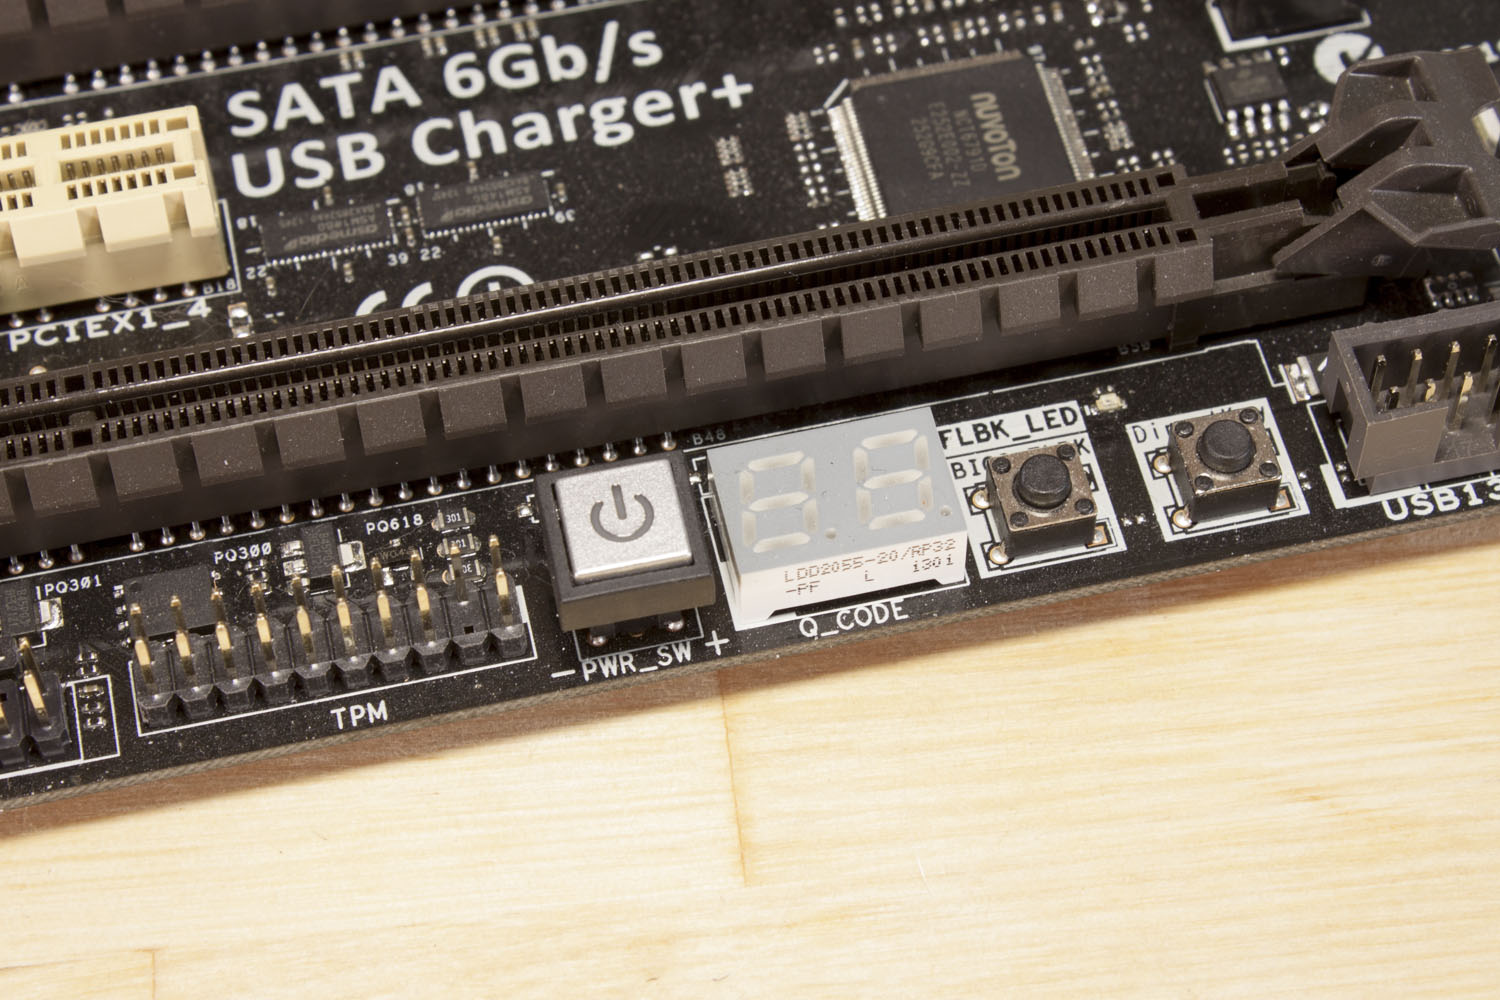
Along the bottom there Asus has included a board mounted power button with a “Q_Code” display. Right next to these two items are two small press buttons: one is for the BIOS Flashback button and the other is the direct key. The BIOS flashback allows you to flash the BIOS with nothing more than a PSU and a USB key (a properly formatted one). The directkey is very cool for anyone that has ever had an issue getting into the BIOS while using a USB keyboard. When you press it you will be taken directly to the BIOS without the need to wait for keyboard initialization. Of course you will need to open you case to reach them, but they are still very cool options.
 |
 |
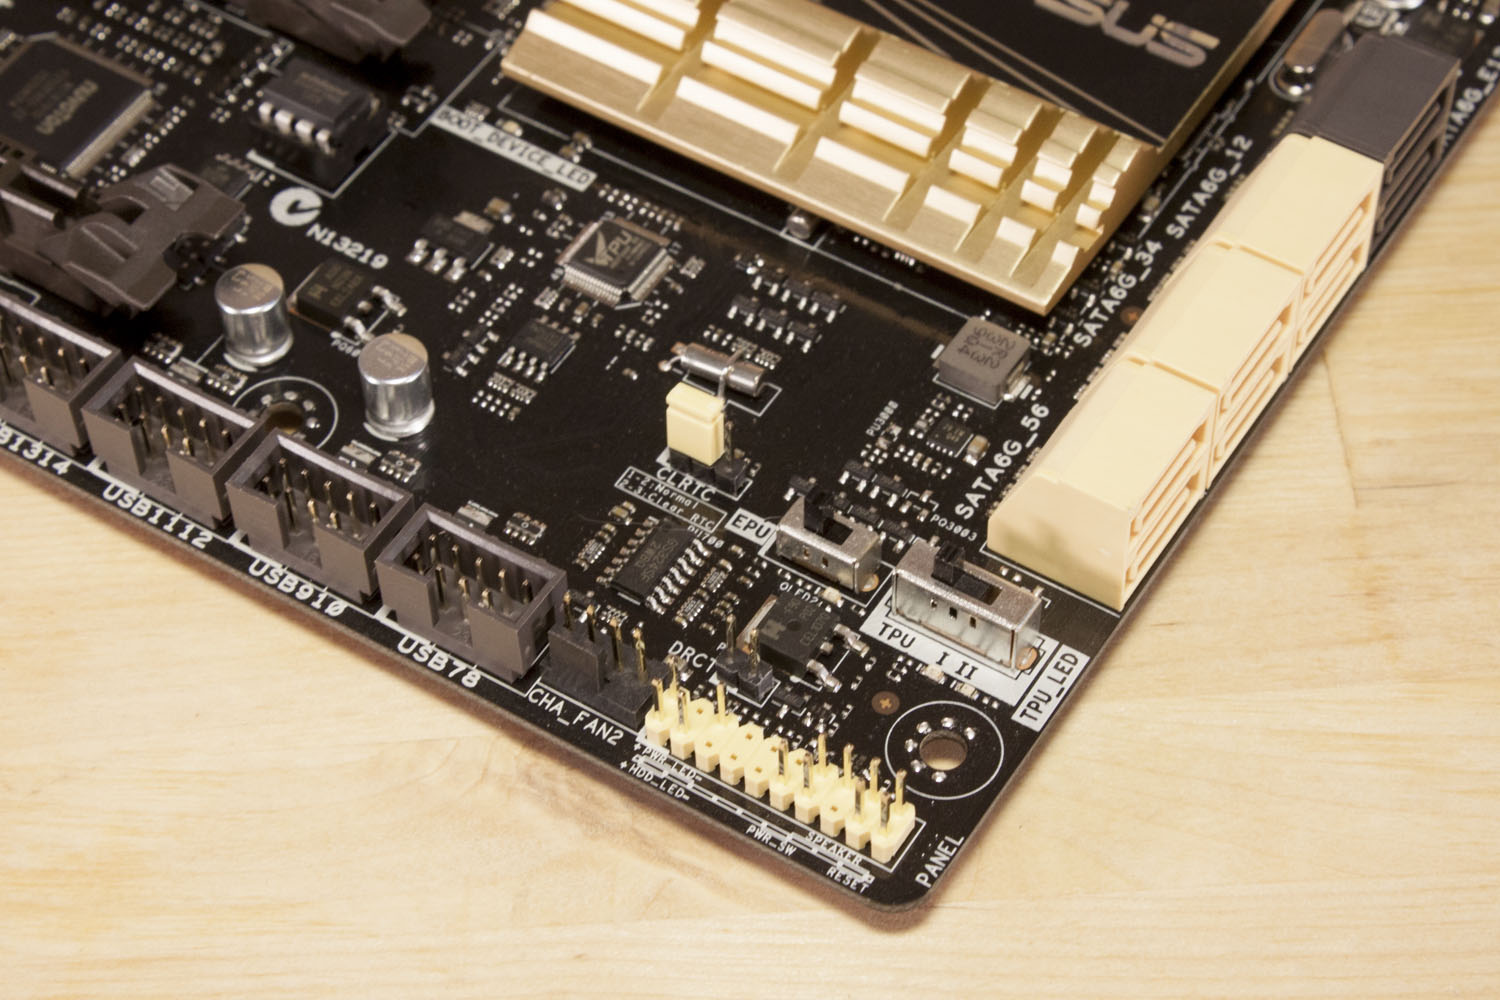
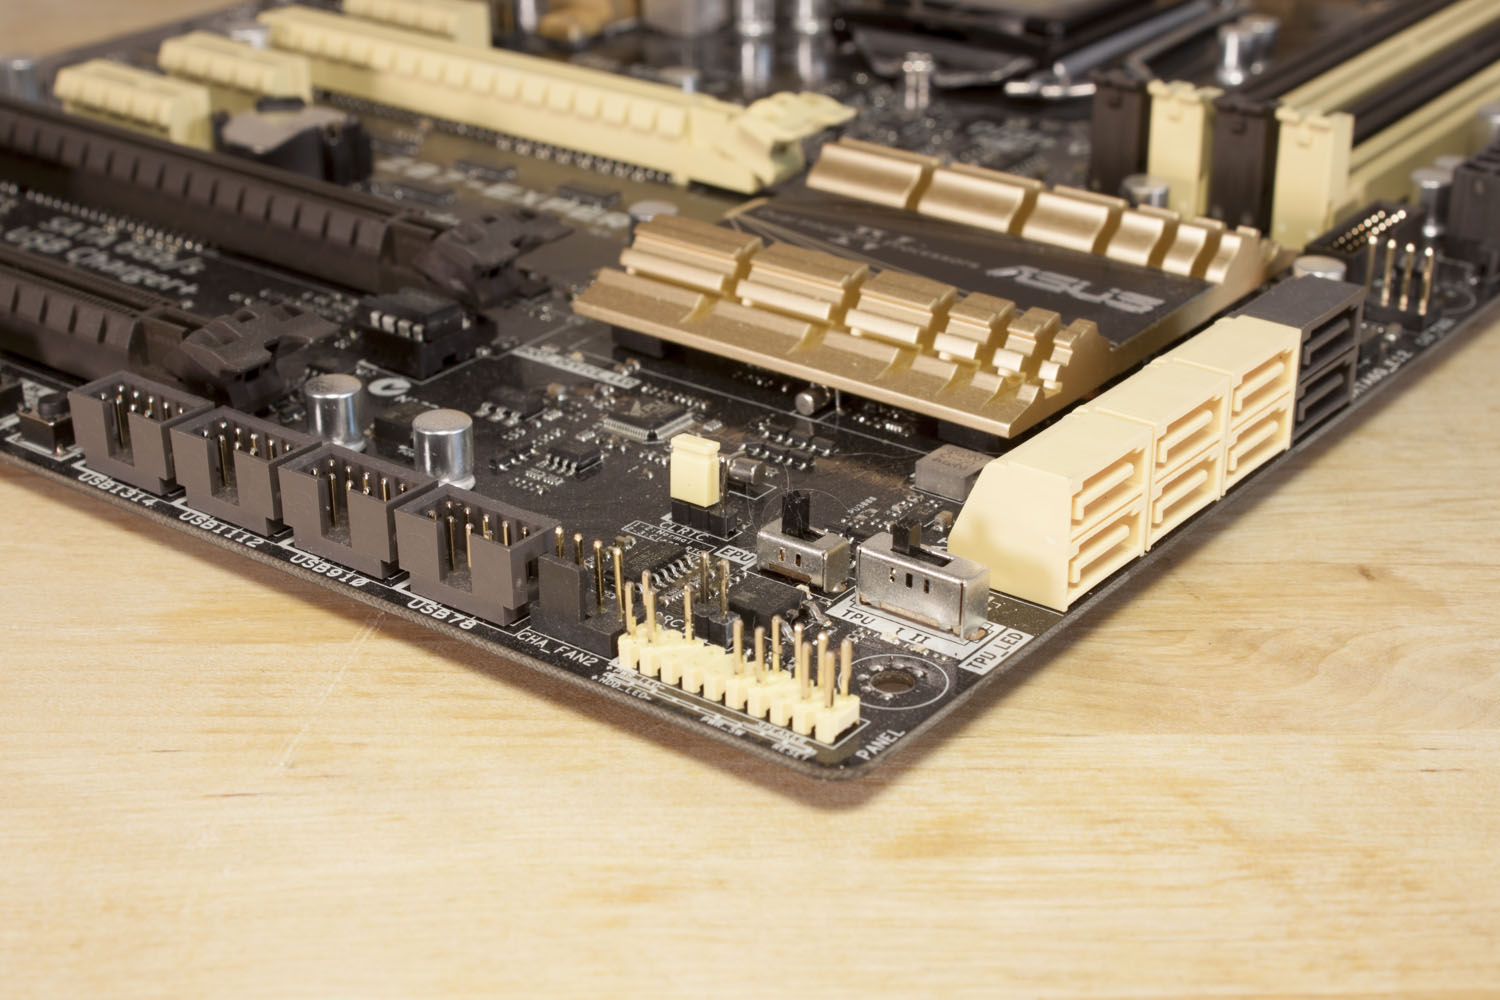
A little farther along we find more USB 2.0 headers, a 4-pin fan header, the front panel header and a couple of switches. One of for the EPU and the other changes the TPU type from I to II. The EPU switch changes the EPU (energy processing unit) from manual to automatic. When in auto mode the system will adjust settings without user input for the best energy efficiency. The TPU switch moves between just GPU boost (type I) and BCLK and ratio boost (type II). These are nice for overclocking when you are ready.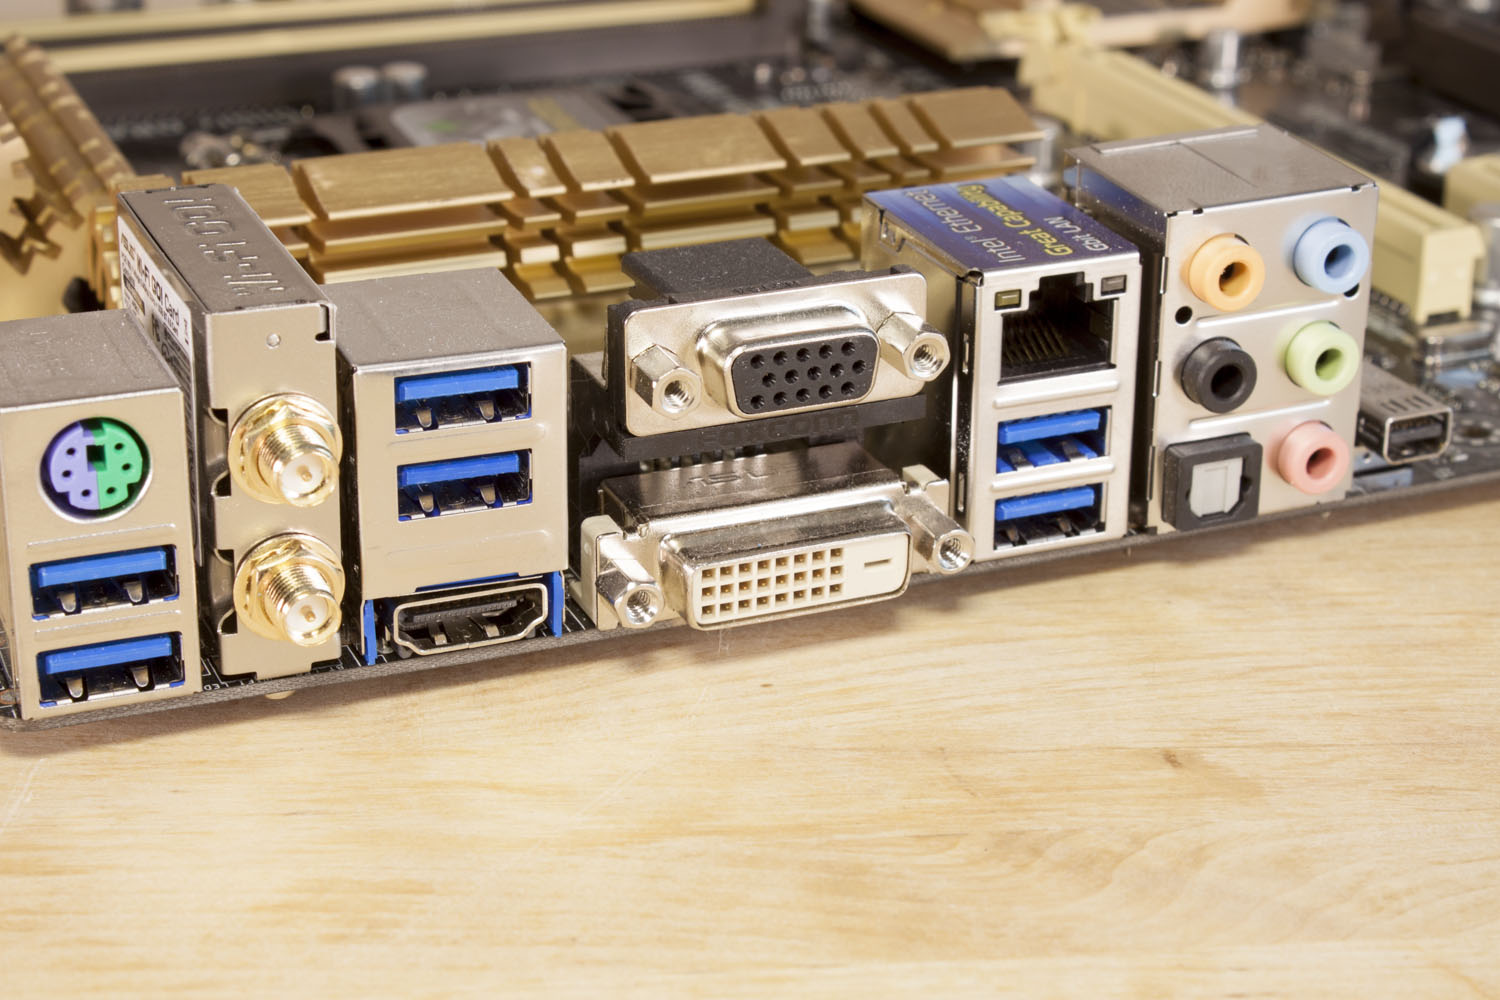
Flipping around to the I/O ports we see what has become a very common trend. You get a single combo PS/2 port a mass of USB ports (in this case USB 3.0), multiple video options and 8-channel audio. With the Asus Z87-Expert you also get a dual antenna WiFi Card and a thunderbolt connector (the small port at the end).
The Asus design is clean and well laid out within the confines of the ATX format. Asus uses a new tracing layout that is already intended to work with speed of up to 5GHz so you know that this form factor is not going anywhere soon. You can check out our video walk through below.


